Multishot techniques in photography
From WhiteWall expert Katharina Wergen
Multishot techniques are exciting and versatile methods that use multiple exposures to create fascinating effects or achieve maximum image quality. In other words, the term “multishot technique” actually refers to several different photographic approaches across various genres that rely on combining multiple images.
You might immediately think of a few techniques that involve taking multiple photos. And yes, the scope of multishot is quite broad. In this article, we’ll introduce some of the most important multishot techniques: double exposure, pixel shift, focus stacking, and HDR. For each technique, we’ll explain how it works, recommend gear and approaches, and give advice to help you achieve the best results.
1. Double Exposure: Creative Layering with Multiple Exposures
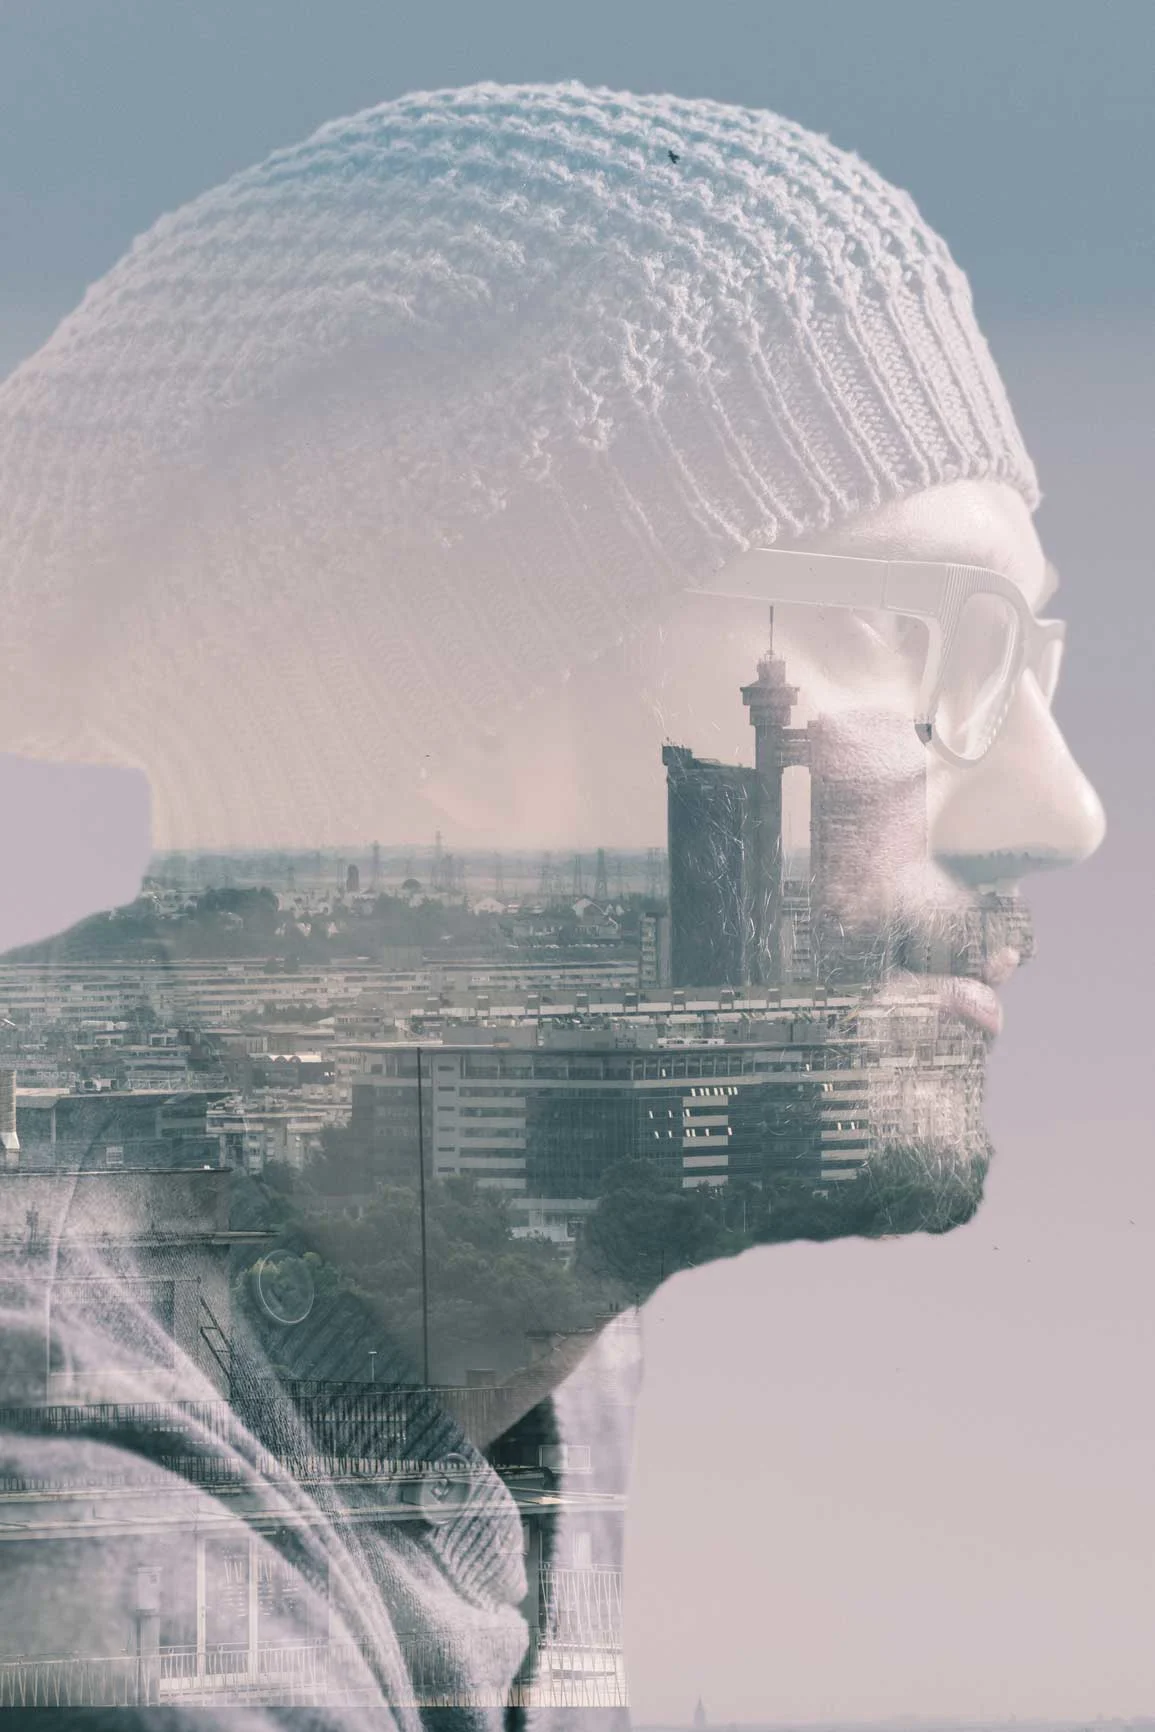
Double exposure is a technique where two or more shots are combined into a single image file. This method originally comes from analog photography, where film was "overexposed" multiple times. It remains popular in digital photography today for its creative and artistic potential. In fact, many instant cameras now include a double exposure feature, as the playful aesthetic is more in demand than ever.
How it works:
Double exposures can be created directly in the camera or in post-processing software like Adobe Photoshop.
1. In-camera: Many modern cameras have a built-in double exposure function. After capturing the first image, the camera overlays a second one. This allows you to create creative combinations such as silhouettes and portraits blended with landscapes or textures.
2. Post-processing: Alternatively, you can combine two separately captured images in Photoshop. Use layer masks and blending modes like “Multiply” or “Soft Light” to achieve the desired effect.
Examples and tips:
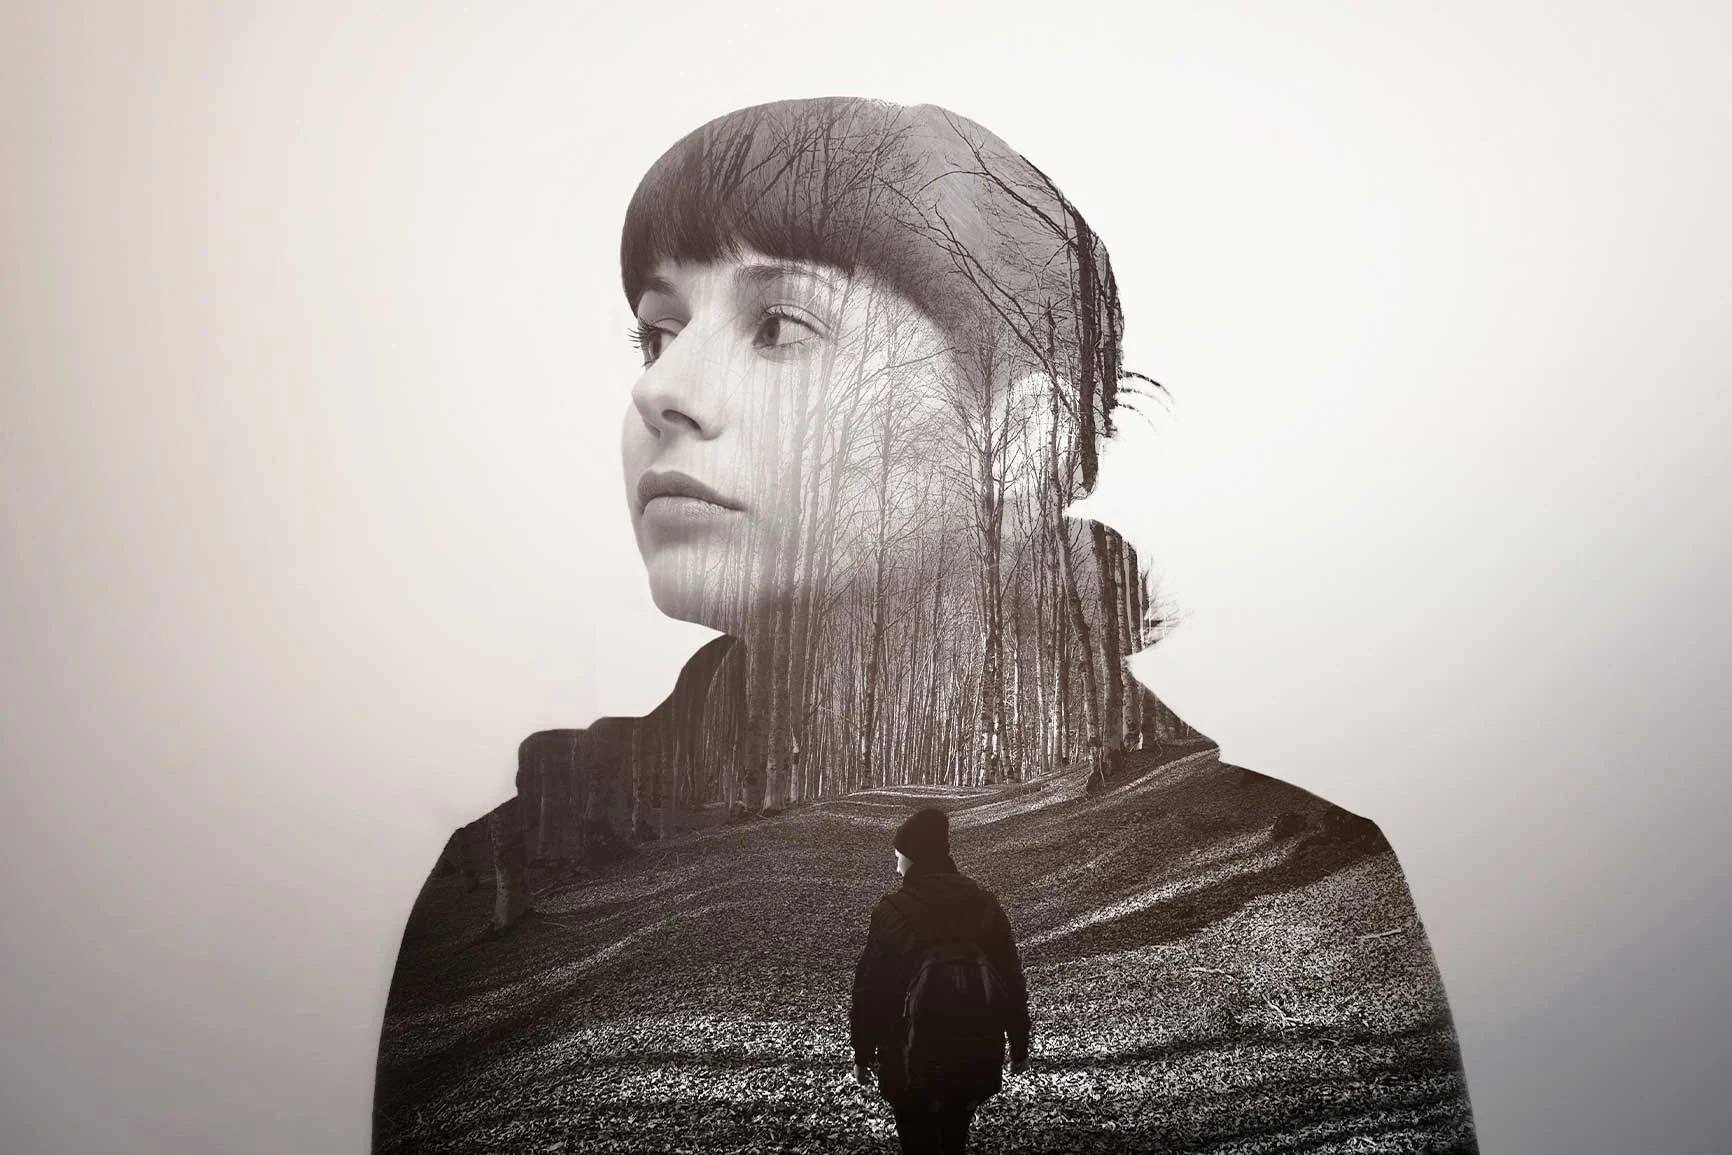
Portrait + Landscape: A common subject is overlaying a portrait with a landscape image. This gives the image a mystical, dreamlike quality.
Cityscapes and Textures: Combine urban scenes with interesting textures like clouds or water for dramatic results.
Tip: Make sure your exposure values are well-balanced to avoid overexposure when layering images.
2. Pixel Shift: Maximum Detail and Color Resolution
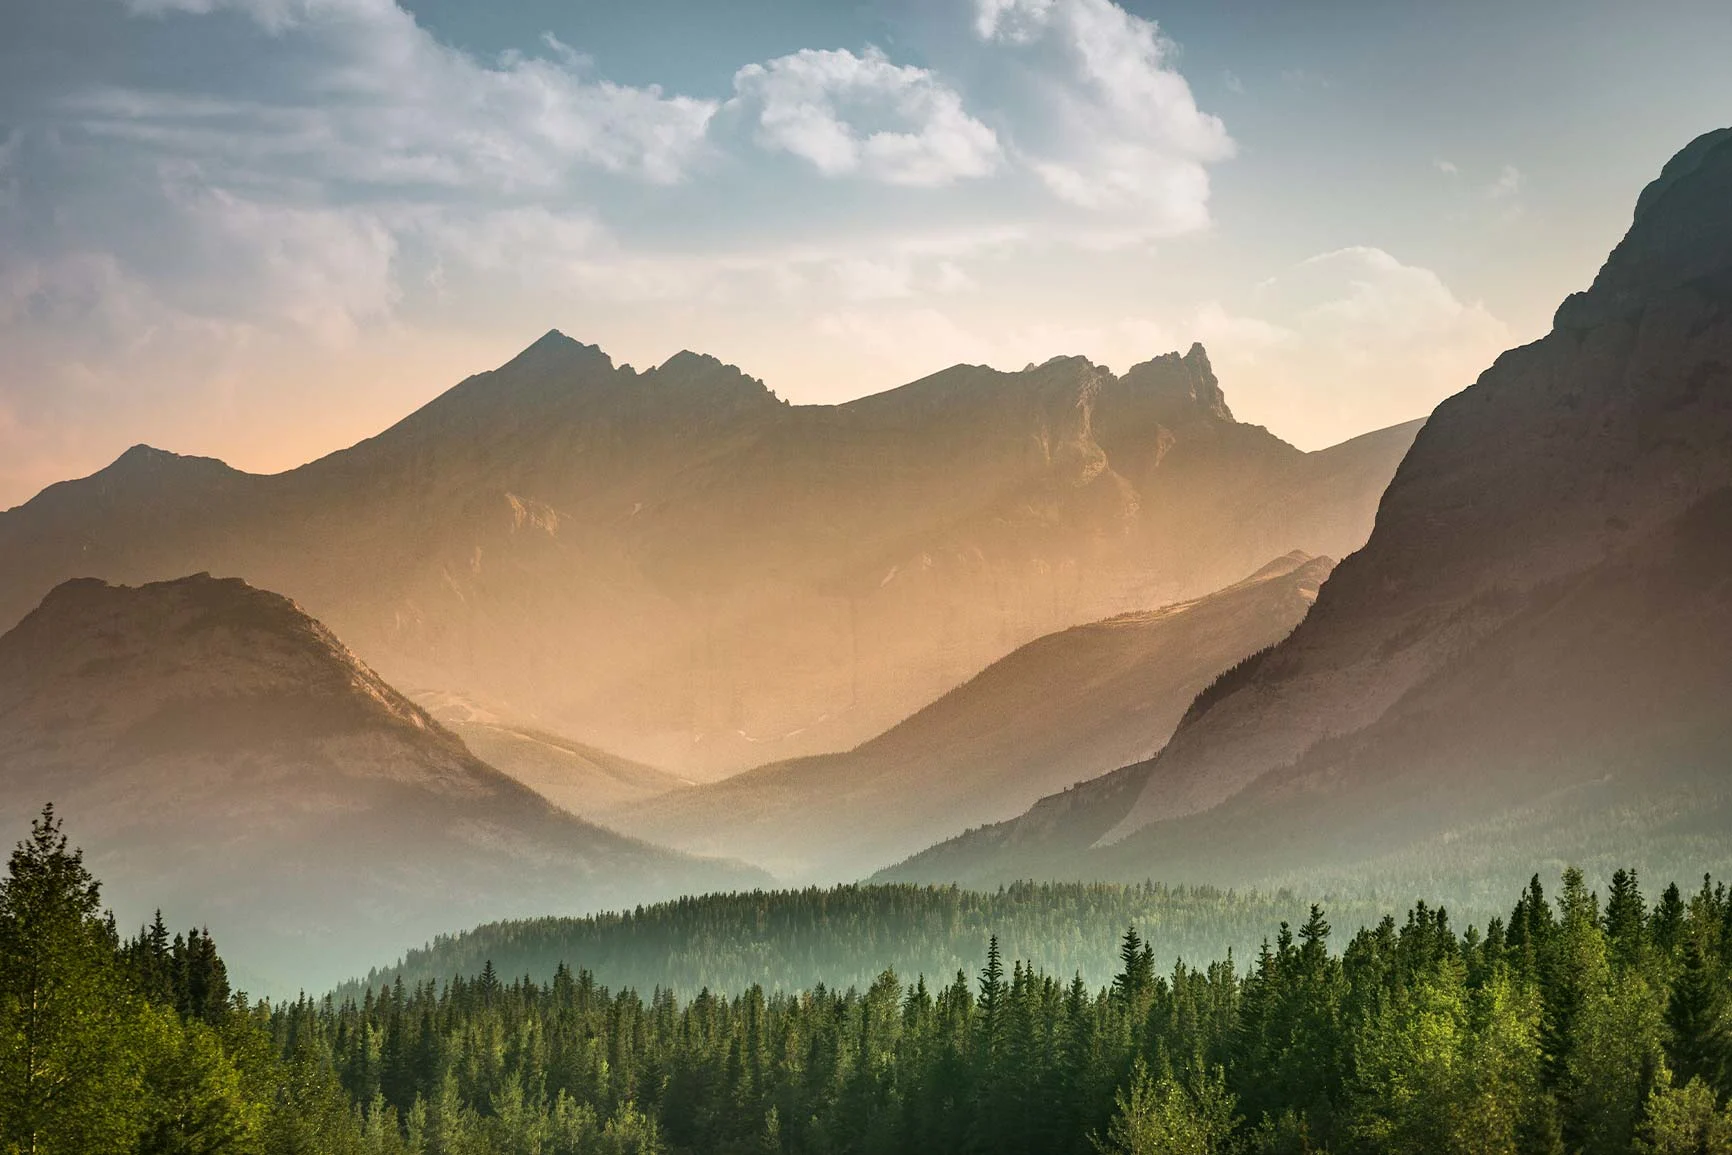
Pixel shift is especially useful for static subjects like landscapes that benefit from capturing extreme levels of detail.
Pixel shift is more of a camera feature than a photographic technique, as it requires a camera capable of performing pixel shift. With this method, the camera takes multiple shots of the same subject, shifting the sensor slightly between each one.
This technique increases resolution and improves color accuracy. It’s commonly used for static subjects such as architecture or landscapes.
How it works:
Pixel shift is only possible with cameras that have a dedicated pixel shift mode. Some Sony and Olympus models support this feature.
1. Tripod: A stable tripod is essential to prevent any camera shake.
2. Camera settings: Activate the pixel shift mode in your camera. The camera then takes several shots, shifting the sensor by one pixel each time.
3. Post-processing: The pixel shift images are usually combined using special software. This ensures that all image data is aligned correctly, producing a final image with maximum sharpness and color precision.
Examples and tips:
Architecture and Landscapes: Perfect for subjects with fine details that benefit from high resolution.
Still Life and Product Photography: Widely used to showcase fine details and vibrant color accuracy.
Tip: Because pixel shift is highly sensitive to movement, only use it with completely static scenes.
3. Focus Stacking: Greater Depth of Field for Close-Up and Macro Shots
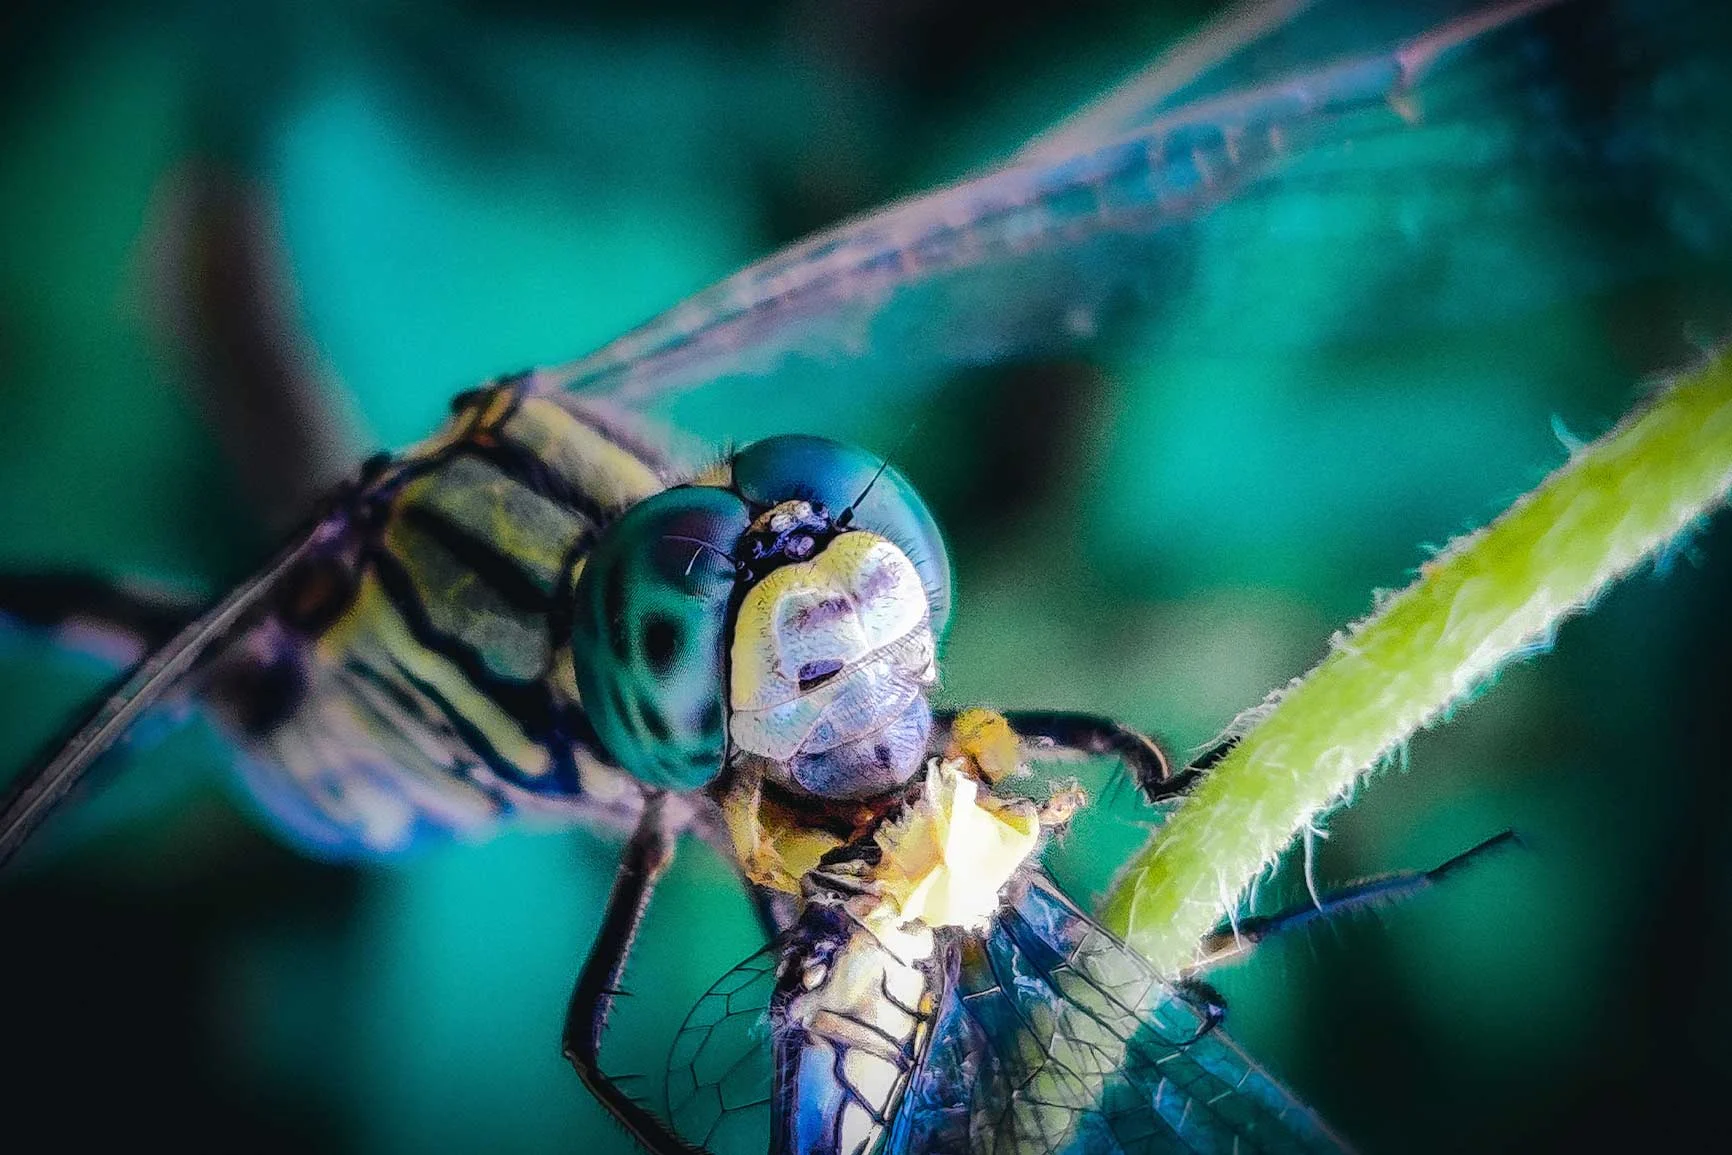
Focus stacking is a multishot technique that involves taking multiple photos with different focus points and combining them into one image with maximum depth of field. This is ideal for macro photography or landscape shots where everything from front to back should be in sharp focus.
How it works:
1. Equipment: Besides the camera, a tripod is essential to ensure all shots are aligned. A macro lens or one with adjustable focus range is also helpful.
2. Manual focus: Set the camera to manual mode and choose different focus points from foreground to background.
3. Post-processing: Merge the images using software like Adobe Photoshop or Helicon Focus. The software selects the sharpest areas from each image and combines them into one.
Examples and tips:
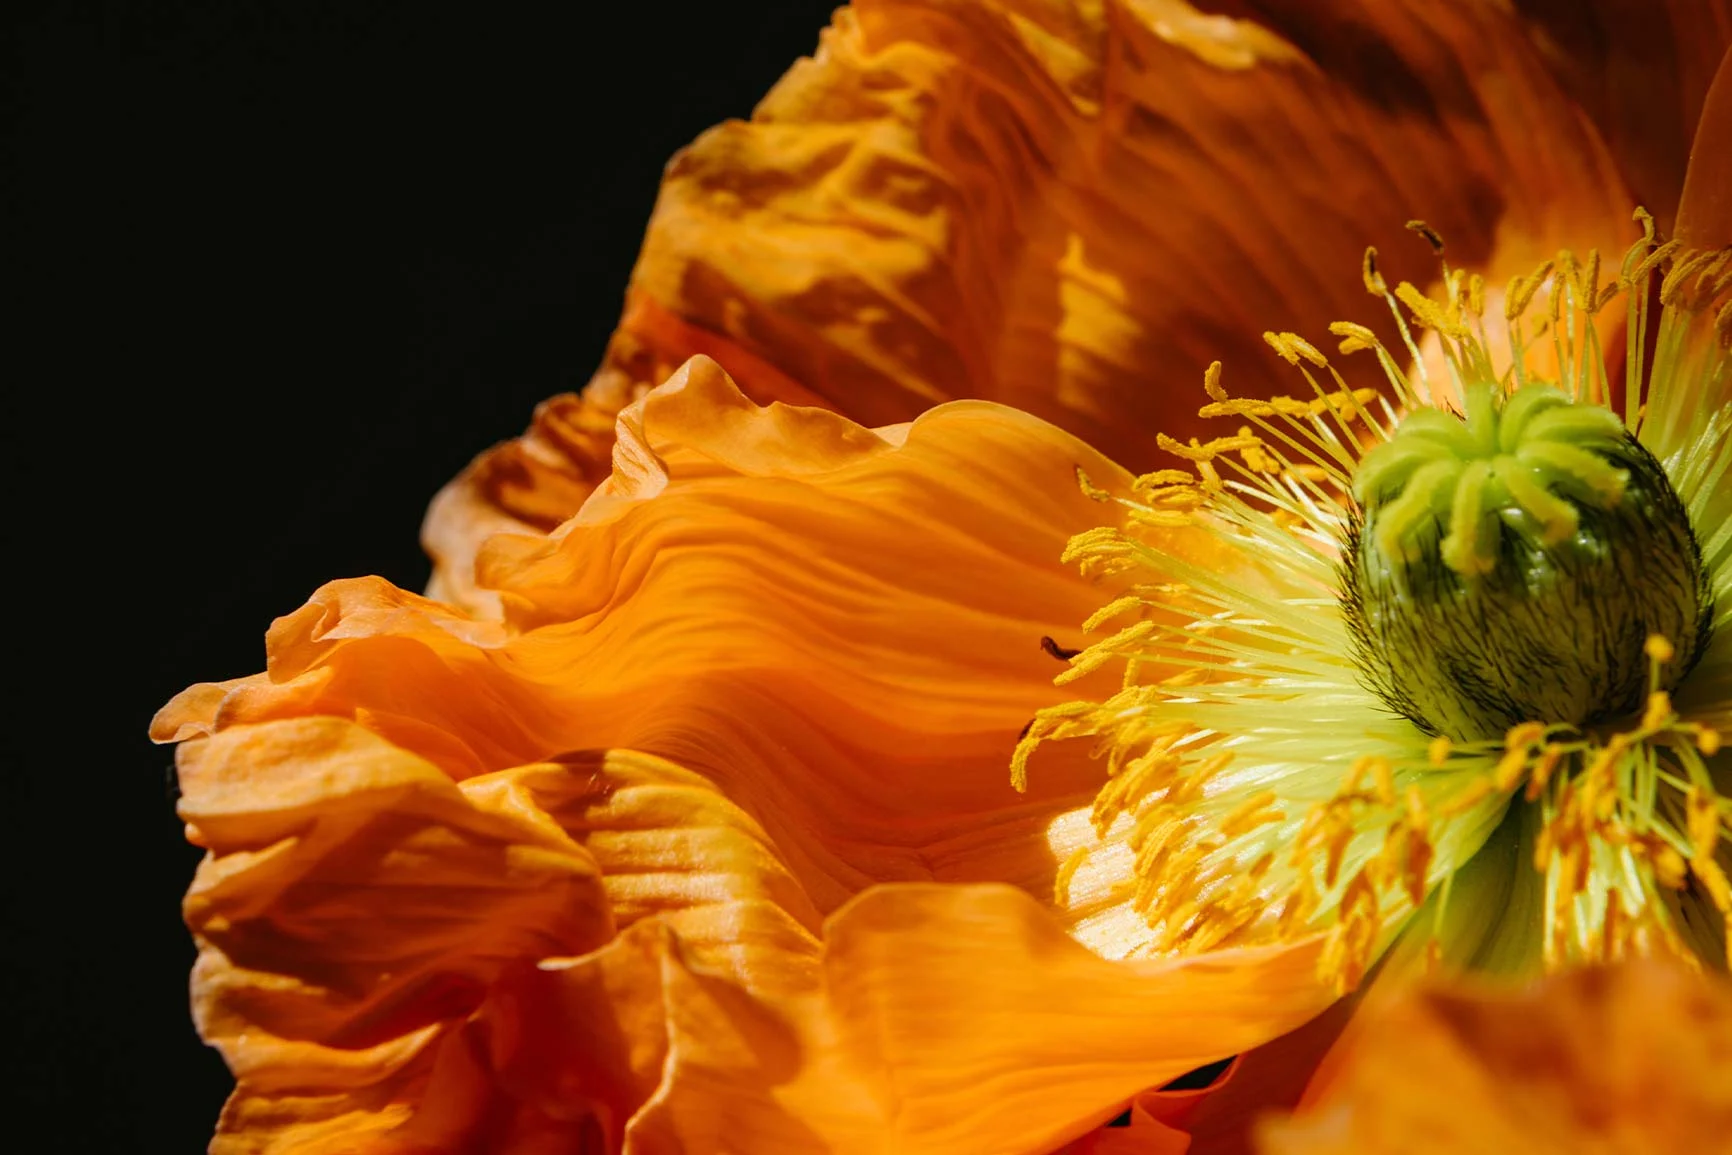
Macro Photography: Shoot a flower or insect by capturing multiple focus layers to make every detail sharp.
Landscapes: In scenes such as a lake with distant mountains, focus stacking ensures every element from the shore to the peaks is sharply rendered.
Tip: Experiment with different distances between focus points to achieve the ideal level of depth.
4. HDR (High Dynamic Range): Enhanced Exposure for High-Contrast Scenes
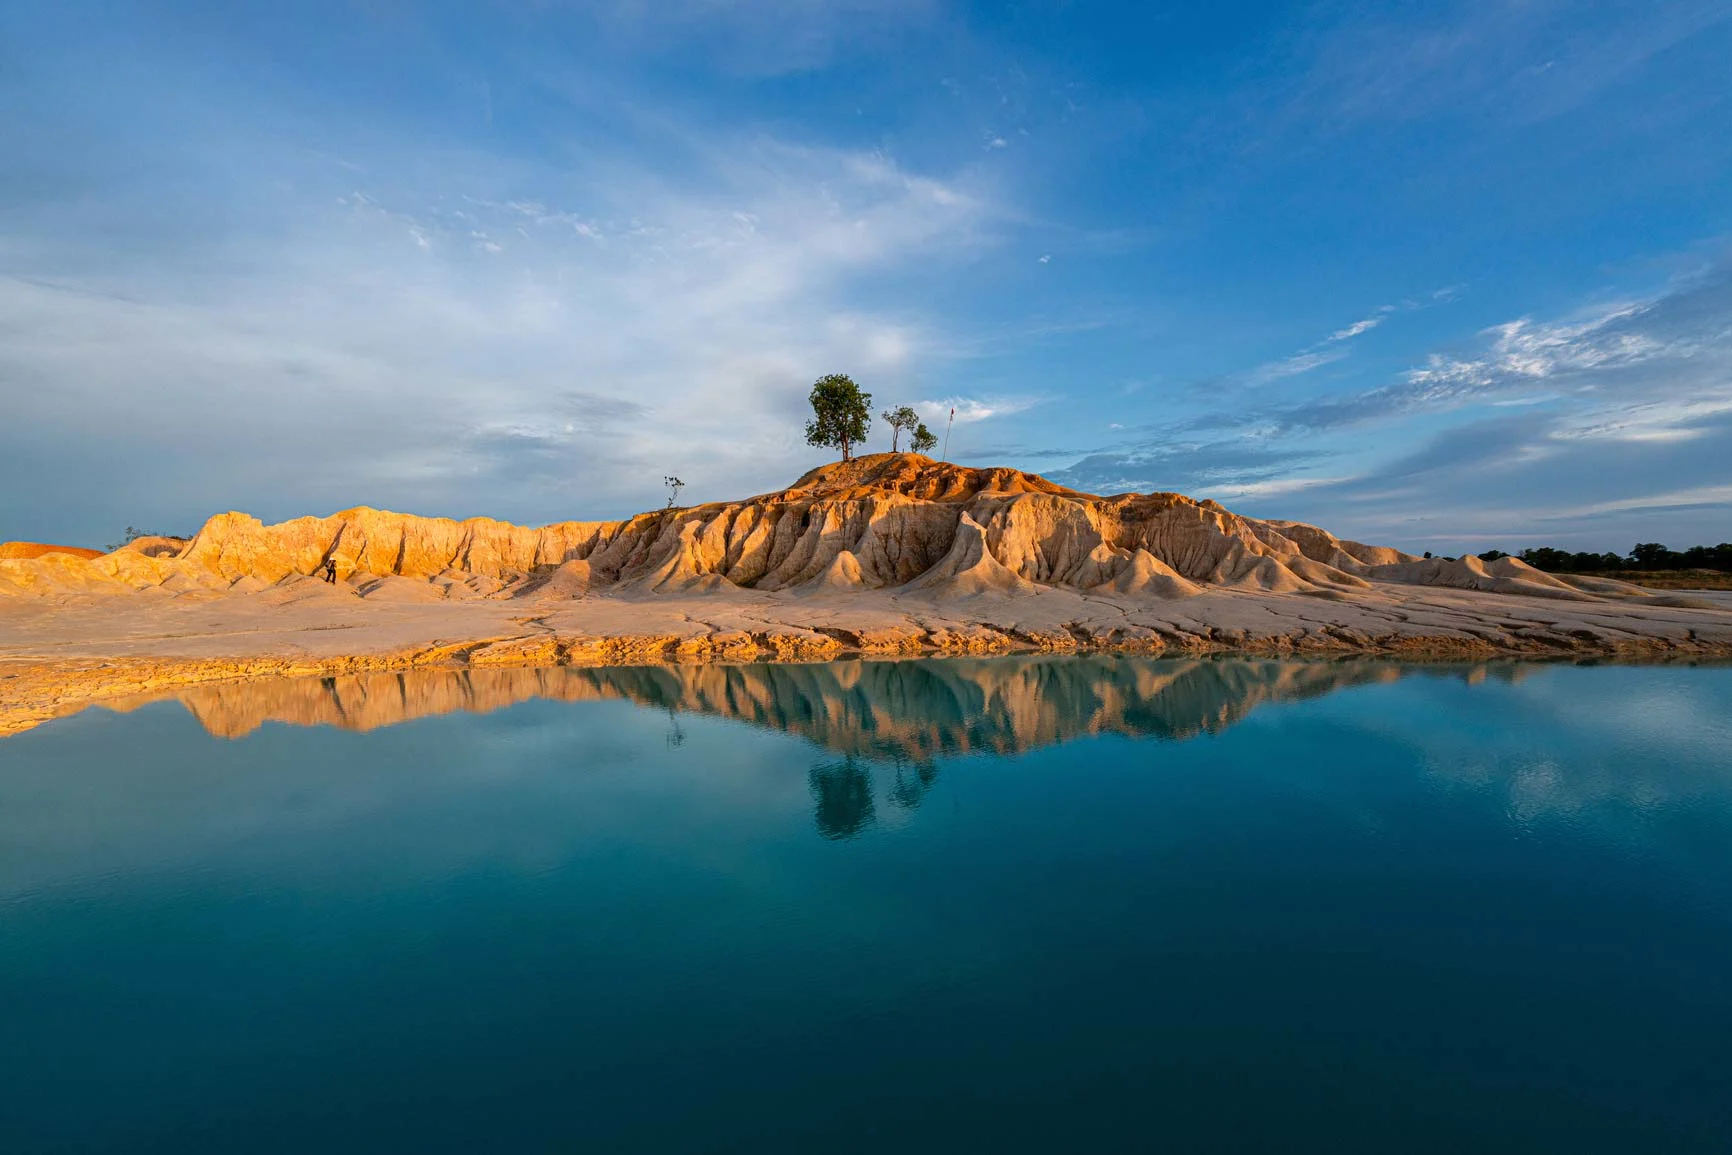
HDR photography involves capturing multiple exposures of the same scene at different brightness levels. This technique helps preserve details in both the highlights and shadows, resulting in an image with a high dynamic range.
How it works:
1. Equipment: A tripod is required to ensure that all shots align perfectly. Many cameras have a built-in HDR mode that captures multiple exposures automatically.
2. Exposure settings: Capture a series of images ranging from underexposed to overexposed. A common range is ±2 EV (Exposure Value) between each shot.
3. Post-processing: Combine the HDR images using software like Adobe Lightroom or Photomatix Pro. The software blends the exposures to produce a balanced final image.
Examples and tips:
Landscapes at sunrise or sunset: Ideal for scenes with both bright and dark areas, like a glowing sky and dark foreground.
Interiors with windows: HDR helps balance the exposure when both indoor shadows and bright outdoor light are in the frame.
Tip: To maintain a natural HDR look, avoid excessive editing effects and keep the contrast realistic.
5. Panorama Photography: Capturing Wide Landscapes and Large Subjects
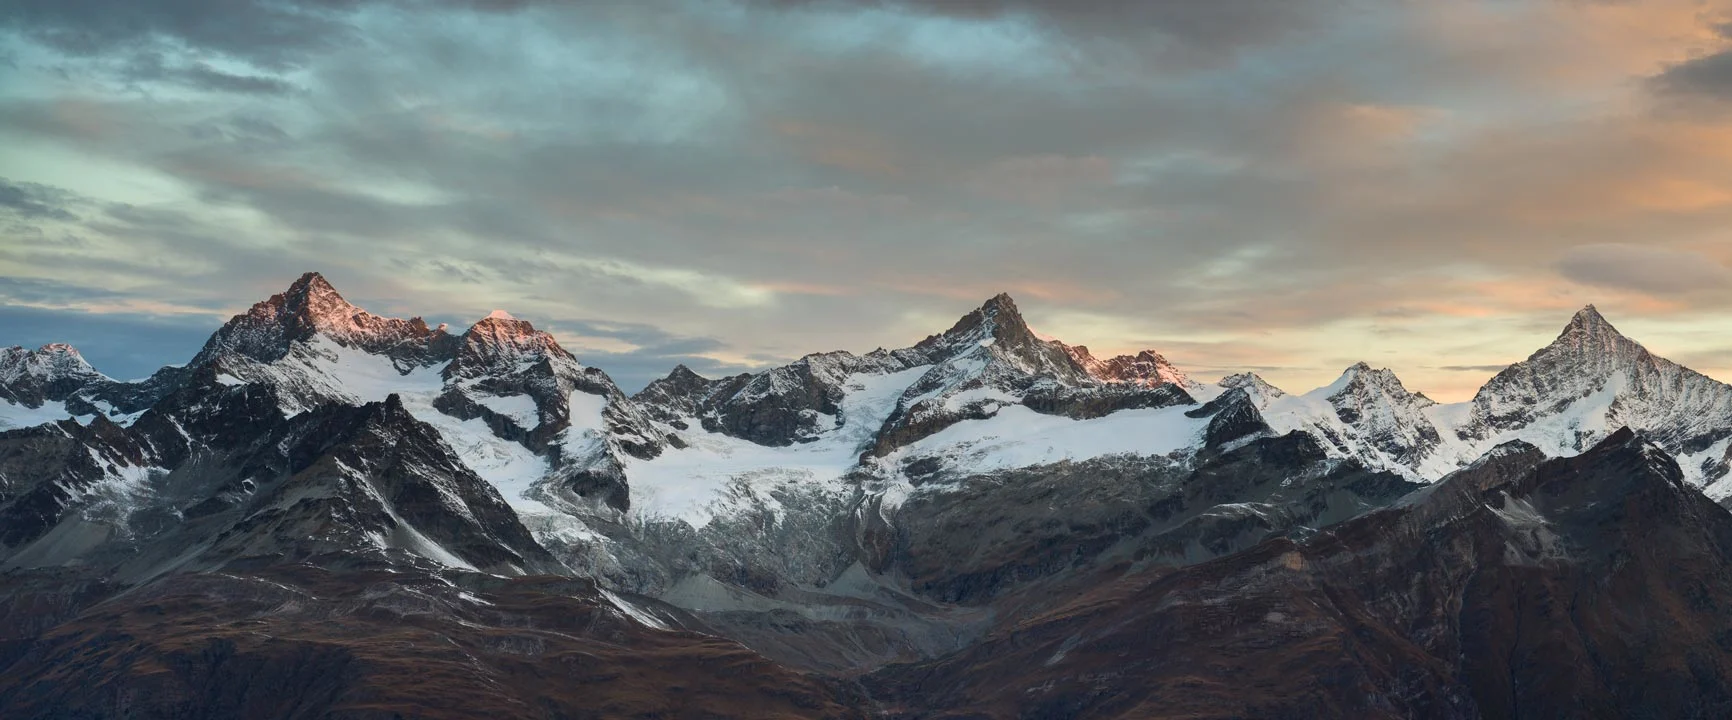
Panorama photography is ideal for capturing vast landscapes or large subjects that don’t fit into a single frame. By stitching together multiple images, you can create seamless panoramas with breathtaking breadth.
How it works:
1. Equipment: A tripod with a panoramic head is especially useful for smooth, level rotation.
2. Overlapping shots: Take a series of images with about one-third overlap between each to ensure seamless stitching.
3. Post-processing: Use software like Adobe Lightroom or PTGui to stitch the images together into a single panorama.
Examples and tips:
Landscapes: Perfect for showcasing the scale and detail of expansive natural scenes.
Cityscapes and Architecture: Great for capturing entire skylines or large buildings in impressive detail.
Tip: Avoid using extreme wide-angle lenses, as they can introduce distortion that makes stitching difficult.
Printing Tips for Multishot Images
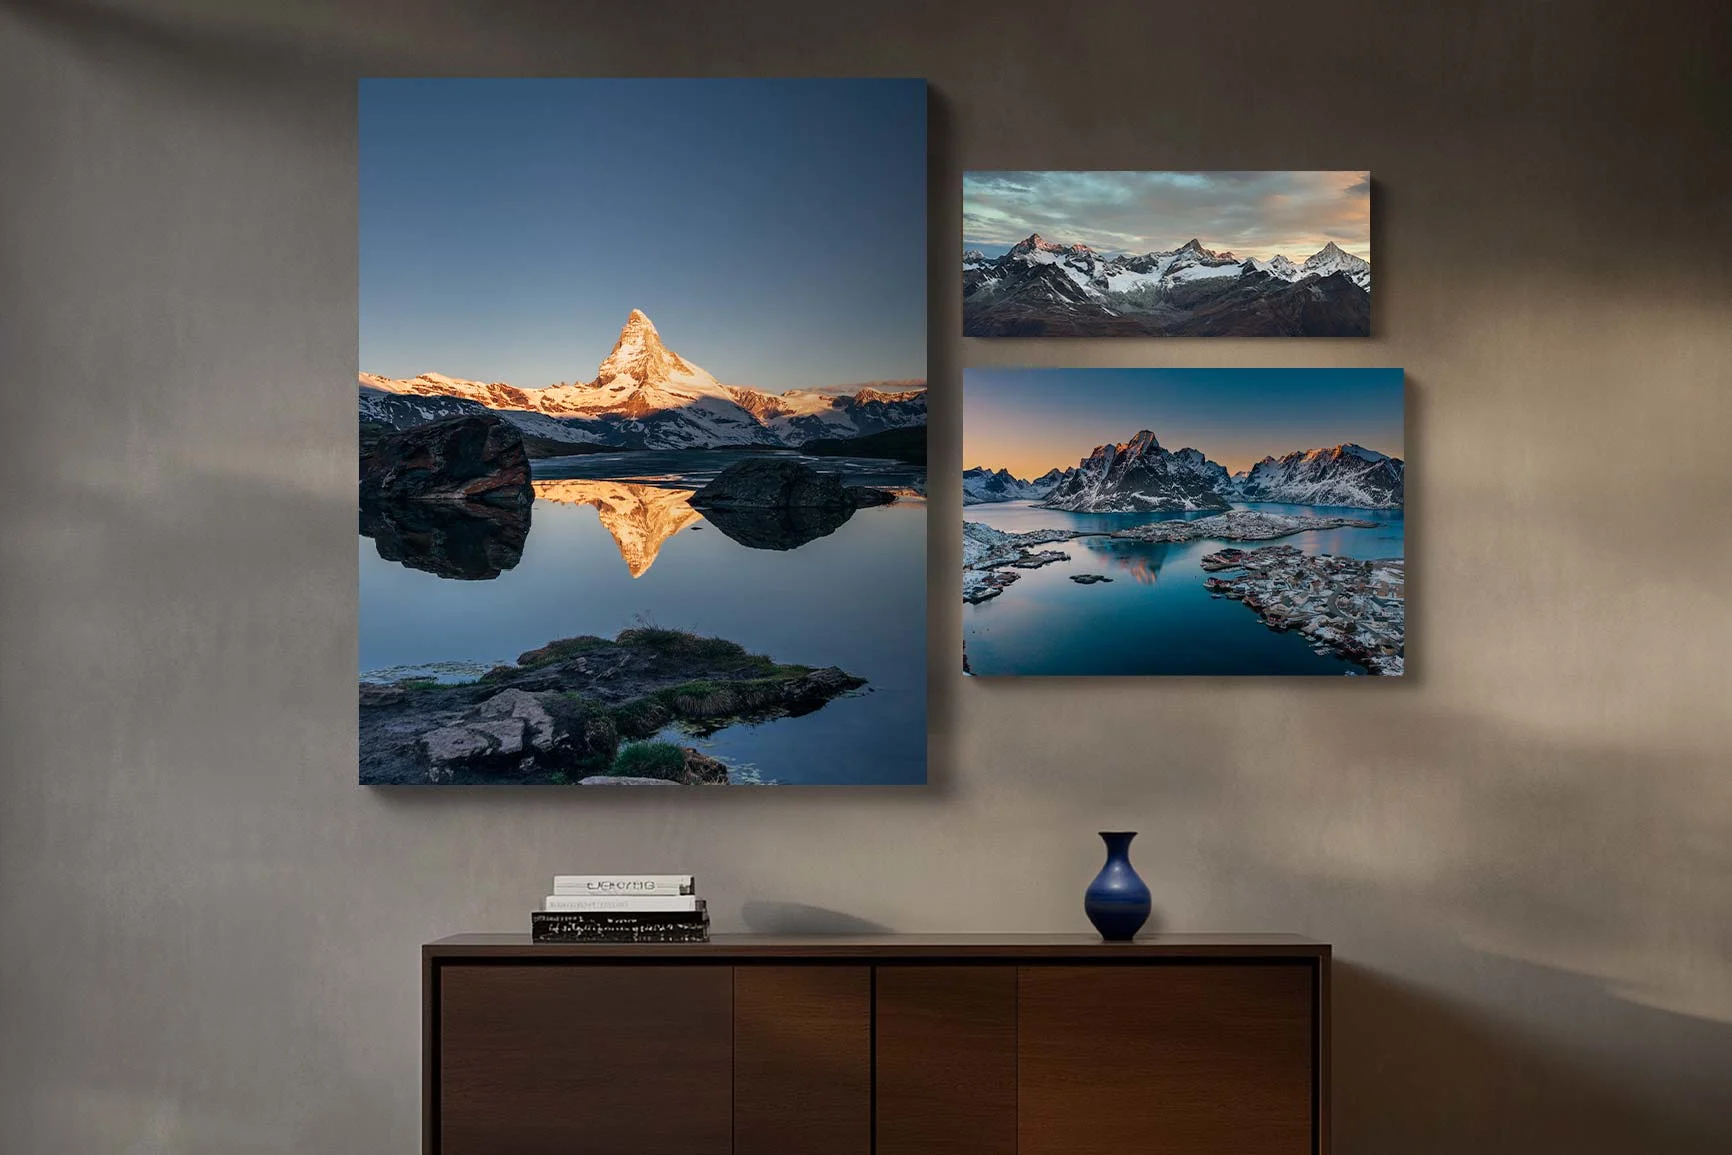
Multishot techniques produce images that are rich in detail and visual impact. To showcase these images effectively, high-quality printing is essential:
HDR and Focus Stacking as ultraHD photo prints on Alu-Dibond: These prints are perfect for highly detailed landscapes or macro shots requiring exceptional sharpness and contrast.
Double Exposure as Fine Art Print: Artistic double exposures work beautifully as Fine Art Prints on Hahnemühle paper, where the texture enhances the layered effects and adds depth.
Panoramas under acrylic glass: Ideal for wide-format images such as landscapes or cityscapes, offering vivid colors and a sense of depth.
With the right technique and printing method, you can turn multishot images into gallery-quality works that highlight your creative and technical skills.
Conclusion
As you can see, there are many different multishot techniques, each with its own unique purpose and field of application. Multishot methods offer extraordinary ways to capture time, depth, and detail in photography. Whether it’s double exposure, pixel shift, focus stacking, HDR, or panoramas—each expands the creative and technical boundaries of photography.
While some of these techniques can be done in-camera, others require more time in post-processing and specialized software to merge the images. But the effort pays off: the results are photos with greater depth, detail, and visual impact than what is possible with a single shot.
Learn more about the author
As a trained portrait and wedding photographer, Katharina Wergen brings her extensive knowledge to photography. She has been working as a sales consultant at WhiteWall since 2018 and supports exhibition projects for museums and galleries. She is also increasingly focusing on reportage photography. Take a look behind the scenes of the photographer, here in the interview.

Also interesting:
Submitted by WhiteWall expert Katharina Wergen
Double exposure: techniques and creative ideas
Two images, one motif: discover the creative variety of double exposure. Get to know camera and post-processing techniques. Ideal for expressive portraits, surreal compositions and artistic prints.
Submitted by WhiteWall expert Katharina Wergen
Low-key and high-key photography
Low-key and high-key: two techniques, one goal - strong image impact through deliberate lighting. Discover how contrasts create emotions. With tips on implementation and ideal print types for impressive results.
Submitted by WhiteWall expert Katharina Wergen
Long exposures for creative effects
Making movement visible: Long exposure transforms water into silk, light into traces and cities into shimmering backdrops. Discover creative applications, exciting motifs and helpful technical tips. Perfect for anyone who wants to experiment with time and light.


