HDR techniques and panoramic photography: Perfect photos with advanced shooting techniques
From WhiteWall expert Katharina Wergen
Digital photography offers many impressive and modern shooting techniques that broaden the creative scope of possibilities. With a little practice and finesse, editing and developing the raw data into a high-contrast, well-designed image is not a time-consuming task. And yet there are moments when you wish there were more tonal information in the highlights and shadows—or when the vastness of the landscape cannot be captured in a single image. With HDR and panoramic photography, we present two technical methods that add a new dimension to your images—and give you pictures you'll be proud to display in artistic prints, such as on acrylic glass.
1. HDR photography
HDR stands for "High Dynamic Range" and refers to a technique in which several differently exposed images are combined into one image. The aim is to achieve a greater dynamic range than is possible with a single shot. Even the most modern sensors cannot completely compensate for some differences in brightness. An HDR photo usually consists of at least three shots. One shot is ideally exposed, one slightly underexposed, and one slightly overexposed. The number of individual shots can be increased to enhance the effect. HDR photos with five, seven, or even eleven shots are no longer uncommon.
The basics of HDR photography
It always starts with a subject that has a high dynamic range. A sunset on the coast is a clear example. The sun itself shines directly onto the sensor, the sky is bathed in a variety of colors, and all objects in the foreground on the side facing away from the sun are dark.
Taking a series of exposures
Position your camera on a tripod
All shots must be taken with the same focal length
Do not change the ISO or aperture between shots. It is best to use aperture priority or manual mode
Select an exposure time that does not show any visible changes, such as waves or clouds
The self-timer helps prevent camera shake
Once you have captured the first image with the ideal exposure, take another picture. This will be shifted by one exposure value, i.e., under- or overexposed.
Two ways to achieve the same result
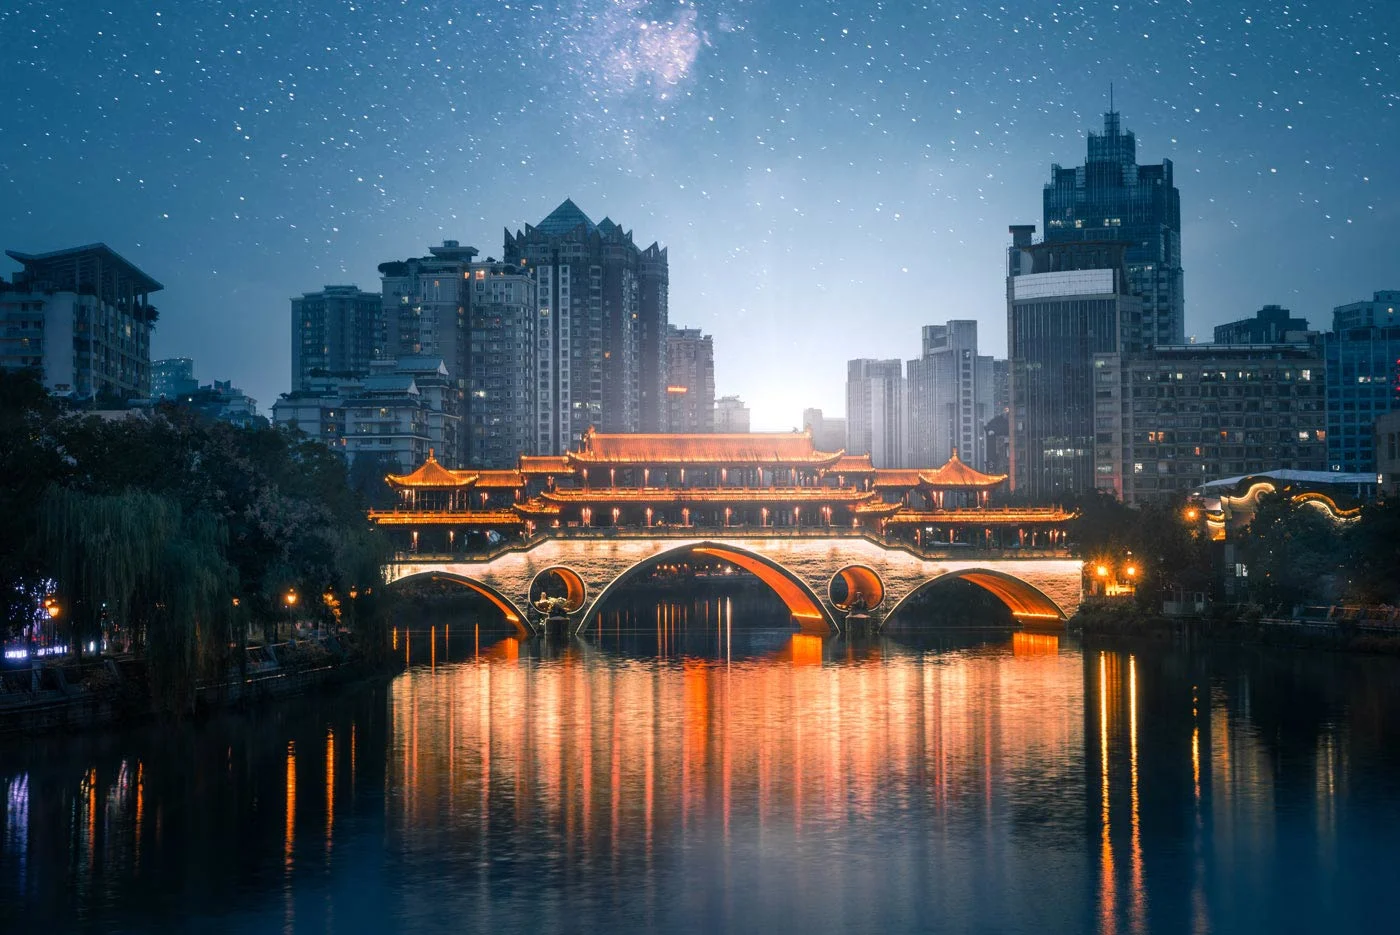
You can either change the shutter speed or use EV compensation.
Depending on the subject, changing the exposure time can leave traces. This is a problem as soon as there is movement in the image. It can also cause the image to lose sharpness. If the subject allows it, or if you are taking a long exposure series anyway, this is of course not a problem.
The other method is EV compensation. Adjust the exposure compensation by one step at a time, or by two steps if there are significant color differences. The big advantage of this is that the other parameters, such as aperture, ISO, and exposure time, remain unchanged, so the images are as identical as possible.
You can make the changes in as many steps as you like in both directions, allowing you to take three, five, or nine pictures in a short time.
Merging HDR images: Post-processing
There are a lot of tools available to turn your shots into an HDR image and then into spectacular wall art. In most cases, you can use an automated workflow by simply loading your exposure series into the software.
Here we briefly outline the processes in Adobe Lightroom, Photoshop, and Photomatix Pro:
Lightroom: Import your images and select them. Go to "Photo" > "Merge" > "HDR." Lightroom will automatically create an HDR image.
Photoshop: Use "File" > "Automate" > "Merge HDR Pro" to combine your exposure series into an HDR image.
Photomatix Pro: This software offers extensive options for fine-tuning your HDR images.
With it, you can create a high-contrast and consistently dynamic image in just a few clicks. So-called "ghost images," blurry duplicates of moving objects, are usually corrected automatically and reliably. You get rich, colors and clear details. The image editing software does the hard work for you.
Tone mapping
There are also advanced HDR techniques that have different effects. Tone mapping compresses HDR images, or rather their dynamic range, to optimize playback on all devices. Significant differences can occur between smartphone displays and large-screen TVs. If you decide to print your photos, WhiteWall's automatic image optimization will give you the best results.
Exposure fusion
An alternative technique to classic HDR editing is exposure fusion. This involves combining the best parts of individual exposures manually or automatically to achieve a natural result. This is particularly useful for avoiding halos and other artifacts that sometimes appear in HDR images.
Examples of HDR photography
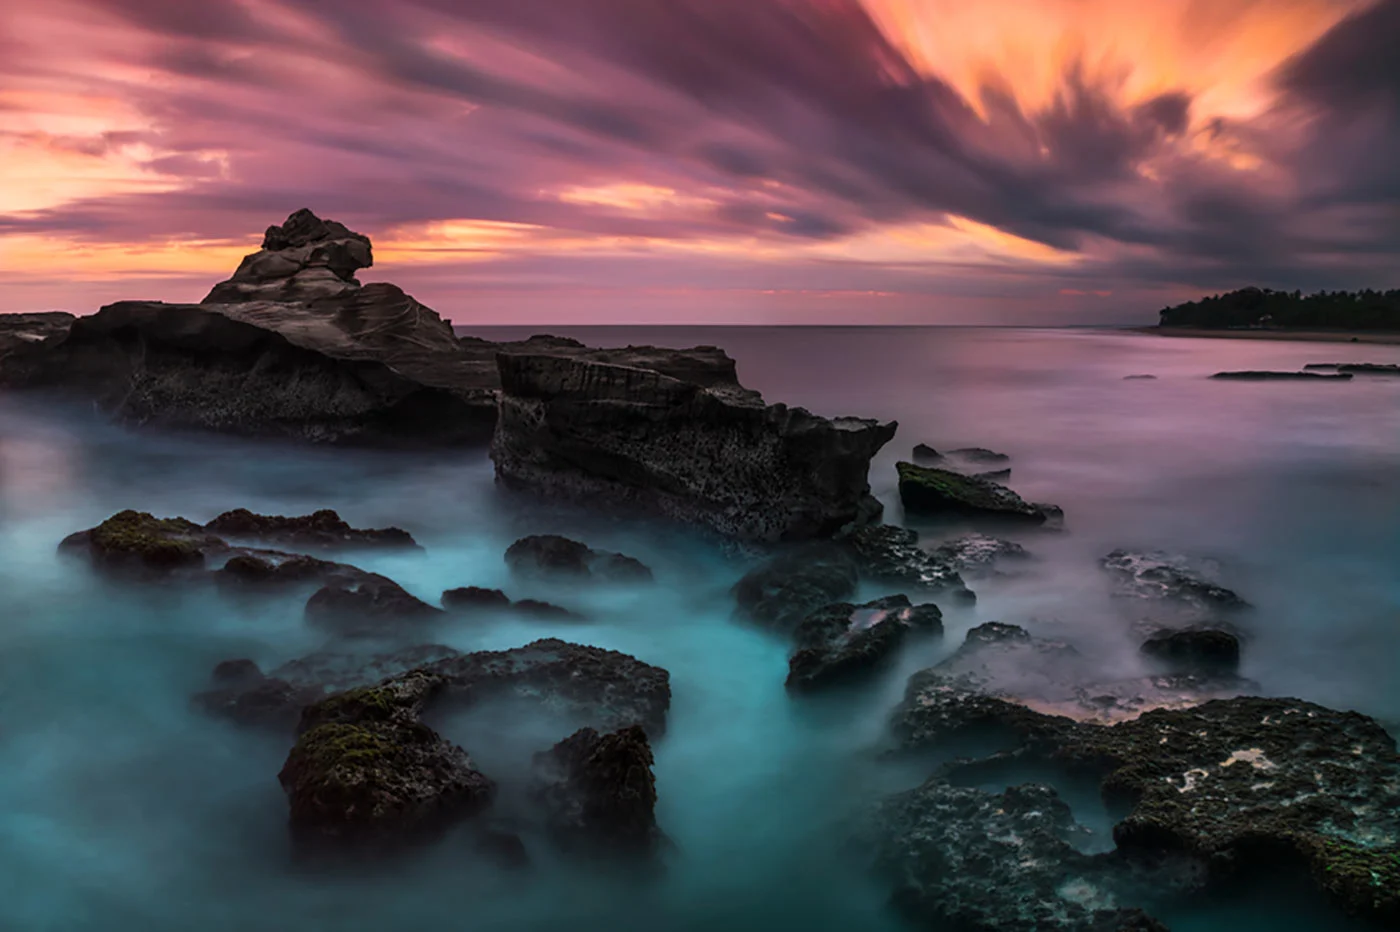
Example 1: Sunset on the beach
A sunset presents a great challenge for photographers because the difference in brightness between the sky and the foreground is very large.
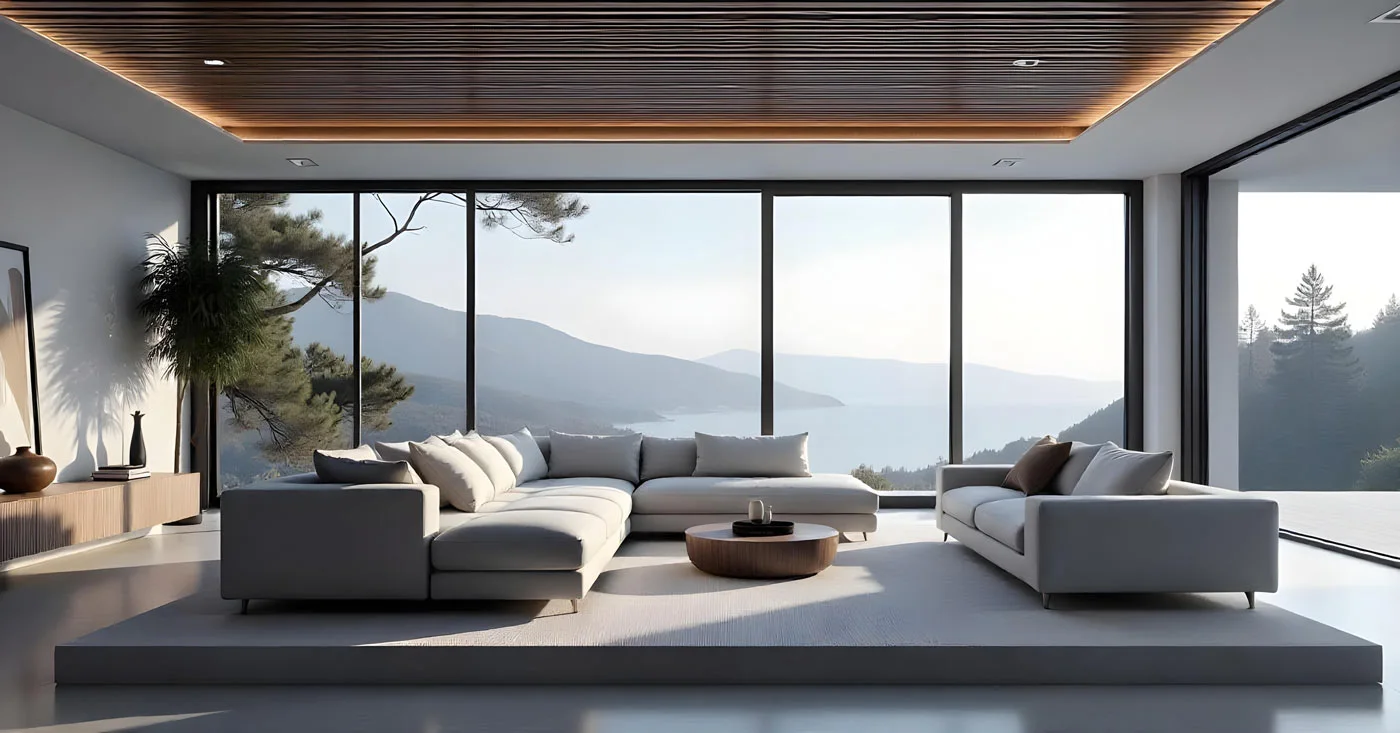
Example 2: Interior photography
When shooting indoors, especially in buildings with windows, the dynamic range is often too large for a single exposure.
2. Panorama photography
A beautiful green landscape stretches out before you. The subject, the expanse, the color, and the light are all perfect. You even have a foreground interest and all you have to do is press the shutter button. But the focal length does not allow for wide-angle shots—or makes the landscape appear too flat.
This is where panoramic photography comes in handy. It is a technique in which several individual images are combined to form one large image that covers a wide angle of view. This technique is particularly suitable for landscape, city, and architectural photography.
Basics of panorama photography
You don't need any special equipment to create a panoramic image from several shots. A few tips and tricks are all you need.
The equipment is no different from what you should already have with you for landscape photography: a camera, a lens, and a tripod. A tripod with a panorama head is recommended. This helps to rotate the camera precisely and avoid parallax errors.
Taking a panorama
You may already be familiar with this feature on your smartphone. You basically do the same thing with your camera. You take a series of shots and then stitch them together afterwards.
When you start, it is important not to make any changes during the shots. The exposure time, white balance, and aperture should remain the same. Ideally, focus manually and set the focus to "infinity." This ensures that the focus distance remains constant.
Filters are not recommended for this type of shot. They can have an unattractive effect on the sky or a water surface.
Start with the first image on the right or left edge of your panorama. Then turn the camera in the appropriate direction and take the next shot. It is better to take one or two extra pictures, especially at the beginning and end. To allow enough leeway when stitching, overlap about a quarter of the next image.
Tip: Take pictures in portrait mode. Instead of taking three pictures in landscape mode, take five to six pictures in portrait mode for sharper edges and less loss of quality.
Creating a panoramic image
Once all the pictures have been taken and the entire scene has been photographed, the panorama is ready to be merged. You can either merge the pictures manually in your software—this is not difficult with a little practice. However, it is easier to use the automated processes available in most programs.
Adobe Lightroom: Select your images and use "Merge" > "Panorama." Lightroom will automatically create a panoramic image.
Adobe Photoshop: Use "File" > "Automate" > "Photomerge" to merge the individual images into a panorama.
Hugin: Free open-source software that offers powerful features for panorama editing.
Special case: Correcting parallax shift
The best argument for a panorama head is parallax shift. This occurs when the camera is rotated above the so-called nodal point (also called the center point). This is located in the middle between the lens and the sensor.
Here's a clear example: Hold a pen with your arm outstretched and the thumb of your other hand in front of your nose. Now close one eye at a time. Your thumb will "jump" while the pen remains stationary. The same thing happens with an object in the foreground of the image. A panorama head aligned with the camera prevents this. If you don't have any subjects in the foreground, the problem does not occur.
The 360-degree panorama
Of course, you can also make a full turn and capture your entire location. It gets even more exciting when you also move vertically. However, this requires special software to create the image for an immersive, virtual 360-degree view.
Examples of panorama photography
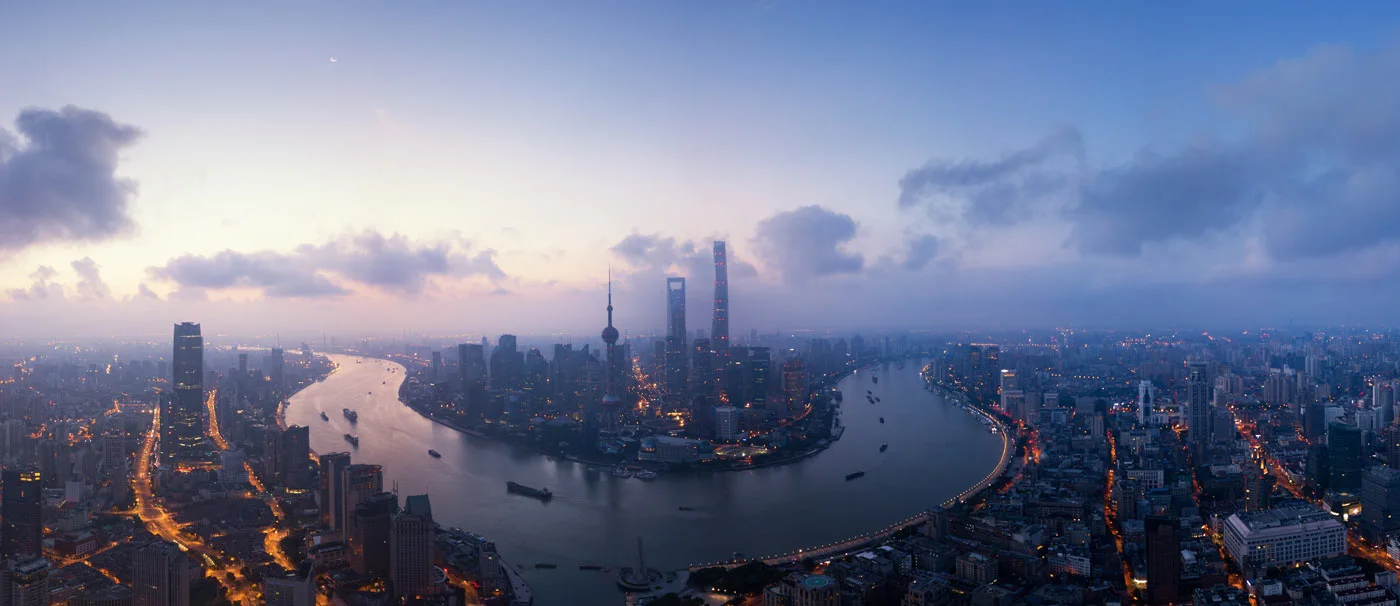
Example 1: City panorama
A panorama of a cityscape can impressively capture the vastness and richness of detail in a scene.
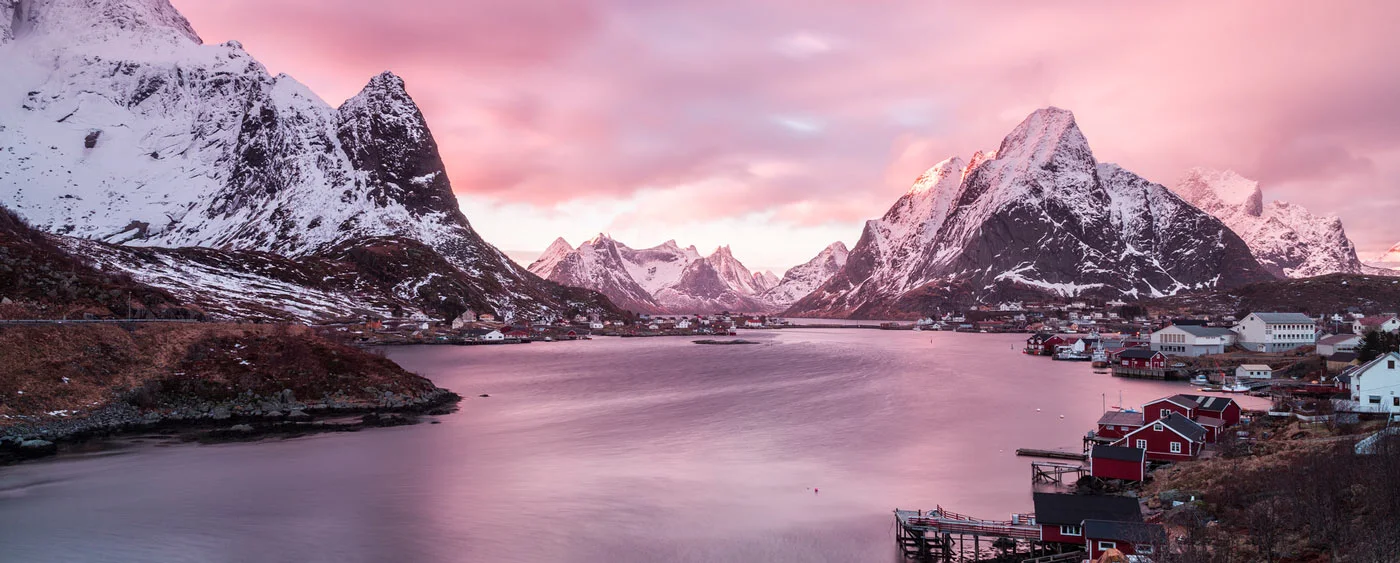
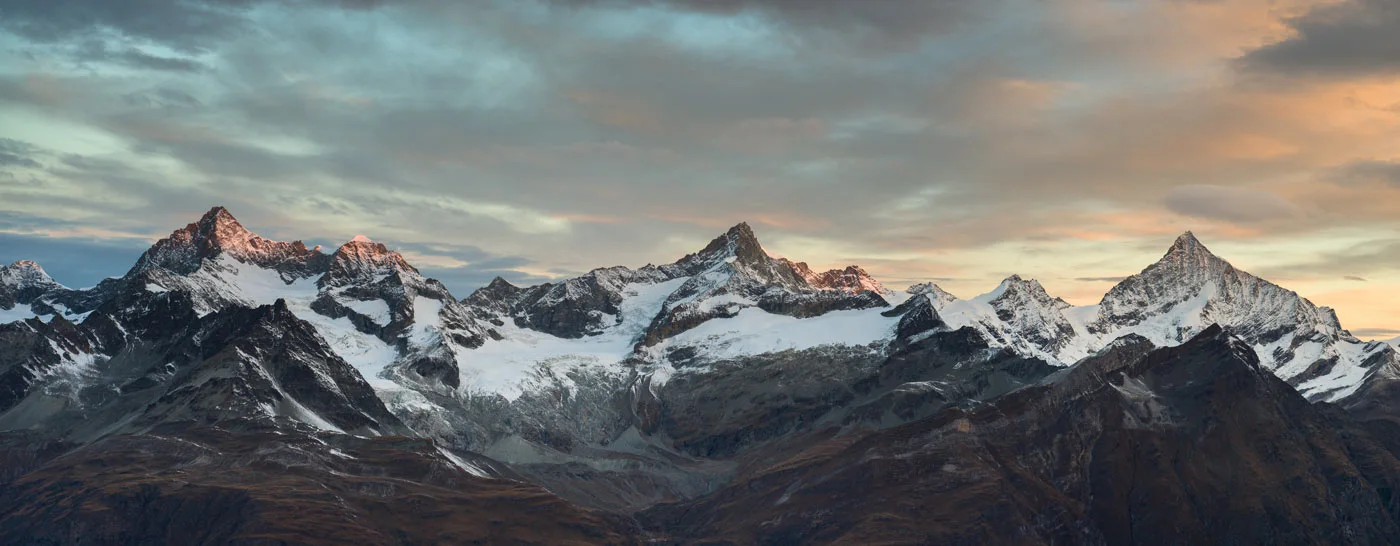
Example 2: Mountain landscape
A panorama of a mountain landscape can capture the majestic expanse and beauty of nature.
Combining techniques
An advanced technique is to combine HDR and panorama photography. This requires you to merge each individual exposure in the exposure series into an HDR image and then combine these HDR images into a panorama.
Shooting: Capture multiple exposure series for each position of the panorama.
HDR merging: Create HDR images for each position.
Panorama merging: Merge the HDR images into a panorama.
Conclusion: Depth and breadth for your photos
HDR and panorama photography open up new possibilities for capturing the beauty and complexity of the world. With the right techniques and tools, you can create impressive images that are both technically and visually stunning and may even end up as a master print hanging in your living room. Whether you want to capture the dynamic colors of a sunset or the vastness of a mountain landscape, the combination of HDR and panorama photography gives you the tools to realize your photographic visions. Try out the methods described above and experience how your photos gain more depth and breadth.
Learn more about the author
As a trained portrait and wedding photographer, Katharina Wergen brings her extensive knowledge to photography. She has been working as a sales consultant at WhiteWall since 2018 and supports exhibition projects for museums and galleries. She is also increasingly focusing on reportage photography. Take a look behind the scenes of the photographer, here in the interview.

Also interesting:
Submitted by WhiteWall expert Katharina Wergen
The fine art of creative photo montage and compositing
Discover how to create fascinating visual worlds with composites and image montages—from surreal scenes and double exposures to text and lighting effects. With practical tips, software recommendations, and lots of examples for creative experimentation.
Submitted by WhiteWall expert Katharina Wergen
Advanced Retouching Techniques: A Guide to Final Perfection
Whether it's perfect skin, sparkling eyes, or distracting elements in the background, advanced retouching techniques take your portraits to a whole new level. Discover professional methods such as frequency separation, dodge and burn, and hair retouching, and learn how to turn good pictures into expressive masterpieces.
Submitted by WhiteWall expert Katharina Wergen
The art of color correction and color grading: Professional techniques for breathtaking images
Learn how to use color correction and color grading to influence the impact of your images—for natural skin tones, harmonious looks, and impressive print results. Ideal for anyone who wants to get more out of their photos.


