Digitizing Analog Photos – The Best Tips for Perfect Pictures
Submitted by Benjamin Arntz

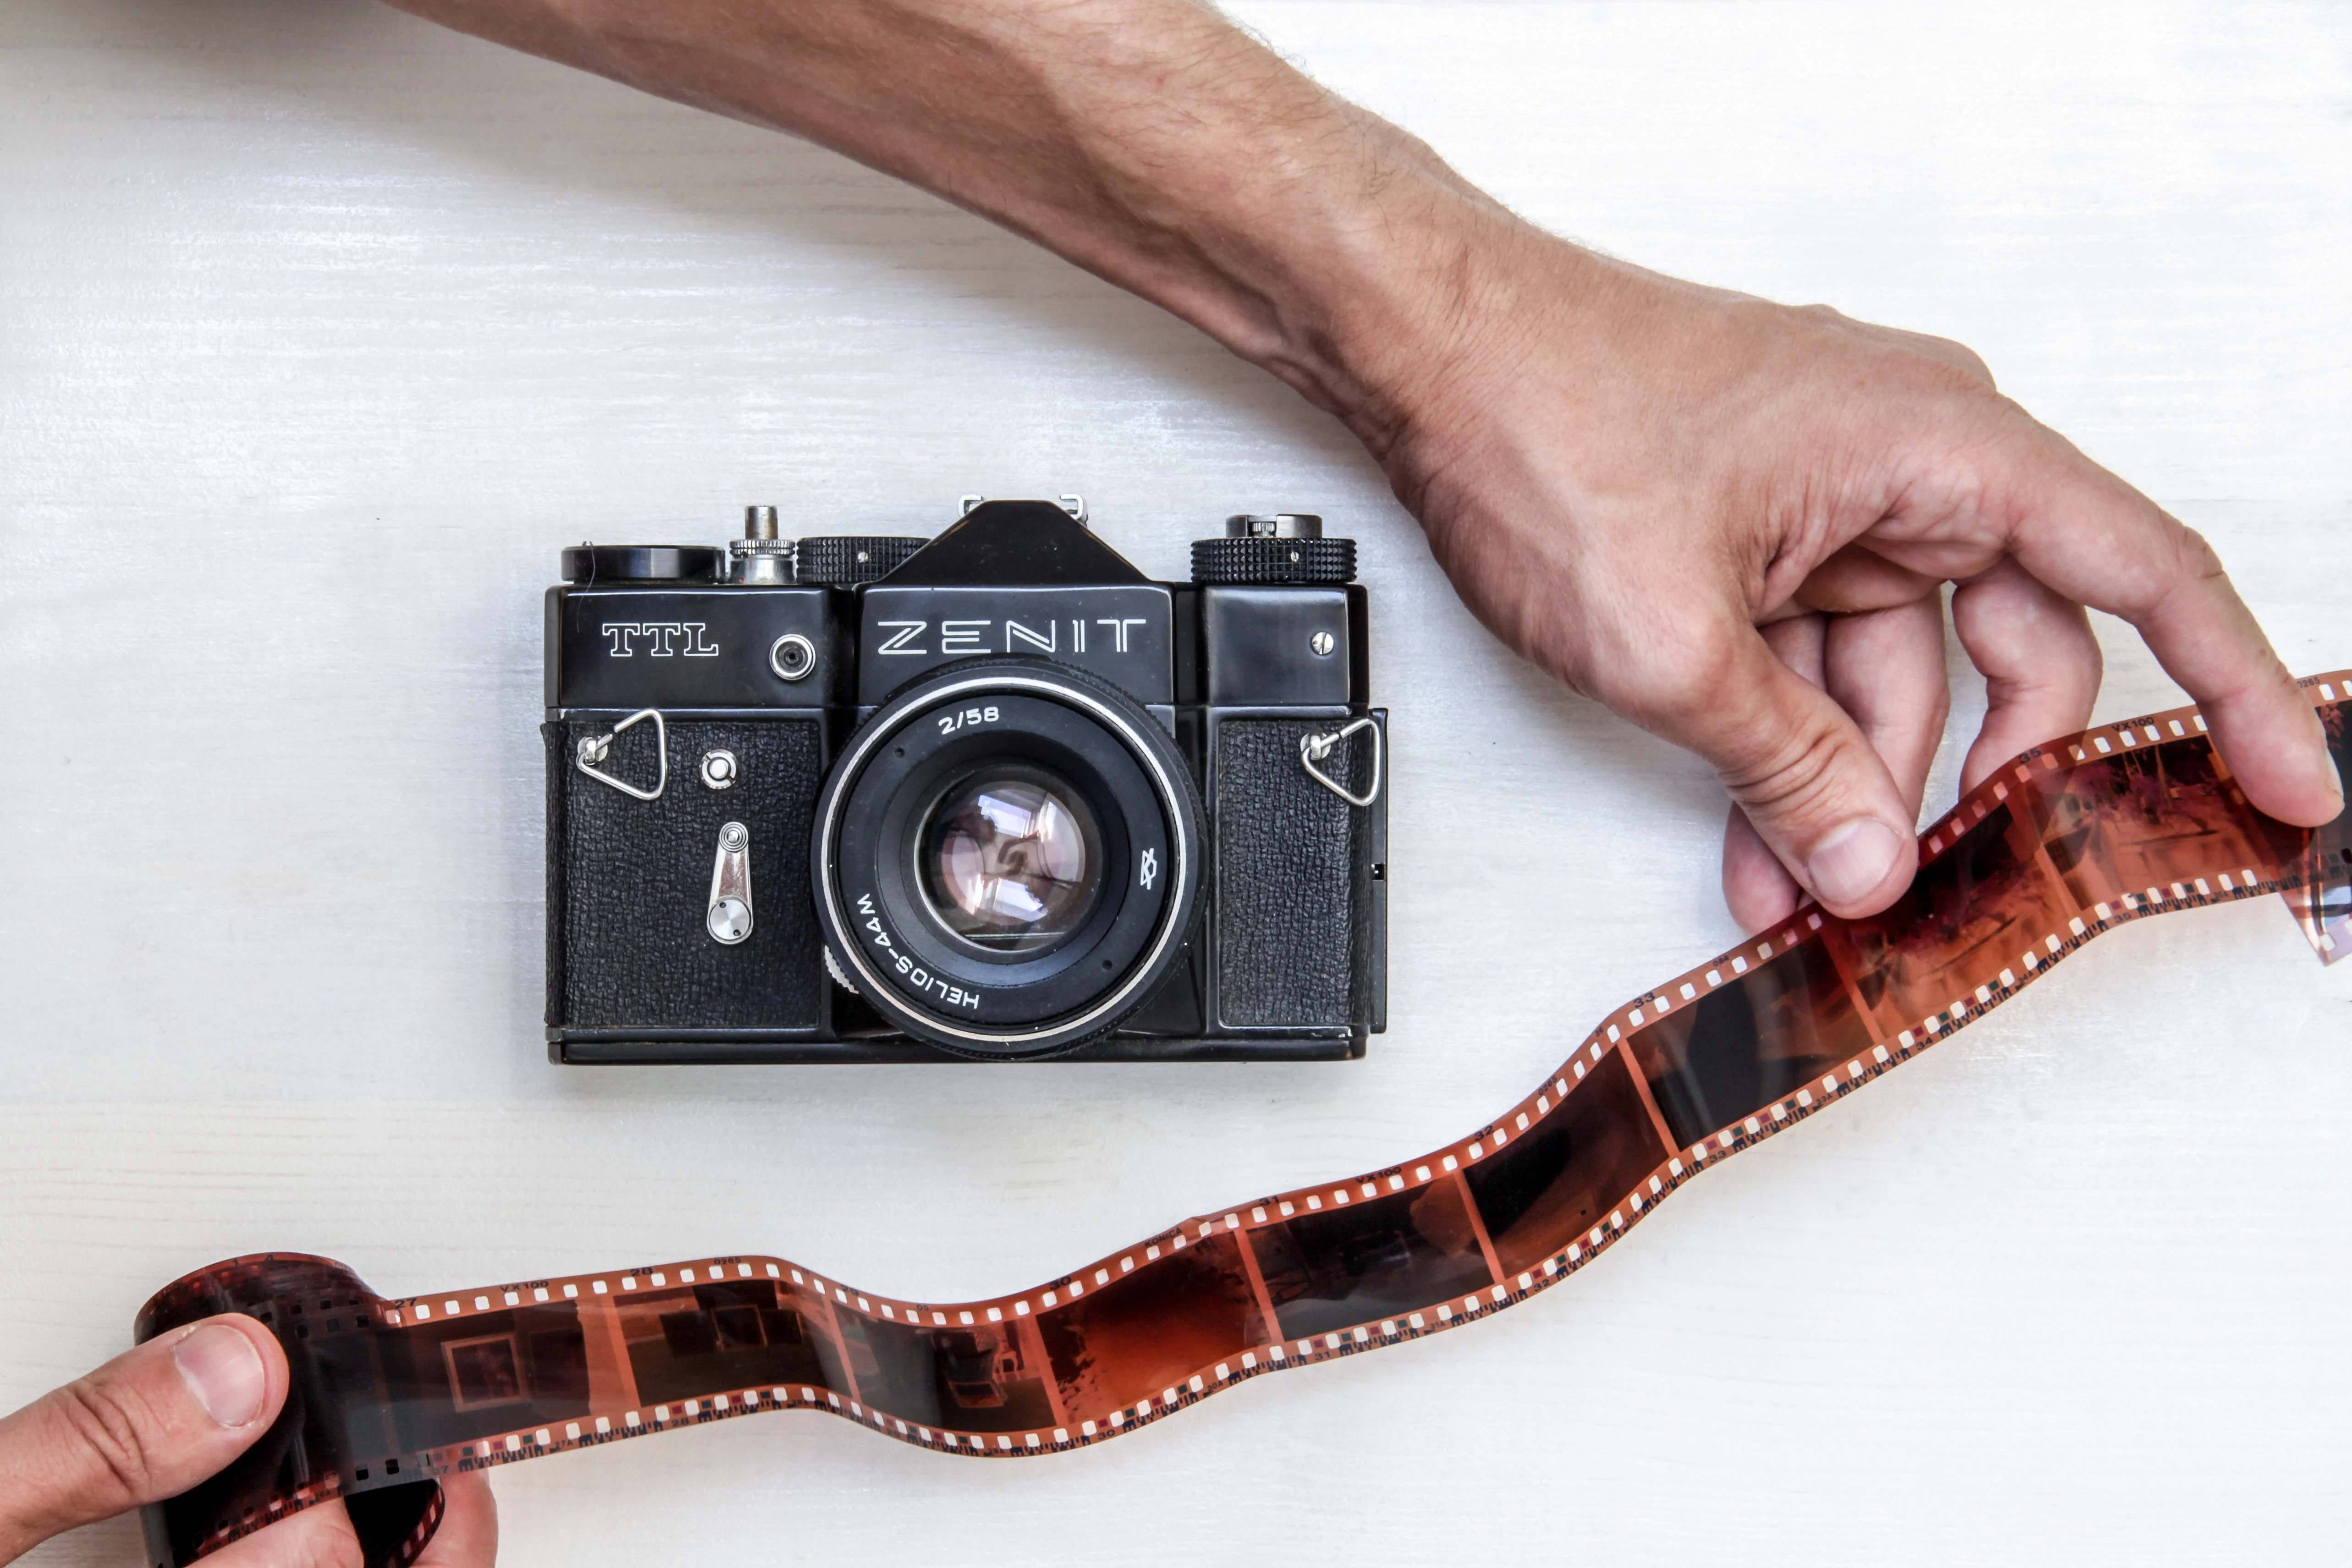
Camera and photofilm.
In the digital age, it is extremely easy to store your photographs in virtual space. Since you can access your pictures, edit them, email them, post them online, or print them at will, it might almost be more difficult to lose photos these days than it is to save them! The most valuable photographs however – the laboriously developed analog photos of yesteryear – have become forgotten. Are your childhood memories currently stored in an old shoebox somewhere? Here are some worthwhile tips for digitizing those pictures.
Tip 1: Clean Your Photographs
Before you digitize a picture, you should carefully remove all the dust. The best way to do this is with a dust cloth or a dusting brush. Make sure you don’t get any fingerprints on the sensitive surface in the process.

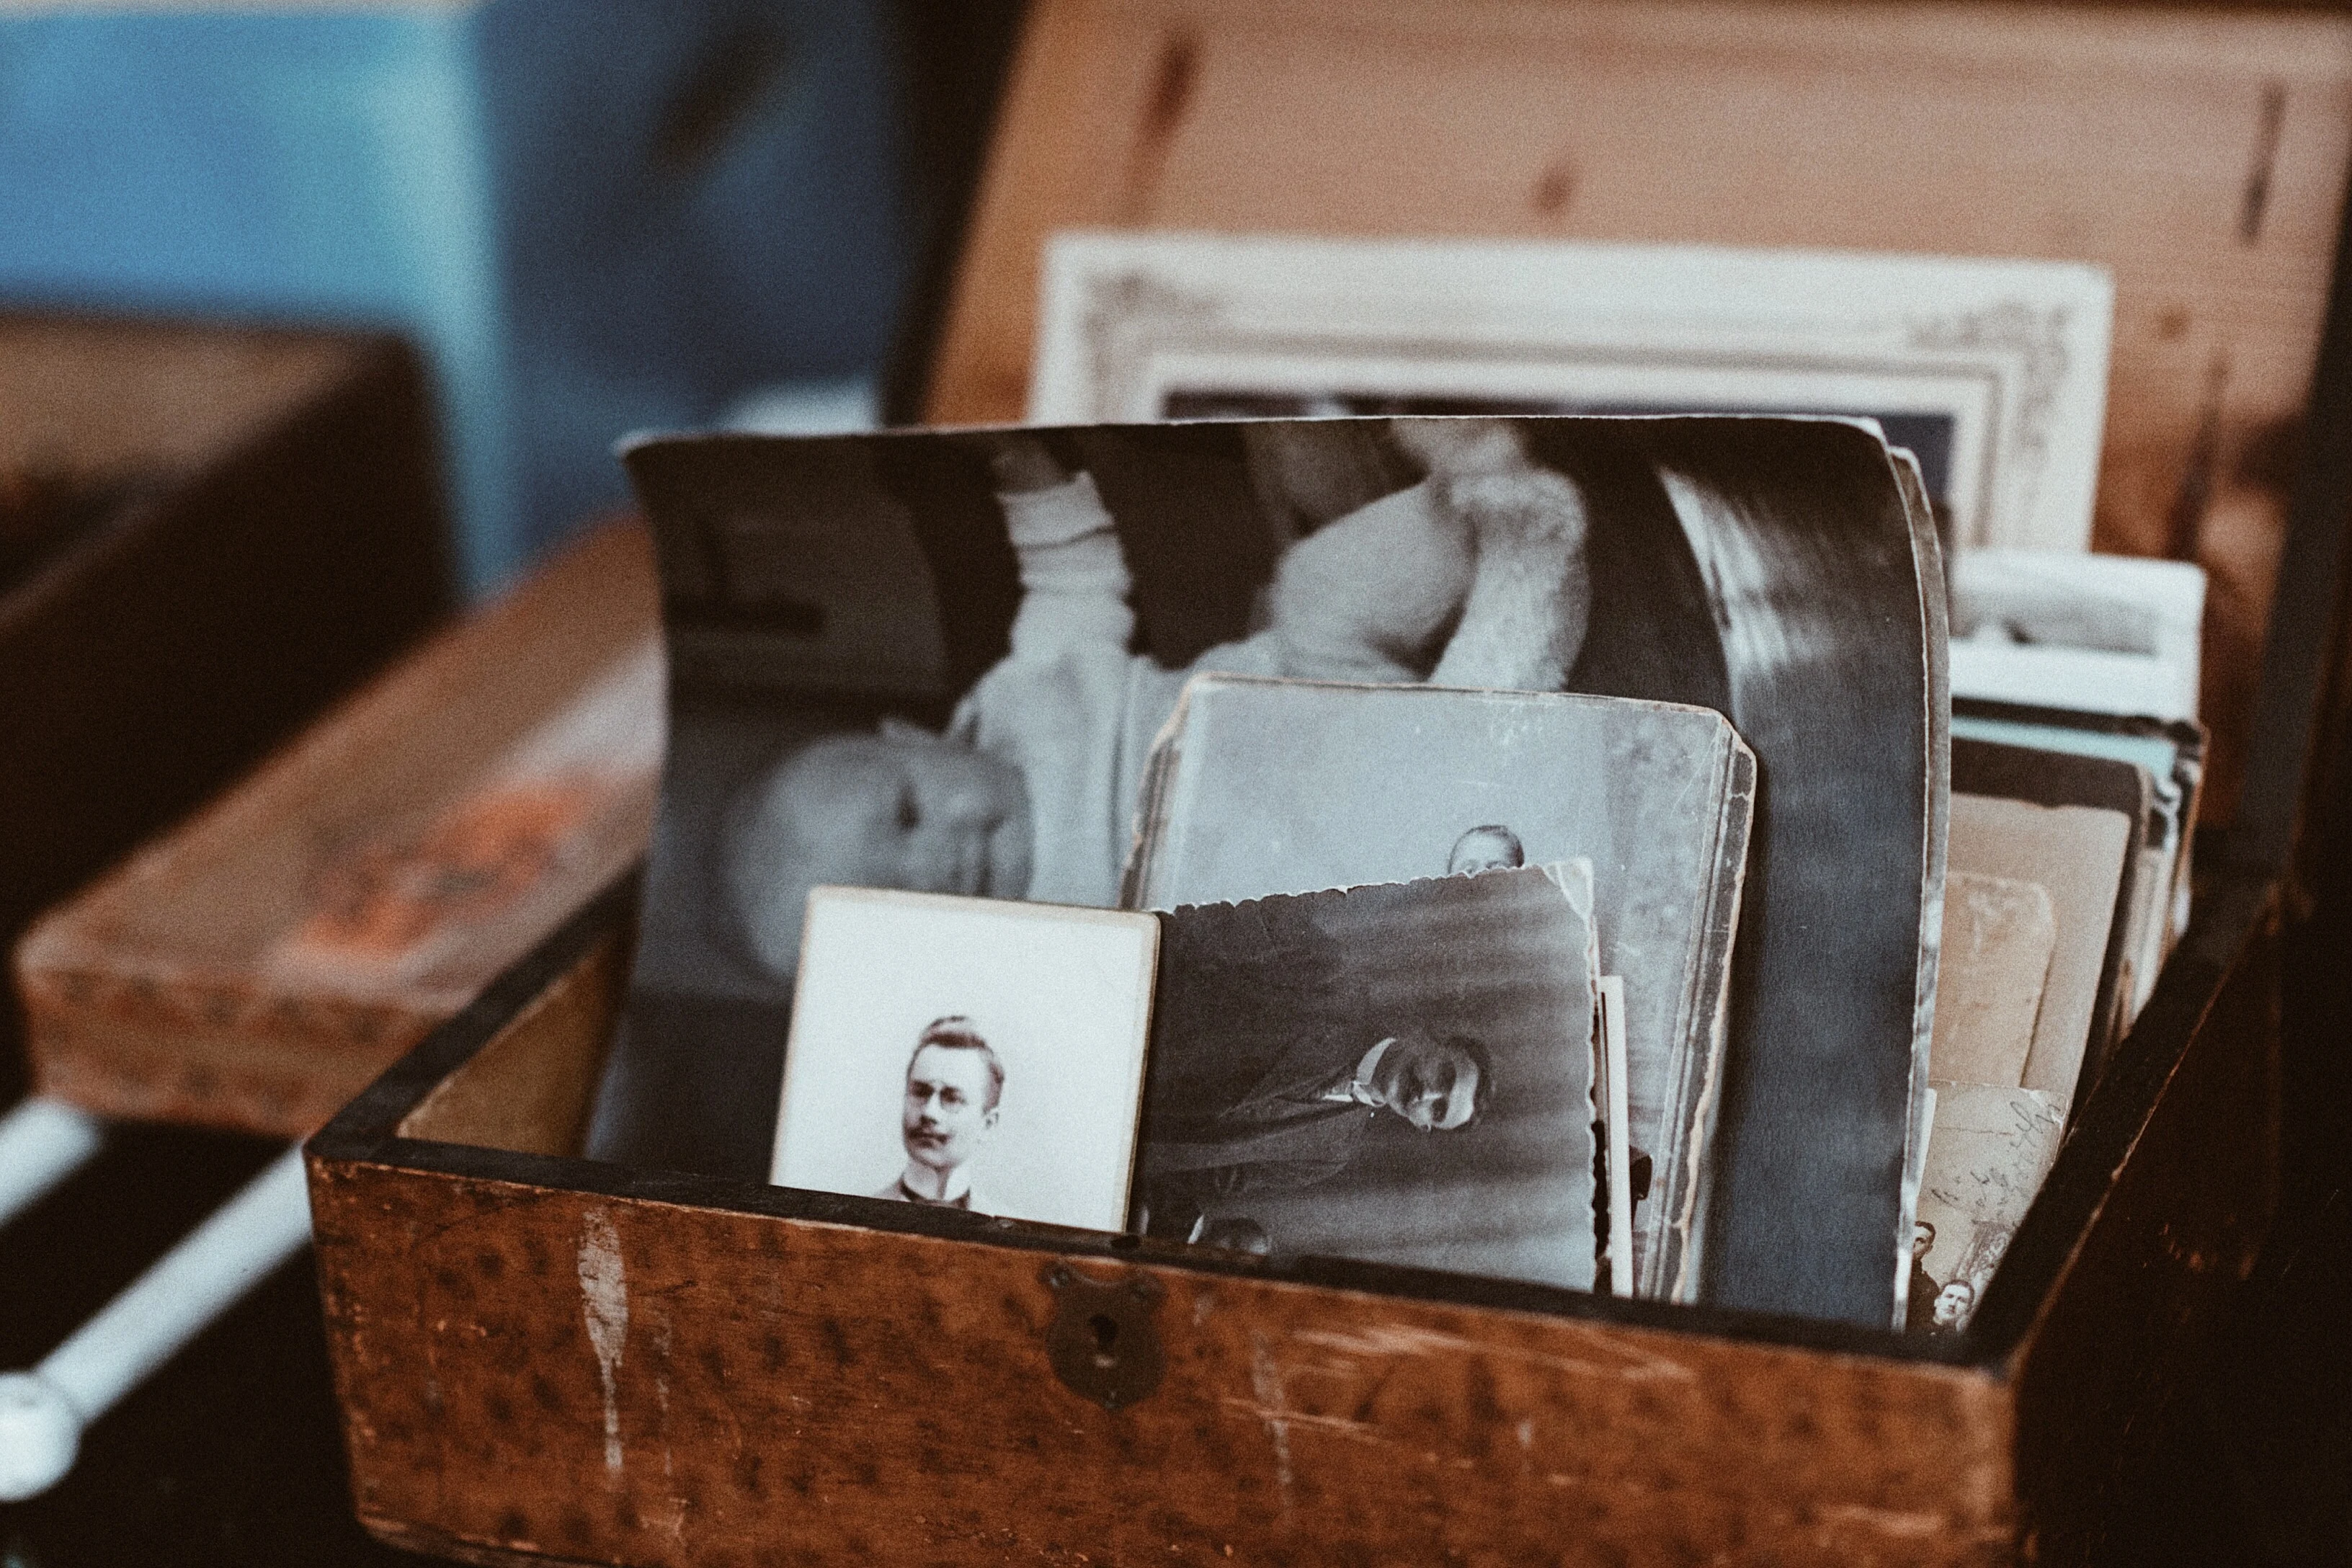
Old photographs in a damaged box.
Tip 2: Clean the Scanner
If you are using a flatbed scanner, you should also clean its surface. The glass has to be clear of fuzz and dust so that your picture’s details will be clearly defined once you scan it.
Tip 3: Avoid Shake While Scanning
Make sure to place the scanner on a stable, level surface where it won’t teeter or vibrate. The photograph should be aligned exactly on the edge, or else you will have to digitally realign it after scanning.
Tip 4: Optimize the Scan
The grain in printed photos is usually comparable to a resolution of 300 dpi. For that reason, it’s advisable to scan photos at 500-600 dpi. This will provide a great foundation for editing them later. Max settings are generally well over 4000 dpi and are almost always overkill. If it is possible to set the color depth, most of the time 24 bit will be just fine for simple editing (rotating, cropping). If you want to adjust the contrast and temperature however, you should set the color depth to 48 bit. Hint: you can also scan multiple photos at once. This creates an image file that is easy to separate using photo editing software. (In Photoshop: File > Automate > Crop and Straighten Photos – this will even automatically straighten out any photos that were slightly off-axis during the scan.)
Tip 5: Say No to Automatic Corrections
Many scanners offer integrated restoration features that adjust image settings like contrast and saturation. You should make sure these functions are deactivated – you can always make these adjustments yourself later if you want.
What to Do without a Scanner: Take Photos of Your Photos
If you do not have access to a scanner and want to use a digital camera to photograph your pictures, there are a few things to look out for.
Tip 1: Smooth Out Your Photograph
In contrast to scanning, when you are taking pictures of a photograph, the quality is strongly impacted by glare and curves in the surface. It is highly recommended to flatten out your photograph first by placing a protective paper and books on top of it.

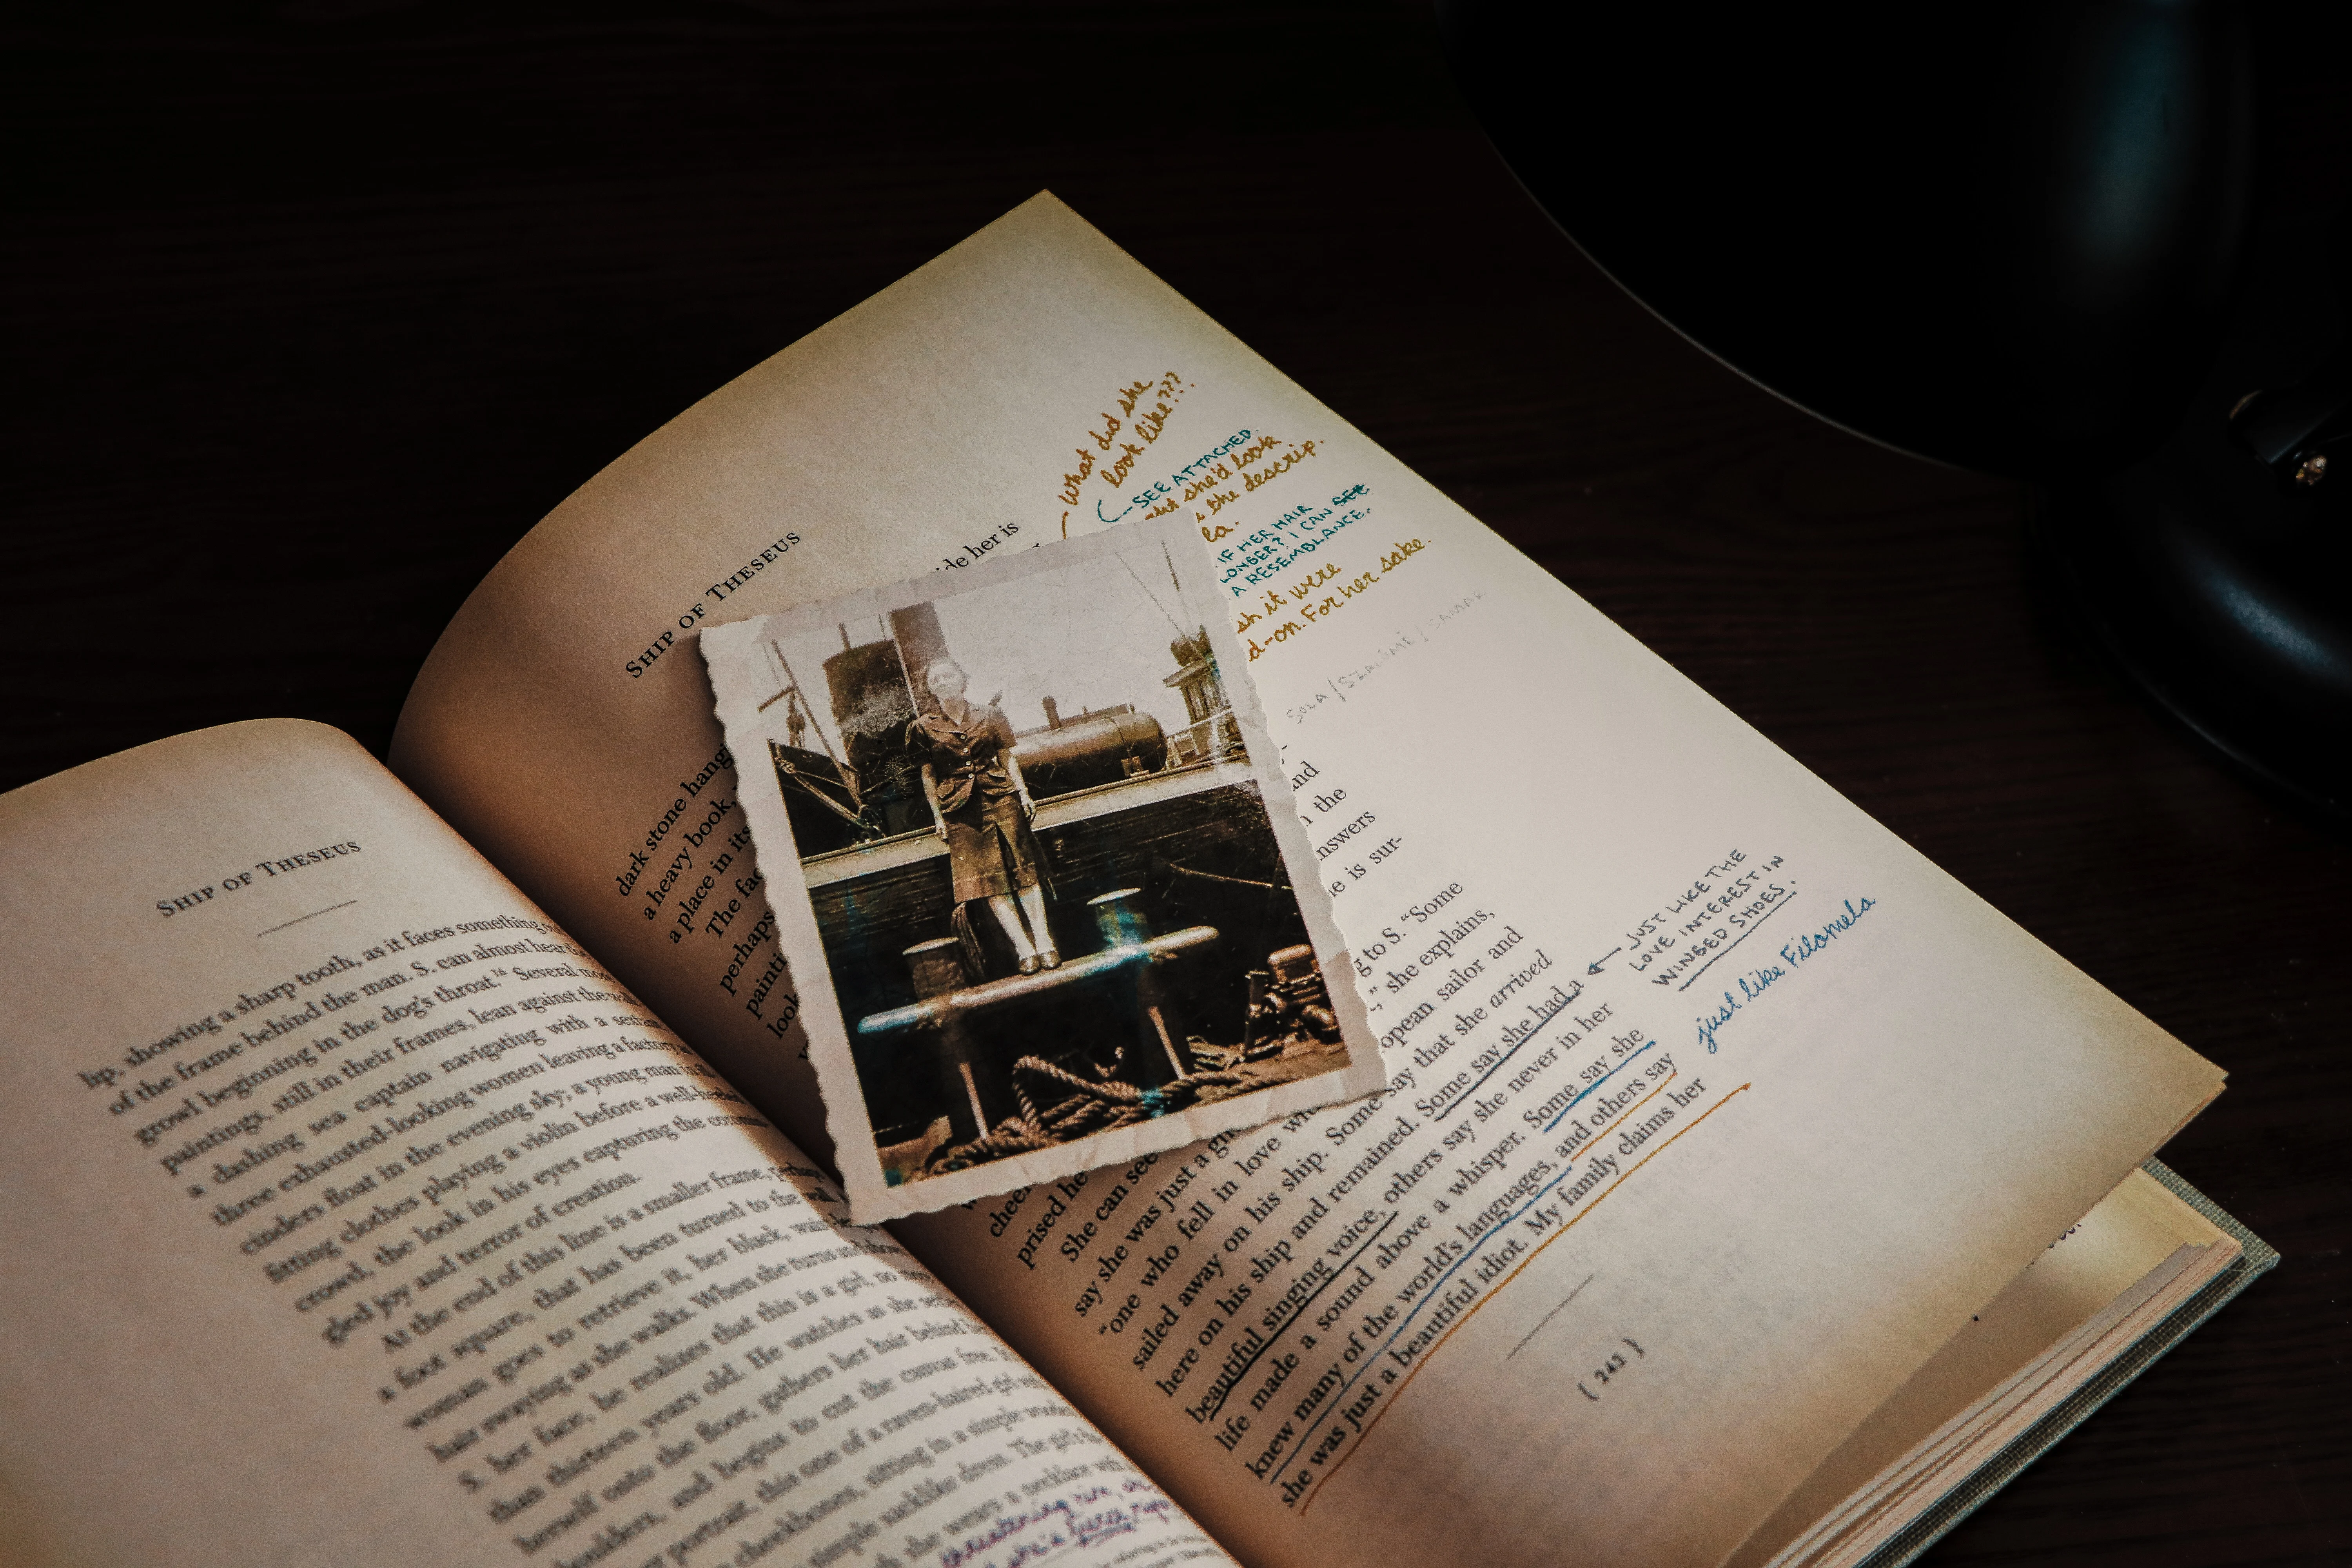
Old picture laying in a book.
Tip 2: Use a Tripod
The camera should definitely be stabilized, preferably with a tripod, in order to avoid any unnecessary camera shake.
Tip 3: Use Indirect Light
You’ll want to shoot with even lighting. Every source of direct light will visibly reflect off the photo’s surface. Let the light flow over the picture from a 45 degree angle and use a polarized filter.
Tip 4: The Right Camera Setup
It’s best to use a normal focal length with an aperture between f5 and f8. Remember, the higher the f-stop, the smaller the opening. Manually setting the white balance can prevent discoloring them during your shoot. More infos in the chapter on camera techniques.
Tip 5: Shoot in RAW
It is to be expected that you will have to edit the pictures on your computer. For the best results, select the RAW format and use a calibrated monitor. As soon as you’ve digitized your pictures, you can transform them into works of art. Have your nostalgic photographs mounted as a canvas print or match the picture’s mood with a classic frame and museum mat.
Also Interesting:
Submitted by WhiteWall Team
Organization and archiving of photographs
Without systematic organization and archiving, photos can quickly be forgotten or lost. In this article, we will show you how you can organize and archive your photos efficiently - and what you need to do so. We show you which software solutions are available and what hardware you need to store your photos for the long term.
Submitted by WhiteWall Team
Finding the right Fine Art paper with Florian W. Mueller
To help you make the right choice, photographer Florian W. Müller today reveals his criteria for the perfect Fine Art paper based on three of his photo series.
Submitted by WhiteWall Team
4 steps to large-format lamination with Jan-Ole Schmidt
Our colleague Jan-Ole Schmidt explains in a detailed example how you can check your motif in advance with test prints before placing a large order.


