How to hang pictures – 15 tips for your gallery wall
By Yella Roth - Mon, 19/08/2019 - 15:06
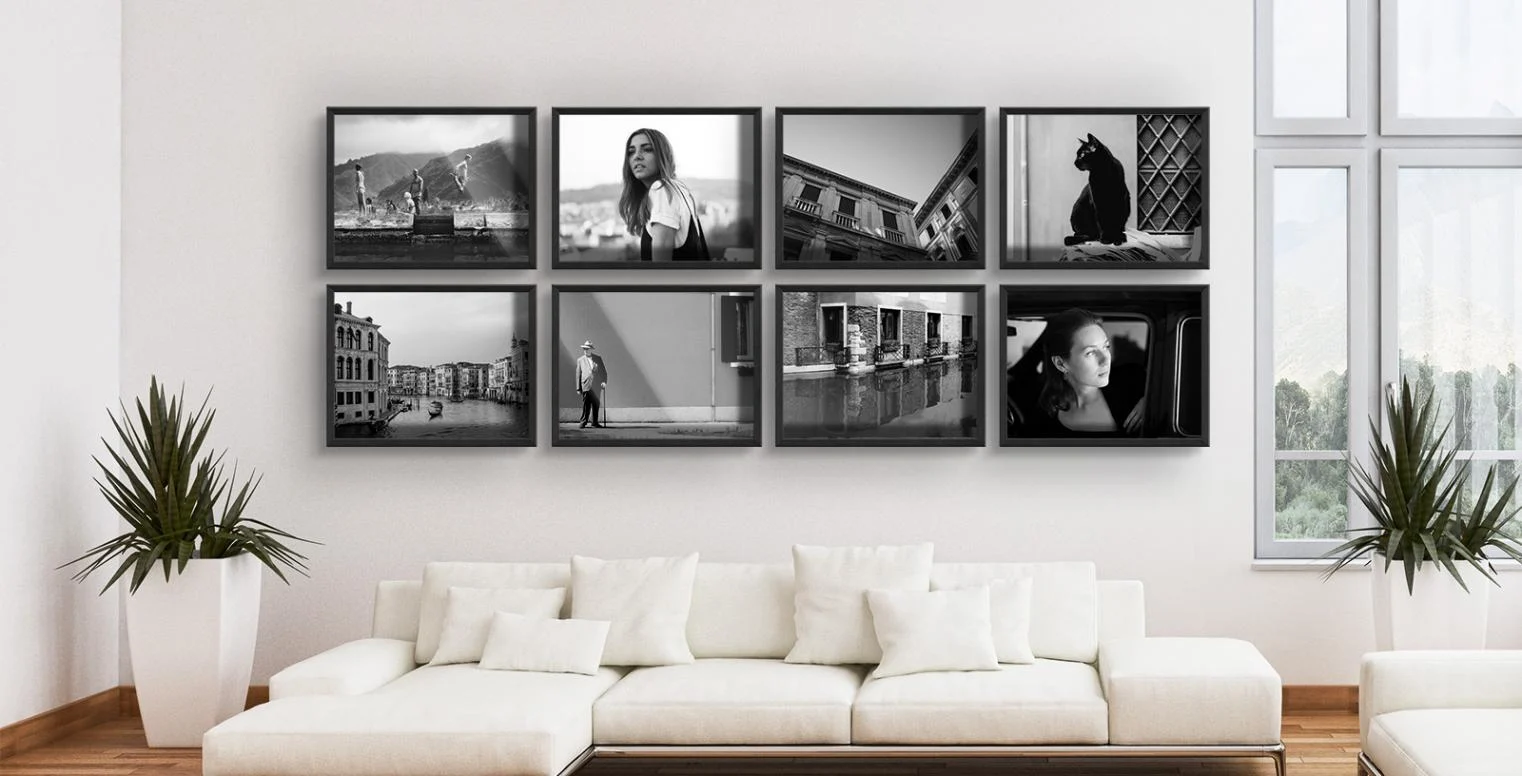
How can you hang your own pictures and arrange them into a stylish gallery wall? Whether holiday photos, landscape shots, family portraits or art prints: your favourite artworks and pictures make your home feel cosy and give it a unique ambience. They deserve a stylish presentation!
In our guide, we reveal all the options for hanging pictures and what these arrangements are called. Discover valuable tips for mounting your pictures and various hanging styles that turn every room into a work of art.
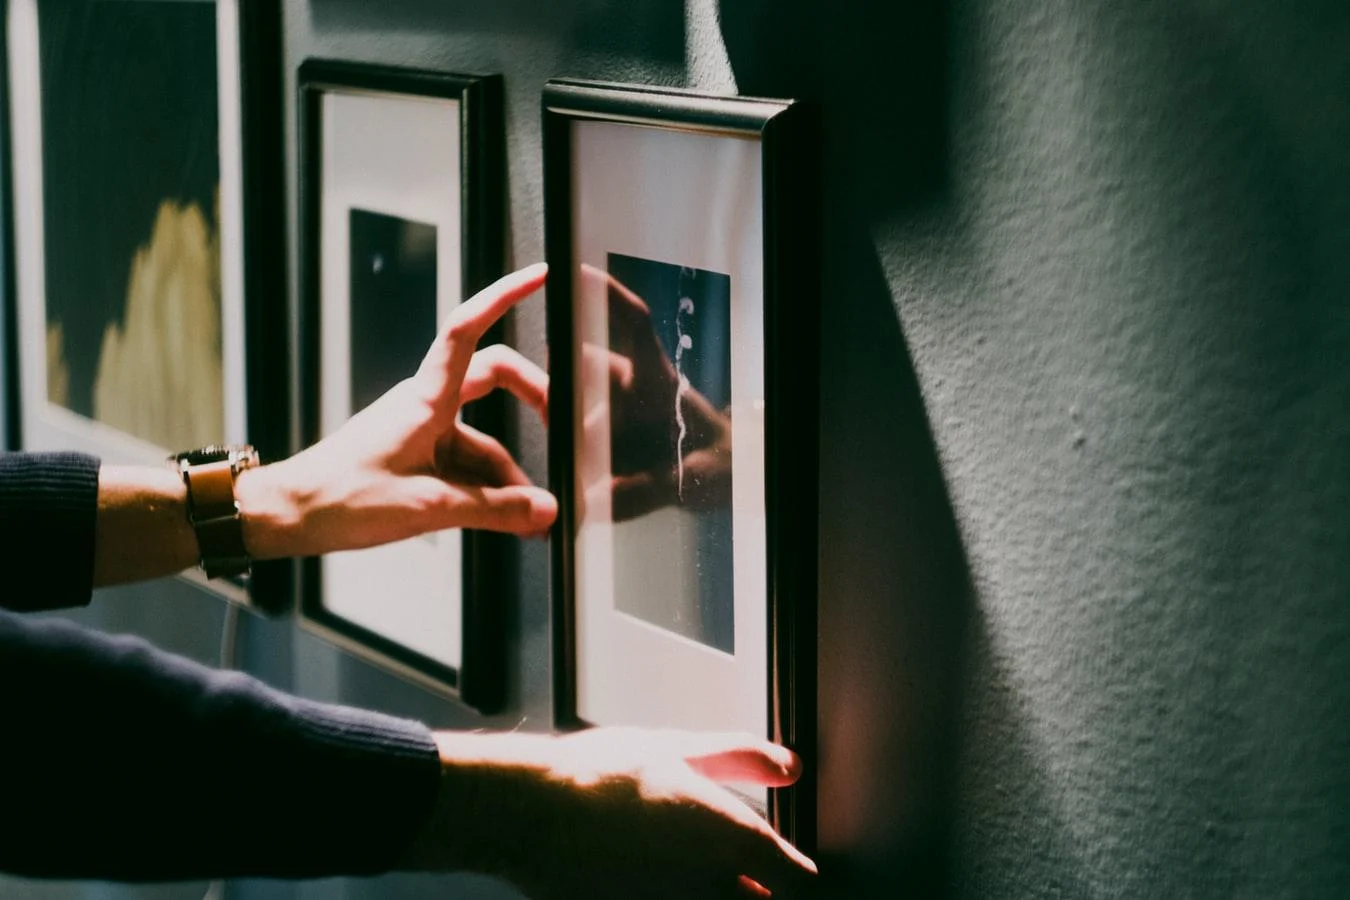
Tip 1: Before hanging: pay attention to your pictures' surroundings!
© Unsplash
Tip 1: Before hanging: pay attention to your pictures' surroundings!
Before you start drilling holes and hanging pictures, keep the following points in mind:
To ensure your pictures harmonise with the furniture, the size proportions need to be right. A large picture suits a large sofa. Wall-filling paintings, on the other hand, can overwhelm a small guest bathroom.
Your motifs will stand out particularly well against a coloured wall. It looks cohesive when similar colour tones appear on walls, pictures, and various home accessories or furnishings. While you generally can't go wrong with a white background, your pictures often don't stand out properly against patterned or multicoloured walls.
A striking colourful acrylic photo frame or a mount frame for your photo can help remedy this. If you don't want to hang a picture in the centre of a wall but offset to one side, make sure to create a visual counterbalance with another piece of furniture or home accessory.
While vertical arrangements make your walls look higher, horizontal groupings create the impression that a room is wider.
Lay out your possible arrangements on the floor first or sketch your layout on paper before hanging the pictures. This can save you unnecessary drilling, nailing, and hammering!
Painter's tape or a horizontally stretched string will make hanging easier afterwards. A spirit level helps with alignment when hanging the pictures.
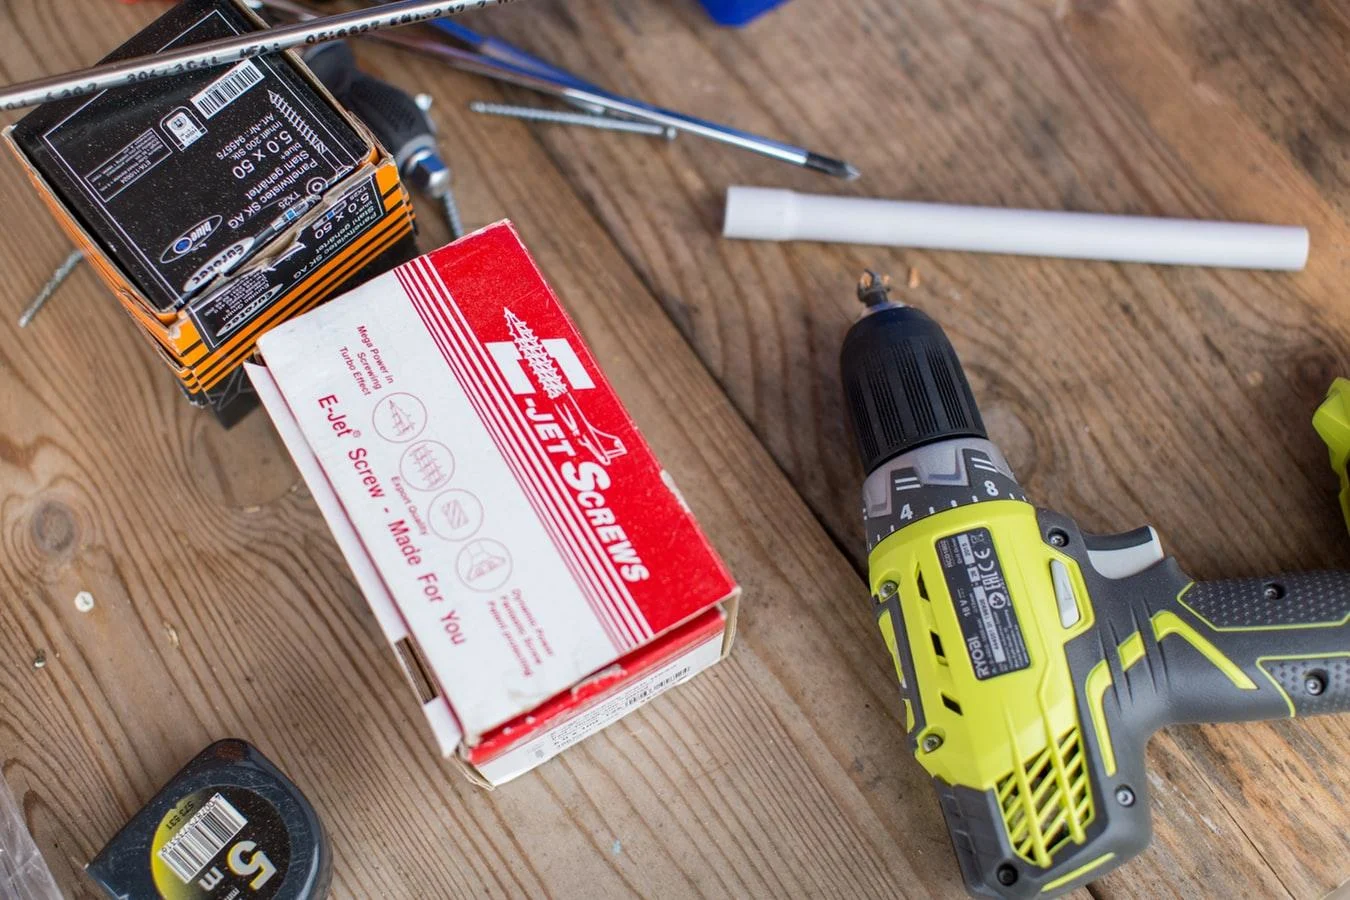
Especially for large and heavy pictures or walls with cavities, it can make sense to secure them with a wall plug and screws. Choose the plug according to your wall material. The load capacity of individual plugs can be found on the packaging or ask at your DIY store.
© Unsplash
Here's how to mount your picture ensemble flexibly if you want to avoid plugs, nails, and drilling:
Use gallery rails (also known as picture rails). The flexible cable suspensions or picture wire with picture hooks give you the advantage of being able to rearrange your hanging pictures again and again. They also leave no unsightly drill holes in the wall. The downside: not every hanging method or picture presentation is possible with them.
With a gallery rail, you can arrange pictures as a single hanging, edge hanging, grid hanging, or symmetrically. In short, all arrangements that can be attached straight and in a row to a picture wire are suitable for this hanging method.
The latest generation of adhesive strips, known as adhesive nails, are also suitable for semi-permanent hangings of picture groups. These adhesive strips can be removed without a trace and rearranged as needed.
Tip 2: Always hang pictures at eye level
© Unsplash
For pictures to look their best, they should always hang at eye level. You can use a height of 1.60 m above the floor to the centre of the picture as a reference line. Consider whether you want to view your pictures while seated — for example from the sofa — or while standing or walking past. As a general rule, you should orientate yourself to reference lines when hanging pictures. These can be either lines already present in the room — for example, the outlines of door frames, furniture, or window edges — or imaginary guide lines.
Tip 3: Make a statement with a single hanging

One wall, one picture, a so-called soloist. A particularly striking or cherished motif deserves a place of honour. Whether as a large-format canvas or a small art print: when a motif has an entire wall to itself, it draws all eyes. You can also place one picture on several walls and in niches, giving each one the chance to shine. Pay attention to the size proportions of your furniture and décor relative to your picture!
Tip 4: Clean lines with the edge hanging

With the edge hanging, the corners and edges of all pictures are aligned along an imaginary centre line. The spacing between pictures should always be equal, but can vary both horizontally and vertically.
Tip 5: Arrange pictures in a row hanging

Whether vertical or horizontal in a line, the row hanging is a classic form of picture arrangement. If you want to use different sized formats, you have two options for your picture row: either you can arrange the pictures as an edge hanging, or you arrange them so that the centre points of the pictures lie on an imaginary centre line.
Tip 6: Fill an entire wall with the Salon hanging

The Salon hanging is also called the Petersburg hanging or "organised chaos". Numerous closely placed motifs cover almost an entire wall. The name refers to the lavishly hung walls of the St Petersburg Hermitage. Although the Salon hanging ignores sight lines, there are other connecting elements: these can be motifs with a stylistically similar interpretive approach, identical or similar frames, mounts, or similar formats. A connecting element brings a certain calm to the sometimes floor-to-ceiling gallery wall, so that "chaos" meets "order".
Tip 7: Hanging pictures harmoniously: the grid hanging

Similar to a chessboard, the individual pictures in a grid hanging are arranged in a strict, geometric pattern. The frames of your pictures should hang in a line and the spacing should be equal on all sides. The grid hanging looks best when all motifs have the same format. A cohesive overall look is achieved when you arrange your photo in an aluminium frame or a photo in a mount frame uniformly with the same picture frames.
Tip 8: "Inside the Lines": a hanging style for creative aesthetes

With the Inside-the-Lines arrangement, pictures hang loosely on the wall. Uniform spacing, sight lines, and edges do not need to be maintained. To ensure the picture ensemble still looks harmonious, you should arrange your pictures within an imaginary geometric shape. This can be a circle, an oval, a rectangle, or a square. Rectangles or squares are also referred to as a block hanging. When hanging, you should start with the largest motifs and arrange all other motifs around them one by one.
Tip 9: Creating calm through a symmetrical hanging
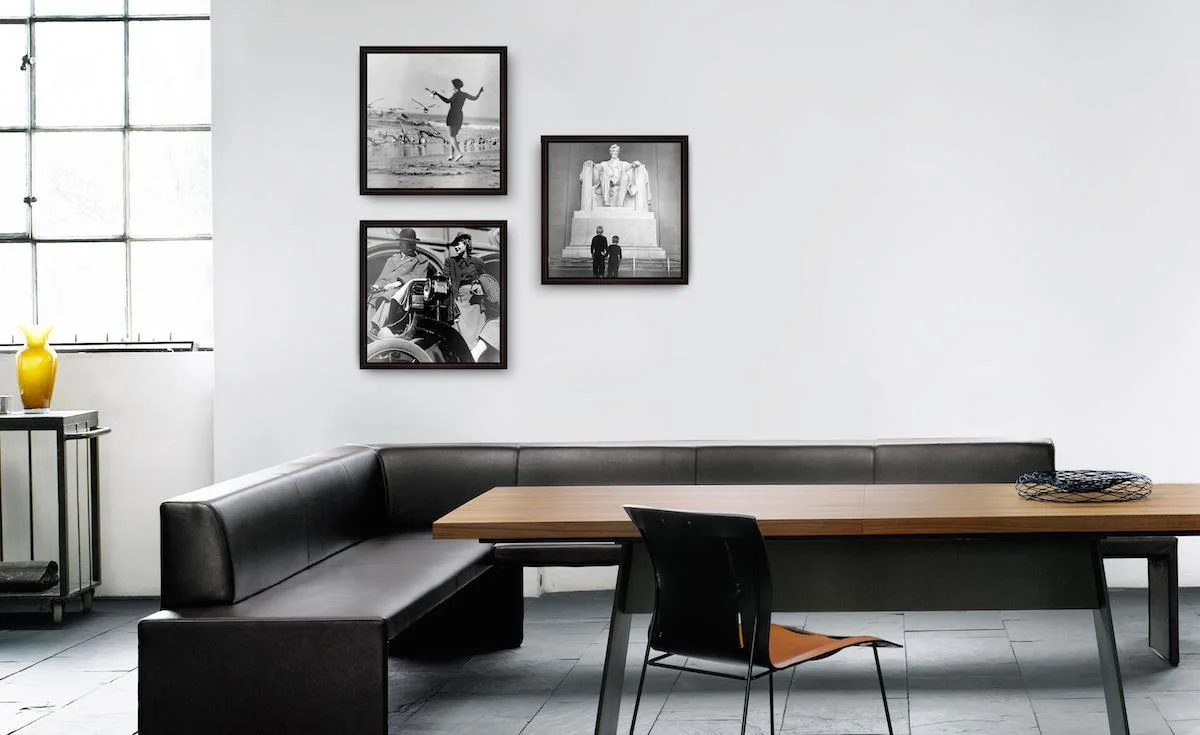
The human eye perceives symmetry as harmonious — and this applies to picture ensembles too. To arrange a symmetrical picture ensemble, you need at least three artworks, two of which have the same format. First, establish a vertically or horizontally running axis of symmetry. Then measure picture positions and fixings precisely, as irregularities are particularly noticeable with this hanging style.
Tip 10: Not all pictures need to be hung: the picture ledge
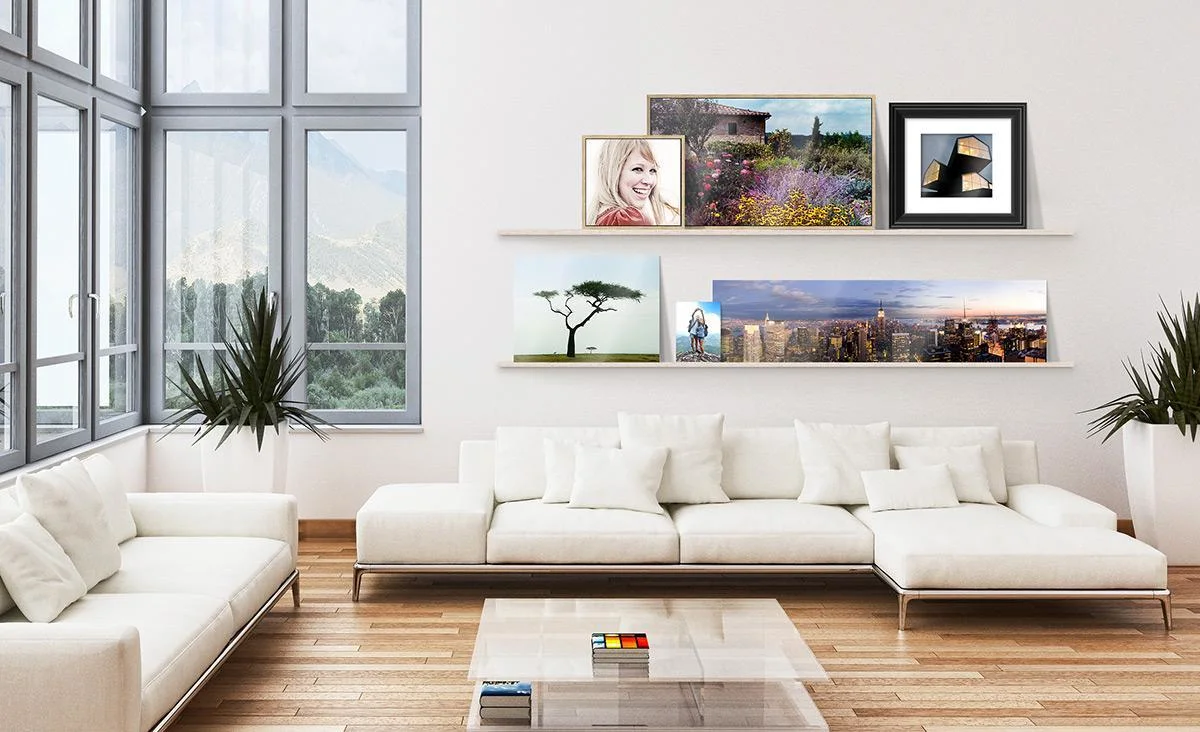
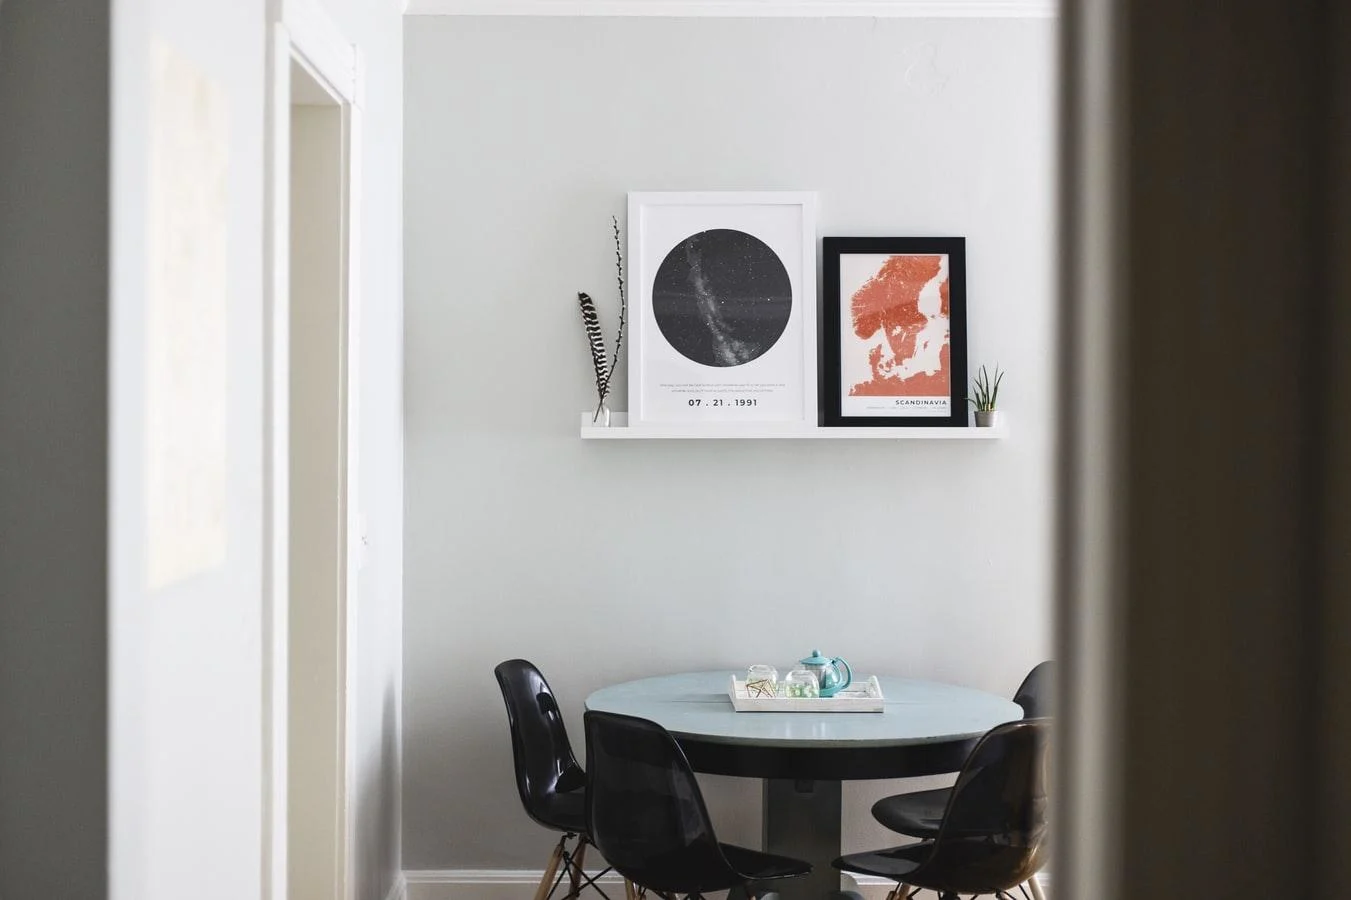
Picture ledges can be arranged with flexible motifs and at the same time give your walls more structure. In addition, you can combine your standing picture ensemble with small home accessories or furnishings and place them next to the motifs. The great advantage: picture ledges are easy to redecorate and rearrange.
Tip 11: Propped pictures instead of hanging

© Unsplash
By propping pictures against the wall, you opt for an unusual, relaxed way of presenting them. It is important that you choose pictures in a large format with a striking motif. Due to the placement, there is otherwise a risk that your works will be overlooked — your pictures need to draw all eyes.
Tip 12: Different perspectives for more variety
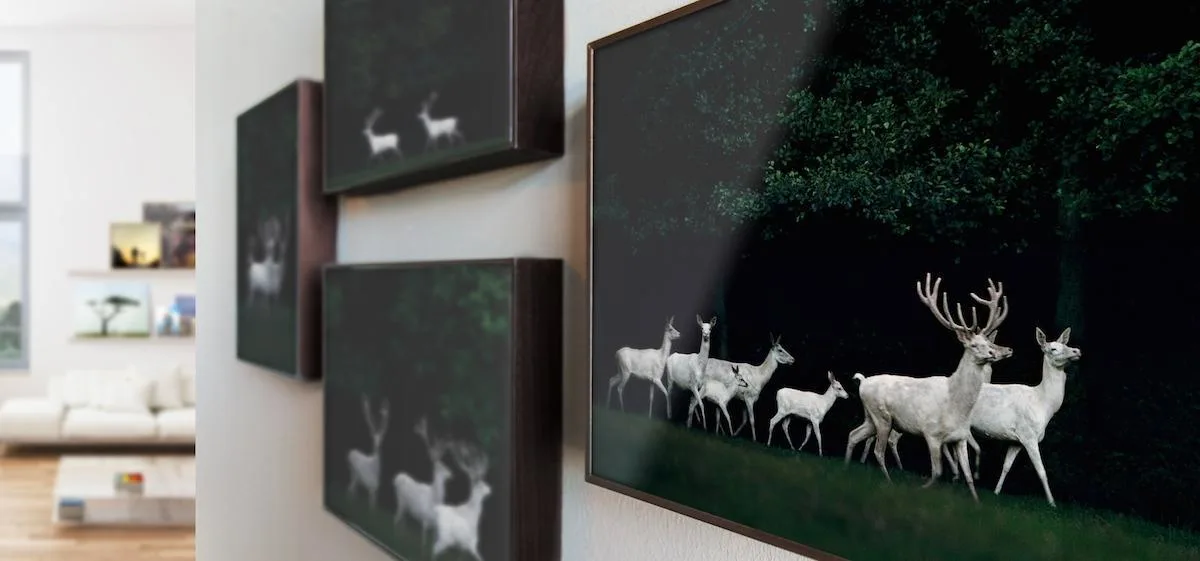
One picture — different perspectives. A special effect is achieved when different views of the same motif are displayed. This form of arrangement is possible as a row or edge hanging, as a symmetrical arrangement, or as a corner hanging.
Tip 13: A multi-panel piece or triptych for a panoramic view

A work consisting of three individual pictures is called a triptych. It is also possible to divide into many individual pictures in a series. For the picture composition to look its best, you should arrange the individual fragments of the multi-panel piece preferably in a row, edge to edge, and with minimal spacing.
Tip 14: Hanging pictures to connect spaces: the corner hanging
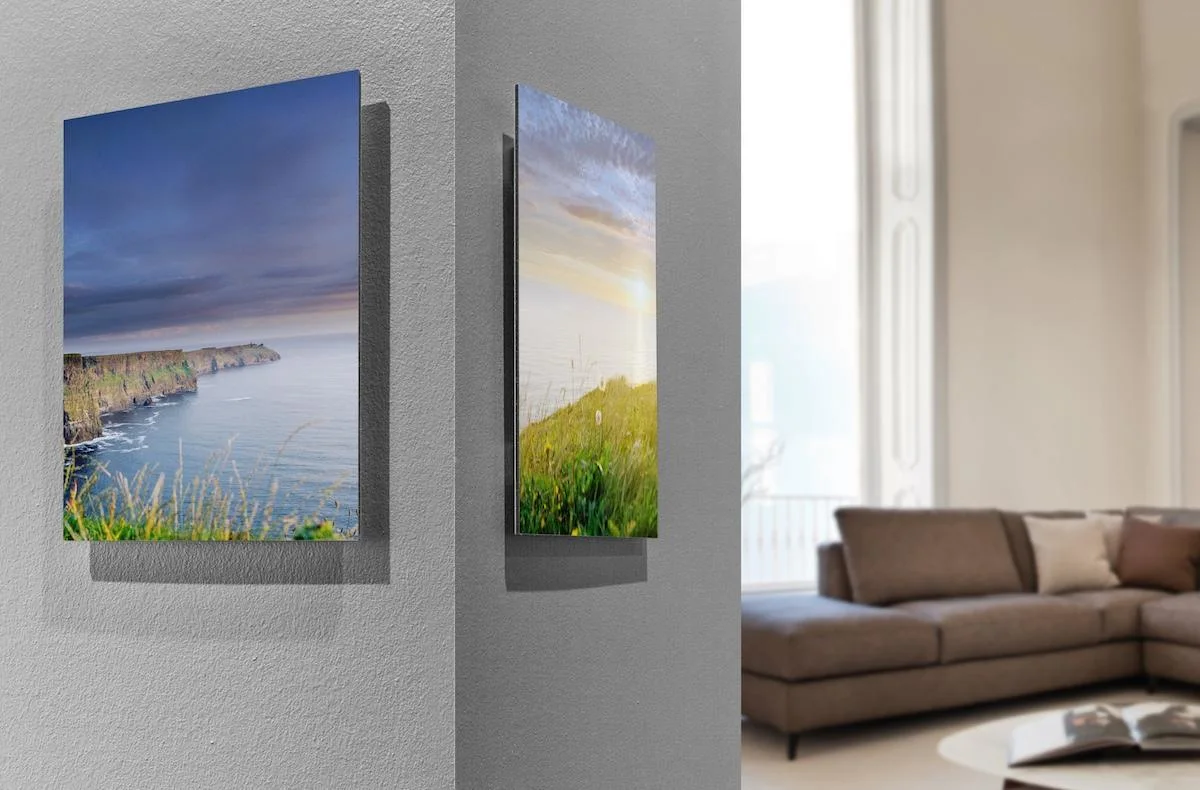
The corner hanging offers a genuine element of surprise when viewed, as the picture composition only reveals itself when you look around the corner. For the hanging to achieve the best effect, make sure the pictures complement each other and do not differ too much in shape and size. Different perspectives of the same motif also work particularly well here.
Tip 15: Showcasing special moments with a collage
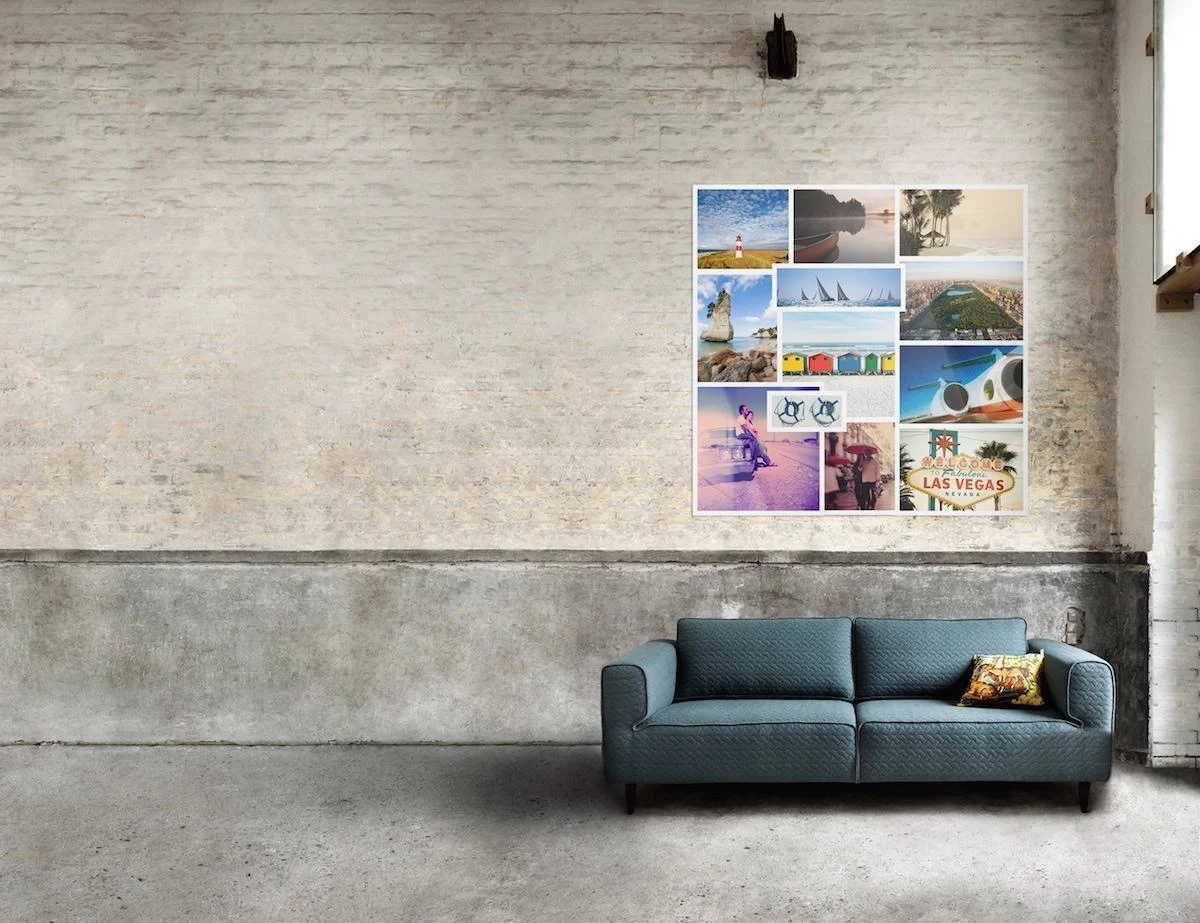
Many small individual pieces can make up a cohesive whole: combine your finds, holiday memories, photos, or artworks into a wall picture! Whether photo prints, postcards, or art prints — for your individual total artwork you can combine whatever you like. You have the option of arranging all pictures close together on the wall or on a backing board. Finally, frame your ensemble so that nothing slips. If hands-on crafting is not your thing, you can also use suitable image editing programmes to create a digital collage. Cutting, pasting, placing, and colouring works wonderfully at pixel level too! A collage is a creative way to approach hanging pictures in a playful manner. The digitally created collage can then be printed.
Extra tip: Stylish photo products for your gallery wall
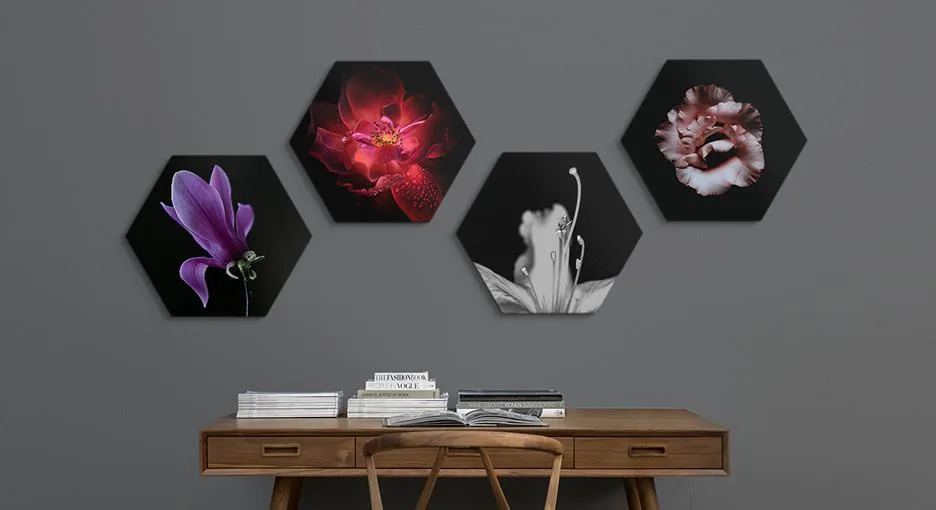
To ensure all your artworks look their very best, you need the right mounting and picture frames. We recommend long-lasting and brilliant acrylic glass for your favourite motifs. In round or other shapes, your treasures are guaranteed to turn heads! To hold all the elements of your gallery wall together, opt for classic mount frames. This creates a stylish unity and a successful overall look!
A single picture tells a story—but it’s the way it’s presented that determines its impact. Whether it’s a single piece, a creative photo wall, or an elegant gallery display: the presentation is a fundamental part of the artistic expression and can transform the entire feel of a room. In this guide, we’ll share the best tips for hanging pictures, the different methods available, and how to arrange your artwork to turn your home into a personal gallery.
1. The Preparation Phase: Planning & Spatial Impact
Tip 1: Before Hanging – Planning & Choosing the Format
Good wall design starts with careful planning. The right picture in the wrong place loses its impact. Before you hang the first picture frame, keep the following in mind:
Proportions: A large picture works well above a large couch; wall-filling paintings, on the other hand, can overwhelm small rooms.
Wall color: Colorful walls really make your artwork stand out. It looks harmonious when the colors in your pictures and accessories match.
Visualization: Sketch your wall to scale or use life-size paper templates (dummies) to test the effect.
The floor trick: First lay out your arrangement on the floor to check how the different sizes work together without having to drill unnecessary holes.
Tip 2: At what height should you hang pictures?
To show off the pictures to their best advantage, they should always be hung at eye level.
The rule of thumb: Use a height of 145 to 150 cm from the floor to the center of the picture as a reference line.
Reference lines: Use the outlines of door frames, furniture, or window sills as guides.
Perspective: Consider whether you’ll be viewing the pictures while sitting (from the sofa) or while walking by. A distance of about 20–25 cm above furniture is ideal.
Tip 3: Hanging Pictures Without Drilling – Flexible Methods
For rental apartments or delicate walls, there are excellent drill-free options:
Picture rails: These are usually mounted under the ceiling; cable systems allow pictures to be moved flexibly without leaving new holes.
Adhesive systems: Modern adhesive strips or adhesive nails are ideal for semi-permanently hanging lighter pictures on smooth surfaces.
Stands: Products like the WhiteWall Photo Acrylic Block stand securely on shelves or windowsills.
2. Technology & Installation: Tools and Lighting
Tip 4: Tools & Materials for Installation
Every hanging setup requires the right tools for a secure hold:
Alignment: Use a spirit level, painter’s tape, or a string stretched horizontally.
Mounting: Steel nails for lightweight frames; anchors and screws for heavy pictures (e.g., behind acrylic glass) or masonry with cavities.
Safety: Select anchors appropriate for your wall material. The load capacity is listed on the packaging.
Tip 5: Enhancing the Impact of Art Through Light and Materials
Light dramatically alters the perception of colors and details:
Avoid reflections: Pay attention to the progression of daylight; direct sunlight can cause distracting glare.
Material selection: In bright rooms, matte materials like aluminum Dibond are ideal for minimizing light reflections.
Lighting: Use picture lights or spotlights specifically for individual works with strong artistic impact.
3. The 10 Most Popular Hanging Styles
Tip 6: The single hanging as a statement (The Soloist)
A single large-format artwork draws all the attention to itself and can significantly dominate a room’s design.
Space to shine: Ensure a sufficient distance of at least 10–20 cm from adjacent furniture edges to avoid a cramped look.
Focal point: A solo piece has the strongest impact on a clear wall surface without competing decorative elements, as this allows the motif to unfold its full visual presence.
Tip 7: Clean lines with edge hanging
All pictures should be aligned along an imaginary center line or axis.
Spacing between pictures should always be even.
Spacing can vary horizontally and vertically, as long as the outer edge is aligned.
Tip 8: Arranging pictures in rows
A classic way to arrange pictures that visually elongates walls:
Horizontal: Makes rooms appear wider (ideal above sideboards).
Vertical: Makes walls appear taller (perfect for narrow wall sections).
Tip 9: Petersburg hanging
The Petersburg hanging style is also known as the salon hanging or “ordered chaos” and is one of the most personal forms of picture presentation. It often fills walls from floor to ceiling with numerous motifs. This hanging style originates from classical museum design, where artworks were arranged closely together to create an impressive abundance.
Design Cohesion: To ensure the picture wall looks harmonious despite varying formats and frame styles, use a unifying element such as a consistent color palette, similar frame materials, or identical passe-partouts.
Structured Approach: When arranging the pieces, start with a central “anchor piece” in the middle or lower third of the wall and work outward from there in all directions. A continuous bottom or top edge can serve as an additional visual anchor.
Tip 10: Symmetrical hanging for visual calm
The human eye perceives symmetry as particularly harmonious and calming, which is why this style is ideal for bedrooms or formal living areas.
The axis of symmetry: First, establish a vertical or horizontal axis of symmetry along which the pieces will be aligned.
Requirements: To arrange a symmetrical ensemble, you need at least three pieces of art, ideally two of which are the same size. Since irregularities in this hanging style are immediately noticeable, precise measurement of the picture positions and mountings is essential.
Tip 11: Structure through grid hanging
Grid hanging follows a strict, geometric pattern reminiscent of a chessboard, ensuring maximum clarity.
Consistency: This method works best when all pieces are the same size and uniformly framed. Square formats, such as the WhiteWall Minis, are particularly recommended for this.
Precision in the details: The pictures should hang exactly in a line, with the spacing on all sides being absolutely identical—as a rule of thumb, aim for a spacing of about 5 cm.
Tip 12: “Inside the Lines” & Block Hanging
For creative aesthetes, the “Inside-the-Lines” arrangement offers a modern solution in which pictures are arranged casually but within a fixed framework.
Geometric frame: The pictures are placed within an imaginary shape such as a circle, oval, rectangle, or square. A precisely rectangular arrangement is also referred to as a block hanging.
Arrangement: This method gives you the freedom to mix different formats and frame styles. When hanging, always start with the largest piece in the center and arrange all other works around it one after another.
Tip 13: Picture rails – flexible decorating
Picture rails add structure to your walls while offering the greatest flexibility in interior design.
Dynamic presentation: You can simply place pictures on the rail and combine them as you like with small home accessories or furnishings.
Maximum design versatility: The big advantage is how easy it is to rearrange; pictures can be repositioned at any time without tools or new drill holes. This protects the walls and keeps the design fresh.
Tip 14: Multi-panel pieces and triptychs
A multi-panel piece—also called a triptych when it has three segments—breaks a single work into several fragments, creating an impressive panoramic effect.
Visual dynamics: By segmenting a motif (e.g., on canvas), an exciting interplay of the image parts is created, which lends the room additional depth.
Hanging tip: To ensure the composition is shown to its best advantage, align the individual parts precisely in a row and “edge-to-edge.” Make sure the gaps between the fragments are small and absolutely uniform.
Tip 15: Collage and corner hanging
These creative approaches are ideal for visually connecting rooms or playfully showcasing special moments.
Custom collages: Combine photo prints, postcards, vacation mementos, and art prints into a cohesive work of art. This can be done traditionally by gluing them onto a backing board or modernly as a digitally created and printed collage.
Surprise effect across corners: Hanging pictures across corners only reveals itself when you look around the edge, thus connecting two wall surfaces. Make sure the pictures complement each other in shape and size or show different perspectives of the same subject.
4. Avoiding Mistakes: What Is Often Underestimated
As effective as a good picture display can be, ill-considered hanging can just as quickly have the opposite effect. Avoid these common pitfalls:
Incorrect hanging height: If a picture hangs too high, it appears detached from the room; if too low, it falls out of view. Stick to the 145-cm rule.
Ignoring light & furniture: Large-format pictures above furniture that’s too small or reflections from window light disrupt the overall look. Test the light at different times of day.
Unbalanced proportions: A picture that’s too small on a huge wall loses its impact. Instead, group small formats together.
Poor quality: Use high-quality substrates for high-quality images—acrylic glass for brilliance or Fine Art for matte elegance.
5. WhiteWall Product Tips for Your Stylish Picture Wall
Classic elegance with passe-partout frames
WhiteWall’s passe-partout frame artfully showcases every image. The passe-partout creates an aesthetic distance from the frame, allowing the image to “breathe” visually.
More information about photos in passe-partout frames
Brilliant depth effect behind acrylic glass
A Photo Print behind acrylic glass dramatically enhances contrasts, colors, and the sense of depth. Perfect for single images (standalone pieces) in the living room.
More information about photos behind acrylic glass
Cozy warmth from high-quality wooden frames
The classic wooden frame brings natural warmth to the wall. When paired with Fine Art Prints, it has a particularly appealing handcrafted look and can be perfectly coordinated with furniture.
More information about photos in wooden frames
Flexibility with the Changeable Magnetic Frame
The Changeable Magnetic Frame is ideal for anyone who likes to redecorate seasonally. The picture is secured by a magnetic system, allowing you to swap out images without tools.
More information about photos in changeable magnetic frames
Creative accents with WhiteWall Minis & round formats
WhiteWall Minis allow for playful gallery walls that can be easily expanded. Round formats creatively break up rigid room lines.
More information about photos in round formats
Conclusion: Stylish hanging is part of the art
A picture is only complete through its presentation. Whether as a solo piece, a structured series, or a vibrant gallery—the right hanging technique transforms photography into a spatial experience. With careful planning, the right tools, and a cohesive design concept, you can create an atmosphere that radiates personality and style. A well-hung picture is more than just decoration: it is a statement and an expression of attention to detail.
Submitted by WhiteWall Team

Basics of photography
Discover essential techniques and principles that turn every photo into a masterpiece. Whether exposure, composition or lighting design - learn how to create impressive images with simple means. Perfect for beginners who want to take their photography skills to the next level. Click here and immerse yourself in the fascinating world of photography with practical tips and tricks!
Submitted by WhiteWall expert Jan-Ole Schmidt
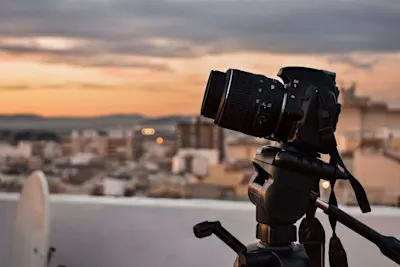
Portable lighting for outdoor photography
Master outdoor photography with portable lighting equipment. Our expert will introduce battery-powered flashes and LED lights and offer tips on reflectors and light painting. Learn how to achieve professional results regardless of the sun’s position and how to safely set up your portable studio outdoors.
Submitted by WhiteWall expert Jan-Ole Schmidt

Color filters and RGB lighting: An exciting playground for creative photographers
Discover color filters and RGB lights to give your photos a unique atmosphere. Our expert explains color mixing and offers tips for creating harmonious compositions and dramatic contrasts. Learn how to use light and color strategically to achieve emotional and visually striking results.