Timelapse: Time lapse in photography
From WhiteWall expert Katharina Wergen
Timelapse photography – capturing the passage of time in a single image – has fascinated photography enthusiasts for decades. It allows events that typically unfold over hours, days, or even months to be condensed into one image or a short sequence.
Timelapse photography isn’t limited to a single method; it can take various forms, from long exposure to combining multiple shots taken at different times of day. Below, we explore the most important techniques, the equipment you need, and how to achieve stunning results.
1. Long Exposure
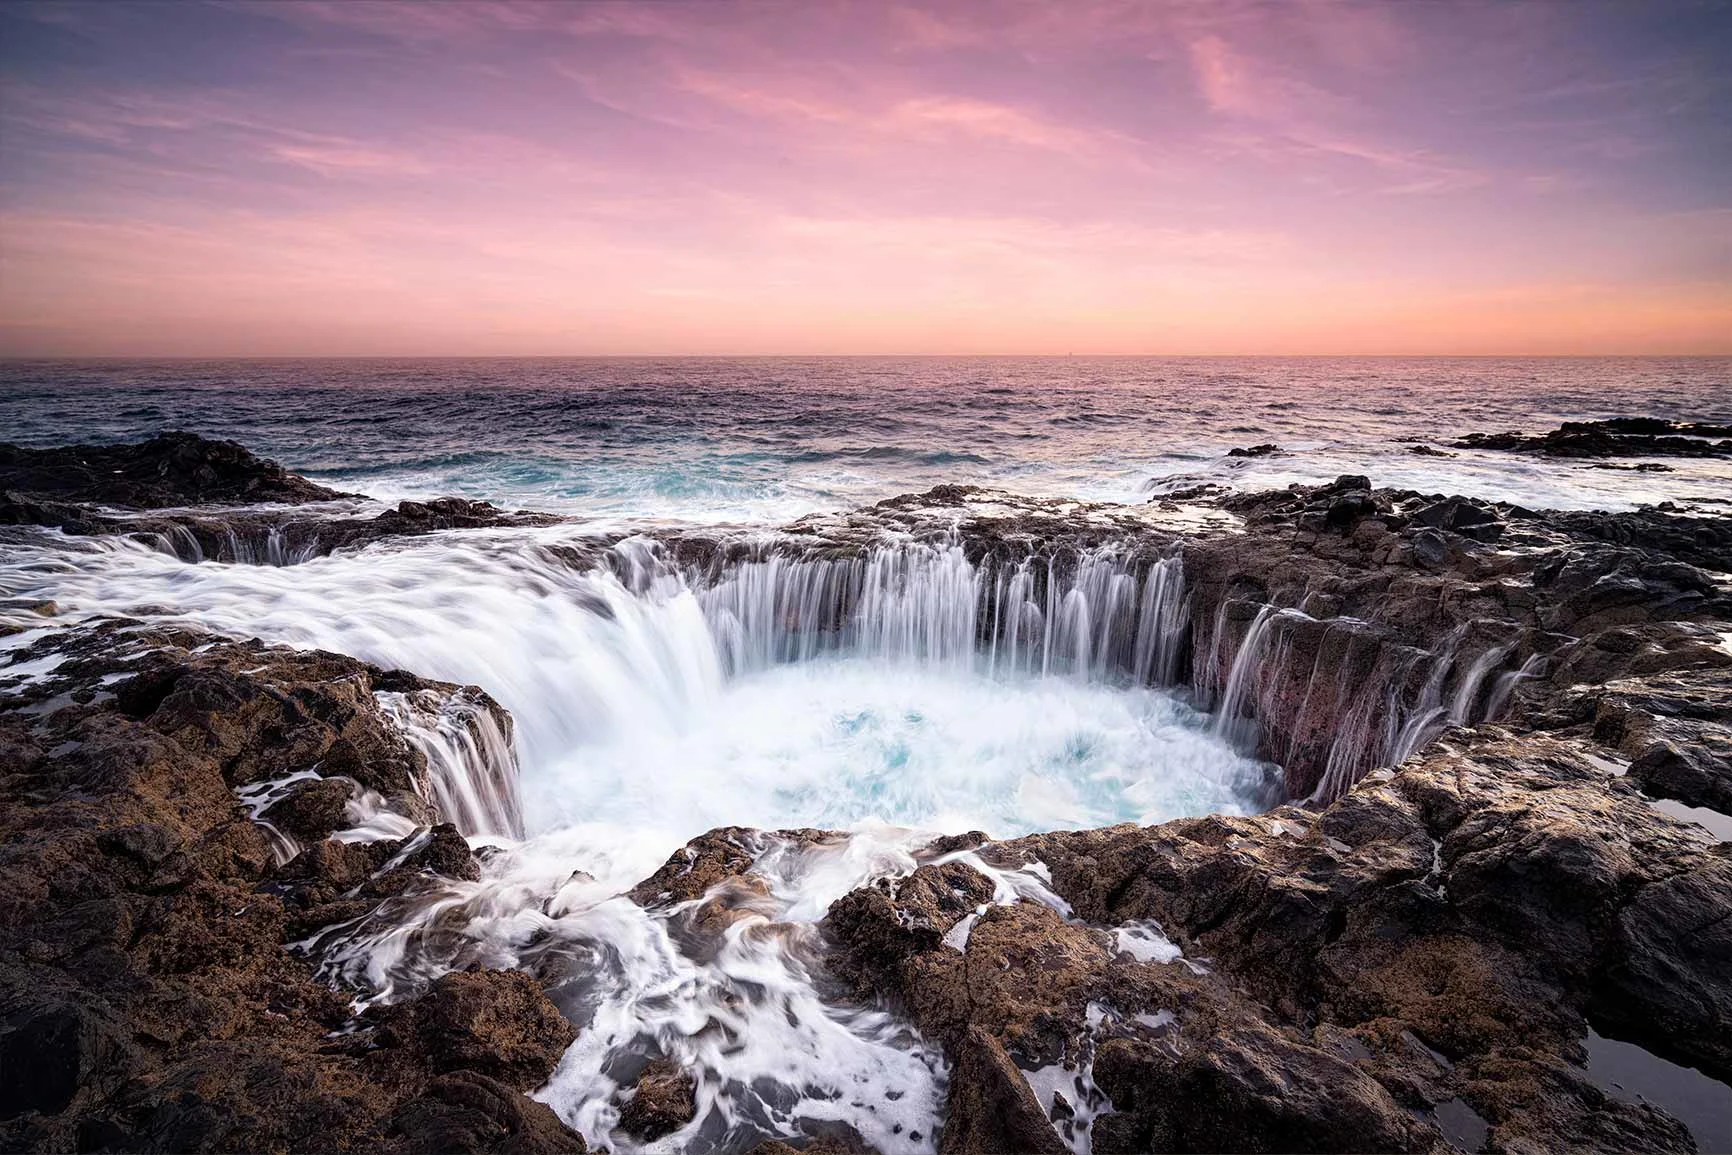
Long exposure is one of the simplest ways to compress time into a single image. In this technique, the camera’s shutter remains open for several seconds, minutes, or even hours, capturing movement within the frame. It’s especially suitable for shooting star trails, flowing water, or light trails from vehicles.
Required equipment:
Camera with manual mode: A DSLR or mirrorless camera with full manual controls.
Tripod: A sturdy tripod is essential to avoid camera shake during long exposures.
Remote shutter release or interval timer: To prevent vibrations when triggering the shutter.
Neutral density filter (ND filter): To reduce light intake during daylight and allow for longer exposure times.
Procedure:
1. Adjust settings: Switch the camera to manual mode. Use a low ISO (e.g., ISO 100) to minimize noise and a small aperture (e.g., f/8 to f/16) to increase depth of field.
2. Calculate exposure time: Take test shots to determine the correct exposure. In daylight, use an ND filter to avoid overexposure and extend the shutter time.
3. Trigger and wait: Use the remote shutter or interval timer to capture the photo without touching the camera.
2. Compositing Multiple Exposures at Different Times of Day
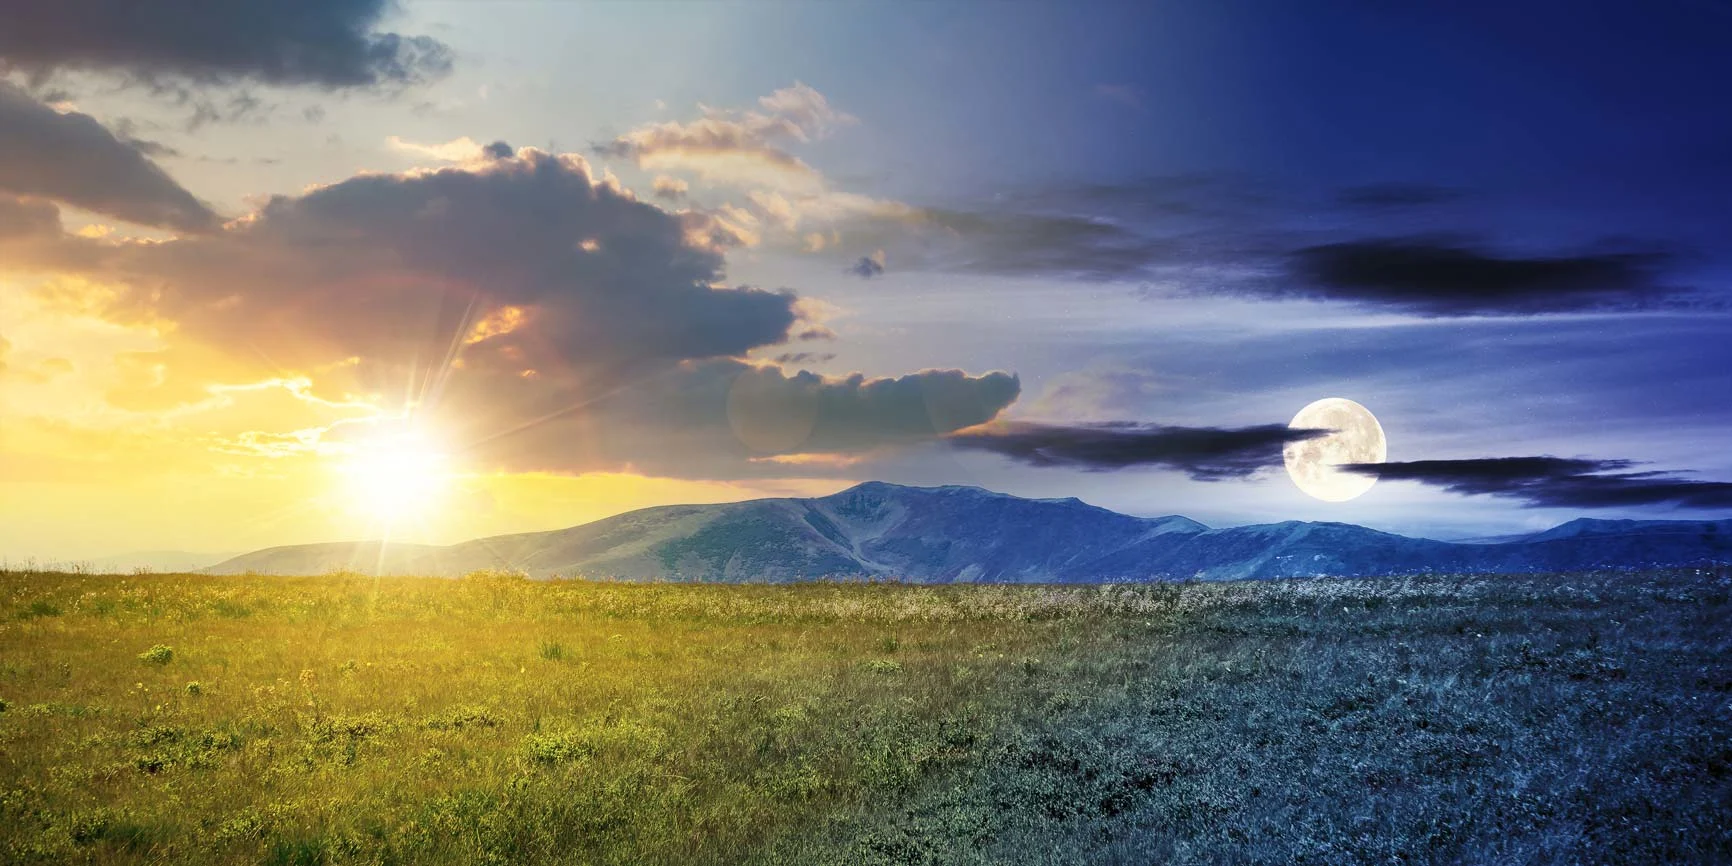
This technique combines photos taken at different times of day into a single image. The result is a visually striking transition from day to night or a depiction of the moon moving across the sky. A popular example is a "day-to-night" image showing the shift from sunlight to starry sky in one composition.
Required equipment:
Camera with interval timer: To automatically take photos at regular intervals.
Tripod: To ensure all shots are taken from the same perspective.
Image editing software: To later combine the photos.
Procedure:
1. Plan the shot: Choose a subject suitable for a day-to-night transition, such as a skyline or landscape.
2. Start the session: Mount the camera on a tripod and aim it at the subject. Set the interval timer to take pictures over several hours.
3. Compose the final image: Import the photos into software like Adobe Photoshop. Use layer masks to blend the images and create smooth transitions.
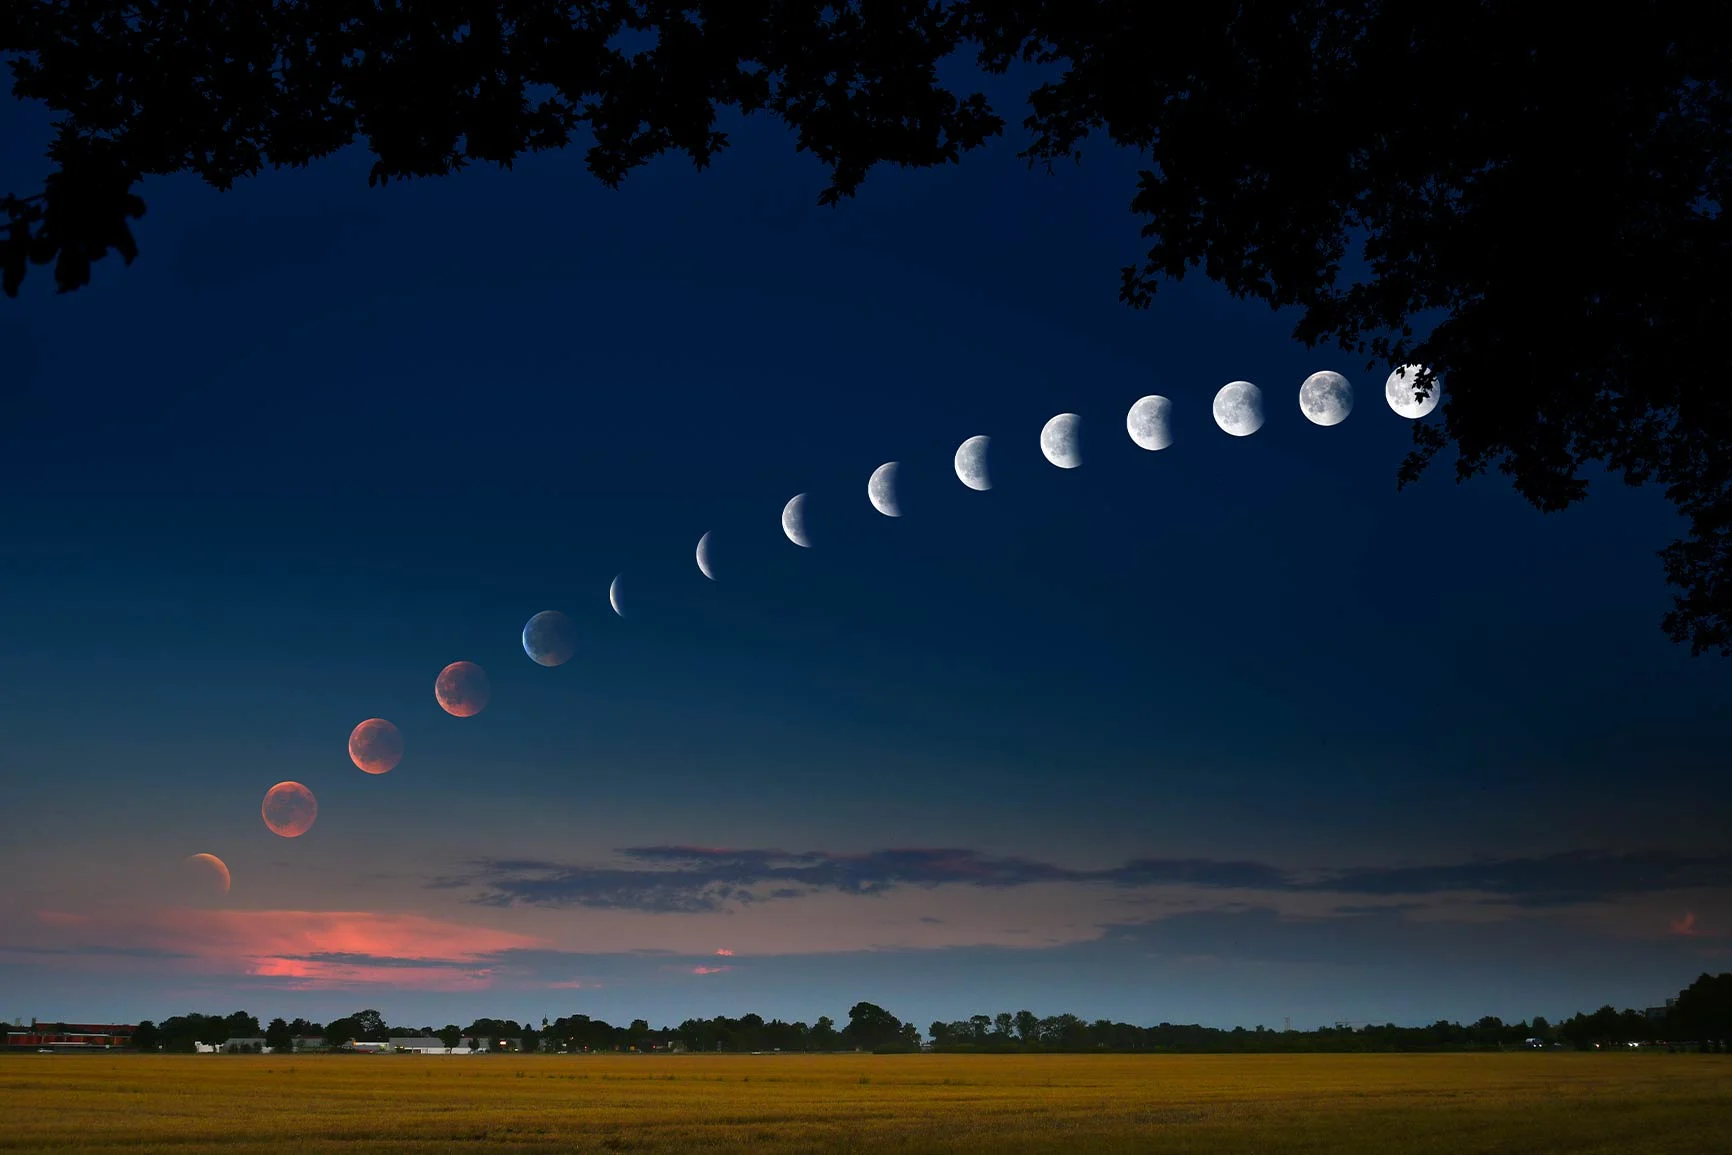
3. Moonrise to Moonset: Aesthetic and Technical Challenge
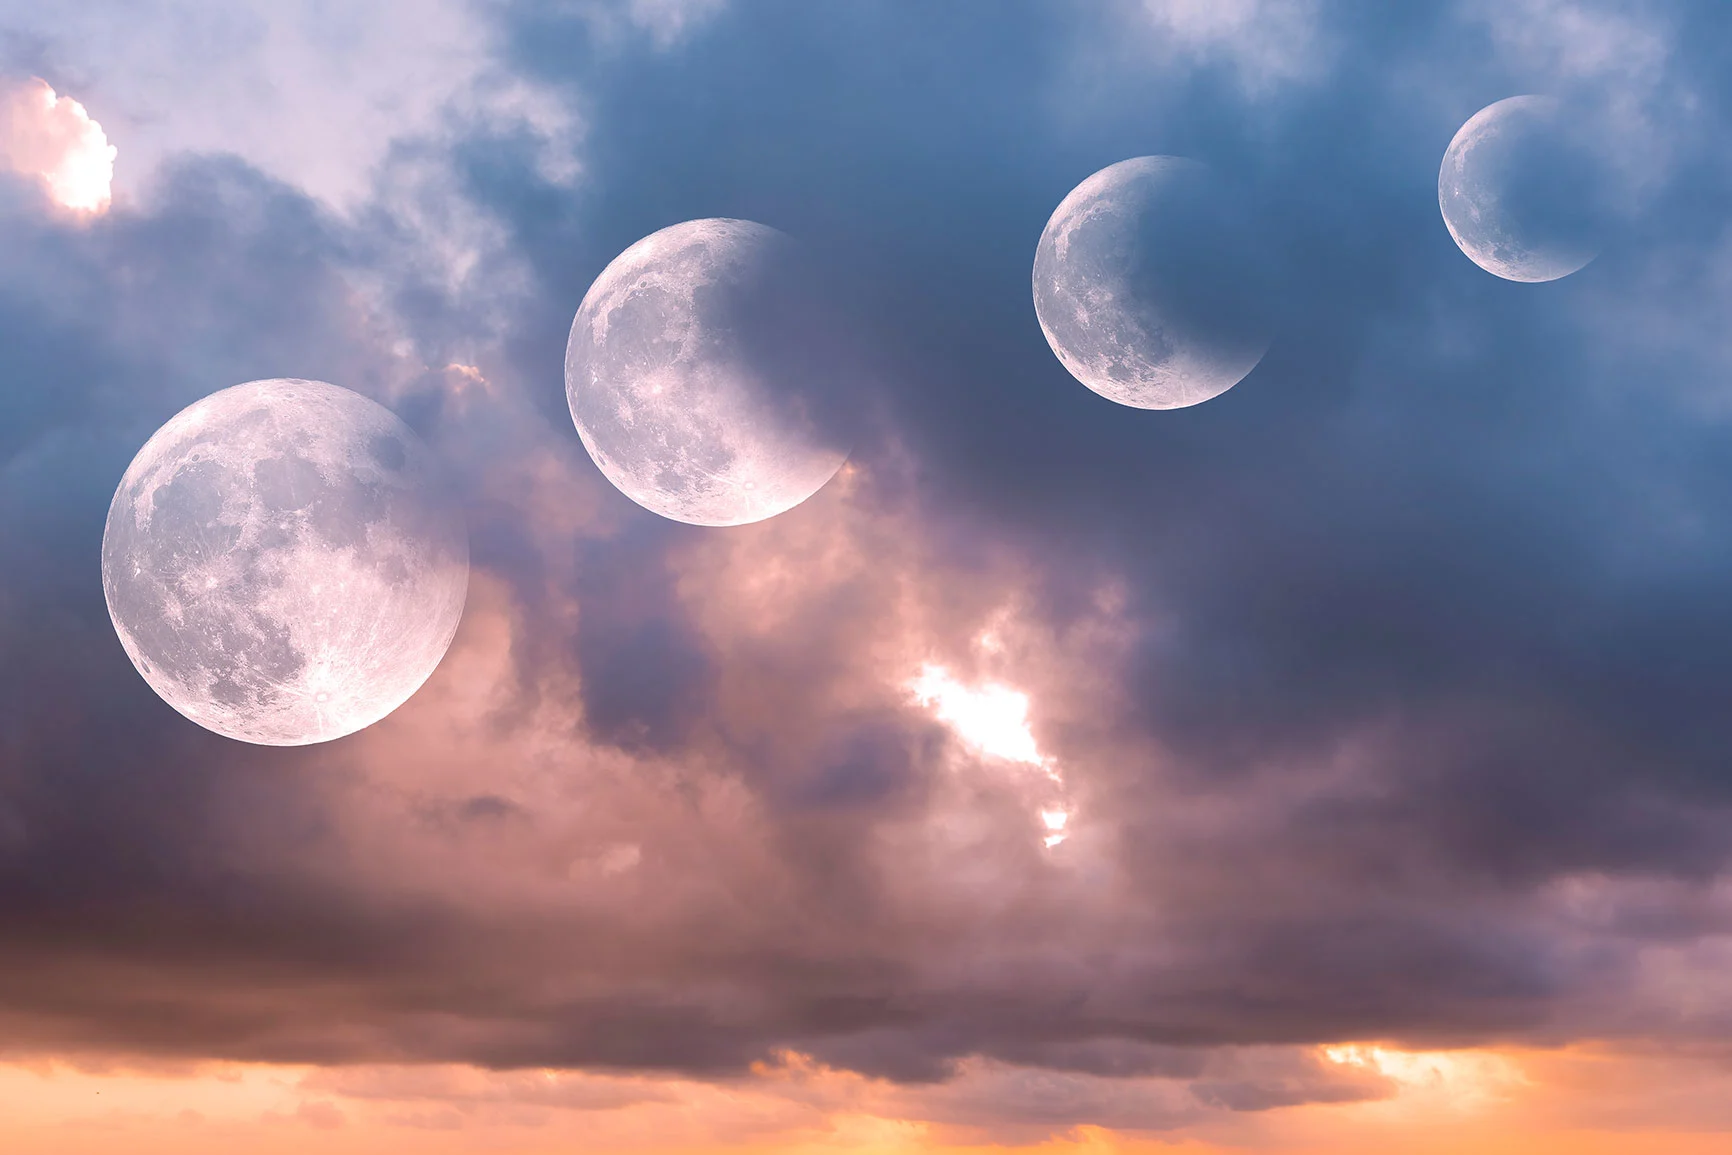
Capturing the moon as it rises and sets in a single image is both aesthetically pleasing and technically demanding. This type of photography requires precise planning and specific calculations to follow and record the moon’s trajectory.
Required equipment:
Camera with telephoto lens: A focal length of at least 200 mm helps render the moon large in the frame.
Tripod and remote release: To keep the camera steady and avoid shaking.
Interval timer: To capture shots at regular intervals.
Procedure:
1. Plan carefully: Use an app like PhotoPills or The Photographer’s Ephemeris to determine the moon’s position and movement.
2. Adjust exposure: Because the moon is bright, use a short exposure (e.g., 1/250 sec at ISO 100 and f/11).
3. Take the shots: Photograph the moon at consistent intervals over several hours. Keep your camera settings the same throughout.
4. Merge the sequence: Import the images into Photoshop and arrange them in a new document to visualize the moon’s path.
4. Moon Phases in a Single Image: A Timeless Subject
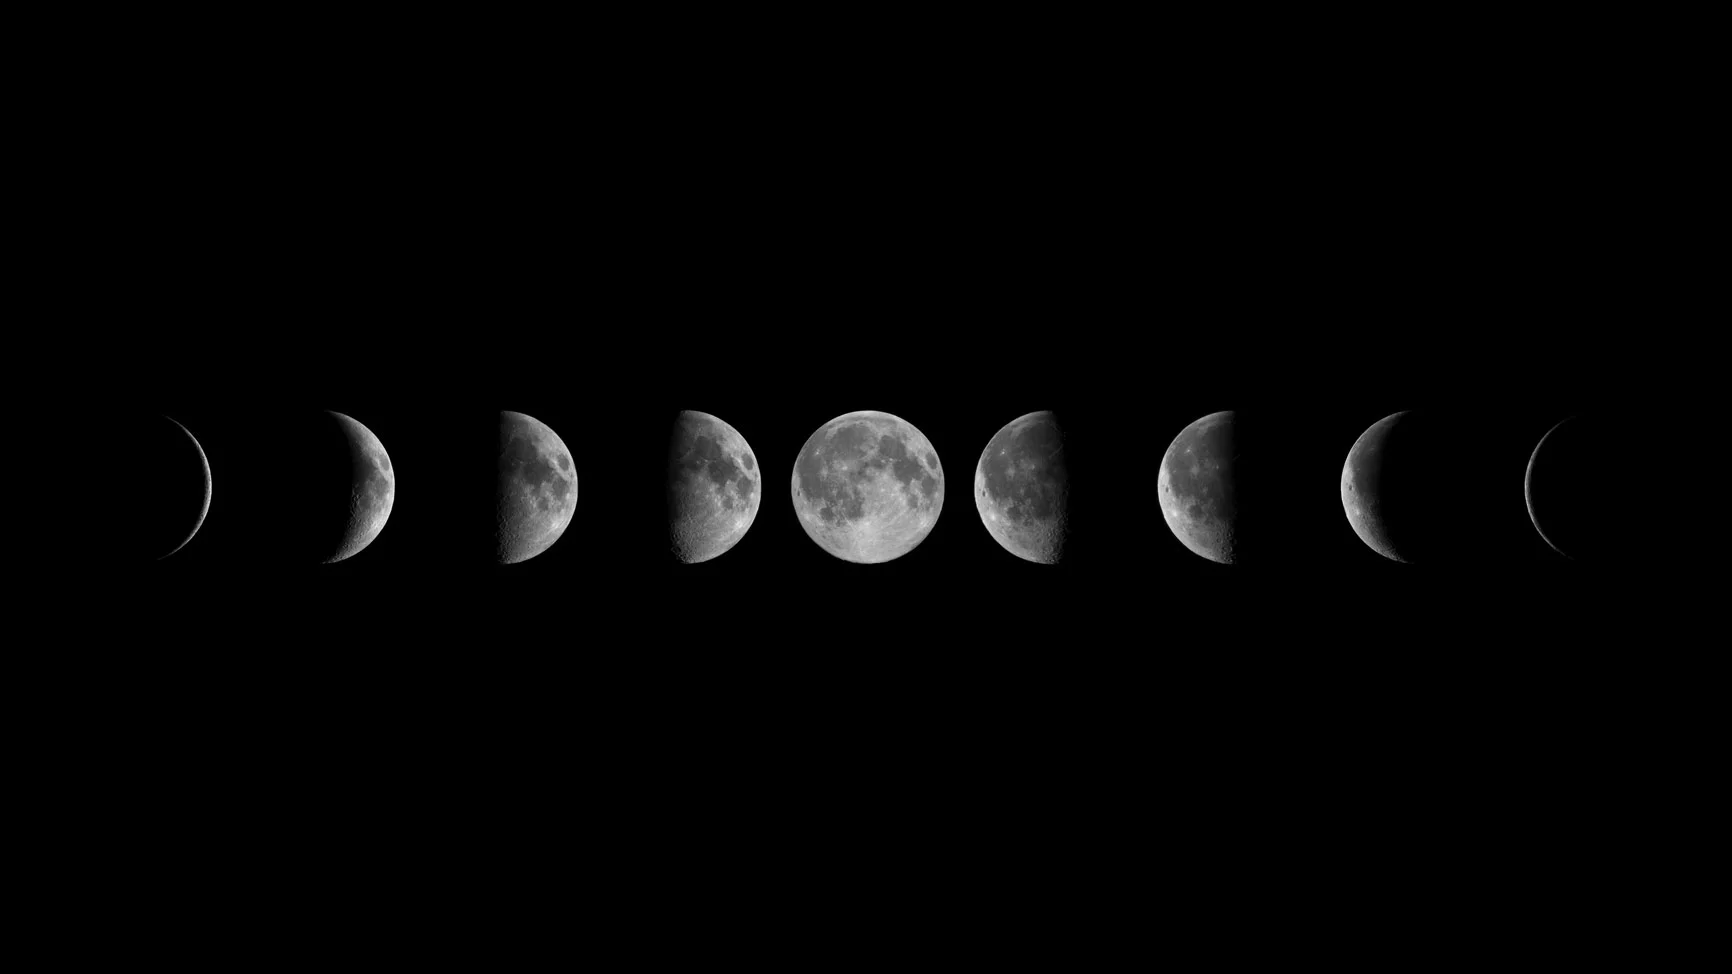
Capturing all moon phases over a month and combining them into a single image is one of the most fascinating projects in timelapse photography. It’s technically demanding but results in a powerful visual narrative of the moon’s cycle.
Planning and execution
Photographing moon phases requires planning and patience, as the cycle spans approximately 29.5 days. Here’s how to approach the project:
1. Equipment:
Camera with telephoto lens: A focal length of at least 300 mm is ideal for a detailed moon.
Tripod: For stable and consistent framing.
Remote release: To prevent camera shake.
Sky tracking apps: Tools like PhotoPills or The Photographer’s Ephemeris help you find the best shooting times.
2. Exposure settings:
Since the moon is very bright, use short exposures – around 1/250 sec at ISO 100 and f/11.
Use the same settings for each shot to maintain consistent brightness across all phases.
3. Location and timing:
Pick a place with minimal light pollution to improve contrast.
Take the photos at the same time each day and in similar weather conditions to maintain a consistent background and angle.
Post-processing and composition
Once you’ve captured all moon phases, the creative editing begins:
1. Import photos: Load all moon images into editing software like Adobe Photoshop.
2. Remove background: Isolate the moon from its background so it can be arranged on a shared backdrop.
3. Arrange the phases: Position the moons in a visually appealing pattern – like a curve or straight line.
4. Fine-tune: Adjust brightness and contrast to ensure all phases blend harmoniously.
5. Seasonal Images: One Subject Through Time
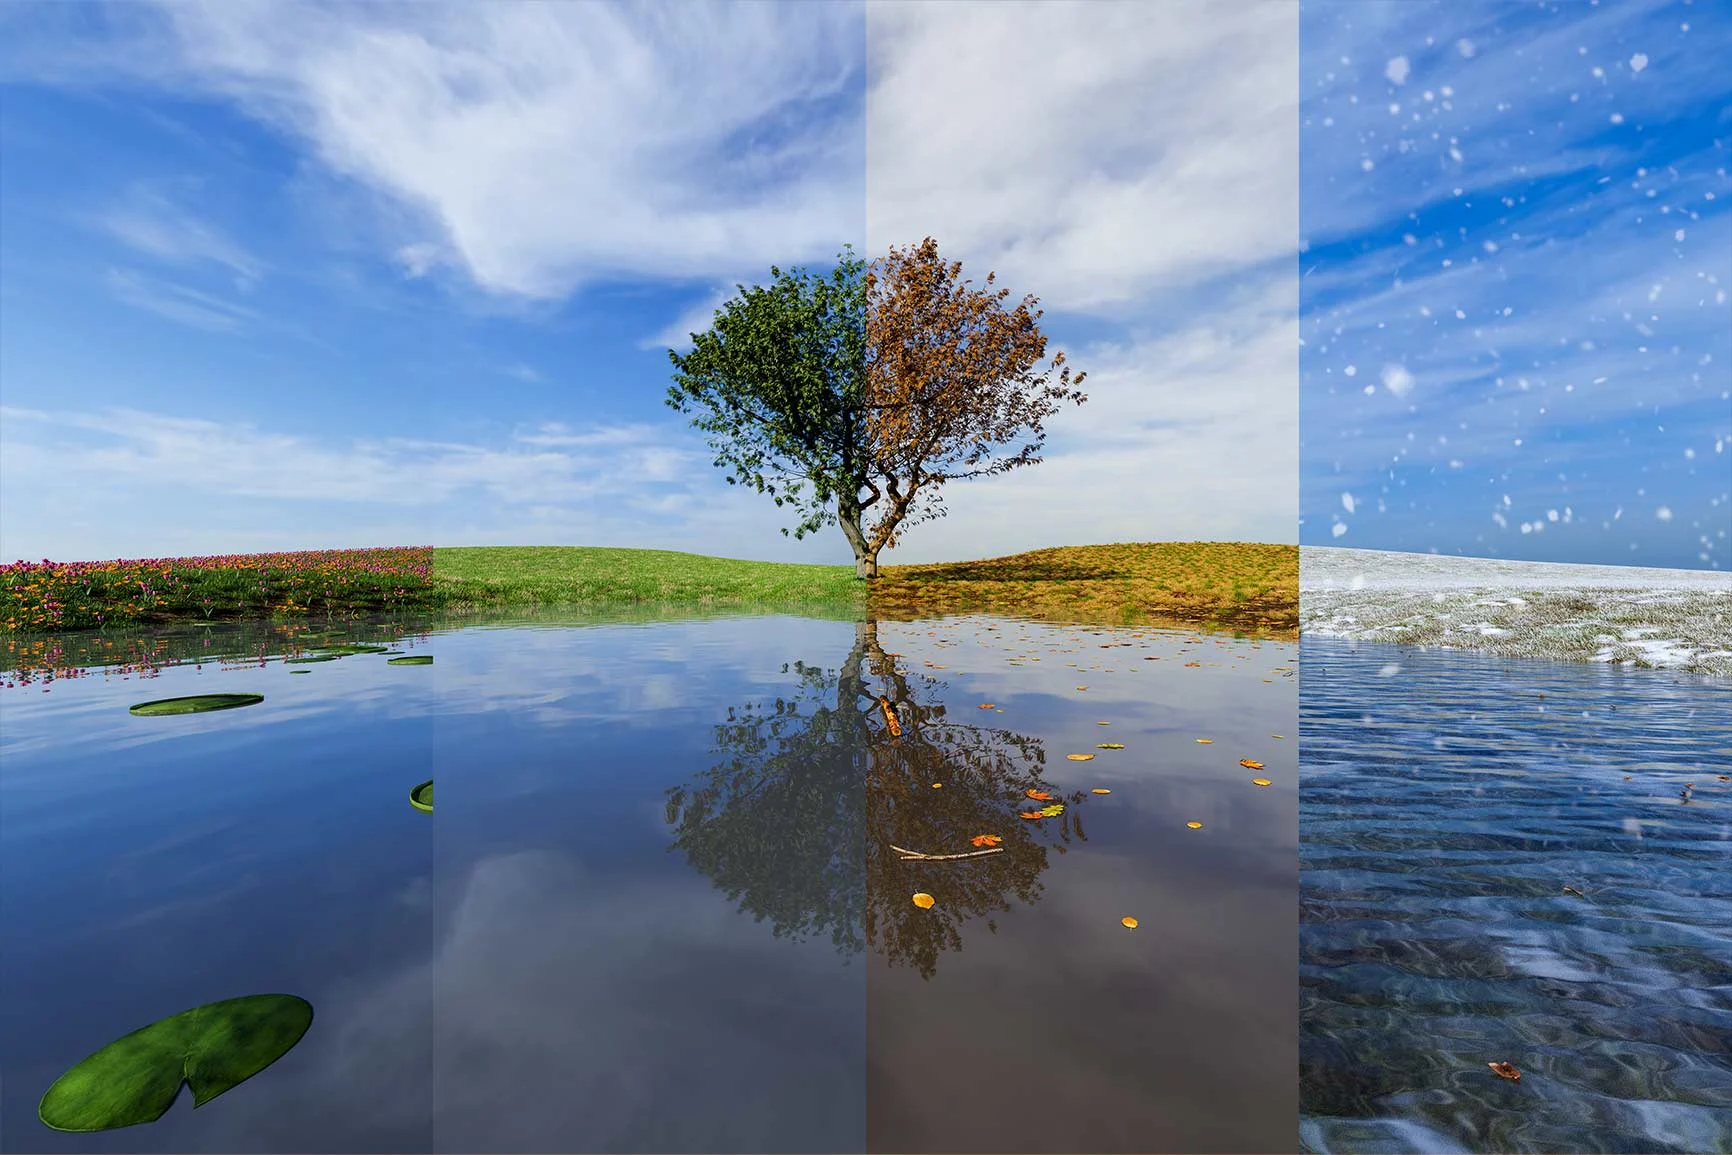
Photographing a scene or object across different seasons and combining the results into a single image is a powerful way to document change over time. A classic example is a tree photographed in spring, summer, autumn, and winter, each with distinct colors and appearances.
Required equipment:
Camera with tripod: To consistently capture the same scene over long periods.
Schedule: Plan ideal dates for each season’s photo.
Editing software: To merge the seasonal images together.
Procedure:
1. Choose your subject: Pick something that changes significantly throughout the year – like a tree or park landscape.
2. Align your shots: Take pictures at set intervals (e.g., every three months), maintaining the same position and angle.
3. Merge the images: Load the photos into editing software and use layer masks or overlays to combine them seamlessly.
6. Stroboscopic Images: Capturing Motion in Sequence
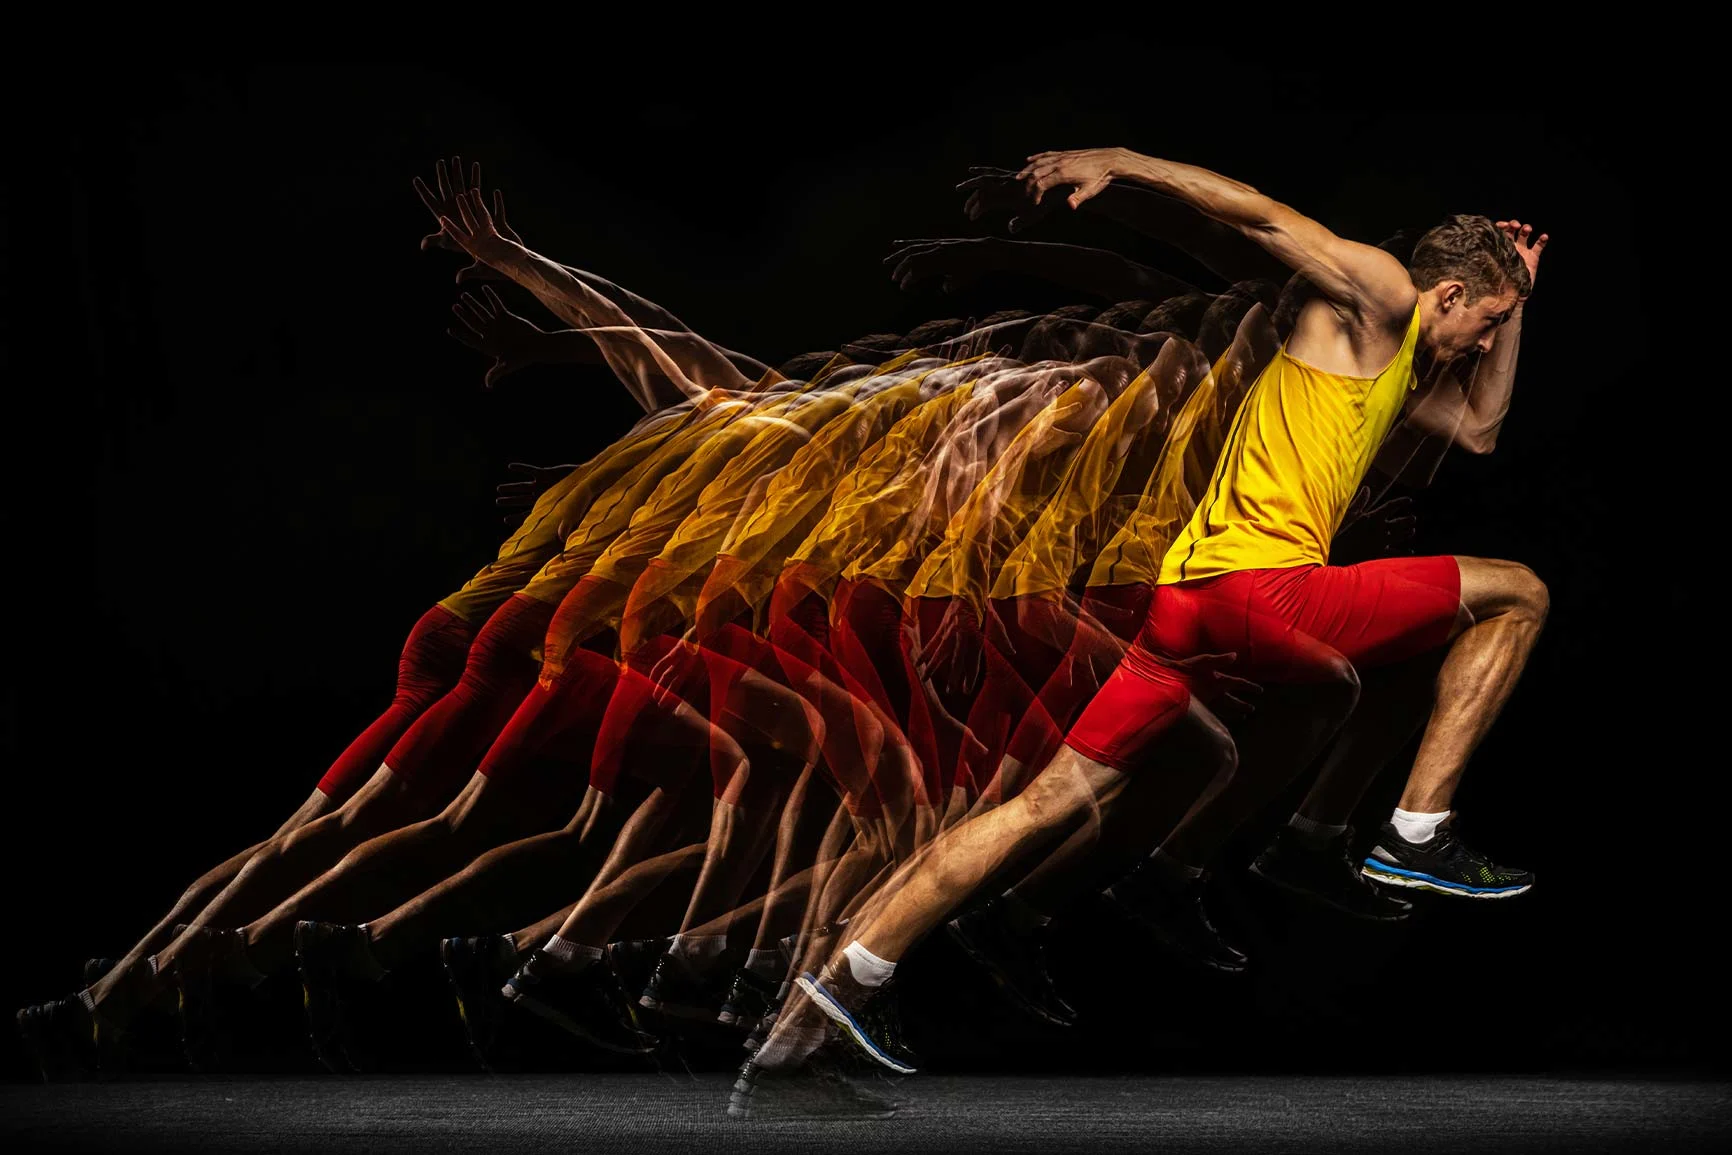
Stroboscopic images are a technique where a moving object is captured in several stages of its motion within a single photo. This method is especially popular in sports photography because it vividly illustrates movement.
Required equipment:
External flash units: To freeze motion in distinct steps.
Camera with manual mode: For precise control over shutter speed and aperture.
Dark environment or nighttime: To reduce motion blur and make flash bursts stand out.
Procedure:
1. Set up lighting: Place external flashes along the motion path of the subject.
2. Camera settings: Use a long exposure (e.g., 5 seconds) to capture multiple flashes in one image.
3. Photograph the motion: Trigger the camera and let the moving subject pass. The flashes freeze the subject at different points, creating the illusion of movement within the photo.
Printing Tips for Timelapse Photography
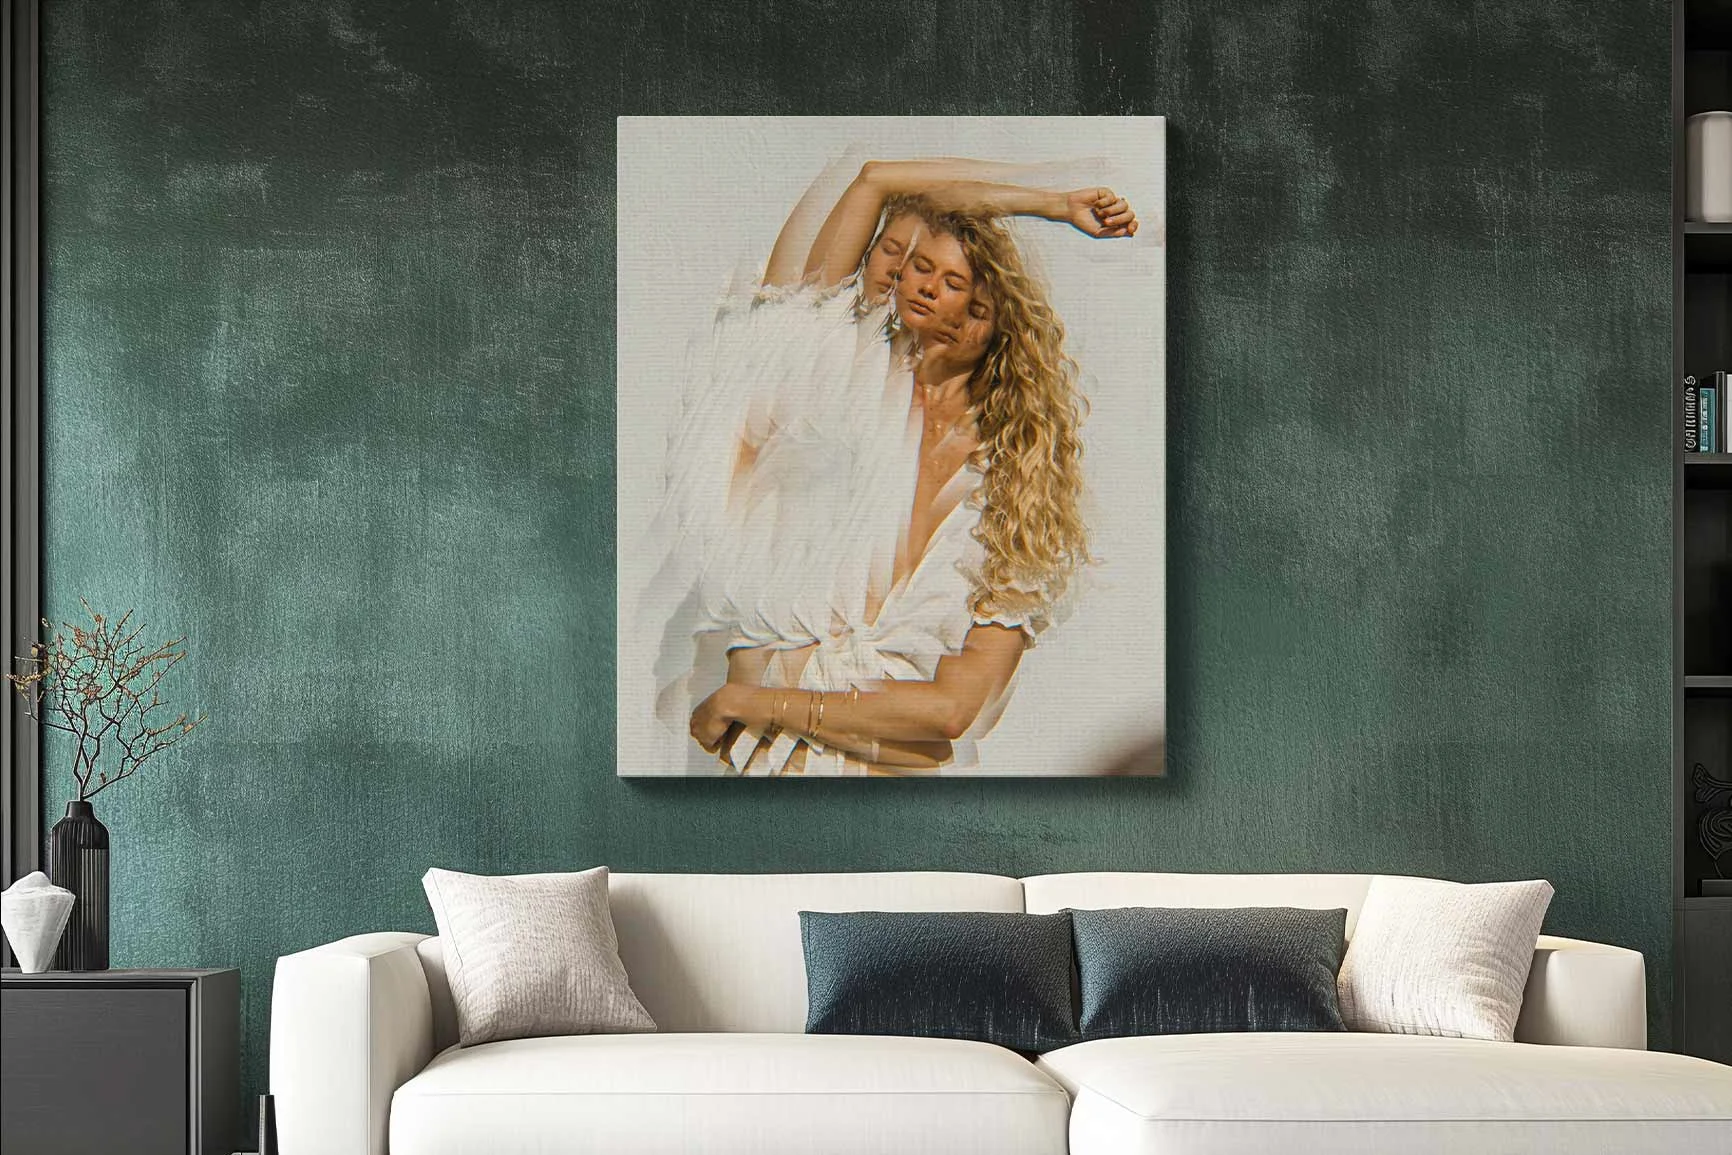
Choosing the right print medium and display method is key to presenting timelapse images effectively. Different techniques call for different materials to best showcase detail, color, and contrast. Here are some recommendations:
1. Matte photo canvas for atmospheric portraits
Timelapse portraits with changing light, such as a person lit through shifting daylight, look especially warm and inviting on matte canvas. The soft texture enhances subtle transitions and suits cozy or intimate display settings.
2. UltraHD photo print on Alu-Dibond for high-resolution landscapes
For detailed landscape shots showing changes in time or season, an ultraHD photo print on Alu-Dibond is ideal. It delivers extreme sharpness and clarity, perfect for fine details like leaves or mountain textures. The rigid backing adds a sleek, gallery-ready finish.
3. Pop Art frame for high-contrast compositions
If you’ve created timelapse images with dramatic contrast – like the moon’s path across a dark sky – a Pop Art frame can add a bold accent. Its vibrant colors contrast the image intentionally and turn your photo into a striking artistic statement.
Conclusion
Timelapse photography offers a unique way to visualize the passage of time in a single image. With proper equipment and thoughtful planning, you can achieve stunning results – from long exposures to complex multi-shot compositions. Whether you’re tracking the moon’s journey or showing a tree through the seasons, the creative possibilities are nearly endless.
Learn more about the author
As a trained portrait and wedding photographer, Katharina Wergen brings her extensive knowledge to photography. She has been working as a sales consultant at WhiteWall since 2018 and supports exhibition projects for museums and galleries. She is also increasingly focusing on reportage photography. Take a look behind the scenes of the photographer, here in the interview.

Also interesting:
Submitted by WhiteWall expert Katharina Wergen
Multishot techniques in photography
More depth, more detail, more creativity: multishot techniques open up new photographic possibilities. Whether HDR, focus stacking or panorama - discover what is possible with multiple shots. Ideal for impressive images of the highest quality.
Submitted by WhiteWall expert Katharina Wergen
Double exposure: techniques and creative ideas
Two images, one motif: discover the creative variety of double exposure. Get to know camera and post-processing techniques. Ideal for expressive portraits, surreal compositions and artistic prints.
Submitted by WhiteWall expert Katharina Wergen
Low-key and high-key photography
Low-key and high-key: two techniques, one goal - strong image impact through deliberate lighting. Discover how contrasts create emotions. With tips on implementation and ideal print types for impressive results.


