Advanced Retouching Techniques: A Guide to Final Perfection
From WhiteWall expert Katharina Wergen
If you want your portrait shots to shine with absolute perfection, extensive retouching in post-processing is usually necessary. Even the best photographers have to resort to retouching techniques from time to time to achieve the perfect image. In the first step of image editing, you develop an image from the RAW file. By adjusting controls such as exposure, contrast, and dynamics, the portrait is created in the digital darkroom.
1. Methods of advanced retouching
Retouching involves removing skin imperfections, modeling light and shadows, and making other optimizations for a perfect portrait effect. To do this, professional photographers use advanced methods such as frequency separation, dodge and burn, and fine hair retouching. These are all powerful tools that ensure flawless quality for your portrait image. We will introduce you to these tools and their effects.
1.1 Frequency separation
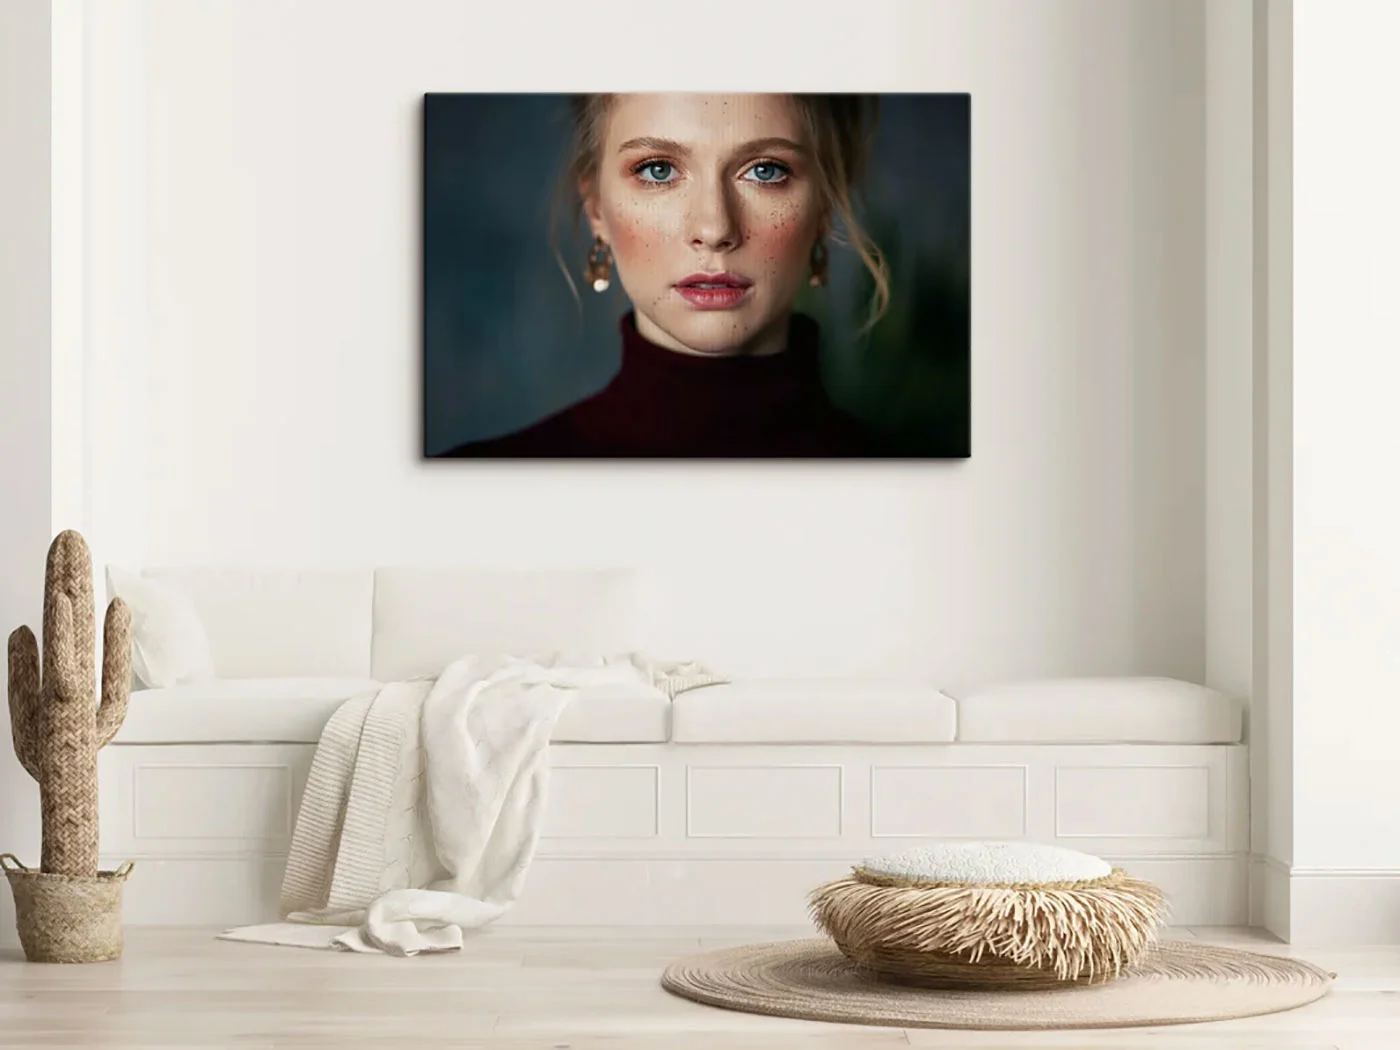
Frequency separation divides the image into two layers. Skin tone and colors are processed in the low frequencies, while fine details such as pores and hair are processed in the high frequencies. This allows you to edit imperfections without compromising the natural texture of the skin.
The softer look of the portraits achieved by skin retouching also makes them ideal for printing on canvas. The fine, smooth fabric gives a subtly textured, glossy surface, which makes the image appear more vivid and natural thanks to the texture of the fabric.
The process in Photoshop
First, you need to create two copies of your image. It is best to name them differently, such as "Color" and "Details" or "High" and "Low." At the low frequency level, apply a "noise filter," namely "Interpolate brightness." The skin will be softened, but the edges will remain well defined. On this level, you can also adjust the color ( ). With the repair brush, you can lighten shadows, for example under the eyes, darken shiny areas, or adjust the lip area.
In the "Details" layer, select "Image," "Image Calculation," and then select the "Color" layer. Important: The "Invert" checkbox must be selected. This creates a gray layer that contains only details. For a better view, you can create a temporary tone correction and drag the contrast to the middle. With the "Clone Stamp" tool, you can now tackle all blemishes, wrinkles, and large pores. It is important to proceed in small steps. Use a small radius, only select areas in the immediate vicinity, and choose as many different pattern areas as possible. Otherwise, the image will quickly look fake.
Area of application for frequency separation
The workflow is very time-consuming. You won't get a "one-click result." The goal is to deliver a perfect image. With a wedding portrait, for example, you don't have the opportunity for a second try. The result of retouching with frequency separation is a natural, detailed, and perfect image.
1.2 Dodge and Burn
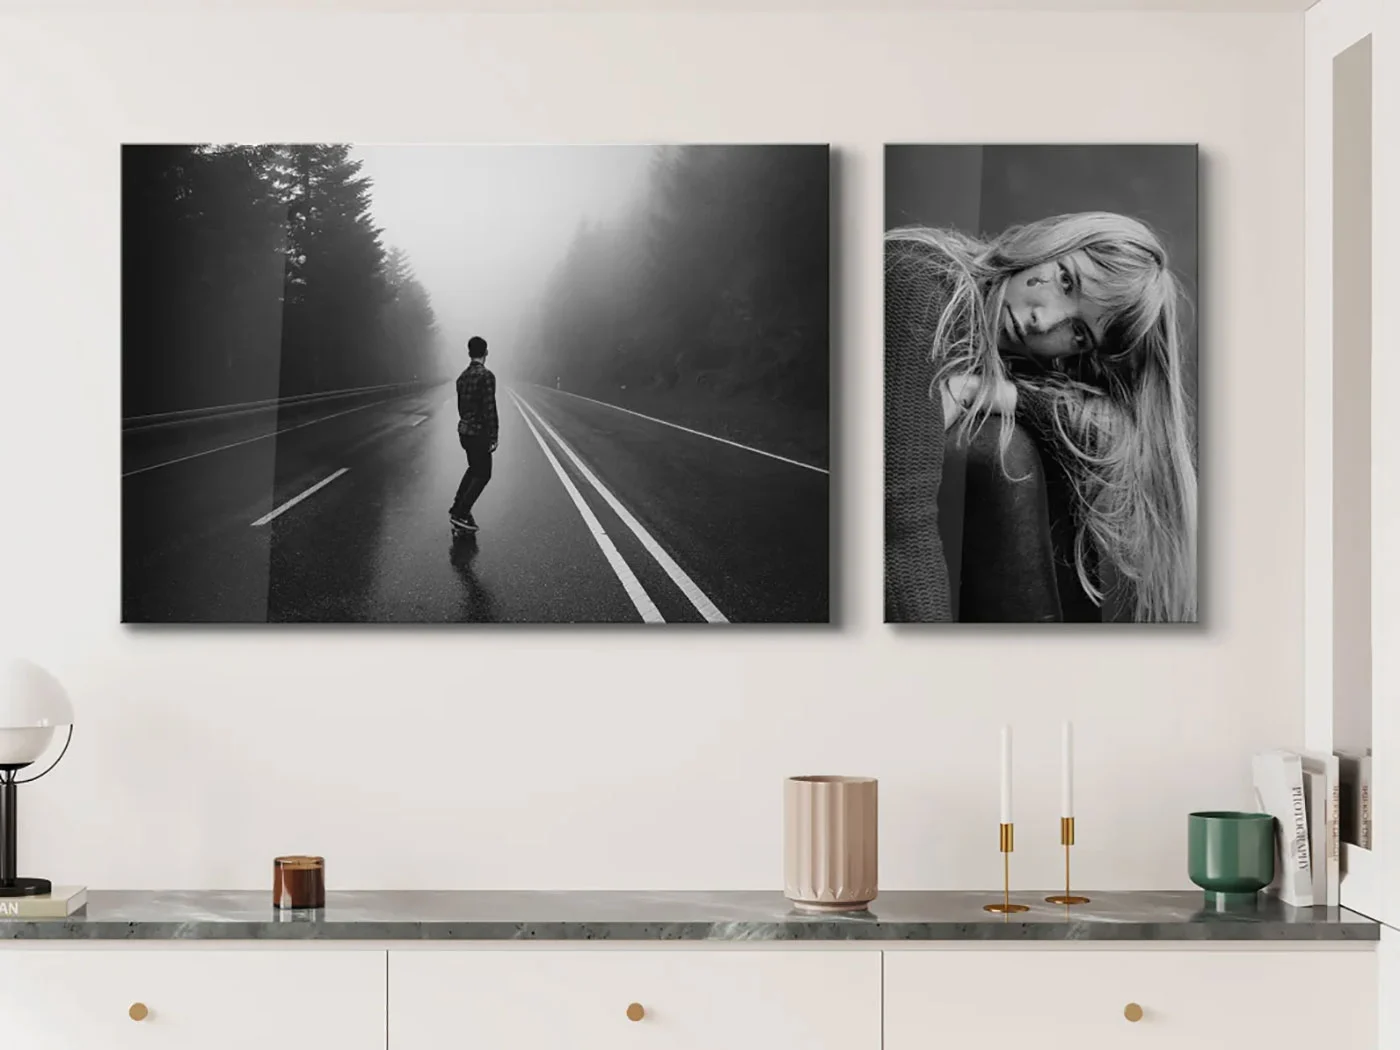
This is a technique that dates back to the days of the darkroom. Using blotting paper, stencils, and additional lamps, some of the " " areas of an image were darkened (burned) or lightened (dodged). The aim of this technique is to emphasize three-dimensional structures and the depth of individual areas of the image. The effect is cinematic and naturally emphasizes contours. The most common and therefore first areas of application are brightening eyes or darkening corners to create a vignette.
Many modern image editing programs now have special tools for this technique. Whether you work with a tool in your mask, create multiple layers, or your program has a function that selects a single area – there are many ways to achieve the same result. The key point here is to apply the technique with a delicate touch. As in the darkroom, too much of a good thing is not useful in digital photography either. You can recognize these mistakes in an image by a veil effect, often referred to as a halo. If you don't work cleanly or if the automatic mask fails, more will be lightened than you want.
Dodge and Burn: Three programs, three approaches
Adobe Photoshop
Photoshop offers the option of working with layers. This means that your changes are not destructive to the original image. Create a new layer and fill it with 50 percent gray. Set the blend mode to "Overlay." Now paint on this layer with white to lighten the area, or paint with black to darken it.
Adobe Lightroom
In Lightroom, this is an additional step after the normal development of the image. In addition, all local adjustments for the entire image are already completed as a basis. The tools for these local adjustments include the radial and linear gradients.
Especially with landscape shots, a gradient is often the best solution for brightening the foreground. The adjustments can then be made even finer and more precise using the brushes. Whether brush or filter: once set, they can be used to change the exposure in the region, as well as highlights, shadows, or color tones, for example.
To present your landscape, we recommend printing your photo on aluminum Dibond, which has a durable UV protective film that guarantees you will enjoy your work for years to come.
DxO Photolab
DxO Photolab has a tool called UPoint for this technique. It allows you to set a flexible radius around an object and edit it independently of the overall image. You can lighten, darken, expose, or colorize within this area. The transitions can be adjusted smoothly, but it does not mask any objects exactly.
Whether it's objects in the foreground or the contours of a face, Dodge and Burn lets you subtly enhance details, add depth, and create stylish lighting effects. Again, the result is best applied to a single image or a small series, rather than as a standard step in your workflow.
1.3 Hair retouching
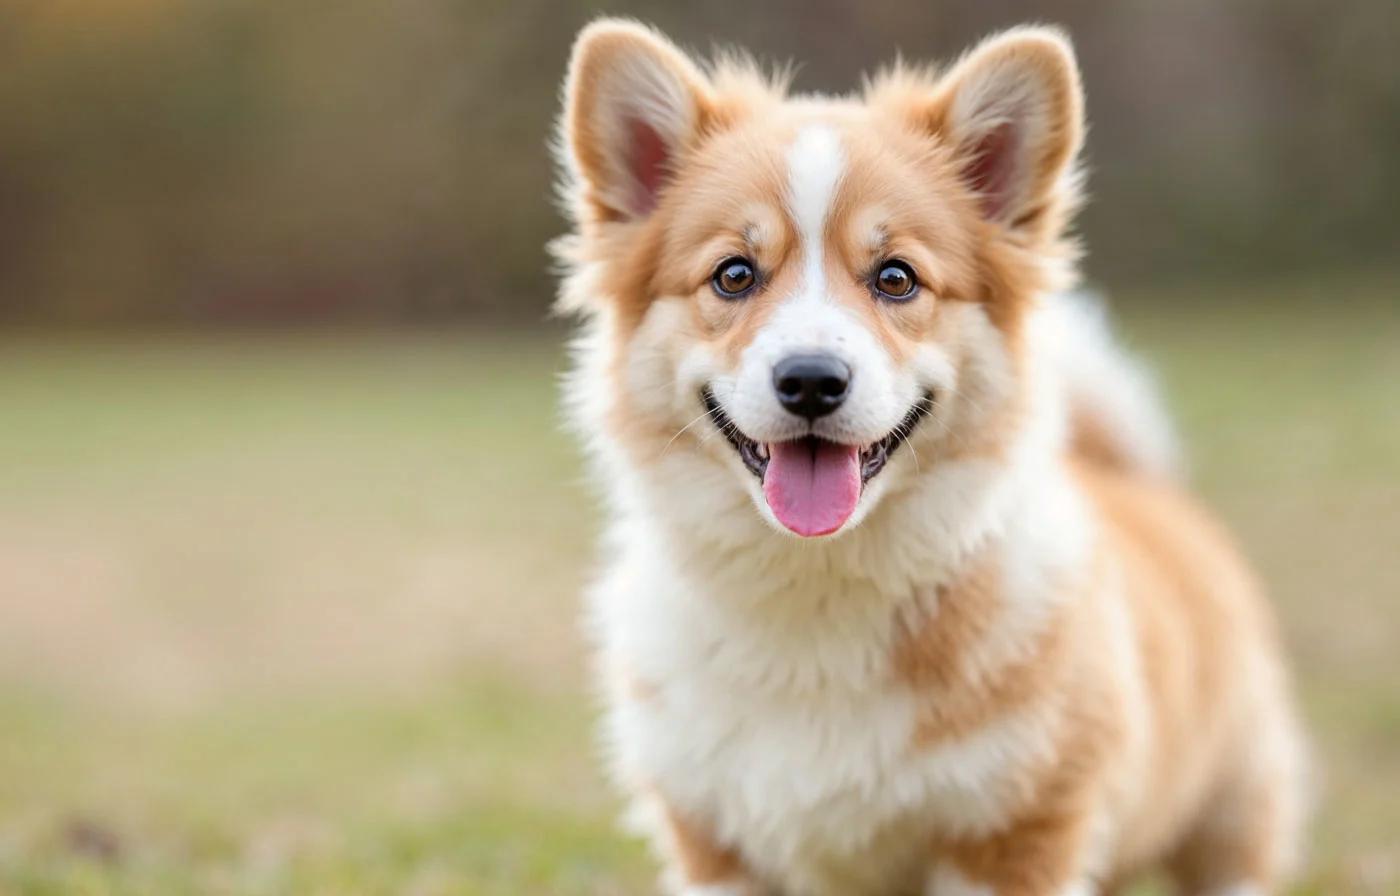
One problem that every photographer faces with almost every type of model is hair. Whether you photograph men, women, or animals, whether you are an amateur or a professional, whether you prefer to work outdoors or in the studio—no one is immune to the life of hair.
There are two scenarios that are conceivable when it comes to hair in post-processing. First, you want to remove flyaway hair, or second, you want to add more volume.
To remove hair, you can use the clone brush and additional layers in Photoshop to make noticeable stray hairs disappear.
Another method is to use the "Liquify" tool in the Adobe program. This is a very powerful tool that allows you to make massive changes to your image. However, if used in small, deliberate steps and with caution, you can use it to make hair look a little more voluminous or push it closer to your model.
1.4 Beauty retouching
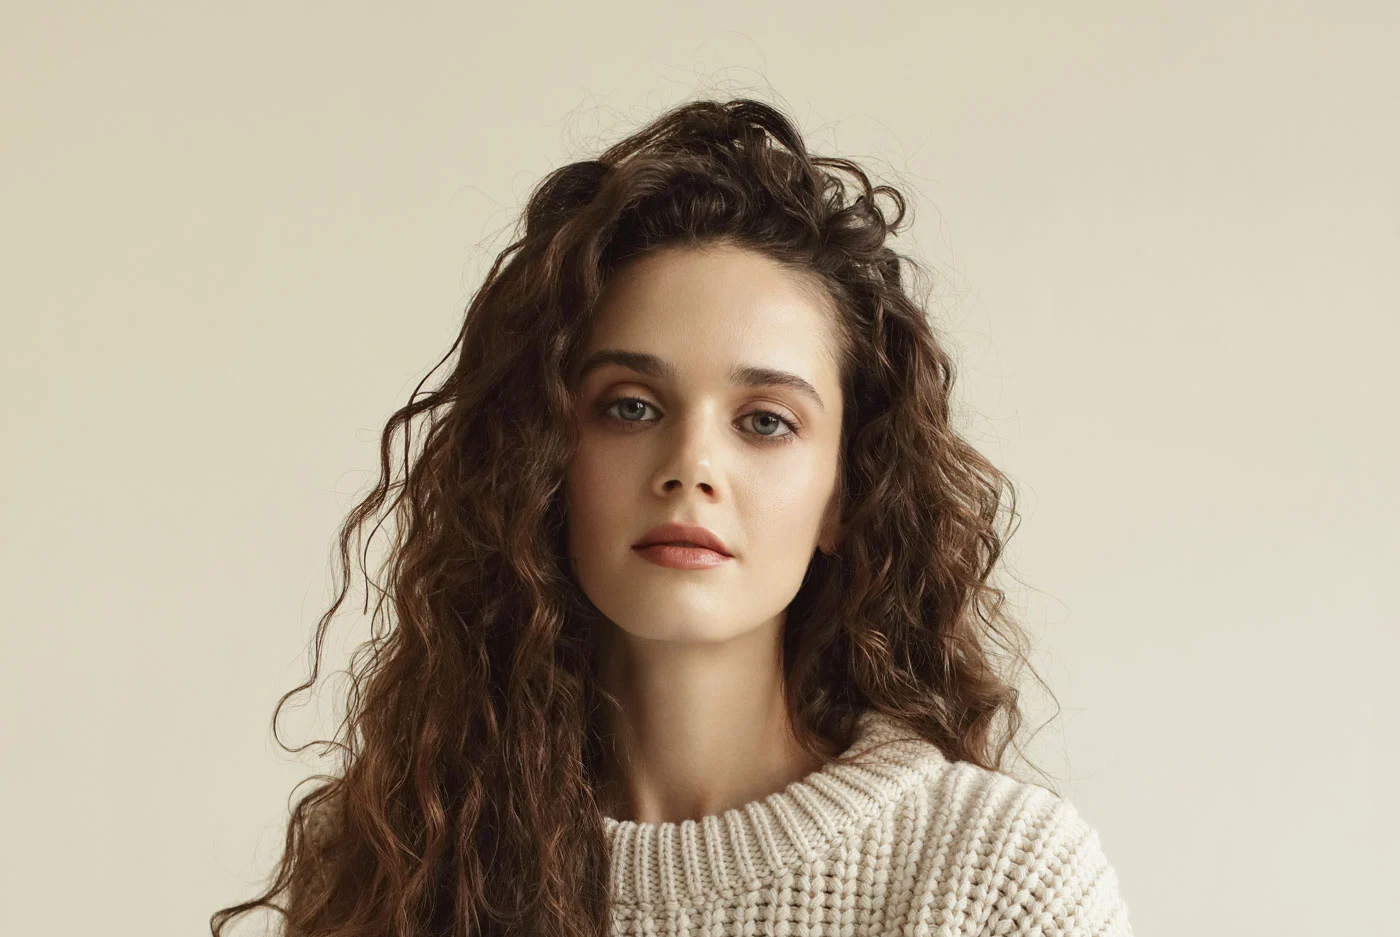
A few details that are particularly appreciated in portrait photography by both the photographer and the model are the eyes and teeth. However, there are good reasons for these two cases of "real" beauty retouching. Never forget that you want to get the best out of your image. You have put a lot of effort into setting up and taking your pictures, you have mastered the post-processing to the best of your knowledge, and now your portrait is almost finished. There are many reasons for dark circles under the eyes and dark teeth – but in a photo, it is actually also due to the lighting.
Whiten teeth
For natural-looking teeth, as we see them in the light, a slight brightening with a soft white brush is sufficient. This brings out the original white tone that could only have been captured under perfect studio lighting.
Sharpen the eyes
The eyes should always be the sharpest point in a portrait. You can emphasize them by sharpening and brightening this area. Some programs also offer the option of enlarging the eyes or iris, but you should use this feature with caution, as the portrait can quickly look unnatural, especially since the eyes are the focal point. The soft brush can also be used to reduce red veins or cloudy whites of the eyes.
Remove dark circles
You can lighten dark circles under the eyes as described in Dodge and Burn, thereby removing them from the image. Of course, this should be done carefully and with caution.
Retouching with AI
Some programs that work with extensive AI already provide powerful support for beauty retouching. The Radiant Photo program, for example, has a special area dedicated to retouching. Here, the program recognizes the person's eyes, which serve as anchor points. The program then uses these to whiten teeth, emphasize lips, or remove dark circles under the eyes.
2. Is it art or can it go? Adding or removing elements
Photographers usually want a perfect picture. Compromises are a necessary evil. It may be a space that simply won't clear of people, a pipe that hangs too low in the image to crop out, or part of an old temple wall that isn't as well preserved as the opposite side. If you feel that the presence or absence of an element is detracting from the message of your image, this is no longer a problem.
Modern image editing programs provide you with a wide range of tools for retouching and optimizing your images.
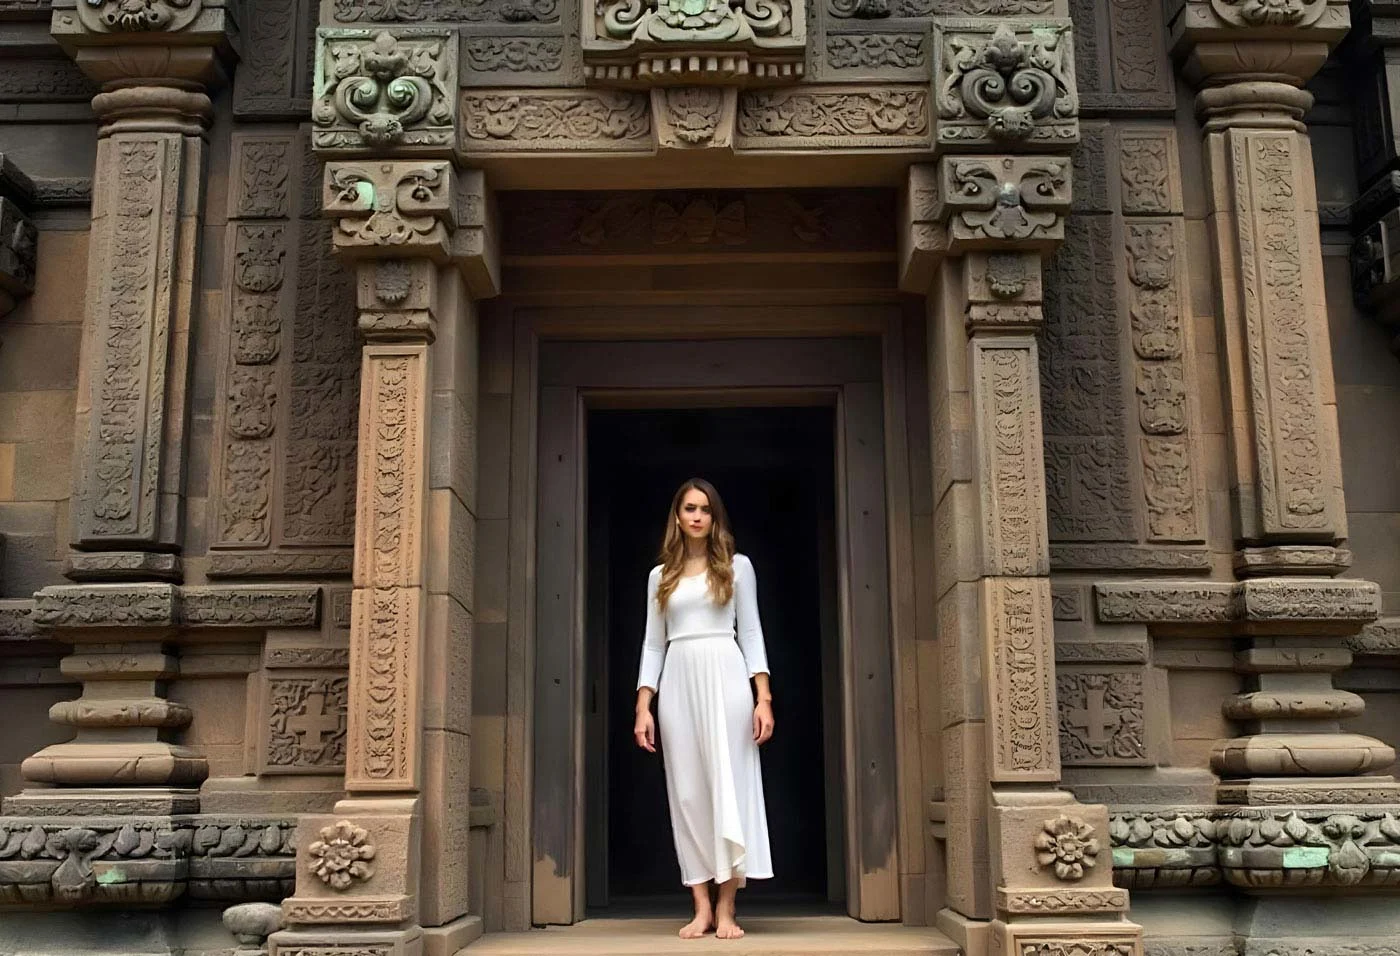
We will use practical examples to examine the various options in more detail. The focus here is not so much on defined workflows, but rather on showing you what is possible with image editing in retouching.
Example: Removing graffiti
You take a beautiful photo of a lakeside scene. Your model is in profile and the city in the background is blurred. When editing, you notice graffiti on a bridge pier.
You can use the cloning tool, which is available in almost every editing program in some form or another, to remove it from the pillar. Some programs also offer options for analyzing the area based on the remaining image data and filling it generatively.
Or you can conjure up a dreamy blur from the background that you could only have achieved with a much wider aperture. The background becomes significantly blurrier and the distracting elements disappear.
Example: Remove trash cans
Conversely, you may be in the perfect spot with the perfect lighting to photograph a city scene. The mood is right, the exposure and focus are spot on, but unfortunately there is a small, bright red trash can in the left part of the image that you only notice afterwards. Its bright color makes it stand out and detracts from the overall image effect. This can be easily remedied in post-processing using the clone or remove tool.
None of these steps will turn a poor image into a perfect shot. Rather, these tools are there to help you refine your image to perfection. The decision of how much you want to digitally alter the image is entirely up to you.
3. Conclusion: Retouching as a tool
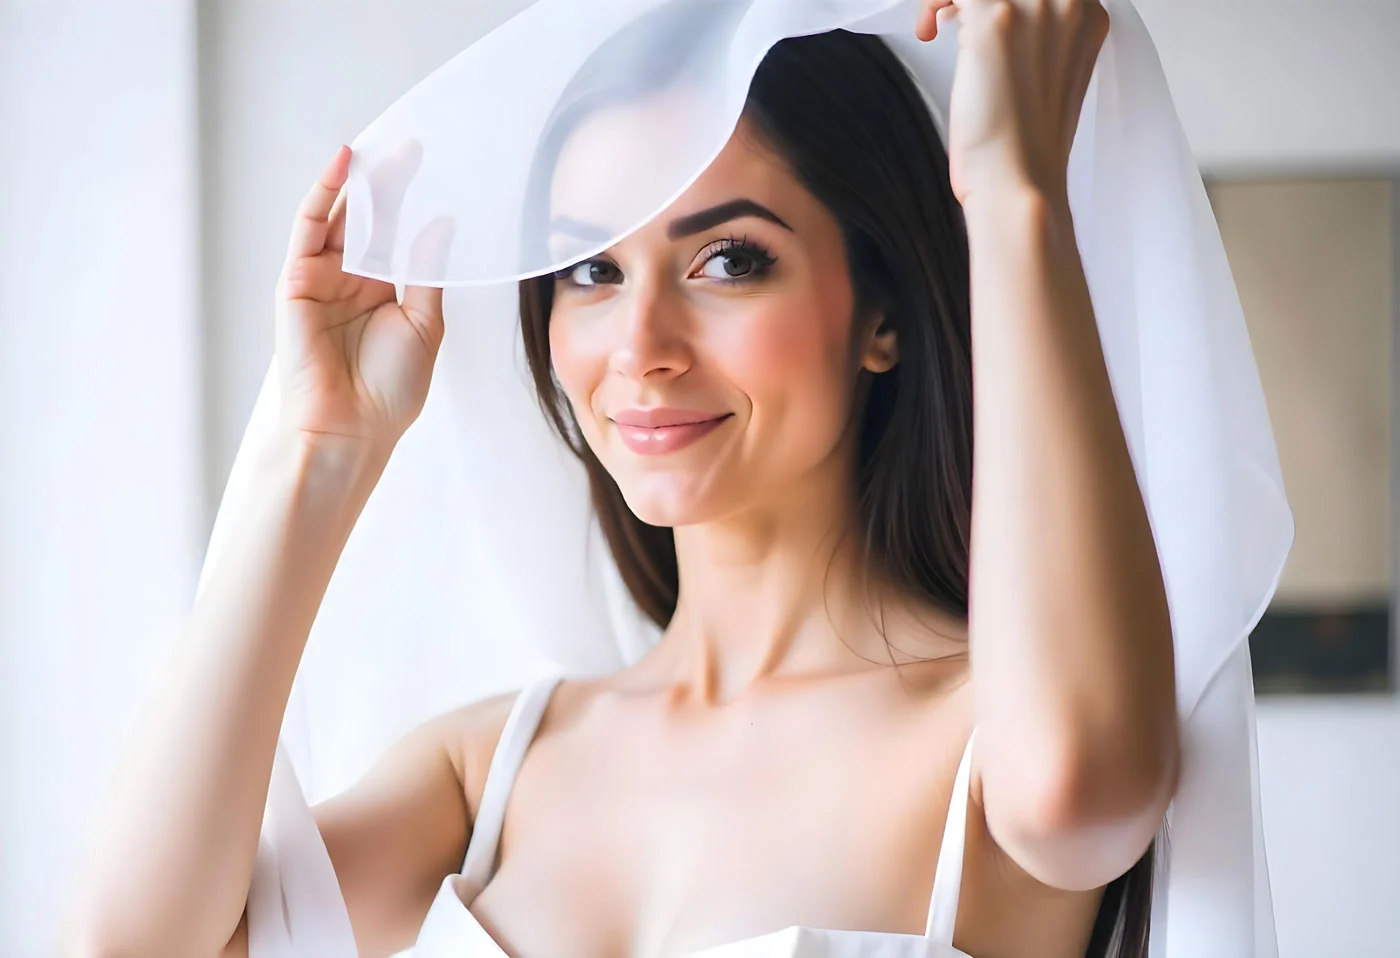
As you can see, advanced retouching techniques are a powerful tool in photography that can help you take your images to a professional level. By using techniques such as frequency separation, dodge and burn, hair and eye retouching, and adding or removing elements, you can ensure that your portraits are not only technically perfect but also aesthetically pleasing. In landscape, street, or architectural photography, retouching helps to remove distracting elements.
Perfection may be required for a small series of images or special shots, which can be achieved with skillful portrait retouching in the final image. Examples include bridal portraits that are to be printed in large format or a commissioned shoot for a magazine cover. Always be aware of the effort involved if you want to offer extensive retouching methods or integrate them into your workflow.
Use these techniques to impress your customers with stunning results or to give yourself a lifetime of enjoyment when creating a high-quality print.
Learn more about the author
As a trained portrait and wedding photographer, Katharina Wergen brings her extensive knowledge to photography. She has been working as a sales consultant at WhiteWall since 2018 and supports exhibition projects for museums and galleries. She is also increasingly focusing on reportage photography. Take a look behind the scenes of the photographer, here in the interview.

Also interesting:
Submitted by WhiteWall expert Katharina Wergen
The art of color correction and color grading: Professional techniques for breathtaking images
Learn how to use color correction and color grading to influence the impact of your images—for natural skin tones, harmonious looks, and impressive print results. Ideal for anyone who wants to get more out of their photos.
Submitted by WhiteWall expert Katharina Wergen
HDR techniques and panoramic photography: Perfect photos with advanced shooting techniques
Discover how HDR and panorama techniques can take your photography to a whole new level. Whether you want to capture dramatic lighting effects, the finest details in bright and dark areas, or impressive landscapes in large format, the right shooting methods will enable you to create images that are perfect for impressive prints on acrylic glass or as master prints. Learn about these techniques now and be inspired!
Submitted by WhiteWall expert Katharina Wergen
The fine art of creative photo montage and compositing
Discover how to create fascinating visual worlds with composites and image montages—from surreal scenes and double exposures to text and lighting effects. With practical tips, software recommendations, and lots of examples for creative experimentation.


