The fine art of creative photo montage and compositing
From WhiteWall expert Katharina Wergen
Expand your photographic possibilities with complex photo montage and compositing techniques. You can use them to create creative, unique, and spectacular images that cannot be achieved with conventional photography.
In this article, we explain what compositing is, how and when you can use it, and what techniques and methods you need. We draw on practical examples, provide an overview of the most common programs, and offer some tips for getting started with this versatile editing process.
The basics of photomontage

Compositing involves combining several images or image sections to create a new, often surreal work of art.
The idea behind photo montage is not an invention of digital camera technology. As a photo collage, it was the medium of graphic designers and newspaper editors in the era before digital technology. Combination printing, a method in which multiple negatives are used to expose an image, dates back to the 19th century.
Art photography, advertising, and graphic design would not work without this technique. The possibilities that combining two or more images offer for your photographic repertoire are overwhelming.
For successful compositing, you need powerful software and a good understanding of digital image editing. The most common programs are Adobe Photoshop, GIMP, and Affinity Photo. They offer extensive tools such as layers, masks, selections, and filters, which are essential for compositing.
Montage techniques
Adobe Photoshop: With its extensive range of tools and plugins, Photoshop is the standard tool for professional compositing work. The layer styles, smart objects, and extensive selection tools are particularly helpful.
GIMP: As a free alternative, GIMP offers many features that are also found in Photoshop, making it ideal for beginners.
Affinity Photo: This software is cheaper than Photoshop and offers a similar range of features, making it an attractive choice for many photographers.
When editing a composite, there are a few important steps to follow in your software to ensure a solid look. Cropping and masking are basic compositing techniques. These involve isolating parts of an image so that they can be integrated into a new environment. Precise selections and masking are crucial to ensure seamless transitions between the parts of the image.
Step-by-step instructions:
Select object: Use the Quick Selection tool or the Pen tool to select the desired object.
Create a mask: Create a layer mask to edit the selection non-destructively.
Refine edges: Use the Refine Edge tool to create clean and smooth edges.
Place object: Insert the cutout object into the target image and adjust its size and position.
Light and shadow
To create realistic composites, light and shadow must be consistent. Make sure that light sources and shadow directions match in the combined images. Use the Dodge and Burn tools to manually edit light and shadow and enhance the illusion of depth and volume.
Example
Imagine you want to insert a person into a landscape. Note the light source in the landscape and adjust the lighting of the person accordingly. Add shadows that match the natural shadows in the scene to achieve a believable result.
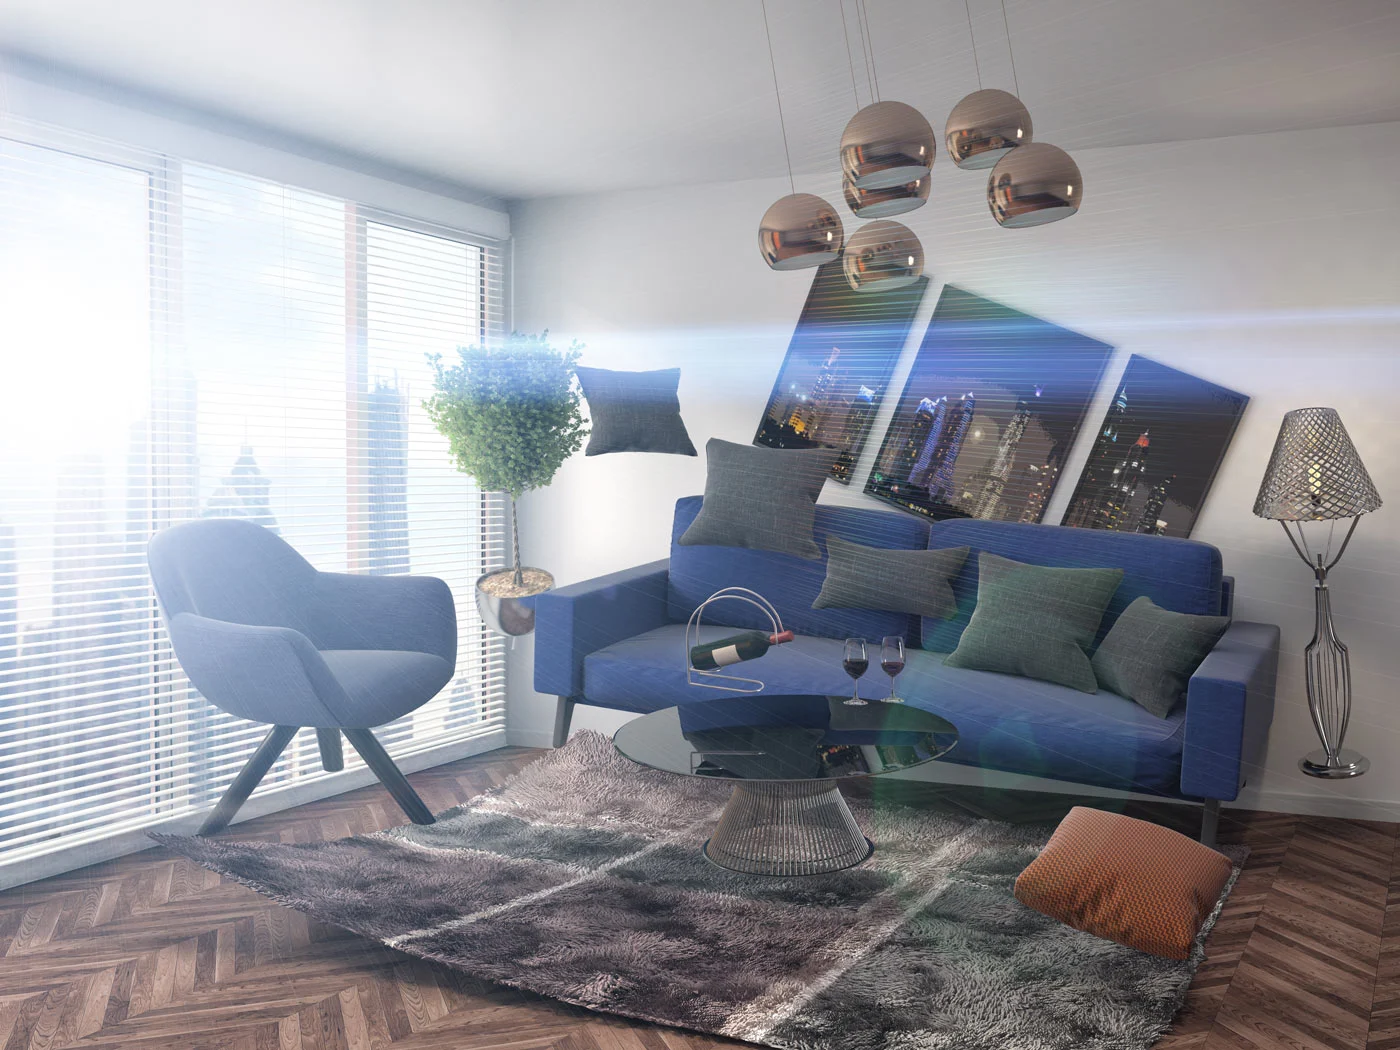
Compositing allows you to create surreal and fantastical scenes that cannot be achieved with traditional photography. Let your creativity run wild and combine elements in unusual ways.
Example
Flying islands: Create a scene with floating islands by combining landscape photos with images of rocks and vegetation and inserting them into the sky. Pay attention to the perspective and lighting conditions to create a harmonious image.
In advertising photography, compositing is often used to show products in their best light and add visual effects that catch the viewer's attention.
Example
Perfume advertisement: Combine a product photo with abstract elements such as smoke, rays of light, and flower petals to create a luxurious and appealing atmosphere. Use layer styles and blending modes to integrate the different elements harmoniously.
Color correction and adjustment
A common problem in compositing is color differences between different parts of an image. Use adjustment layers such as Hue/Saturation, Gradation Curves, and Color Balance to adjust colors and achieve a consistent look.
Use a reference color from the main image and adjust the other parts of the image to match.
Use the Auto Color Match feature in Photoshop to quickly achieve a rough match that you can then fine-tune.
Perspective and proportions
Make sure that the perspective and proportions of the combined elements match. Use transformation tools such as "Warp" and "Perspective Warp" to adjust the elements.
Example
Inserting a building into a landscape: Make sure the perspective of the building matches that of the landscape photo. Use guides and grids to precisely control the alignment and size.
Two strong images – one stronger motif

So far, we have shown you the creative aspect of montage in various situations. Classic compositing involves combining images or elements to create a new work. However, the digital darkroom of image editing software offers you even more possibilities for extraordinary creations.
Double exposure
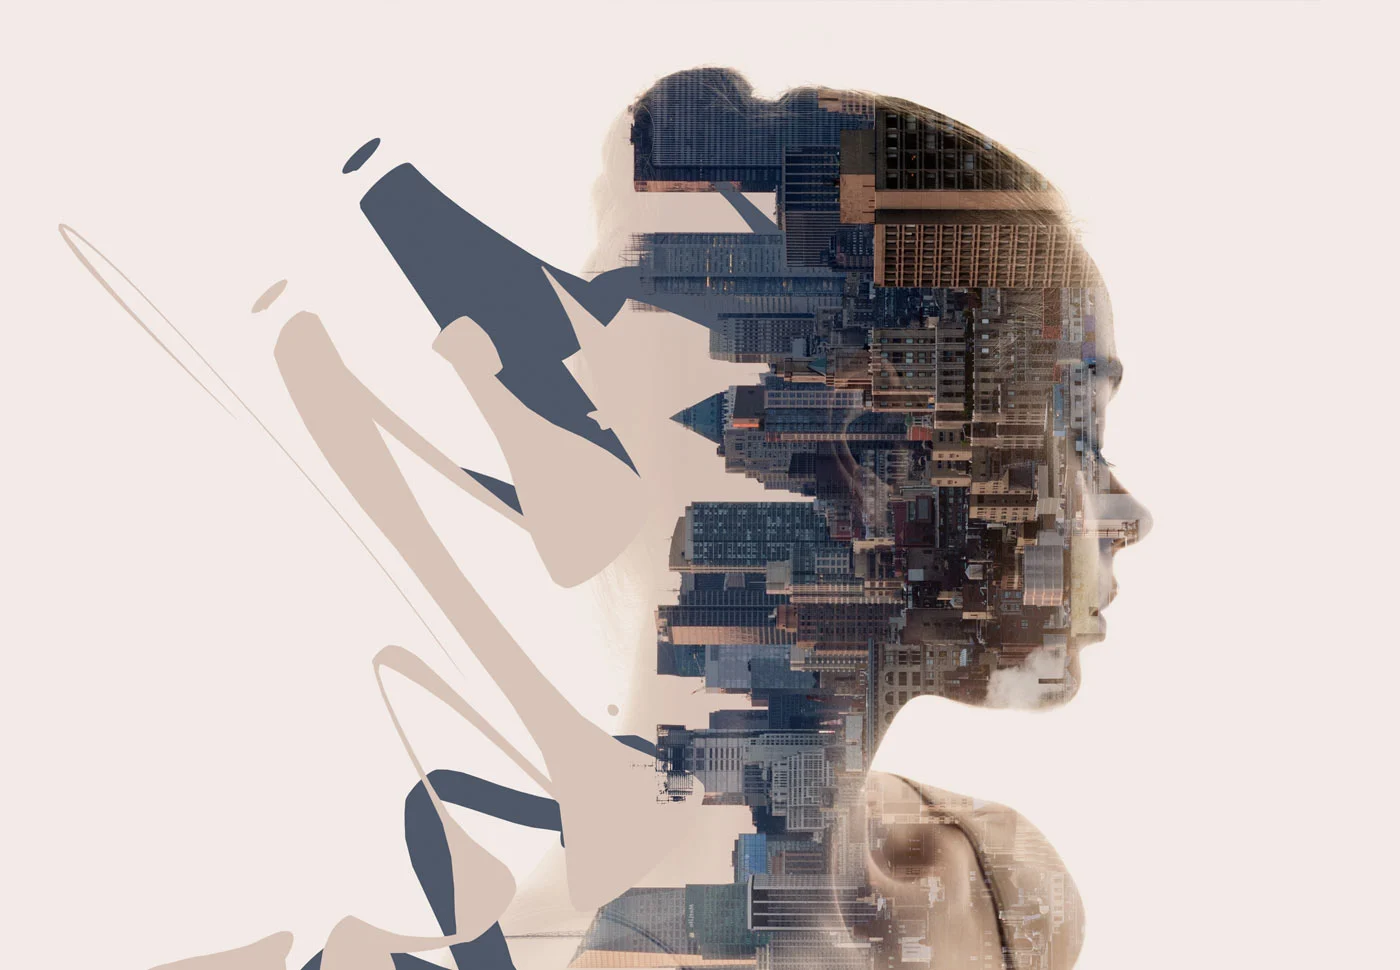
This is no longer about elements, but about mixing two images. Take a picture of a face in profile and another of a wide landscape. Combine the images in your image editing software so that the landscape can be seen in the silhouette of the face. This creates an exciting effect that can appear cheerful or mysterious.
Open the portrait and make it the background. Slightly increase the brightness and contrast.
Drag the second image over the first and select "Duplicate Negative" in layer mode on this layer.
Open a layer with "Gradation Curve" via "Corrections" and select "Medium Contrast."
Double exposure is a very versatile photo montage technique. Both the main motif and the fill motif can be exchanged in a variety of ways to create ever new and imaginative motifs.
Text in the image or image from text?

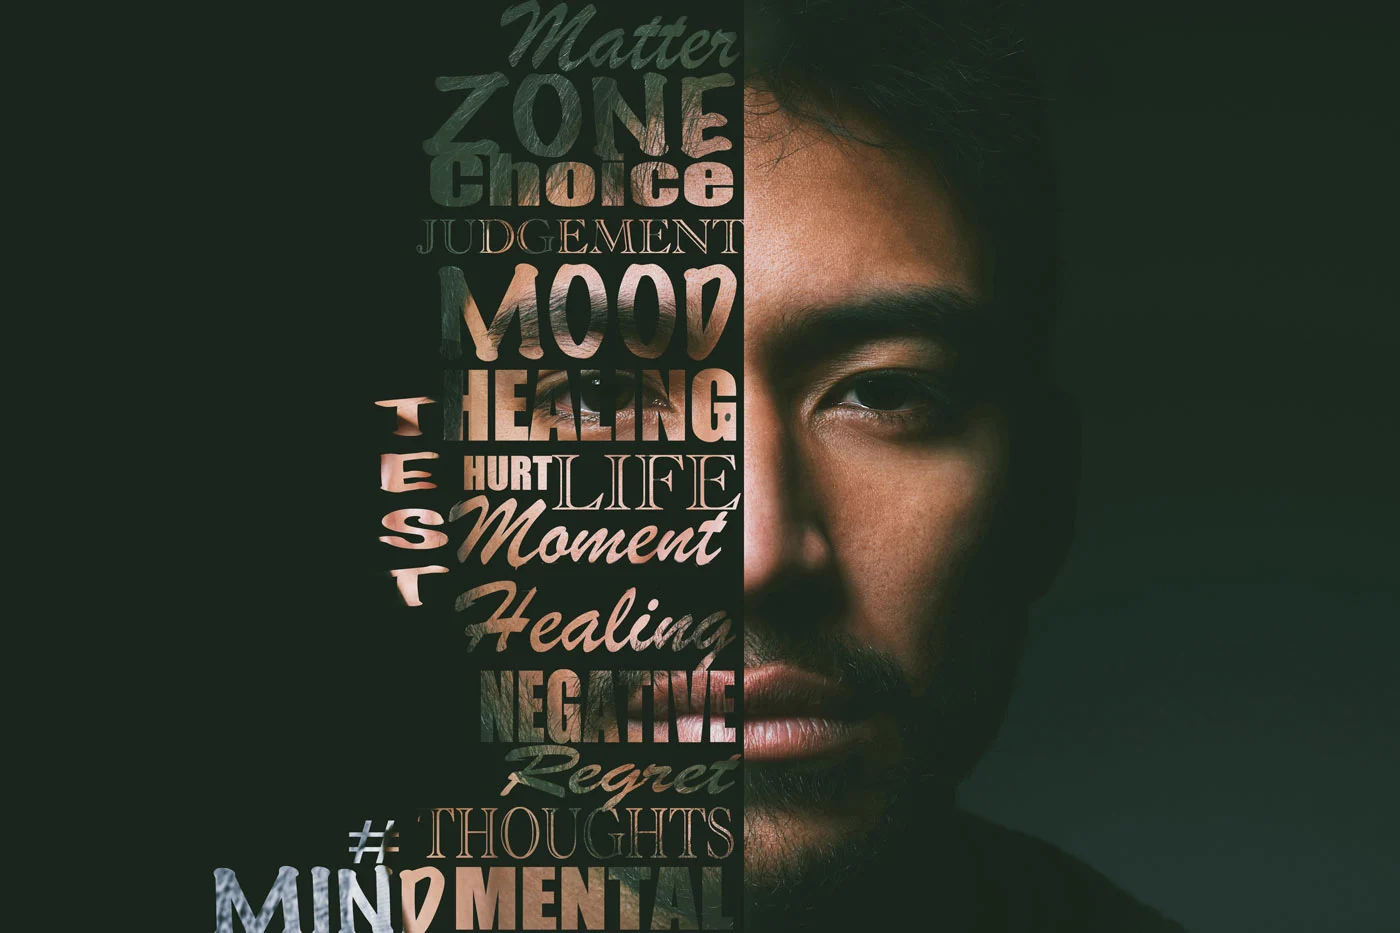
It is also possible to integrate text into your image. Every software program has the right tool for this. However, there are special methods for turning an image with text into a stunning composite.
Text as a mask
Load an image into the program. Create a new, empty layer. Select the left half and fill it with the keys [D] and [Alt]+black. Now enter your text with the "Text tool" – you can adjust the size and style using the drawing panel. Duplicate the background layer and drag the duplicate to the top. Now use [Ctrl]+[Alt]+[G] to create a clipping mask; the half of the face will appear under the letters.
Text in relief
Load an image as the background in your program. Fill a new layer with black. Since you will need a lot of text for this, you should copy it and paste it here, for example from your favorite book. Duplicate the background layer and move it to the top. Apply the "Gaussian Blur" filter with a radius of 8 pixels and save your file as "PSD without layers.". Next, use "Filter/Convert for Smart Filters" and "Distort/Offset" with 10. Now load the PSD file and create a copy of the bottom layer. Drag this to the top. Right-click to create a "Clipping Mask." Hide the blurred layer and marvel at the result.
Text as a brush tip
Create a new file in white and type a word. Select it with the rectangle tool and go to "Edit/Set Brush Preset." Now paint the word on several new layers. You can adjust the properties in the brush panel as desired for each layer to achieve different spacing, scattering, and sizes. Group all labeled layers. Now drag your image over the text layer group and right-click to create an "Intersection Mask." For a particularly creative effect, place a layer full of color dots on top in "Color" mode with reduced "Opacity."
It's all in the mix – blending modes

Photoshop offers a wide range of blending modes. The best thing to do is to try them all out. As with double exposure, your creative ideas are your motivation here. For example, try blending a person and a rotated city.
Practice and further training
The world of compositing is limitless; only your creativity sets the limits. It's easy to lose track, as new blending modes and creative tools are constantly being offered as plug-ins. It's well worth keeping up to date with tutorials and tools (which are often free for testing purposes).
Conclusion
Complex photo montages are a powerful technique that allows you to turn your creative visions into impressive images. With the right tools, techniques, and a little practice, you can create breathtaking montages that will amaze your viewers. Use the tips and examples in this article to start your own projects and expand your photographic skills. Good luck and have fun experimenting!
Learn more about the author
As a trained portrait and wedding photographer, Katharina Wergen brings her extensive knowledge to photography. She has been working as a sales consultant at WhiteWall since 2018 and supports exhibition projects for museums and galleries. She is also increasingly focusing on reportage photography. Take a look behind the scenes of the photographer, here in the interview.

Also interesting:
Submitted by WhiteWall expert Katharina Wergen
Advanced Retouching Techniques: A Guide to Final Perfection
Whether it's perfect skin, sparkling eyes, or distracting elements in the background, advanced retouching techniques take your portraits to a whole new level. Discover professional methods such as frequency separation, dodge and burn, and hair retouching, and learn how to turn good pictures into expressive masterpieces.
Submitted by WhiteWall expert Katharina Wergen
The art of color correction and color grading: Professional techniques for breathtaking images
Learn how to use color correction and color grading to influence the impact of your images—for natural skin tones, harmonious looks, and impressive print results. Ideal for anyone who wants to get more out of their photos.
Submitted by WhiteWall expert Katharina Wergen
HDR techniques and panoramic photography: Perfect photos with advanced shooting techniques
Discover how HDR and panorama techniques can take your photography to a whole new level. Whether you want to capture dramatic lighting effects, the finest details in bright and dark areas, or impressive landscapes in large format, the right shooting methods will enable you to create images that are perfect for impressive prints on acrylic glass or as master prints. Learn about these techniques now and be inspired!


