Advanced techniques for light and shadow
From WhiteWall expert Katharina Wergen
In the following, you will learn how to apply advanced techniques for light and shadow to create impressive images.
The Influence of Light and Shadow in Photography
Light and shadow are the fundamental elements that give structure and meaning to an image. They influence the mood, focus, and overall dynamics of a photo. Photographers can create impressive and expressive images when they understand and deliberately use these elements.
Light: The Source of Visibility and Emotion
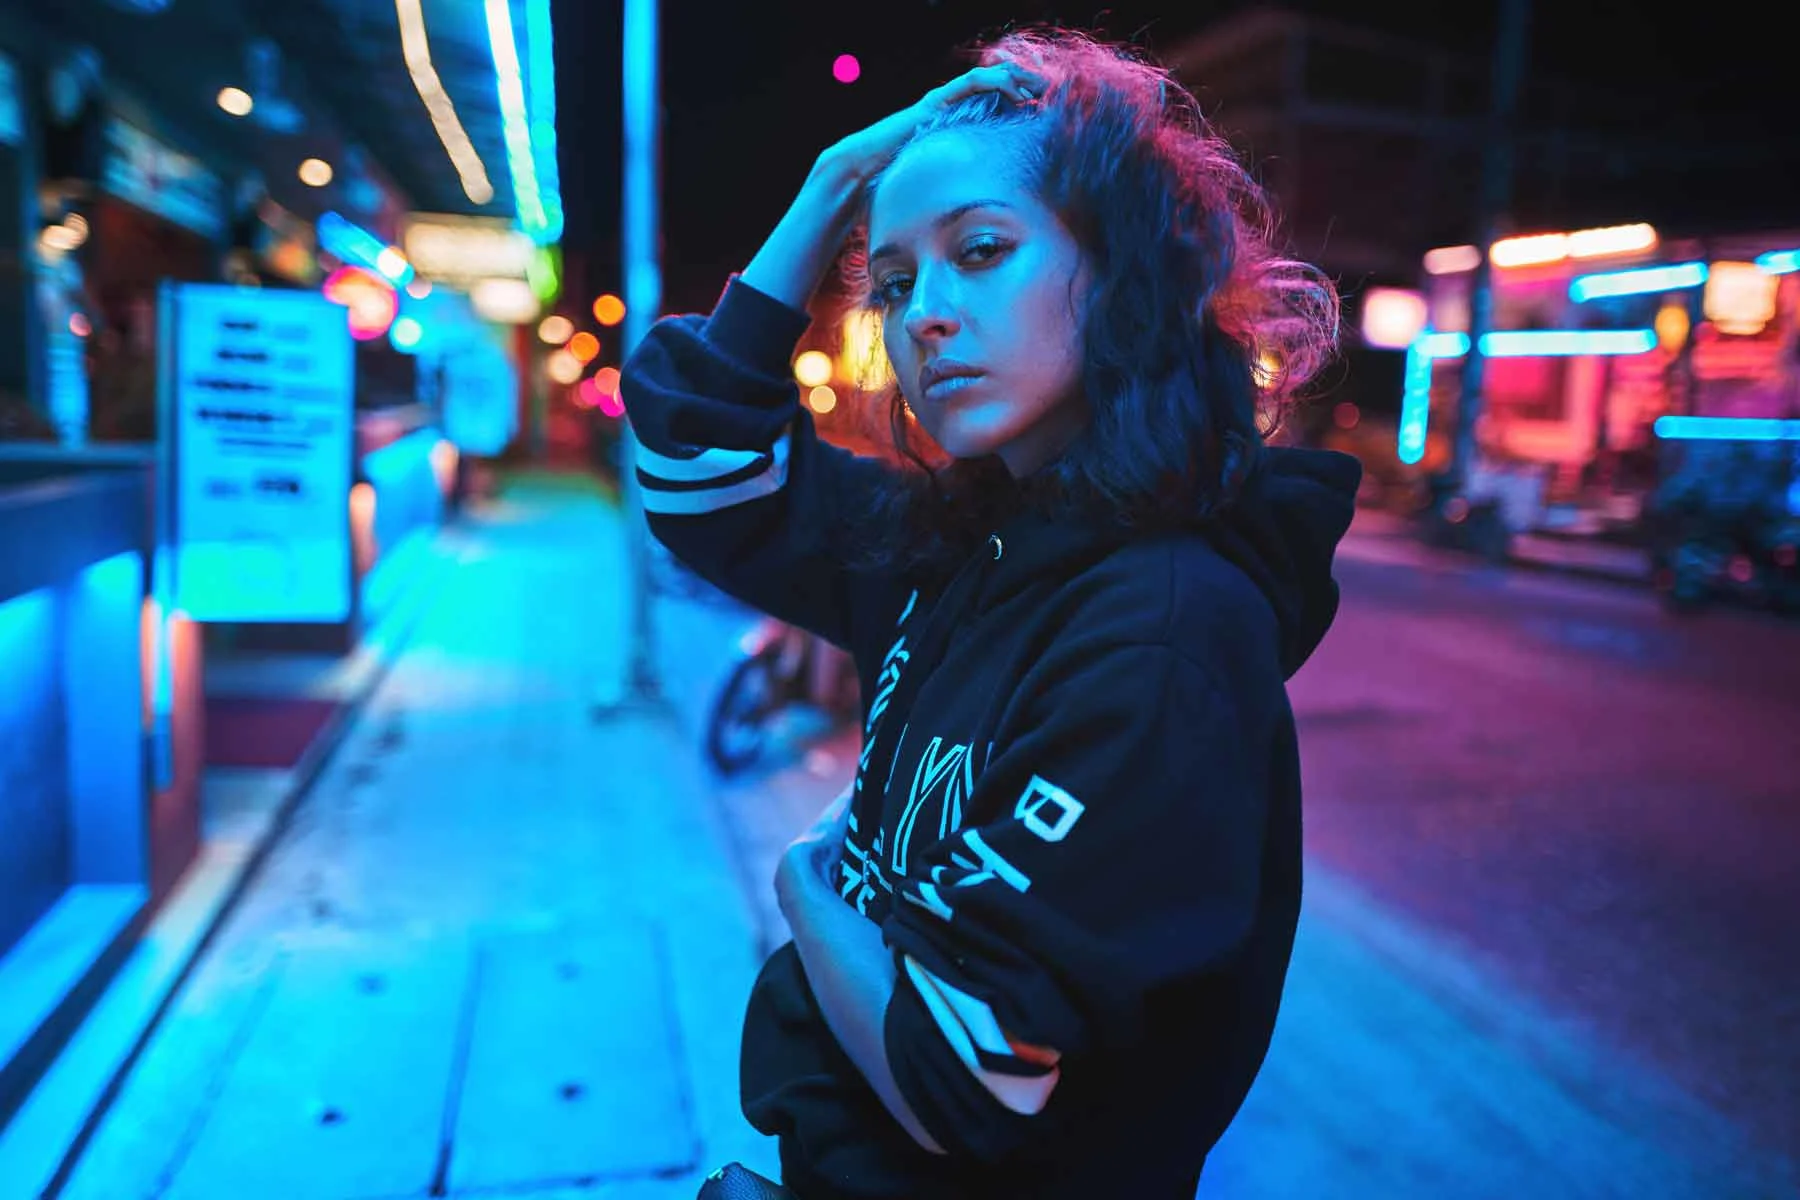
Light is the heart of every photograph. It is crucial for exposure, color tones, and the mood of the image. The effect of a photo can change dramatically through different light sources and light qualities:
Natural light: Sunlight can be soft or harsh, depending on the time of day and weather conditions. Morning and evening light is softer, creating long shadows and warm tones, while midday light is harsh and high in contrast.
Artificial light: Studio lights, flashes, and other artificial sources offer control and consistency. They allow you to shape the light according to your creative vision.
Light can be used in many ways to achieve a wide variety of effects in your shots. Understanding and skillfully handling light and shadow is therefore of particular importance to photographers. These two elements are the key to mood, emotion, and a successful composition of an image. Mastering these techniques enables you to implement your creative visions precisely. Just as versatile as light are the possibilities to complete your photography with WhiteWall premium products. For example, in large format behind acrylic glass, to enhance the effect of light – or as a premium photo print with a custom-made passe-partout in a timeless floater frame, to reinforce the image effect.
Hard and soft lighting, the direction of the light, and the color temperature play a crucial role.
1. Hard and soft lighting:
Hard lighting creates strong contrasts and sharp shadows, often leading to dramatic and powerful images.
Soft lighting, on the other hand, provides gentle transitions between light and shadow and gives the image a calm and even atmosphere.
2. Light direction:
Front light illuminates the subject directly from the front and minimizes shadows, resulting in flat but clear images.
Side light creates deep shadows and emphasizes the texture and structure of the subject.
Backlight can illuminate the subject from behind, resulting in silhouettes and an intense atmosphere.
3. Color temperature:
Warm light (sunrise or sunset) conveys warmth and comfort.
Cool light (overcast sky or shade) can create a cool and sometimes melancholic mood.
Shadow: The Provider of Contrast and Structure
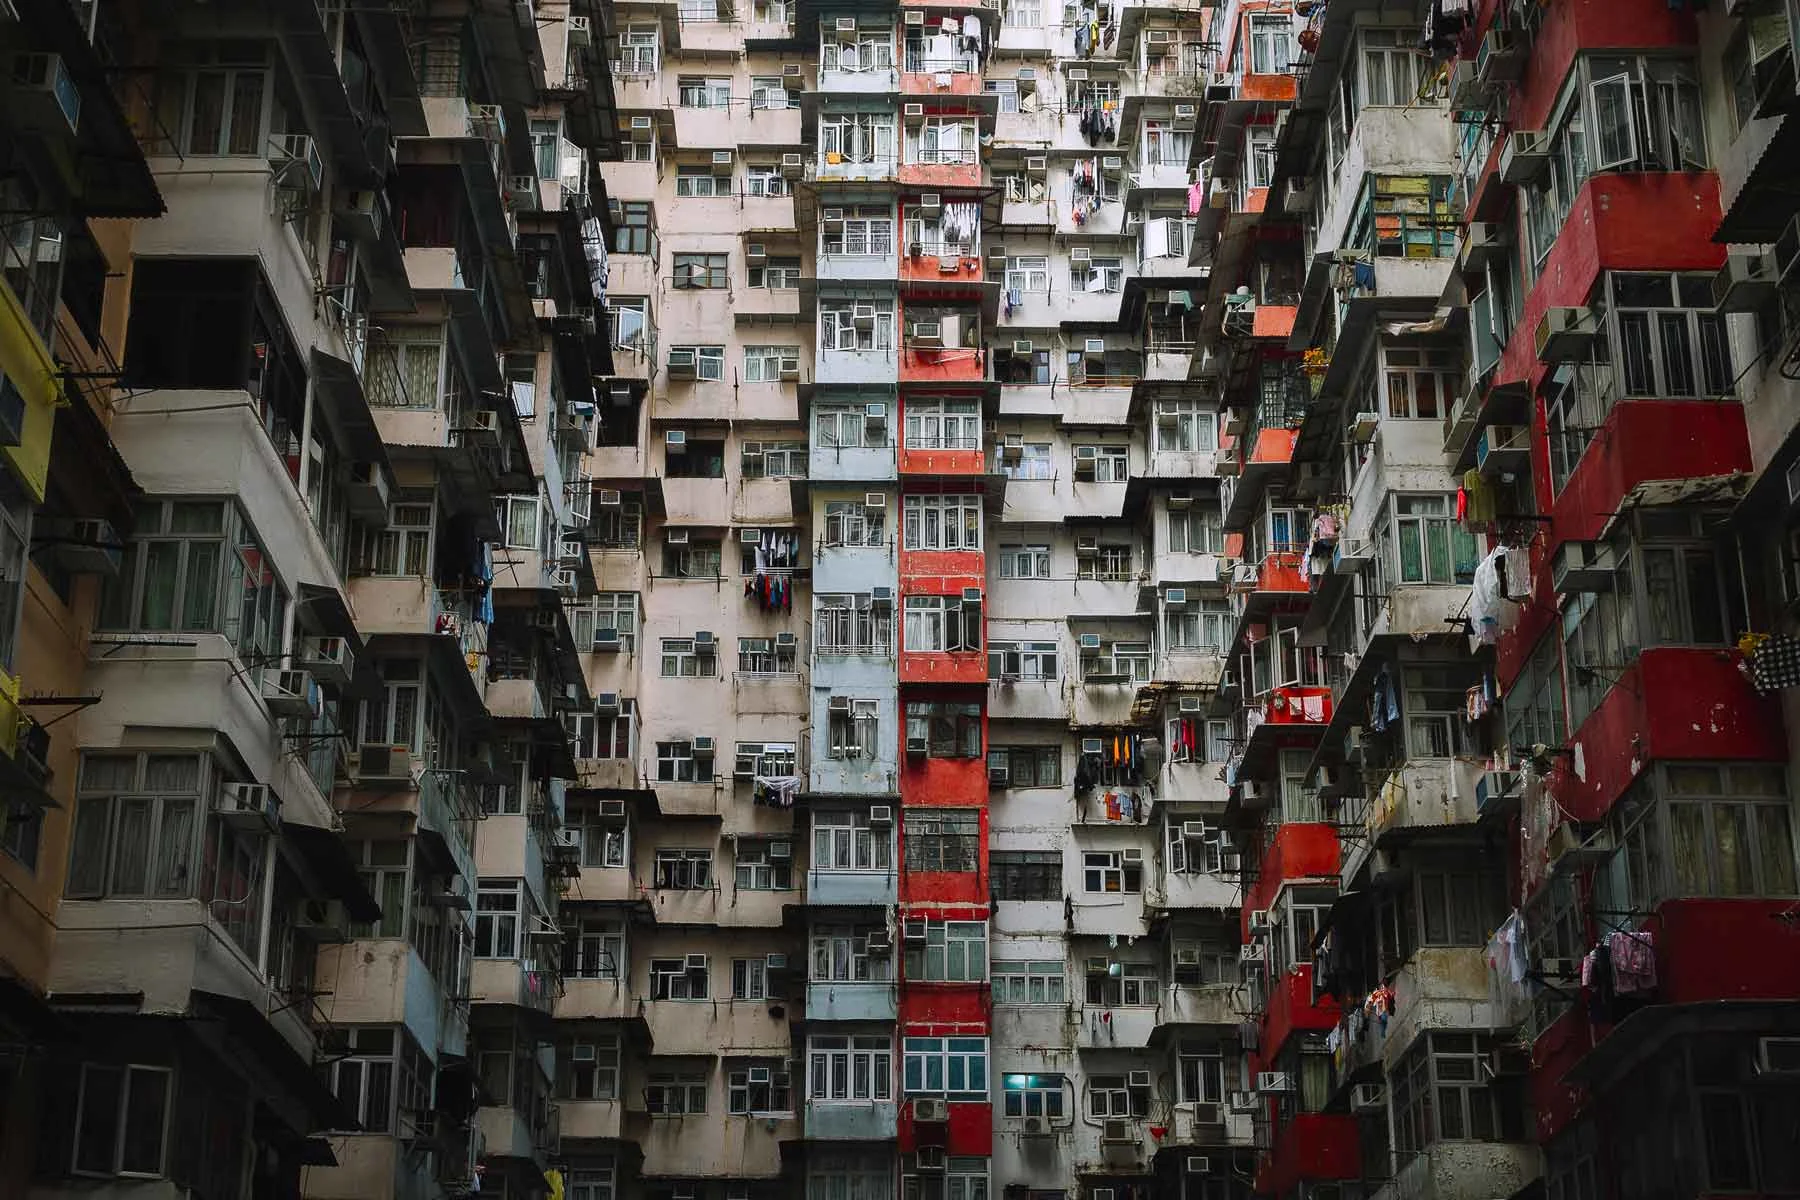
Shadow is not just the absence of light but also a powerful tool to bring depth and dimension into your photos. Shadows complement the light. Through the skillful placement of light sources and the deliberate direction of shadows, impressive visual effects can be achieved.
1. Depth and dimension:
By using shadows deliberately, you can emphasize the three-dimensionality of your subject. This can be particularly advantageous in portraits and architectural shots.
2. Increasing contrast:
Strong shadows can increase the contrast in the image and thus highlight the main subject. This is especially relevant in black-and-white photography.
3. Patterns and textures:
Shadows can create interesting patterns and textures that add an additional visual layer to the image. This can be achieved by natural light sources such as the sun or by artificial light sources.
Practical Techniques for Using Light and Shadow
So much for the theory. Let’s continue with the techniques that help you make light and shadow work for you and your shots in practice – and get the best out of your subjects.
1. Low-key photography: Dramatic lighting
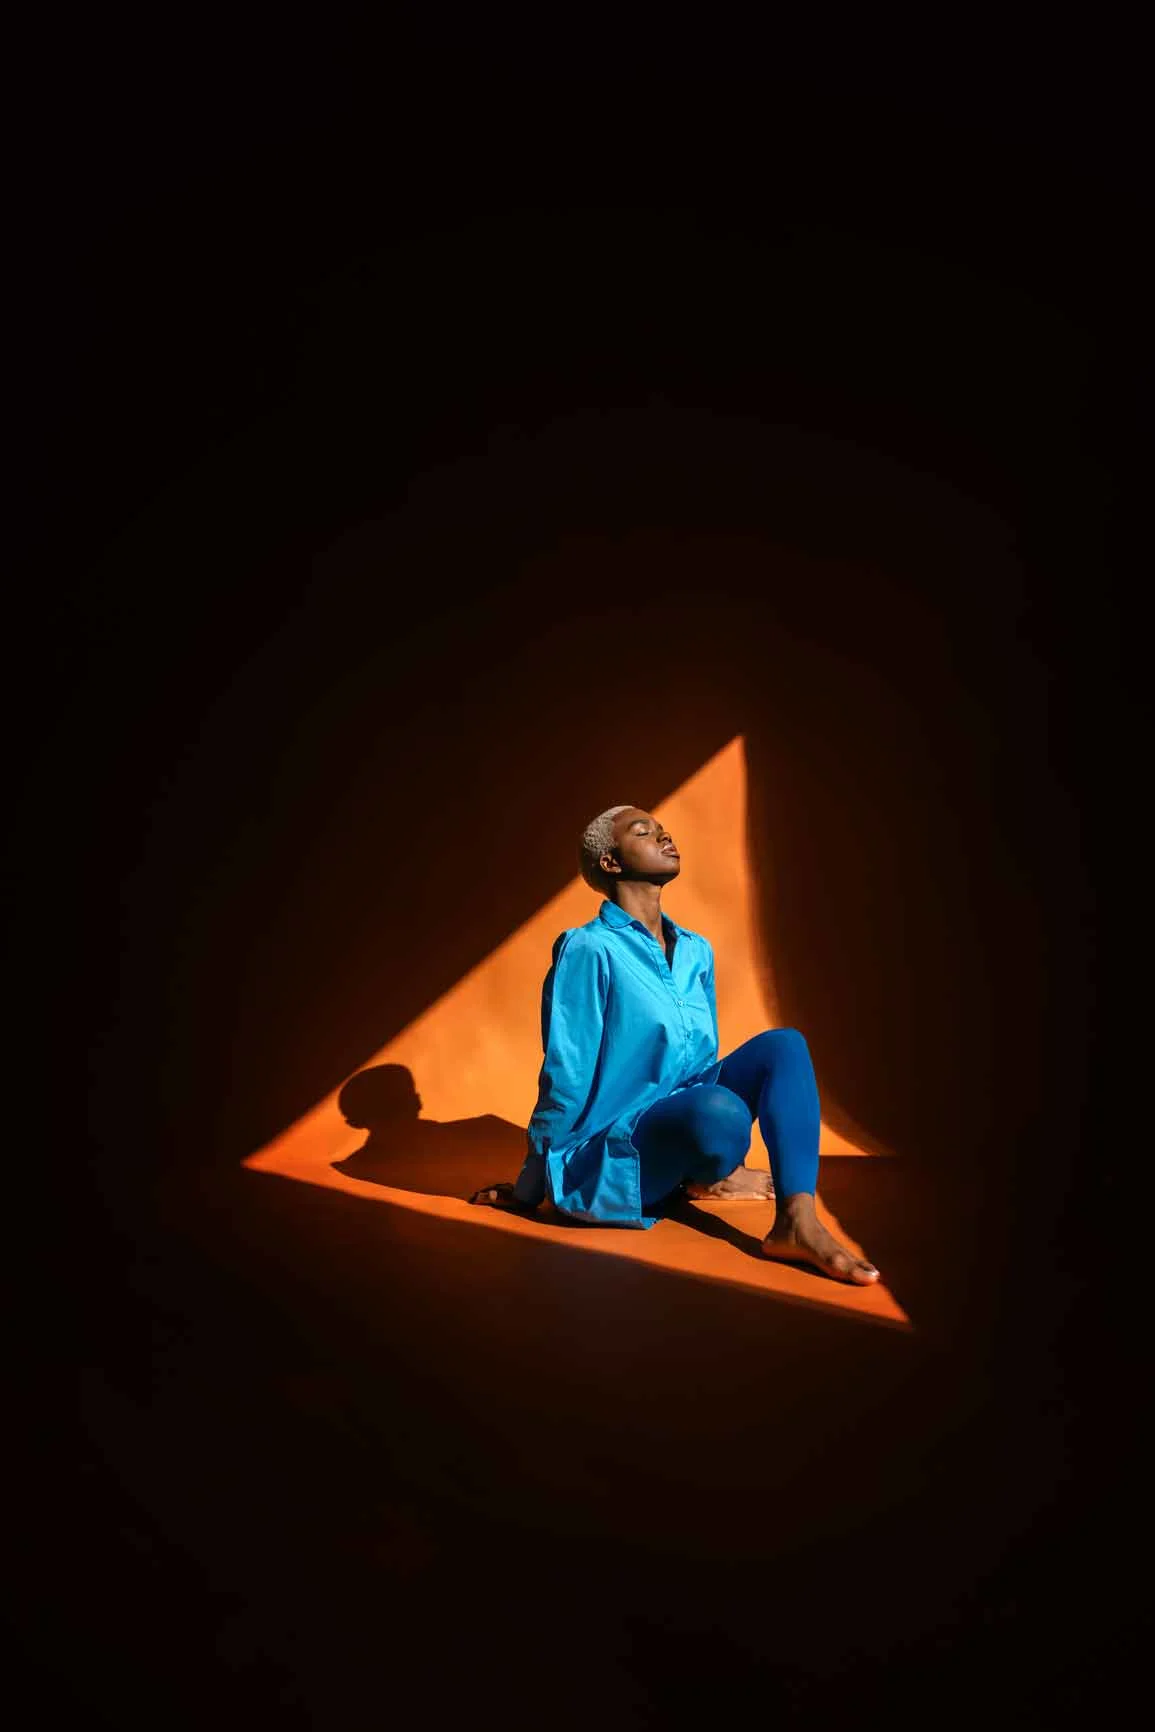
Low-key photography is characterized by dark tones and high contrasts. This technique is often used to create a mysterious and dramatic mood. It is particularly suitable for portraits and still lifes.
Technique: Use a single light source that only partially illuminates the subject. Position the light to the side or behind the subject to create deep shadows and strong contrasts.
Example: Imagine a portrait where the face is half in shadow while the other half is dramatically lit. This creates not only depth but also a strong emotional impact.
2. High-key photography: Bright and airy images
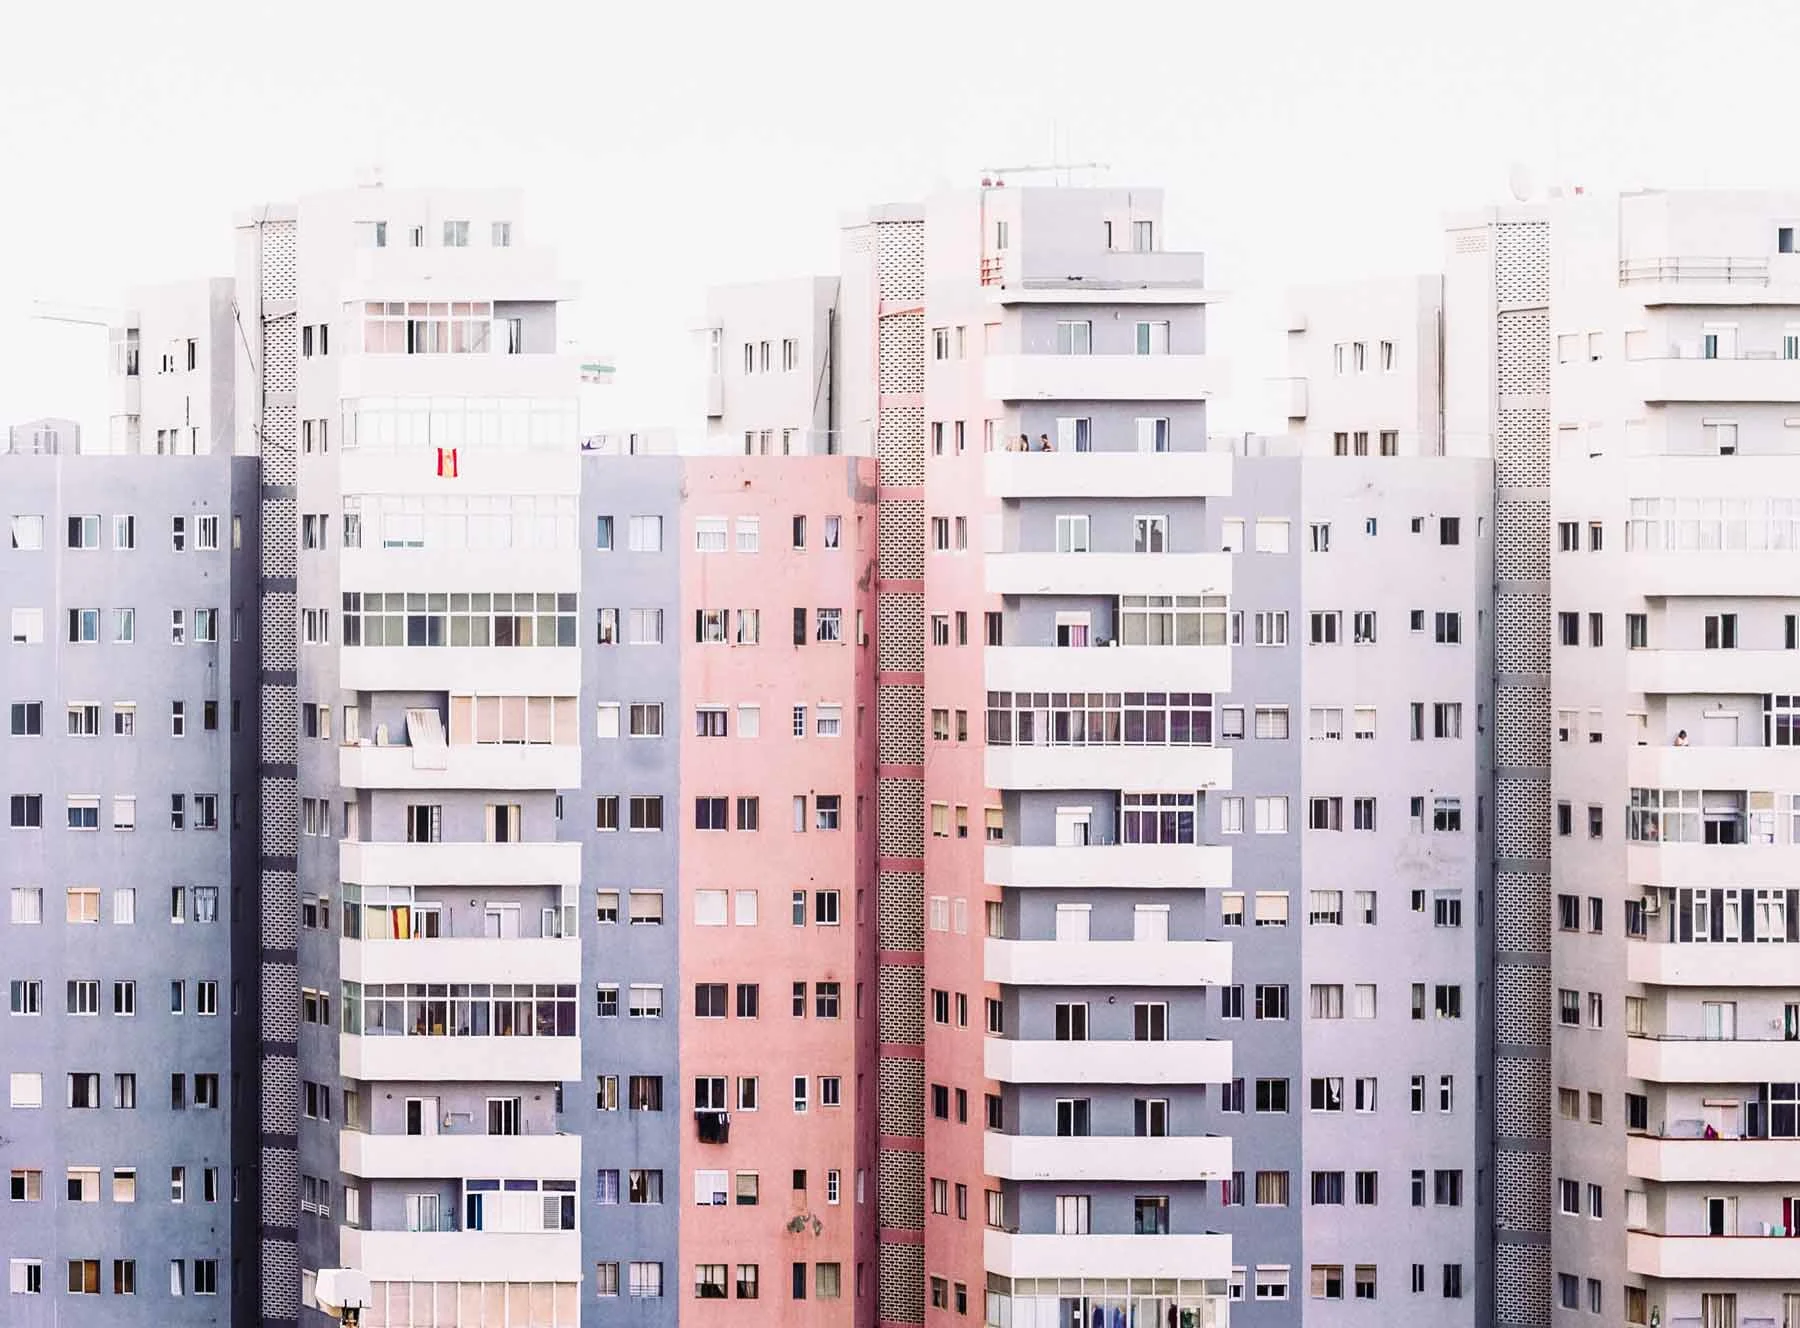
In contrast to low-key photography, high-key photography relies on bright tones and minimal contrast. This technique is particularly suitable for cheerful and positive subjects. It is often used in fashion and product photography.
Technique: Use several soft light sources to evenly illuminate the subject. Ensure that shadows are minimized and bright areas maximized.
Example: A bright portrait in front of a white background with hardly any shadows conveys lightness and joy.
3. Rim lighting: Emphasizing the contours
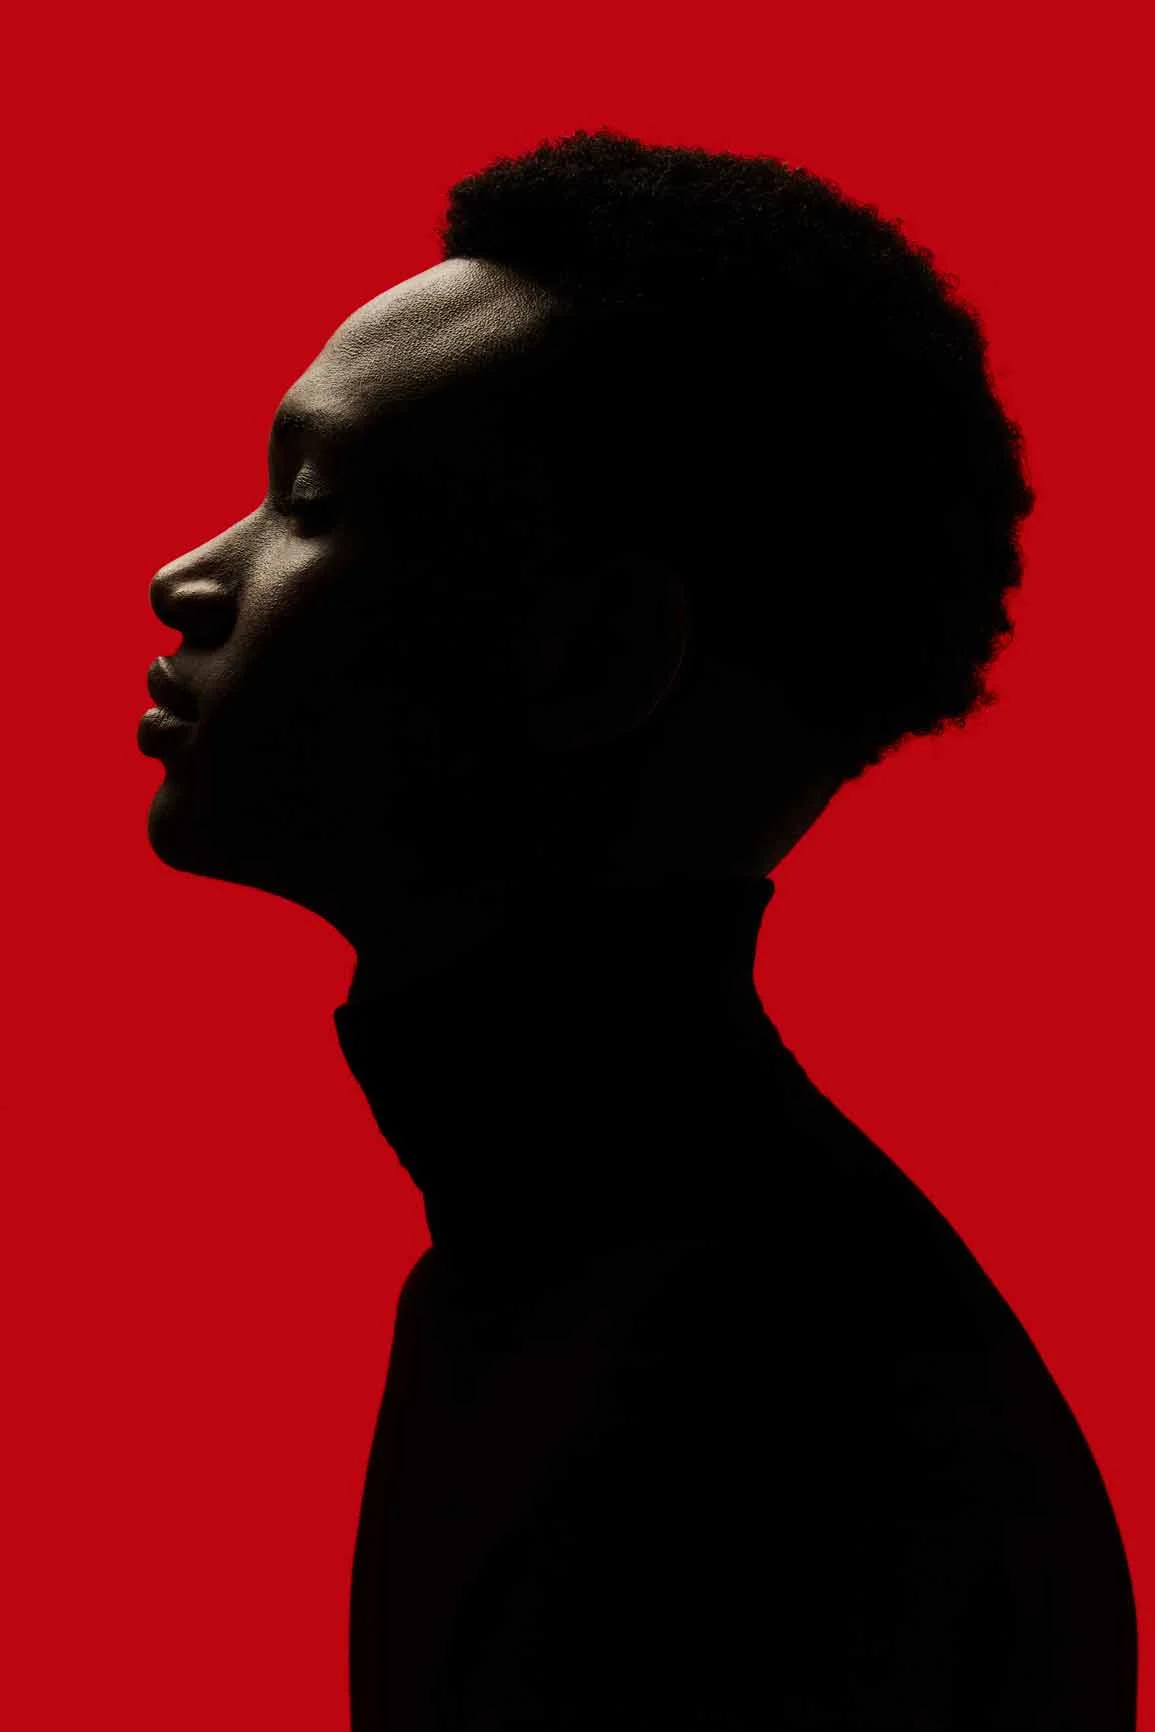
Rim lighting, also called edge lighting, is used to emphasize the edges of a subject and separate it from the background. This can be used either as a single element in an otherwise dark environment – or as an additional stylistic device, for example in backlight photography.
Technique: Place a light source directly behind the subject so that the light glows around the edges. This creates a bright edge that separates the subject from the background.
Example: A portrait with a light placed behind the head, creating a glowing contour around the hair, which highlights the subject and adds depth.
4. Chiaroscuro: Playing with light and shadow
Chiaroscuro is a technique that uses strong contrasts between light and shadow to create depth and volume. This technique is inspired by painting and is equally effective in photography. It is especially powerful in black-and-white photography.
Technique: Use a single, directed light source to illuminate the subject while the rest remains in shadow. This creates dramatic contrasts and an intense atmosphere.
Example: A portrait where the light falls only on the face, and the background as well as parts of the face remain in darkness, creating a powerful and dramatic effect.
5. Shadow silhouettes
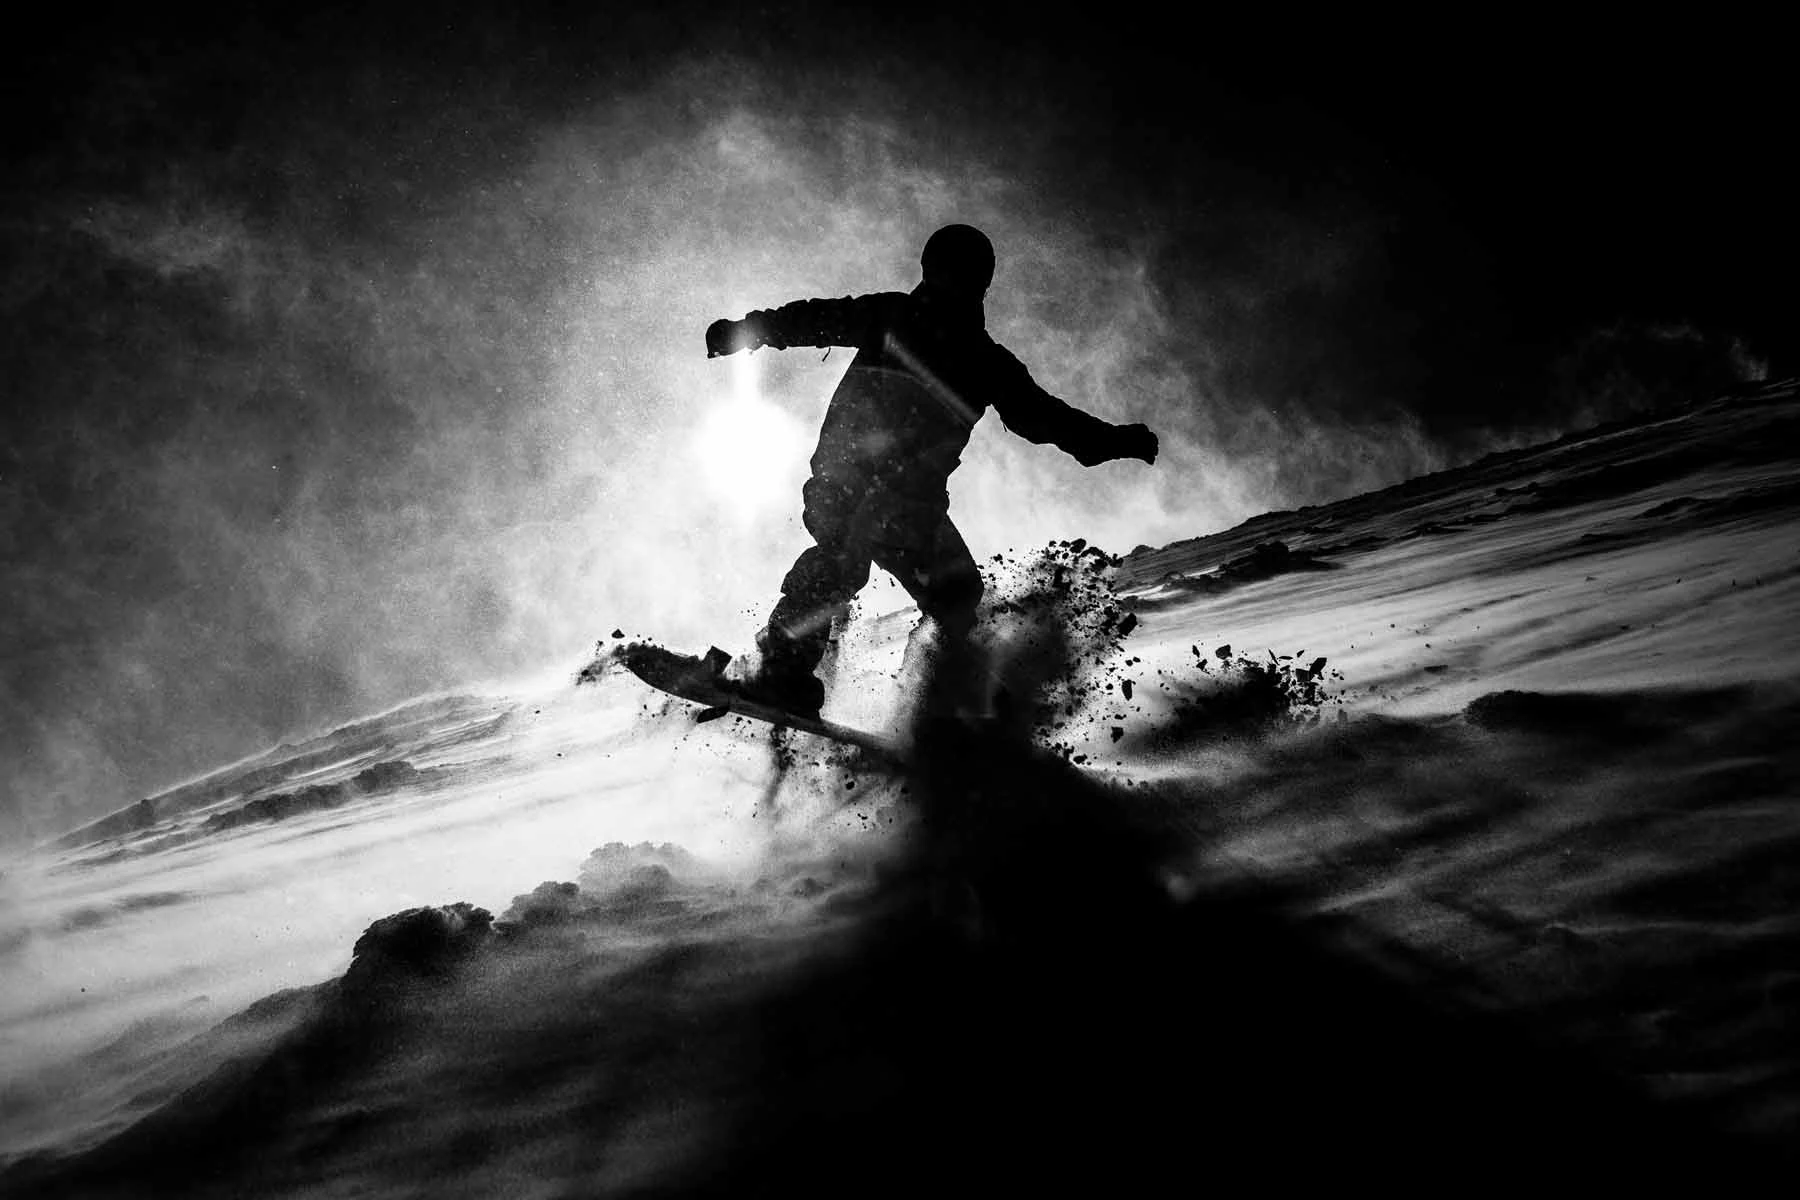
Shadow silhouettes (also called cut-out images) are created when the subject is photographed against a strong light source so that only the contours are visible. This technique can create mysterious and impressive images as it reduces otherwise complex scenes to two-dimensional simplicity.
Practical example: A photo of a tree at sunset, where the tree appears as a dark silhouette in front of a colorful sky. The detailed shape of the tree is enhanced by the contrast, while the colors of the sky complement the image.
6. Negative space
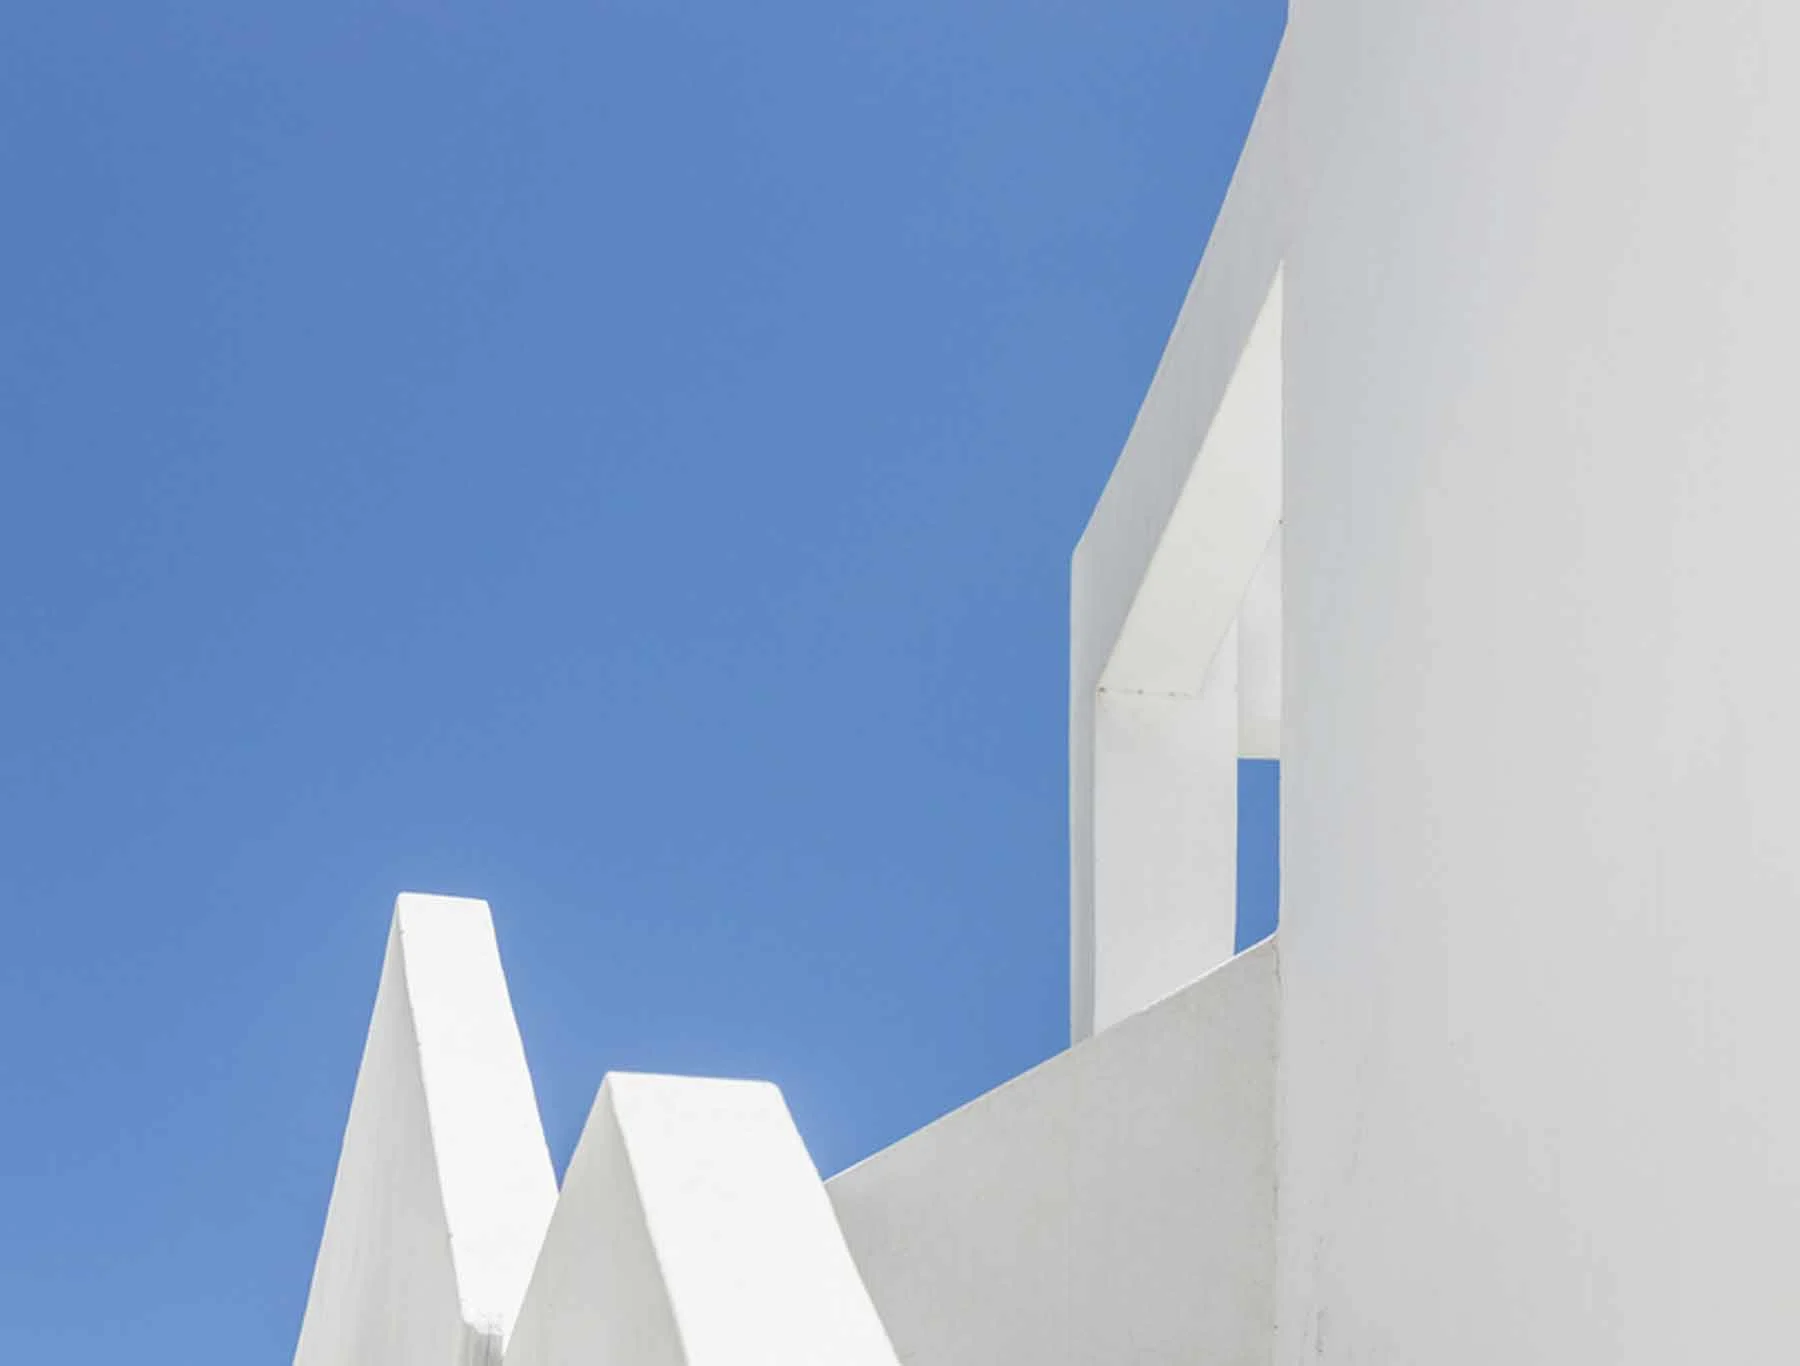
Negative space uses the emptiness around the main subject to enhance focus and composition. Shadows or light can be used as negative spaces to highlight the main subject.
Practical example: An architectural photo where the building is surrounded by deep shadows that emphasize the structure and create a minimalist yet powerful composition.
Combining Light and Shadow Techniques
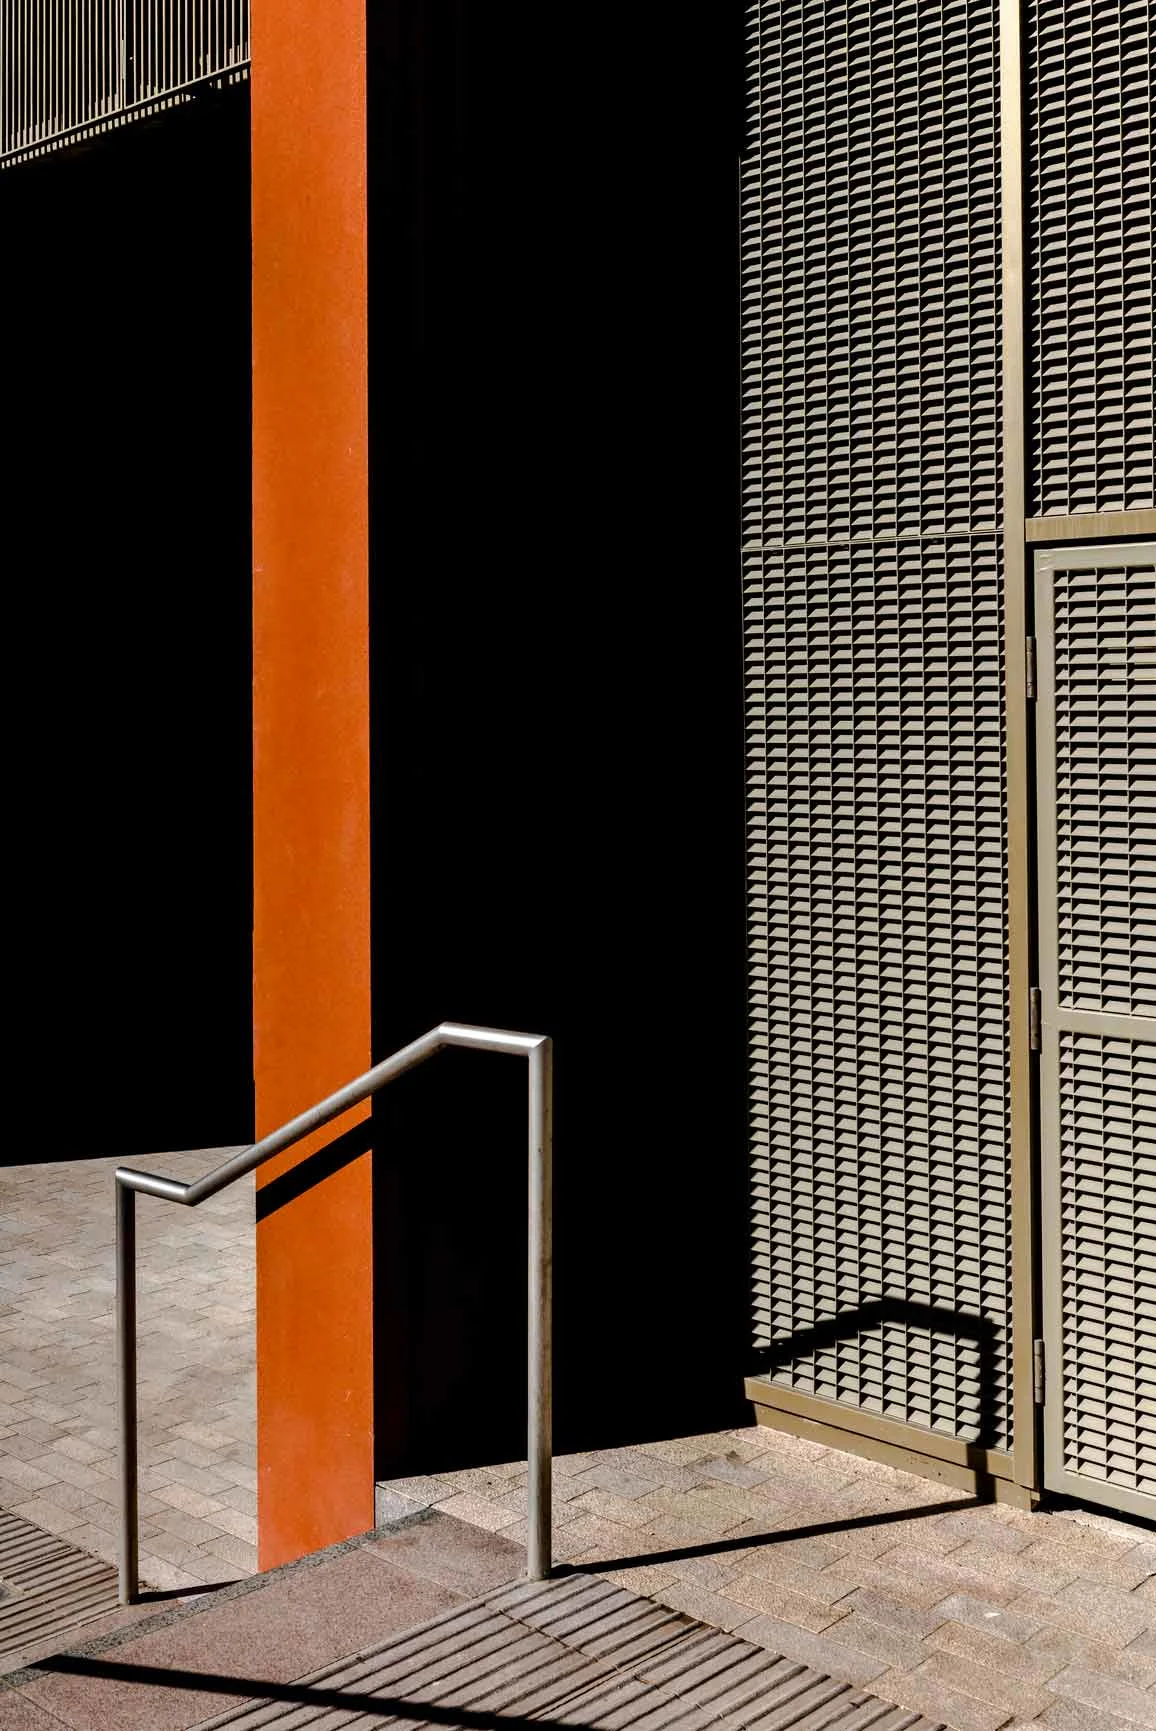
The true potential of these techniques becomes apparent when they are skillfully combined to create complex and fascinating compositions. Only with a skillful use of light and shadow areas can the viewer be captivated and guided through the image.
Dramatic portraits
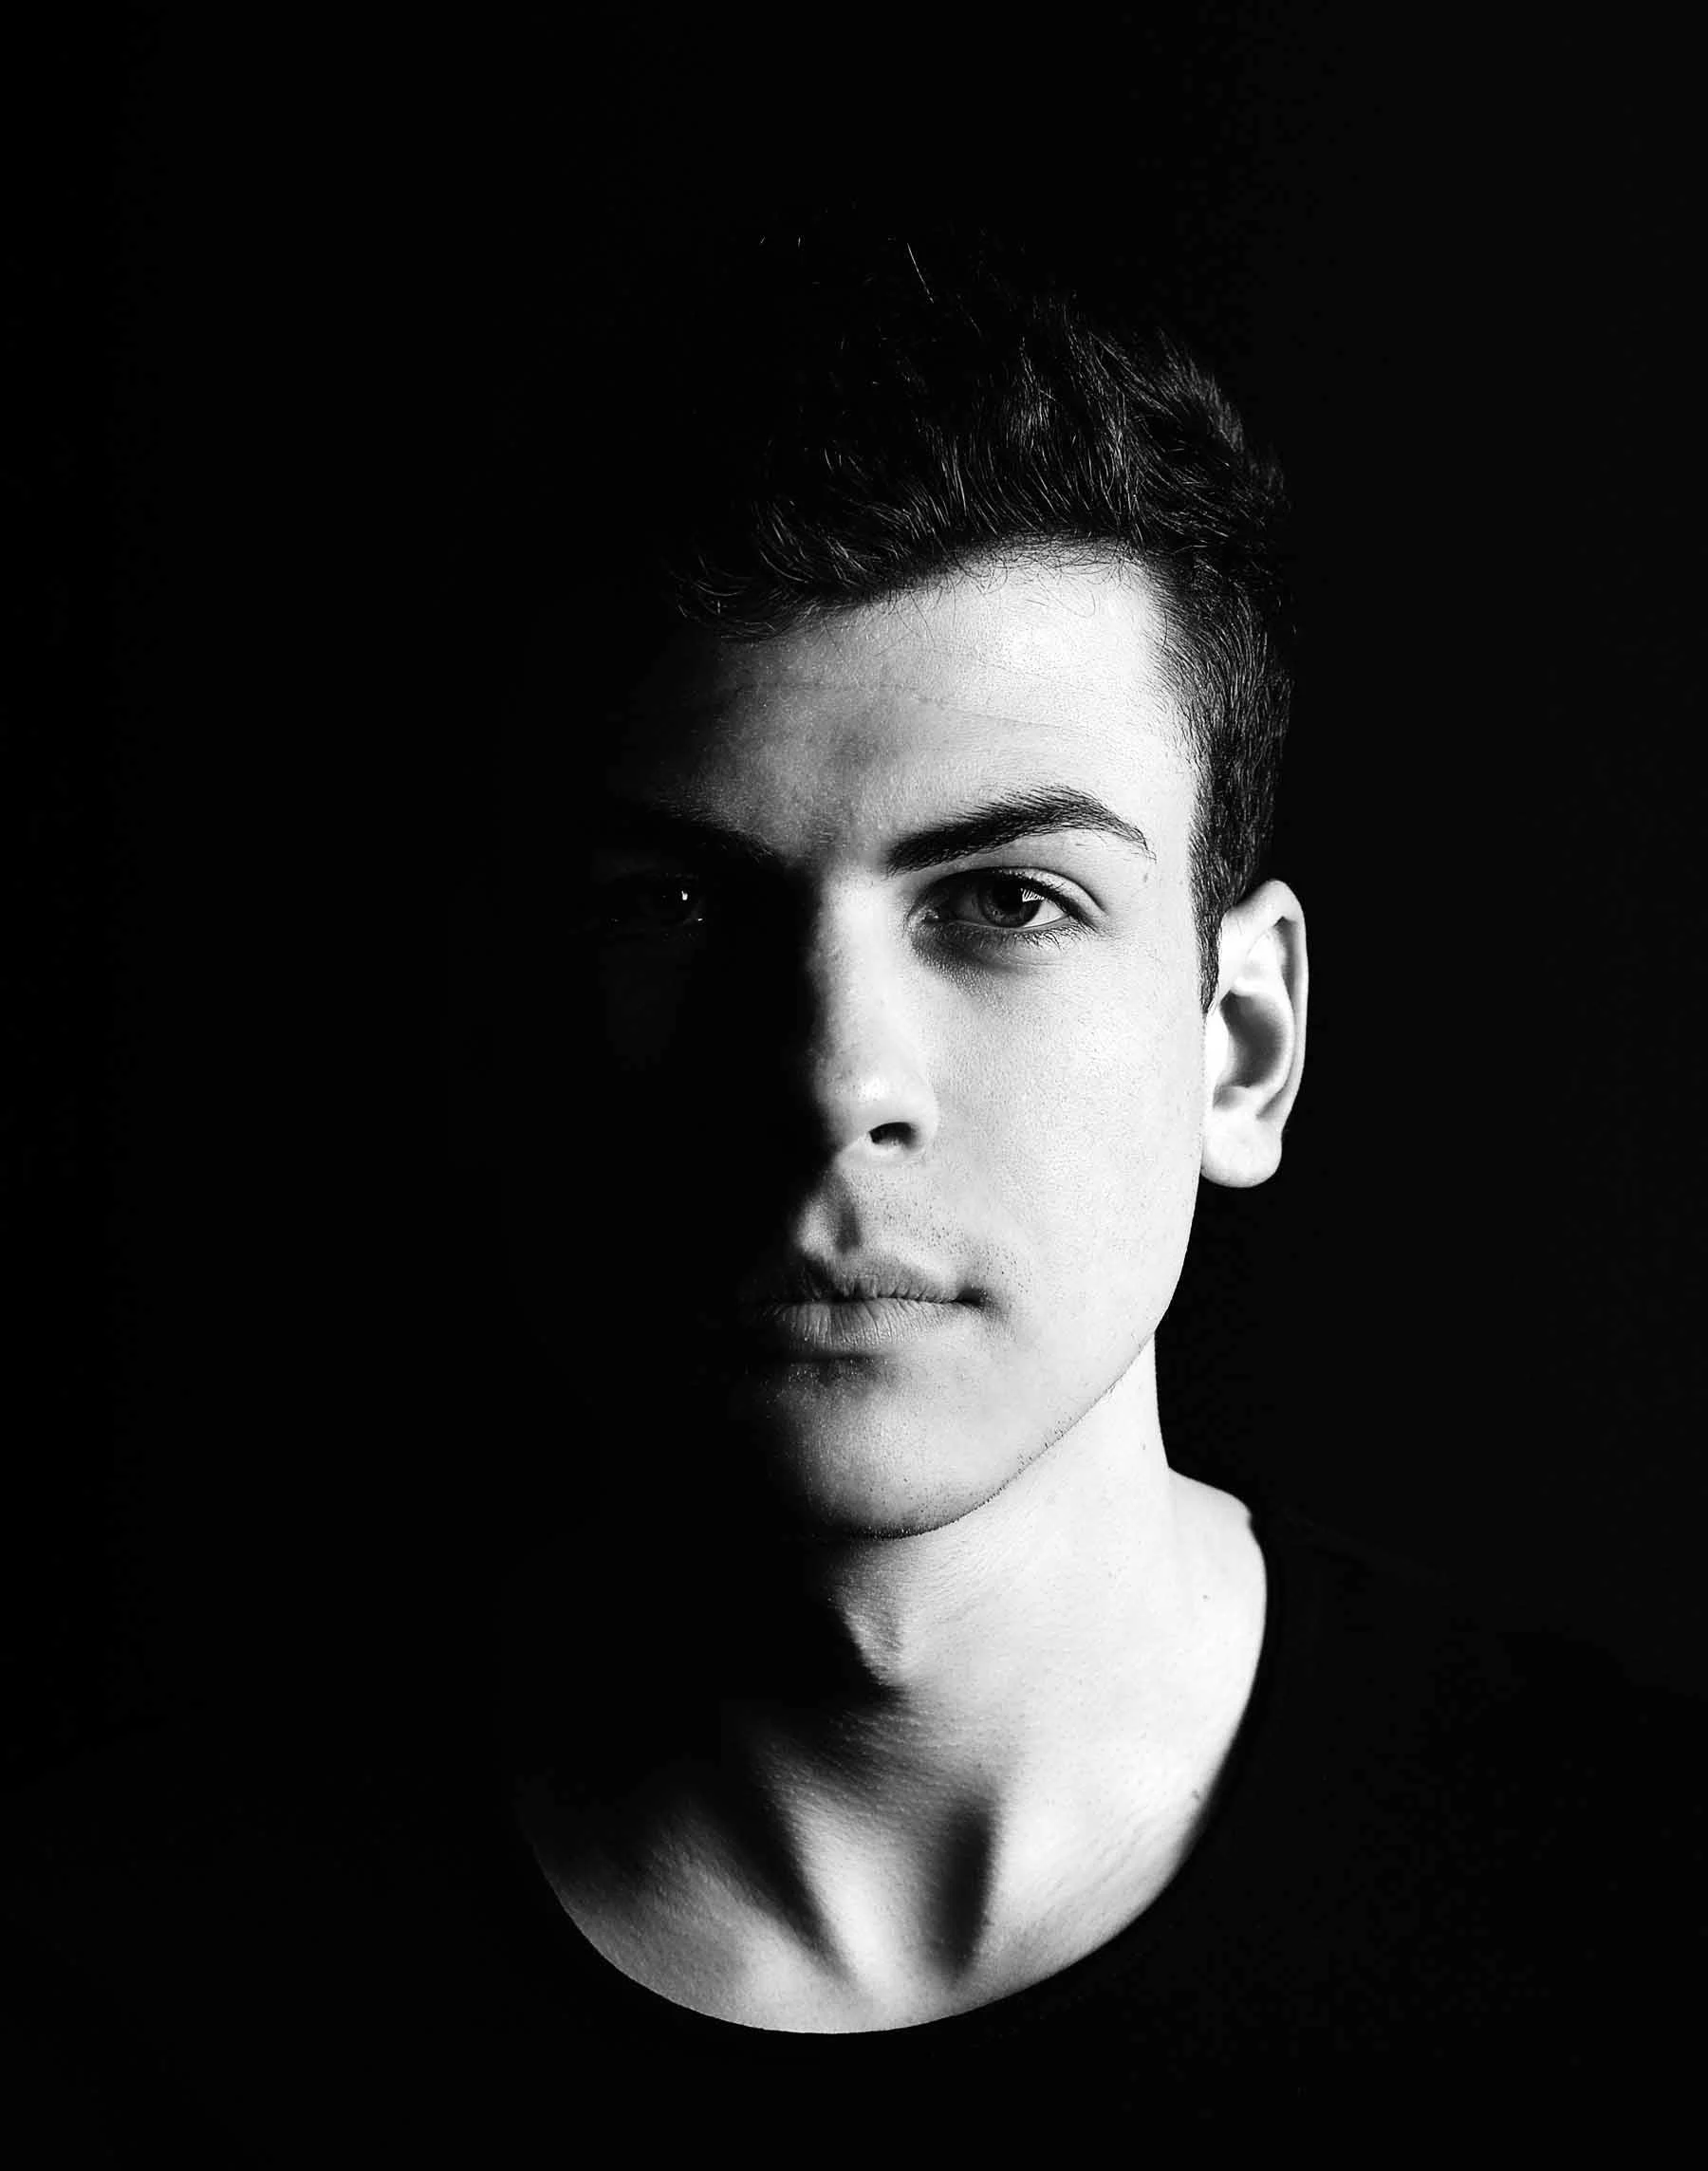
By combining low-key lighting and the chiaroscuro technique, portraits can be created that have a deep emotional impact.
Practical example: A portrait of a person with deep, characterful facial features, illuminated by a single, hard light that casts strong shadows. The chiaroscuro technique emphasizes the depth and texture of the skin and creates an image that is both powerful and touching.
Landscape photography at dusk
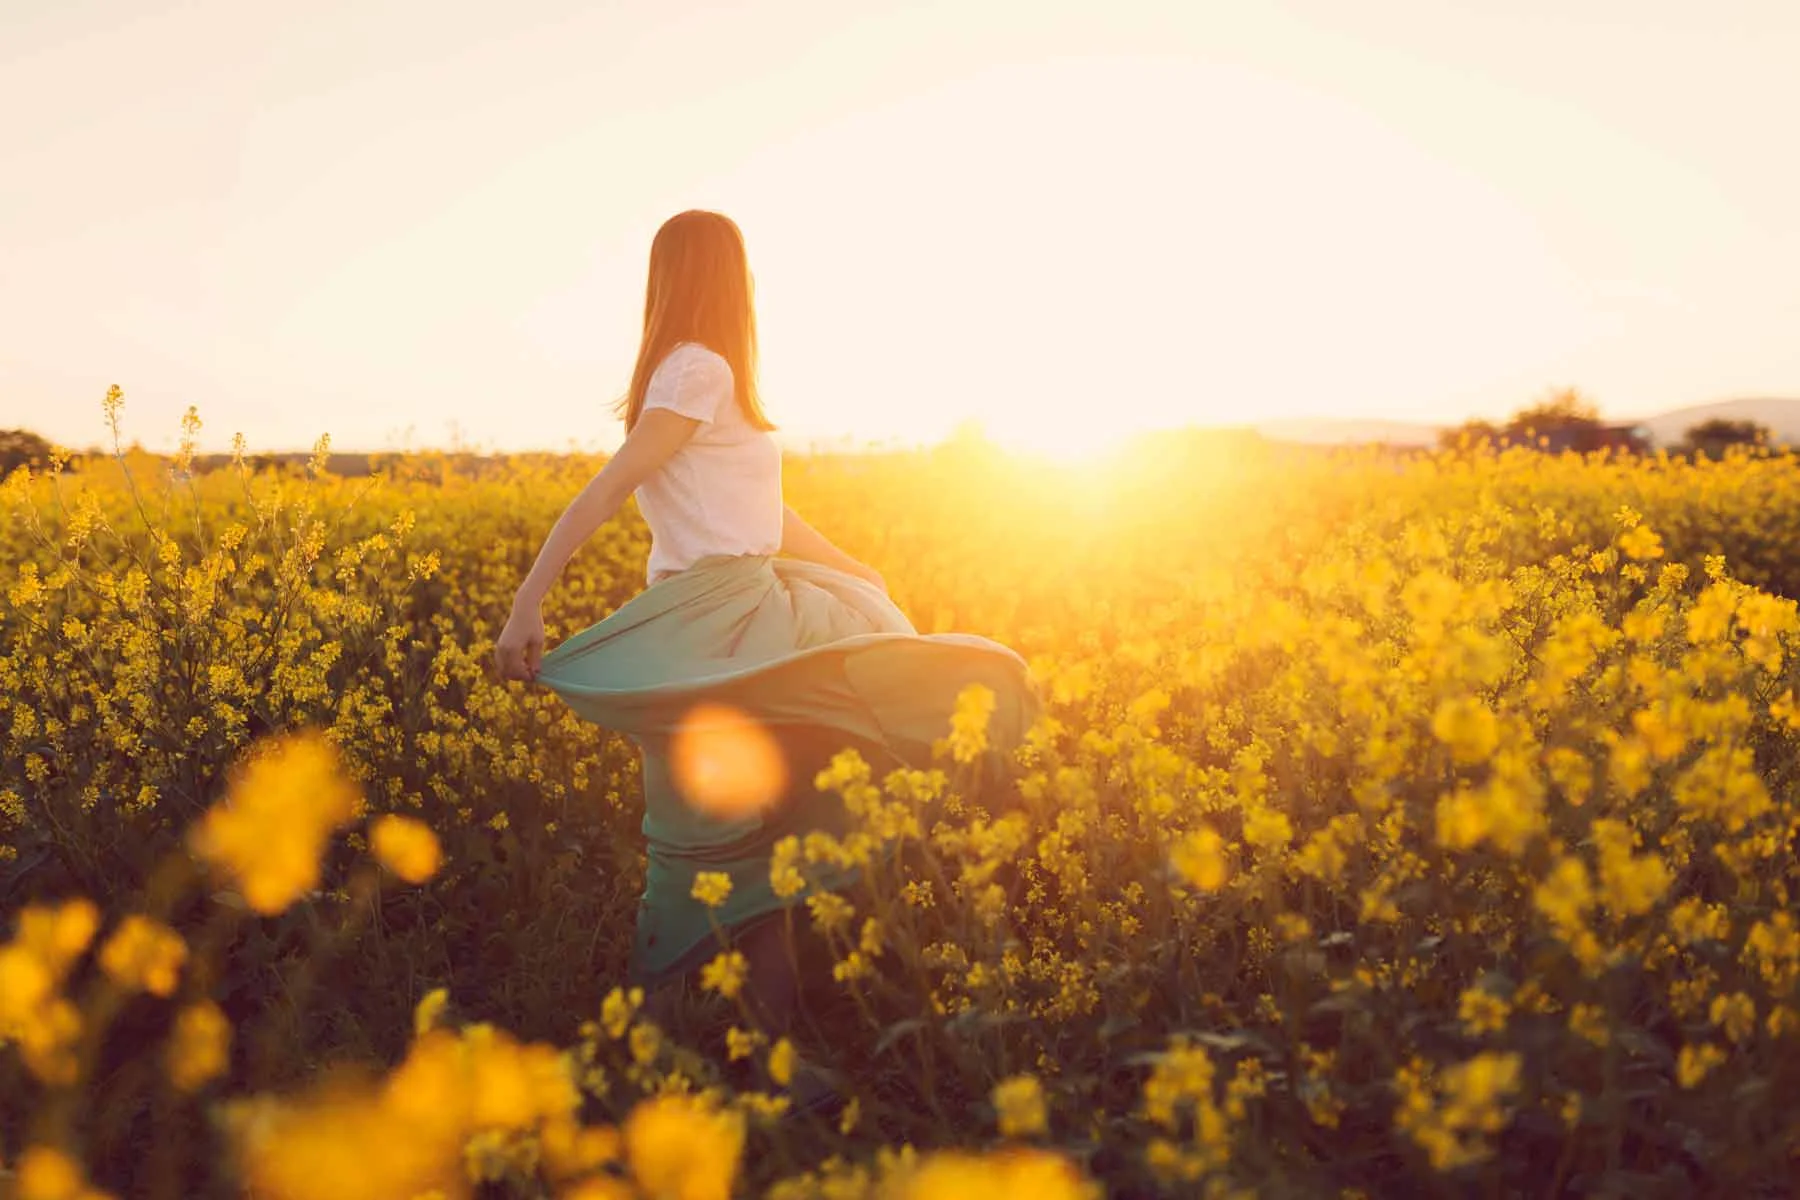
In landscape photography, the techniques of rim lighting and shadow silhouettes can be combined to create impressive scenes at sunrise or sunset.
Example: A shot of a coastline at sunset, where rocks and cliffs appear as silhouettes against the glowing sky. The rim lighting from the setting sun highlights the contours of the landscape and creates a dramatic scene.
Light Modifiers and Their Application
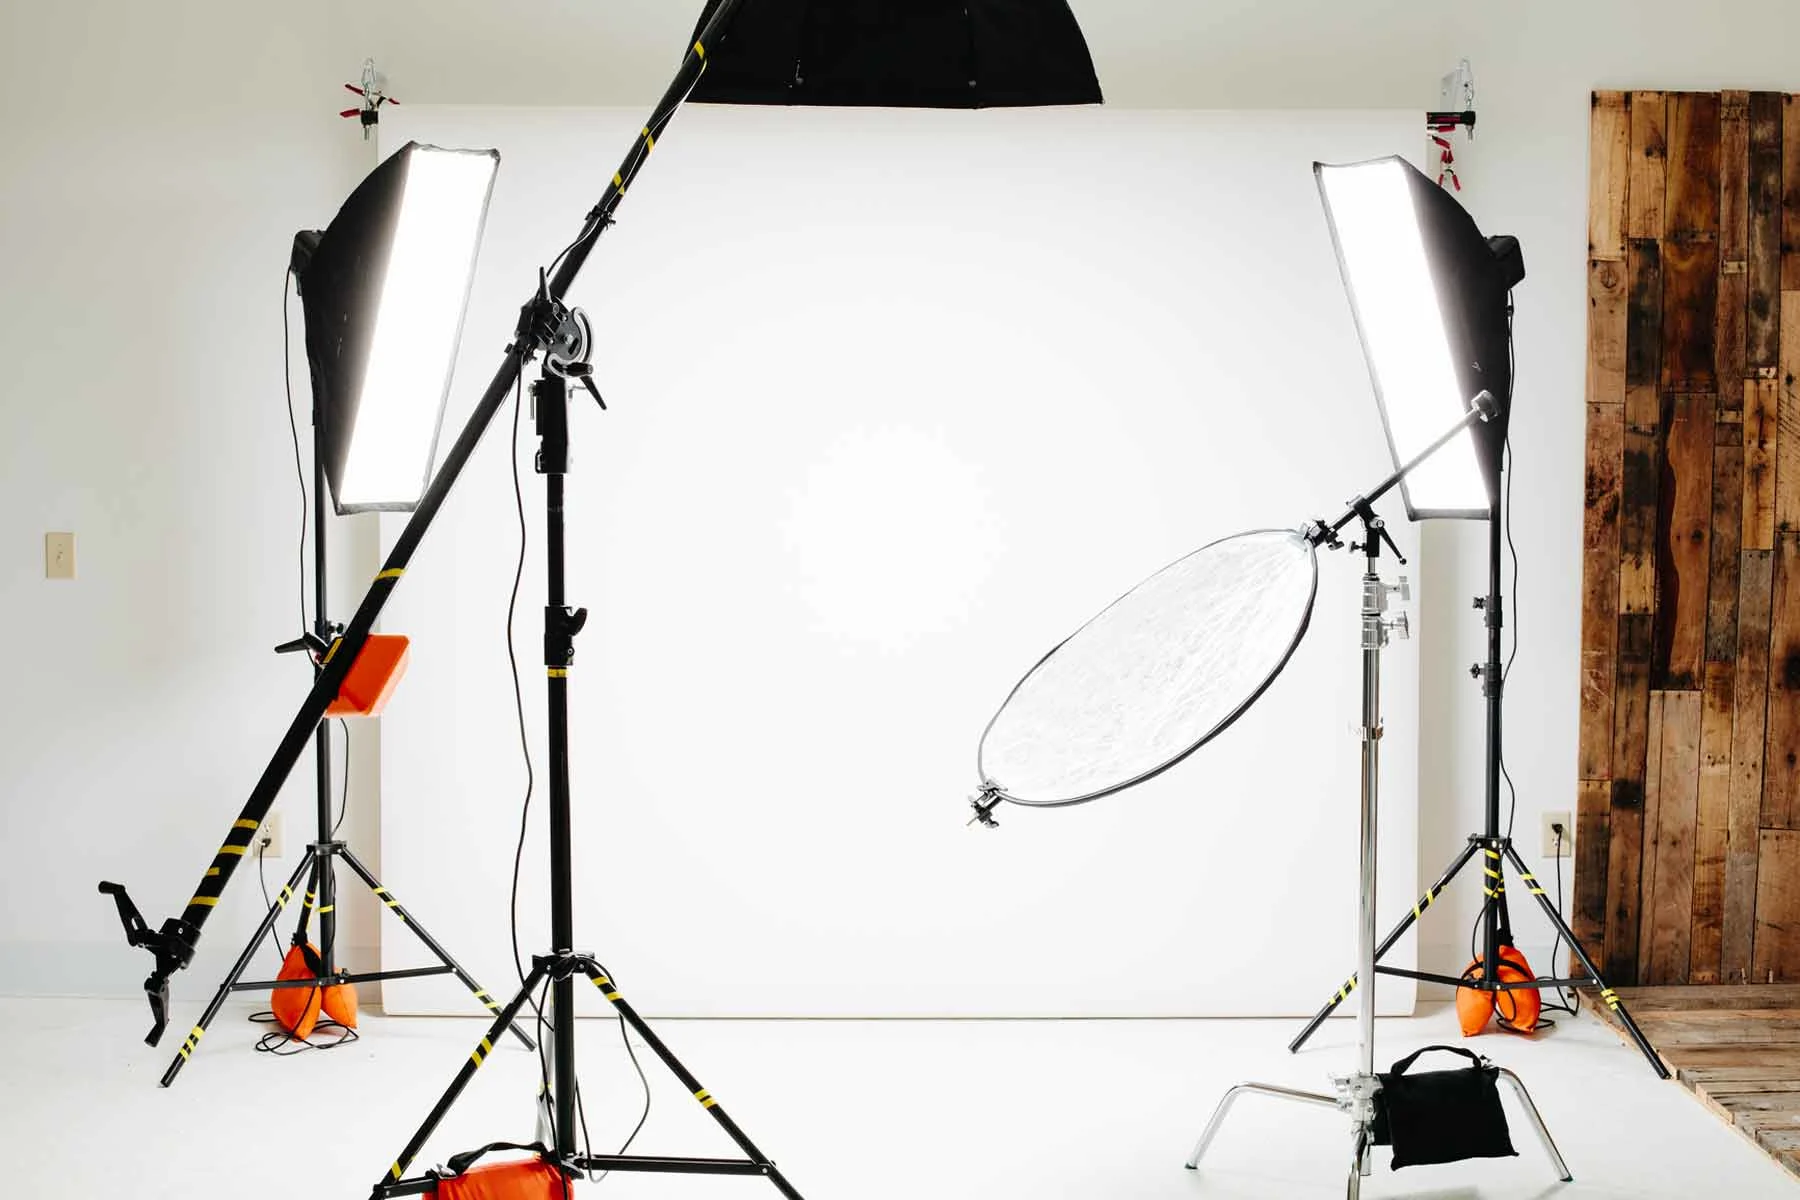
To shape and control the light precisely, various light modifiers can be used. Here are some of the most common and their applications:
1. Softboxes and diffusers: Creating soft light
Application: Softboxes and diffusers spread the light evenly and create soft shadows. This is ideal for portraits and still lifes where gentle lighting is desired.
Example: A still life illuminated with a softbox that creates soft shadows and even lighting, highlighting the details and textures of the subject.
2. Reflectors: Bouncing light
Application: Reflectors are used to bounce light back onto the subject and brighten shadows. They are available in various colors that can create different effects.
Example: An outdoor portrait using a golden reflector to reflect warm light onto the subject’s face, creating a pleasant and warm mood.
3. Gobo (Go Between Optical – light former): Creating creative shadow patterns
Application: Gobos are stencils placed between the light source and the subject to create interesting shadow patterns. This can add additional visual depth to the image.
Example: A portrait where a gobo is used to filter the light through a window with blinds, creating interesting light and shadow patterns on the face and background.
Practical Tips for Implementation
Planning and preparation
Time and location: Choose the right time of day and the appropriate location for your shots. Morning and evening are often the best times for natural light.
Equipment: Use appropriate equipment such as tripods, diffusers, and reflectors to shape the light according to your ideas.
Technical settings
Exposure: Experiment with different exposure settings to achieve the desired light and shadow effects.
White balance: Adjust the white balance to accurately reproduce the color temperature of the light.
Post-processing
Contrast adjustment: Use image editing software to enhance contrasts and emphasize the desired effects of light and shadow.
Dodge and burn: These post-processing techniques help to brighten or darken certain areas of the image to further refine the light-shadow interplay.
Tips for Different Situations
1. Portrait photography: Emotions through light and shadow
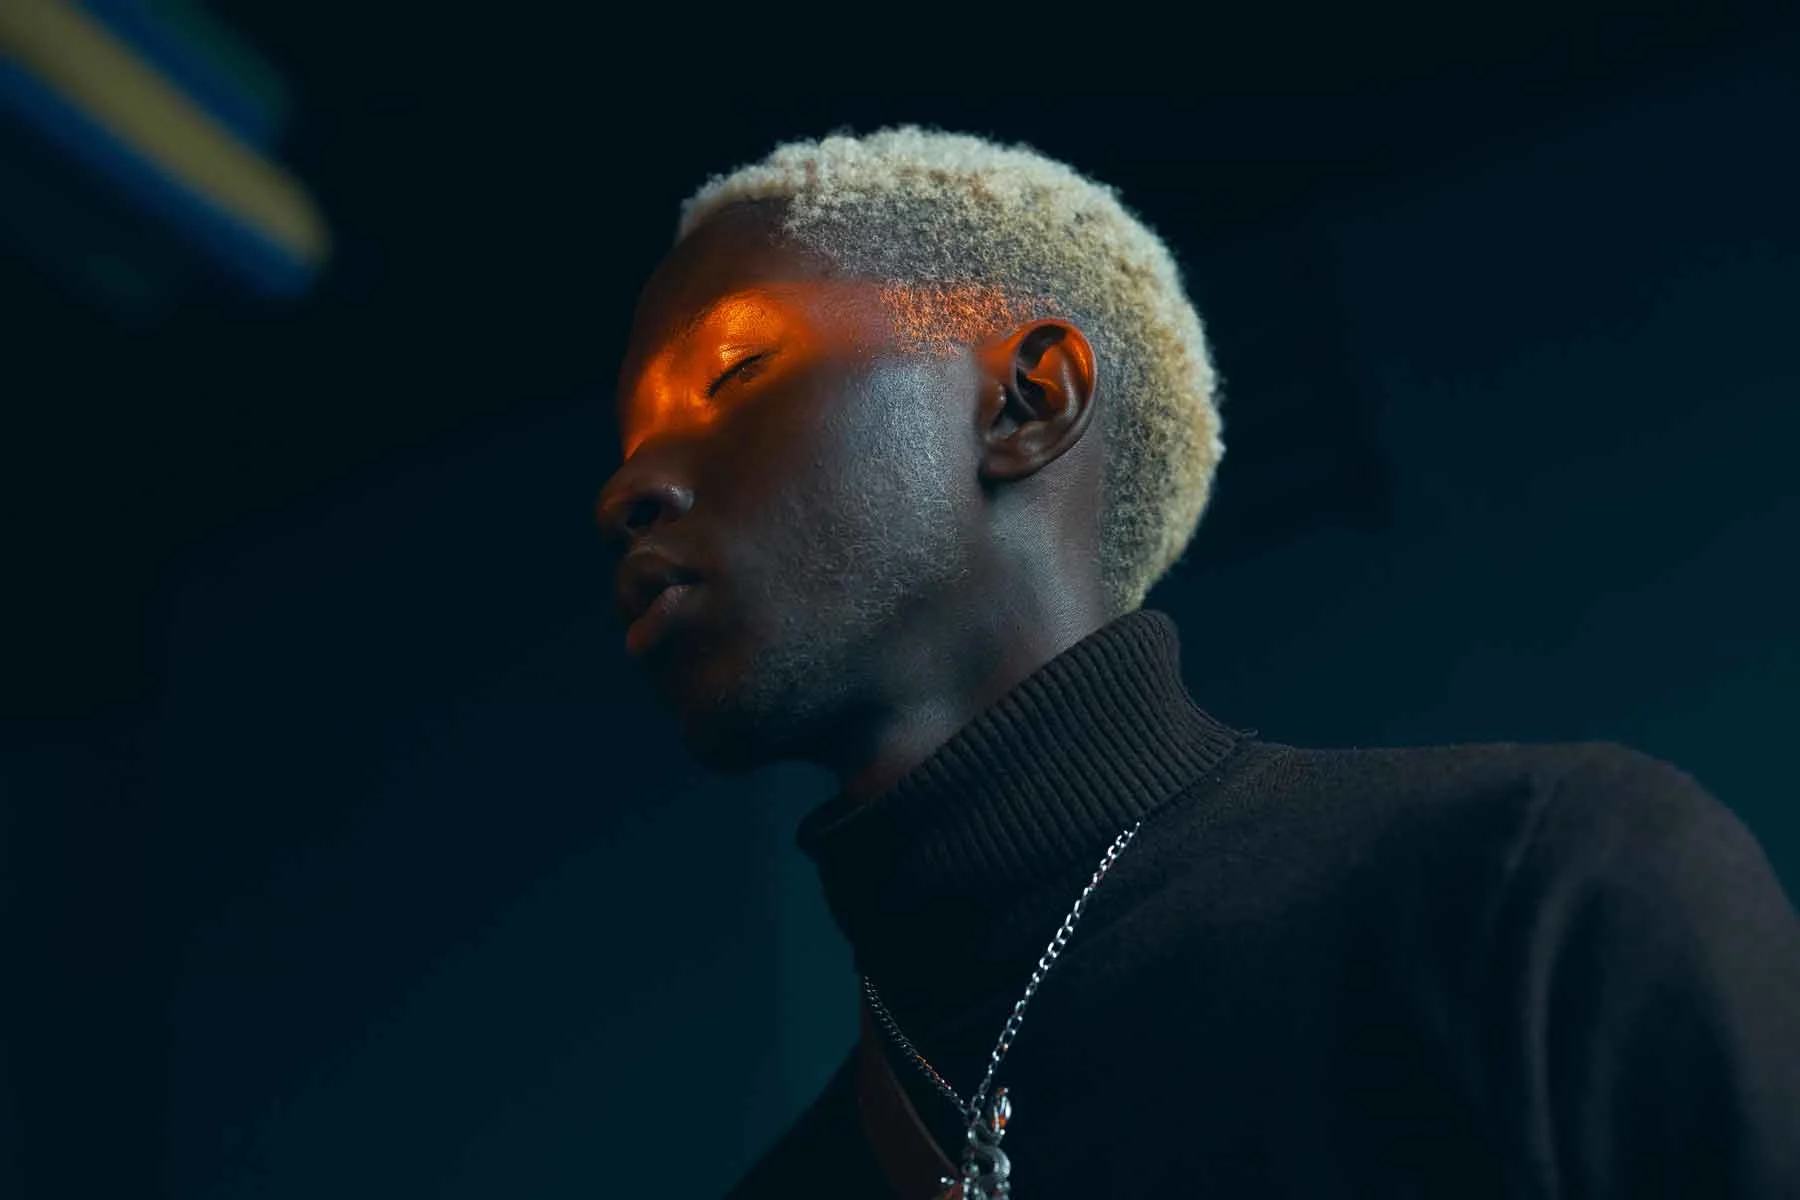
Technique: Use side light to highlight the structure and depth of the face. Experiment with different light angles to create various emotions and moods.
Example: A portrait with strong side light that creates deep shadows on one half of the face can convey an intense and thoughtful mood.
2. Landscape photography: Staging nature
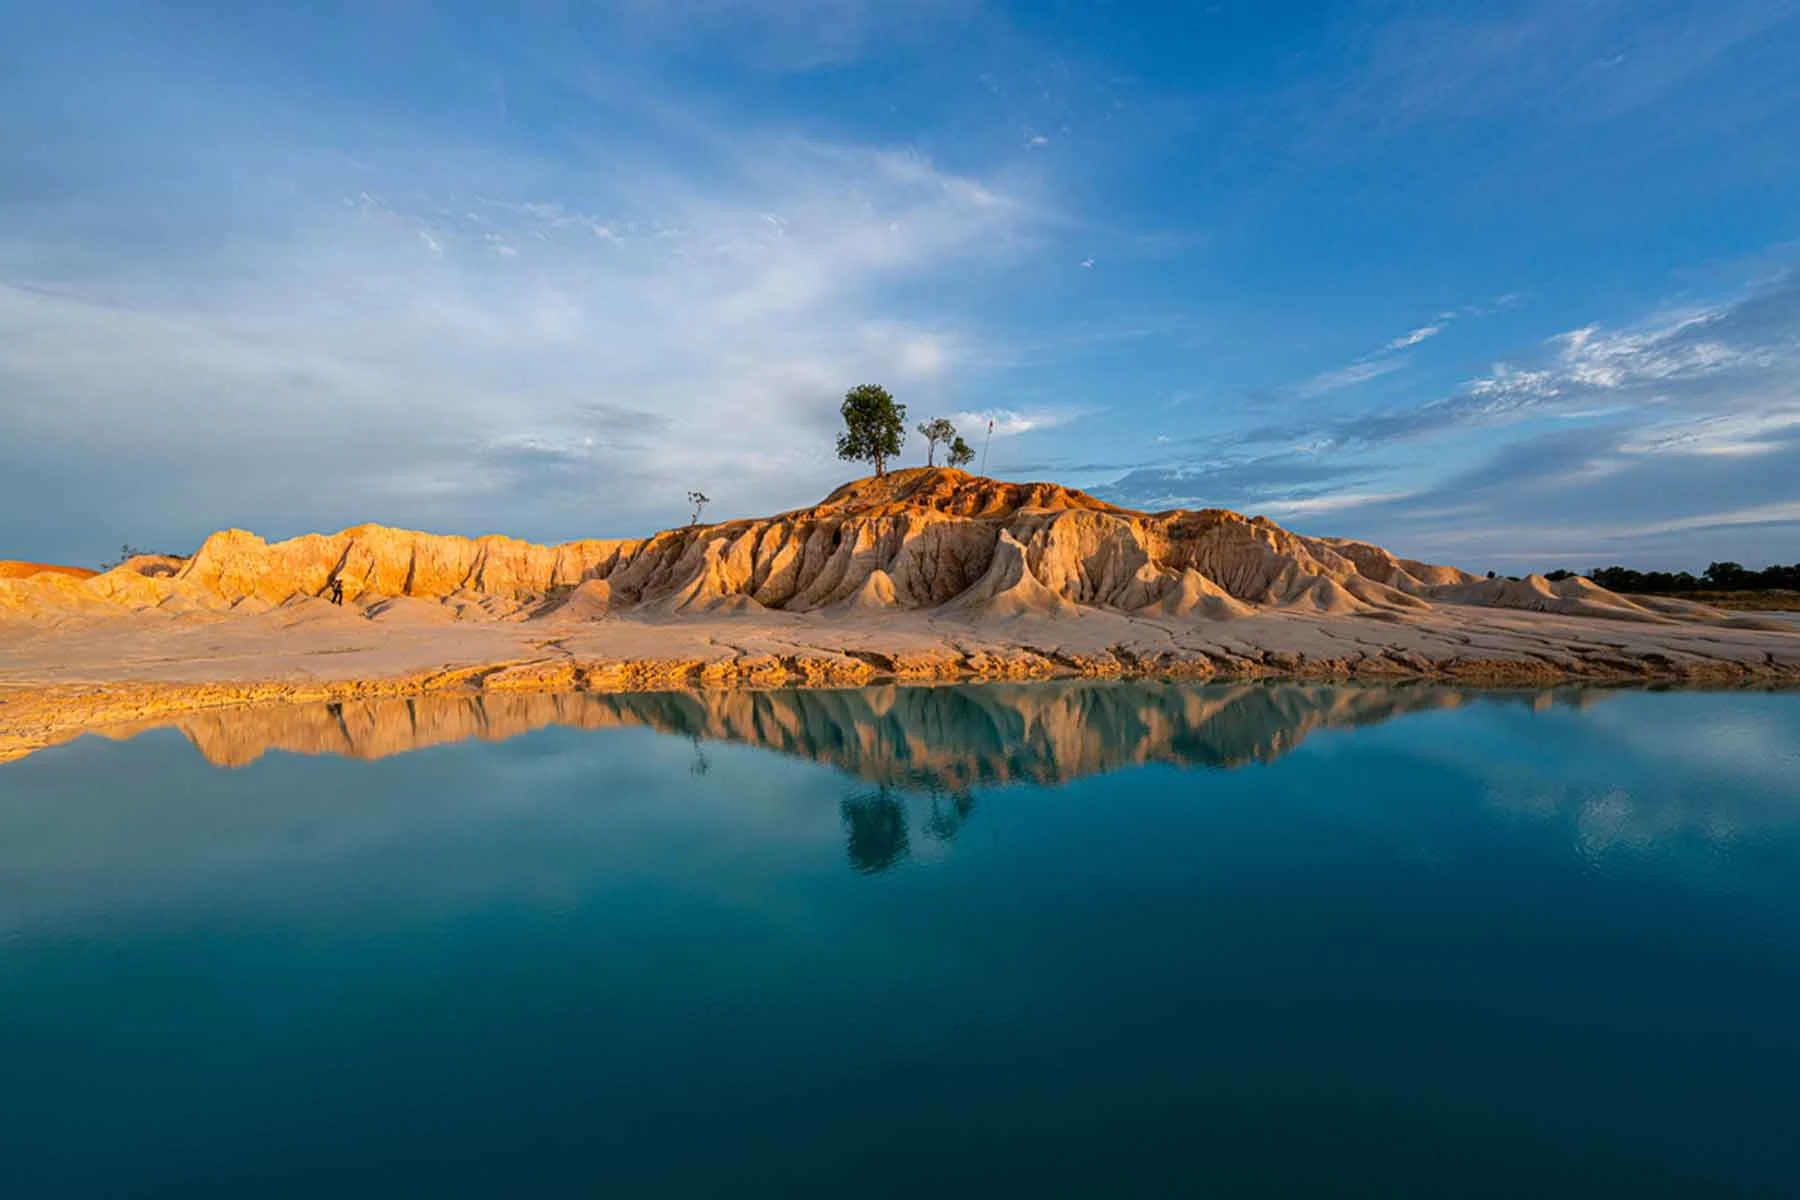
Technique: Use natural light at different times of day to portray the landscape in different moods. Dawn and dusk provide soft, warm light, while midday creates hard shadows and strong contrasts.
Example: A landscape shot at sunset, where the low sun casts long shadows and bathes the scene in golden light, enhancing the beauty and drama of nature.
3. Architectural photography: Emphasizing structures and shapes
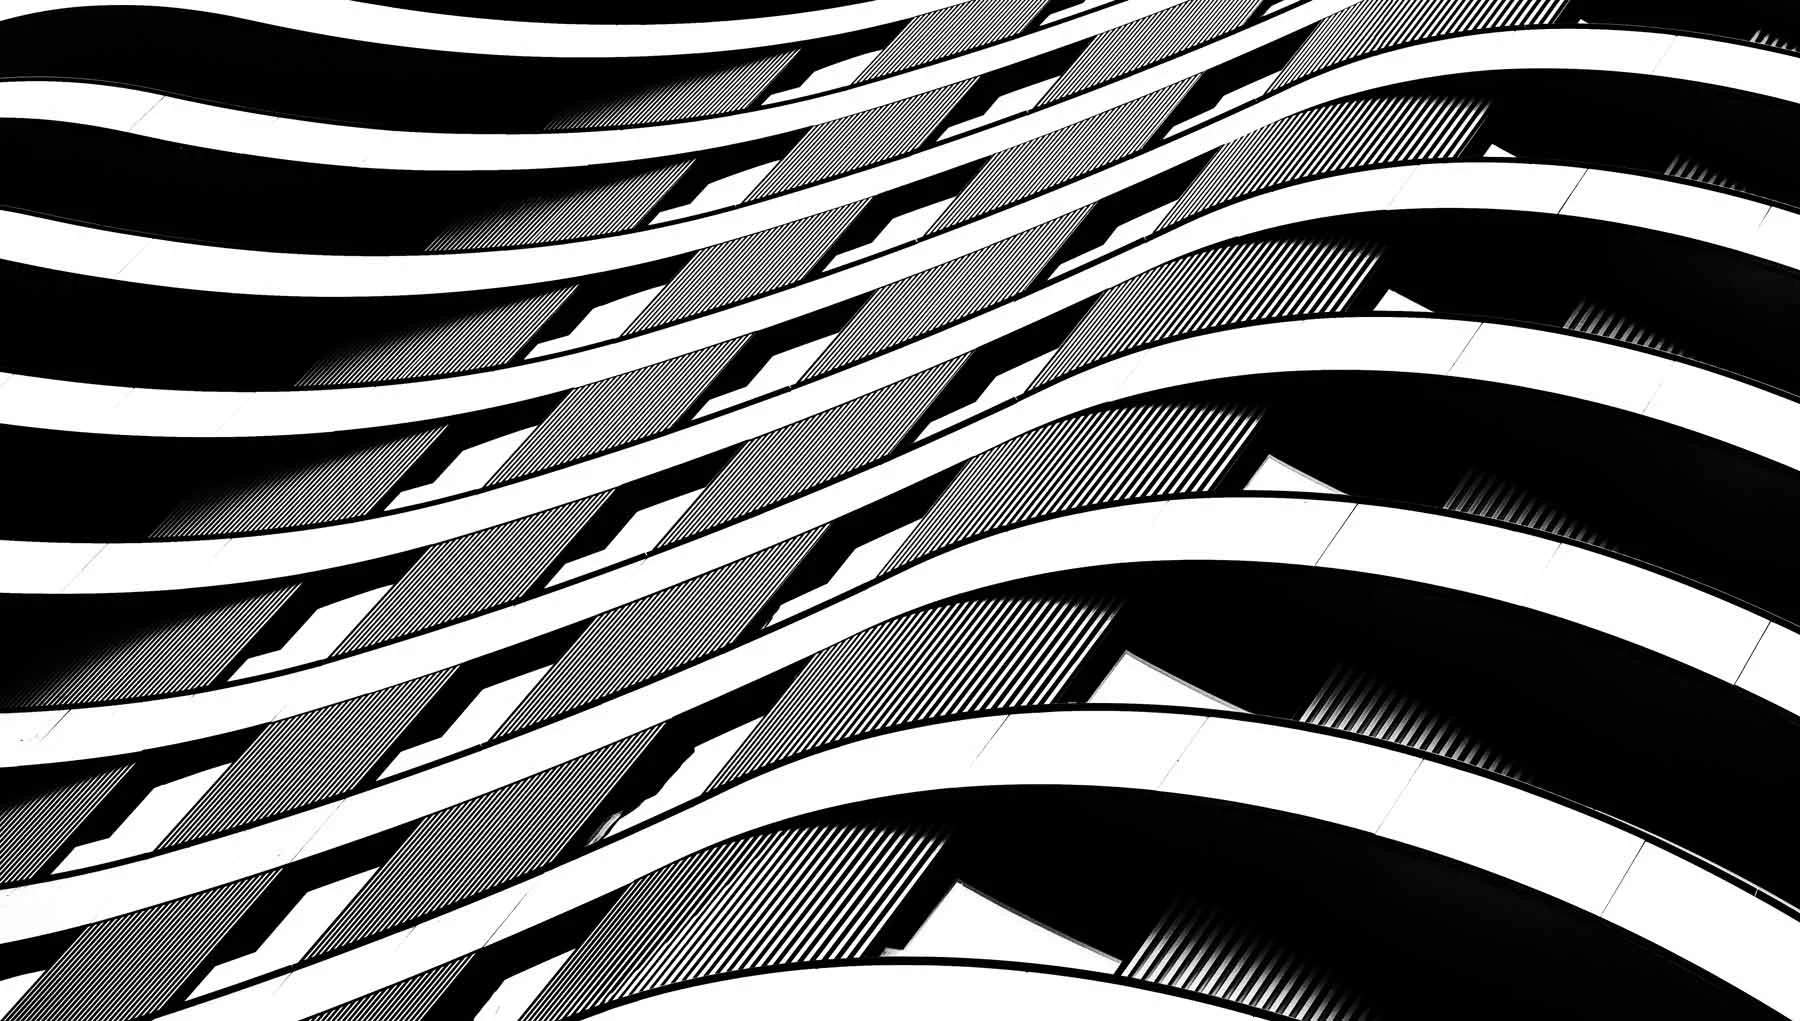
Technique: Use side light to highlight the textures and details of the architecture. By using shadows deliberately, you can emphasize the shapes and structures.
Example: A photo of a modern building with side light that emphasizes the sharp lines and texture of the facade gives the image depth and structure.
Conclusion: Mastering the Magic of Light and Shadow
The art of mastering light and shadow in photography opens up endless creative possibilities. However, mastering the interplay of light and shadow requires both technical skill and creative intuition. By applying and combining the techniques presented here, you can expand your photographic skills and create images that impress with depth, drama, and emotional impact.
Whether portrait, landscape, or product photography – the deliberate use of light and shadow is the key to every successful shot. Use these techniques to bring emotions, depth, and drama into your images and bring your vision to life.
Learn more about the author
As a trained portrait and wedding photographer, Katharina Wergen brings her extensive knowledge to photography. She has been working as a sales consultant at WhiteWall since 2018 and supports exhibition projects for museums and galleries. She is also increasingly focusing on reportage photography. Take a look behind the scenes of the photographer, here in the interview.

Also interesting:
Submitted by WhiteWall expert Katharina Wergen
Color Theory in Photography for Advanced Learners: A Deep Dive
Discover color theory in photography on a whole new level: from complementary contrasts to the zone system. Learn how colors can be used strategically to enhance emotions, control the impact of an image, and refine your photographic style. Ideal for anyone who wants to add more depth and expressiveness to their images.
Submitted by WhiteWall expert Katharina Wergen
The art of composition: complex rules and when to break them
Consciously create - and consciously break - compositions: Discover complex design techniques such as the golden ratio, the Fibonacci spiral and centering images. Find out how these rules work - and when it is worth creatively ignoring them. Ideal for anyone who wants to use image composition to create specific emotions.
Submitted by WhiteWall expert Katharina Wergen
Creative use of blur and movement
Creative photography with blur and motion: Learn how long exposures, panning, or bokeh can transform your shots into dynamic, emotional works of art. Perfect for expressive images with a unique effect.


