Advanced Studio Lighting Setups
From WhiteWall expert Katharina Wergen
Working with light is an essential element in photography that makes the difference between a simple snapshot and a professional image. For advanced photographers, it is essential to know different lighting setups and how to use them specifically to create the desired effects and moods. This article introduces different lights and their applications, examples of lighting setups in portrait, fashion, and product photography, and creative lighting techniques.
What lights are used in professional lighting setups and what are they used for?
In professional photography, different lights are used, each of which has a specific function. Understanding the roles of key light, fill light, background light, and effect light allows photographers to precisely realize their visions. Not all four types of light are needed for every lighting design.
Key light
The main light, also known as the key light, is the primary light source in photography and replaces sunlight in studio lighting. It plays a central role in illuminating the subject and is largely responsible for the mood and character of the image. The main light creates the basic shadows and highlights in the image, emphasizing the shape, texture, and depth of the subject.
The main light is usually the strongest light source in the setup and is strategically positioned to achieve the desired lighting effect. It can be used as hard or soft light, depending on whether strong, dramatic lighting or soft, even illumination is desired. The quality of the main light is influenced by the type of light source, the distance to the subject, and the use of light modifiers such as softboxes, reflectors, or honeycombs.
Fill light
The fill light is used to brighten the shadows created by the main light. It should be weaker than the main light so as not to create additional shadows, but only to reduce the intensity of the existing shadows. This achieves a more balanced illumination and avoids excessive contrasts that make the subject appear unflattering. Fill light is often used in combination with a softbox to achieve the softest possible light.
A practical example is the use of a reflector as fill light for outdoor shots. The reflector directs the natural sunlight back onto the model's face, reducing harsh shadows and ensuring even illumination. In the studio, an artificial light source such as a flash or continuous light, a reflector or, in the simplest case, a styrofoam board can be used.
Background light
Background lighting is used to illuminate the background of the photo and create a clear separation between the subject and the background. It can be placed behind or to the side of the subject. In portrait photography, background lighting creates a sense of depth and prevents the subject from blending into the background. A classic example is the use of a spotlight, which creates a bright spot behind the subject, making the person stand out from the background. Depending on the desired lighting effect, normal reflectors, possibly with honeycomb grids, or strip lights can also be used. In product photography, background lighting makes the products stand out visually from the background.
Effect lighting
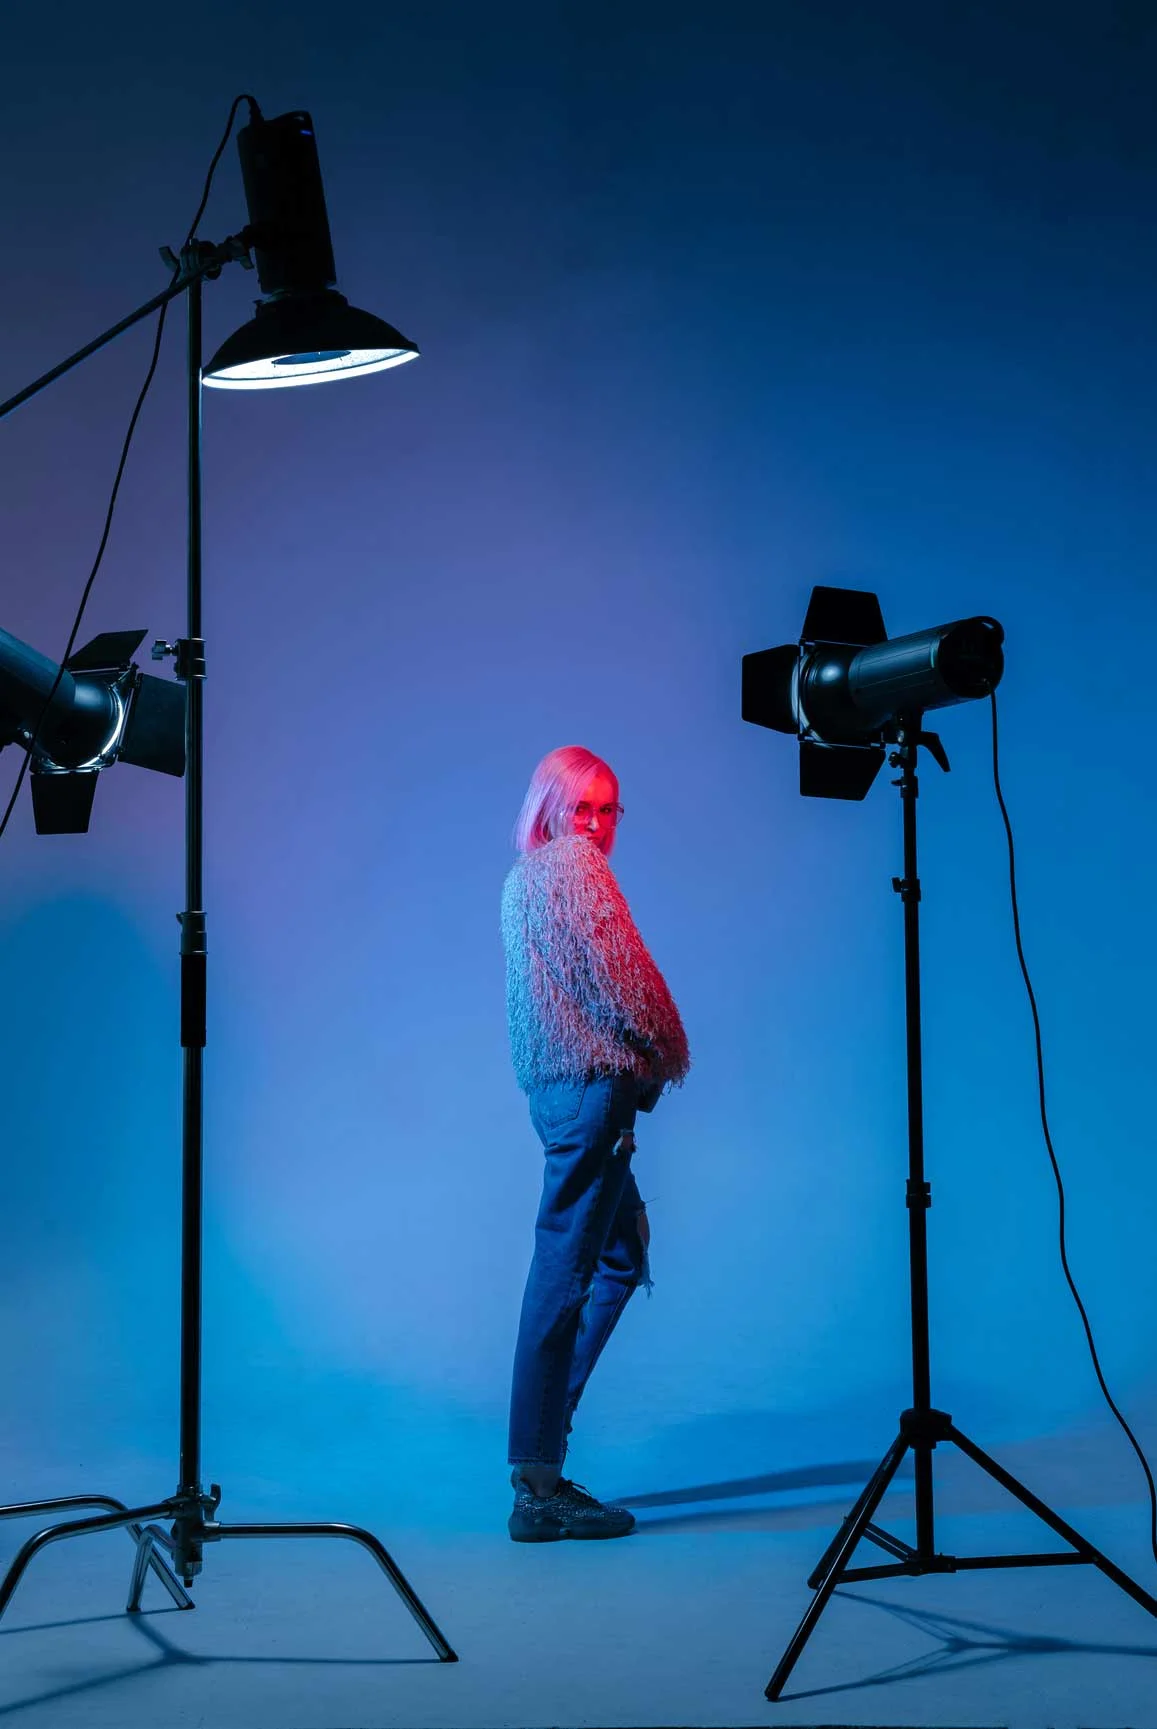
Effect lights create special lighting accents and can be used to highlight certain areas of the subject, arouse visual interest, or create creative lighting patterns. By positioning the lights precisely and adjusting their intensity, photographers can enhance their images creatively and artistically.
Examples of the use of effect lighting
1. Portrait with hair light
With a highly focused effect light behind the model, the hair can be illuminated and set off against the background. This gives the portrait a professional look and adds depth to the image.
2. Product photography with texture enhancement
In product photography, for example, a small spotlight can be used to highlight the texture of a fabric or the embossing on a product package. This draws attention to the details and improves the visual quality of the image.
3. Fashion shoot with colored accents
In a fashion shoot, an effect light can be combined with a colored gel filter or color foil to add a colored light accent to the model or background. This creates a dynamic image with a wow effect.
4. Architectural photography at night
An architectural photographer can use effect lights to illuminate specific architectural details of a building at night. This creates an atmospheric shot that highlights the structure and design of the building.
Examples of lighting setups in portrait and fashion photography
In portrait and fashion photography, different lighting setups are often used depending on the desired effect and mood of the shots. Here are some common examples:
Single-light setup
A single-light setup is a lighting technique in photography that uses only one light source to illuminate the subject. In outdoor photography, for example, this is the sun. In daylight studios, window light is often the only light source used. The single-light approach can be useful and effective when photographers are working with a limited budget, little equipment, or in cramped conditions. Despite its simplicity, a single-light setup allows for a wide range of creative and professional results.
Examples of using the single-light setup
1. Classic portrait with Rembrandt lighting
In portrait photography, for example, classic Rembrandt lighting can be created with a single light source. To do this, the light is positioned at a 45-degree angle to the model and slightly elevated so that a small triangular light pattern is created under the eye and under the nose on the shadow side of the face. This gives the portrait depth and expression.
2. Product photography with side lighting
A product photographer can, for example, illuminate a small product such as a piece of jewelry or a technical device with a single directed light source from the side. This highlights the textures and details of the product and creates interesting shadows that make the product visually appealing.
3. Fashion shoot with dramatic lighting
In a fashion shoot, a single-light setup can be used to create a strongly directed light from above or from the side. This creates dramatic shadows and highlights that dynamically showcase the model and the clothing.
Two-light setup
When using two lights, a main light is combined with a fill light. The main light is positioned first. It determines the desired light direction and mood. The fill light is then positioned to reduce the shadows cast by the main light, achieving more balanced lighting and softer shadows.
Three-light setup
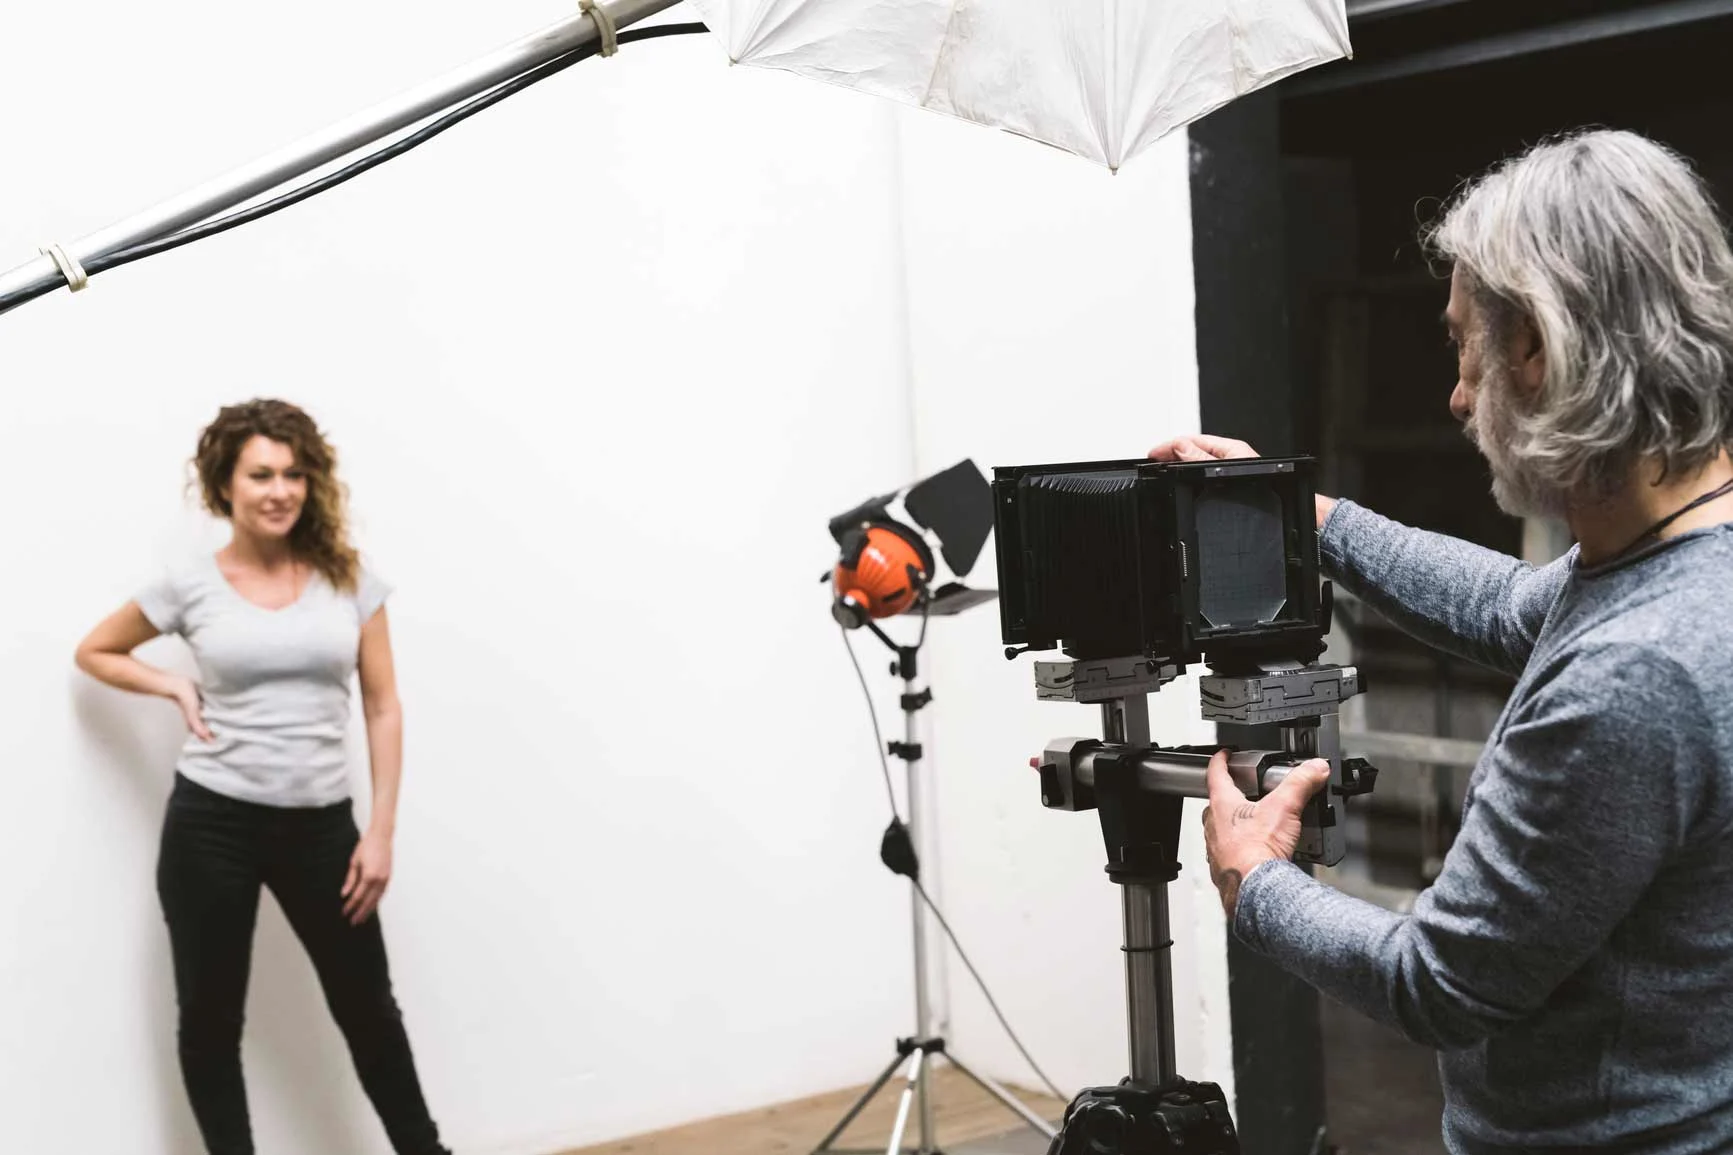
In a setup with three lights, the main light and fill light are supplemented by a background light. The main light illuminates the subject, the fill light reduces shadows, and the background light visually separates the subject from the background. This arrangement is often used in fashion photography to achieve a professional studio look and give the image more depth.
High-quality photos deserve an equally high-quality presentation. With our Fine Art Prints on Hahnemühle, Canson & Epson, we offer you the finest photo printing in artistic perfection.
Professional lighting in product photography
Whether for advertising, e-commerce, or catalogs, product photography requires precise and careful lighting to showcase products and their details in the best possible light.
Simple product lighting
A classic lighting setup for simple product shots consists of a main light and a fill light. The main light illuminates the product directly, while the fill light comes from the side or from above to reduce shadows.
Complex product lighting
For more complex products, it may be useful to work with three or more lights. In addition to the main light and fill light, a background light can be used, for example, to make the product stand out from the background. Additional effect lights can be used to highlight details or textures. When photographing glass or metal objects, softboxes or diffusers are often used to control reflections and achieve even lighting.
Light tents and their advantages
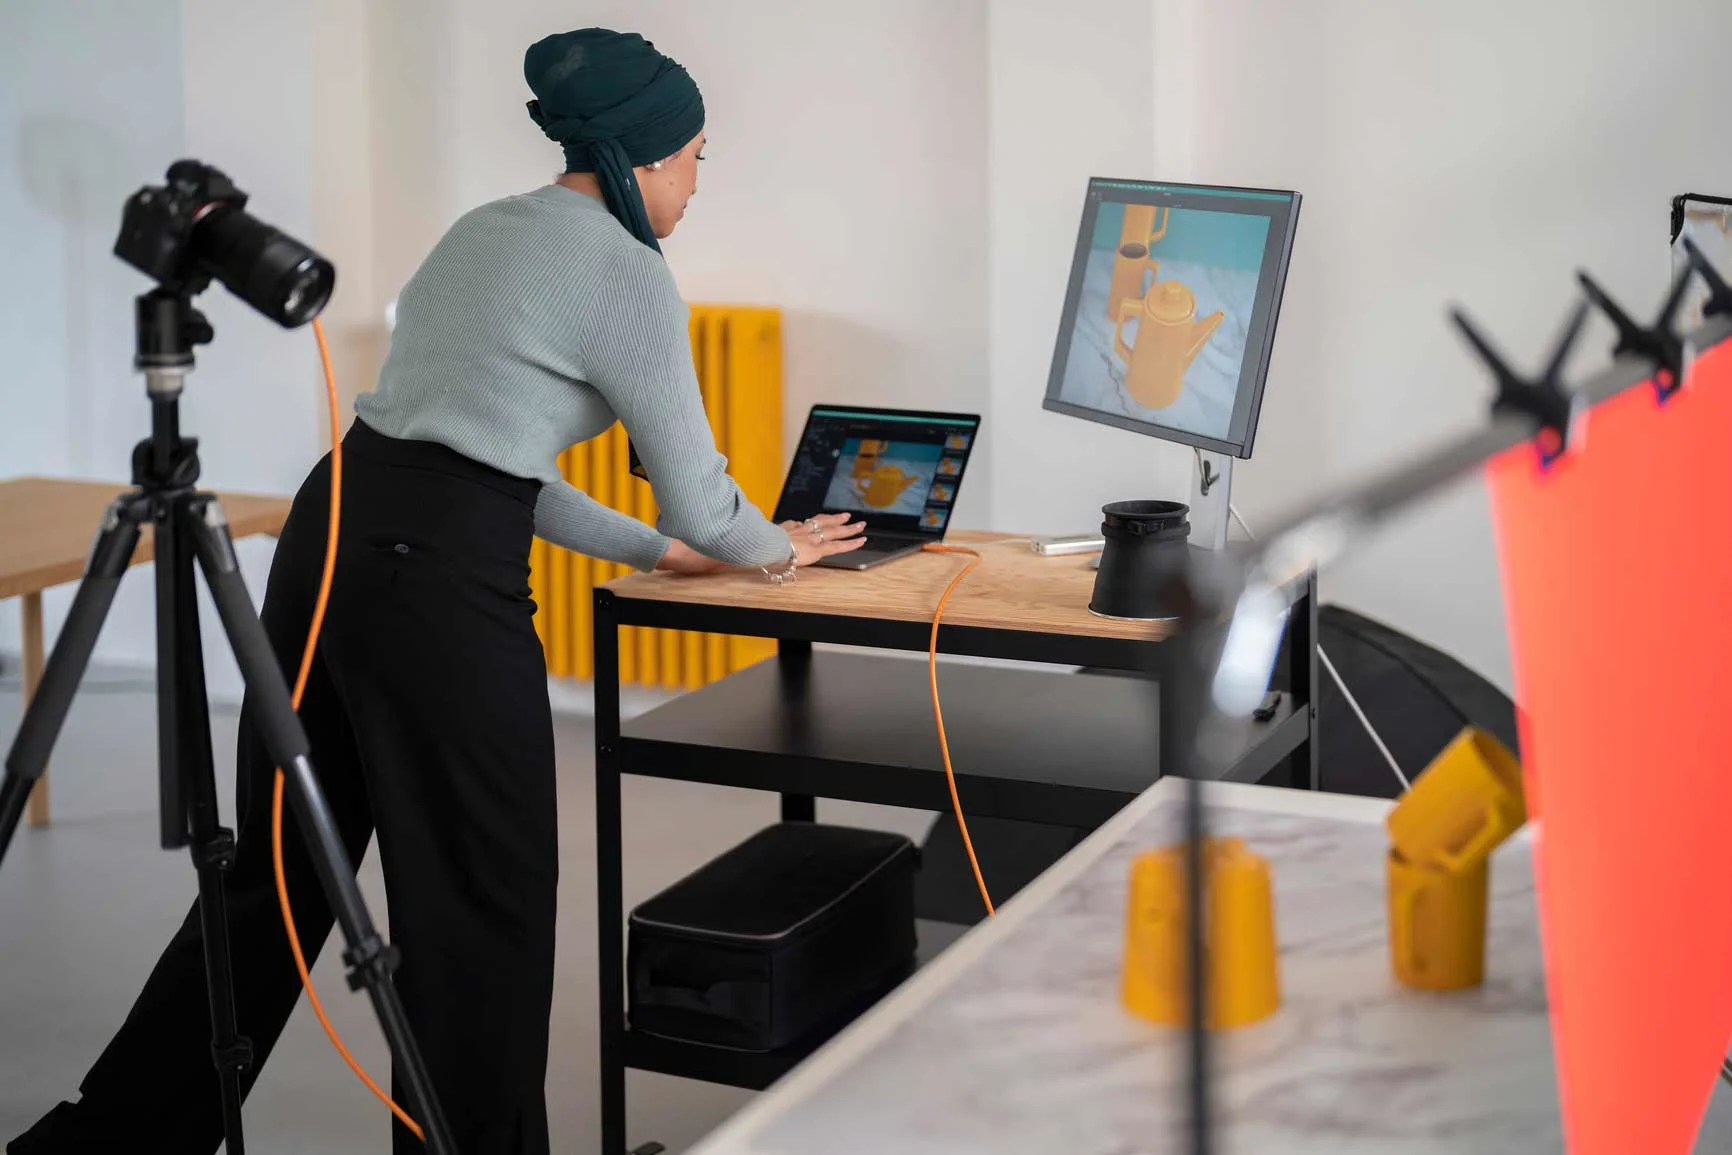
Light tents are specially designed, translucent tents that surround the product and distribute light evenly. They are ideal for small to medium-sized products and offer several advantages. The design of the light tent reduces distracting reflections, which is particularly important for shiny or reflective surfaces. The even light distribution ensures soft shadows. Light tents are easy to set up and offer a versatile solution for various types of products, from jewelry to electronics to glassware.
Light tables for product photography
Light tables are special tables with a milky, translucent surface that can be illuminated from below. These tables are particularly suitable for photographing glass, plastic, and other transparent or translucent materials, as they emphasize the clarity and purity of the product. Furthermore, the lighting from below creates an even background that highlights the product and minimizes distracting shadows.
Would you like to show off the details of your product photos to their best advantage? Then we recommend our photo prints on aluminum Dibond in ultraHD for perfect sharpness.
Creative lighting setups for special effects
If you like to get creative, you can use different lighting setups to achieve special effects such as high key, low key, silhouettes, and light painting.
High key
A high-key setup produces bright, almost overexposed images with minimal shadows and little contrast. To achieve this effect, three to four light sources are usually required. Two main light sources are positioned to the left and right of the subject, often slightly elevated and at an angle of 45 degrees. Softboxes or diffusers ensure soft, even illumination. A third light is positioned behind the subject to illuminate the background and avoid distracting shadows. In addition, a fill light or reflector can be used in front of the subject to further reduce any shadows on the face or front of the subject. It is important to carefully control the exposure to avoid overexposure while maintaining the bright and airy look.
Low key
A low-key setup creates dramatic, dark images with deep shadows and high contrast. One light source is usually sufficient here, often a highly directional main light such as a spot or Fresnel light. This light is directed at a sharp angle from the side or from above onto the subject to create hard shadows and strong contrasts. Shadows can be used to block out unwanted light and increase contrast. Sometimes a small fill light or reflector is used on the shadow side to slightly brighten the deepest shadows and reveal some details without losing the dramatic effect. The exposure should be set to emphasize the dark tones without losing detail in the blacks.
Hard backlighting
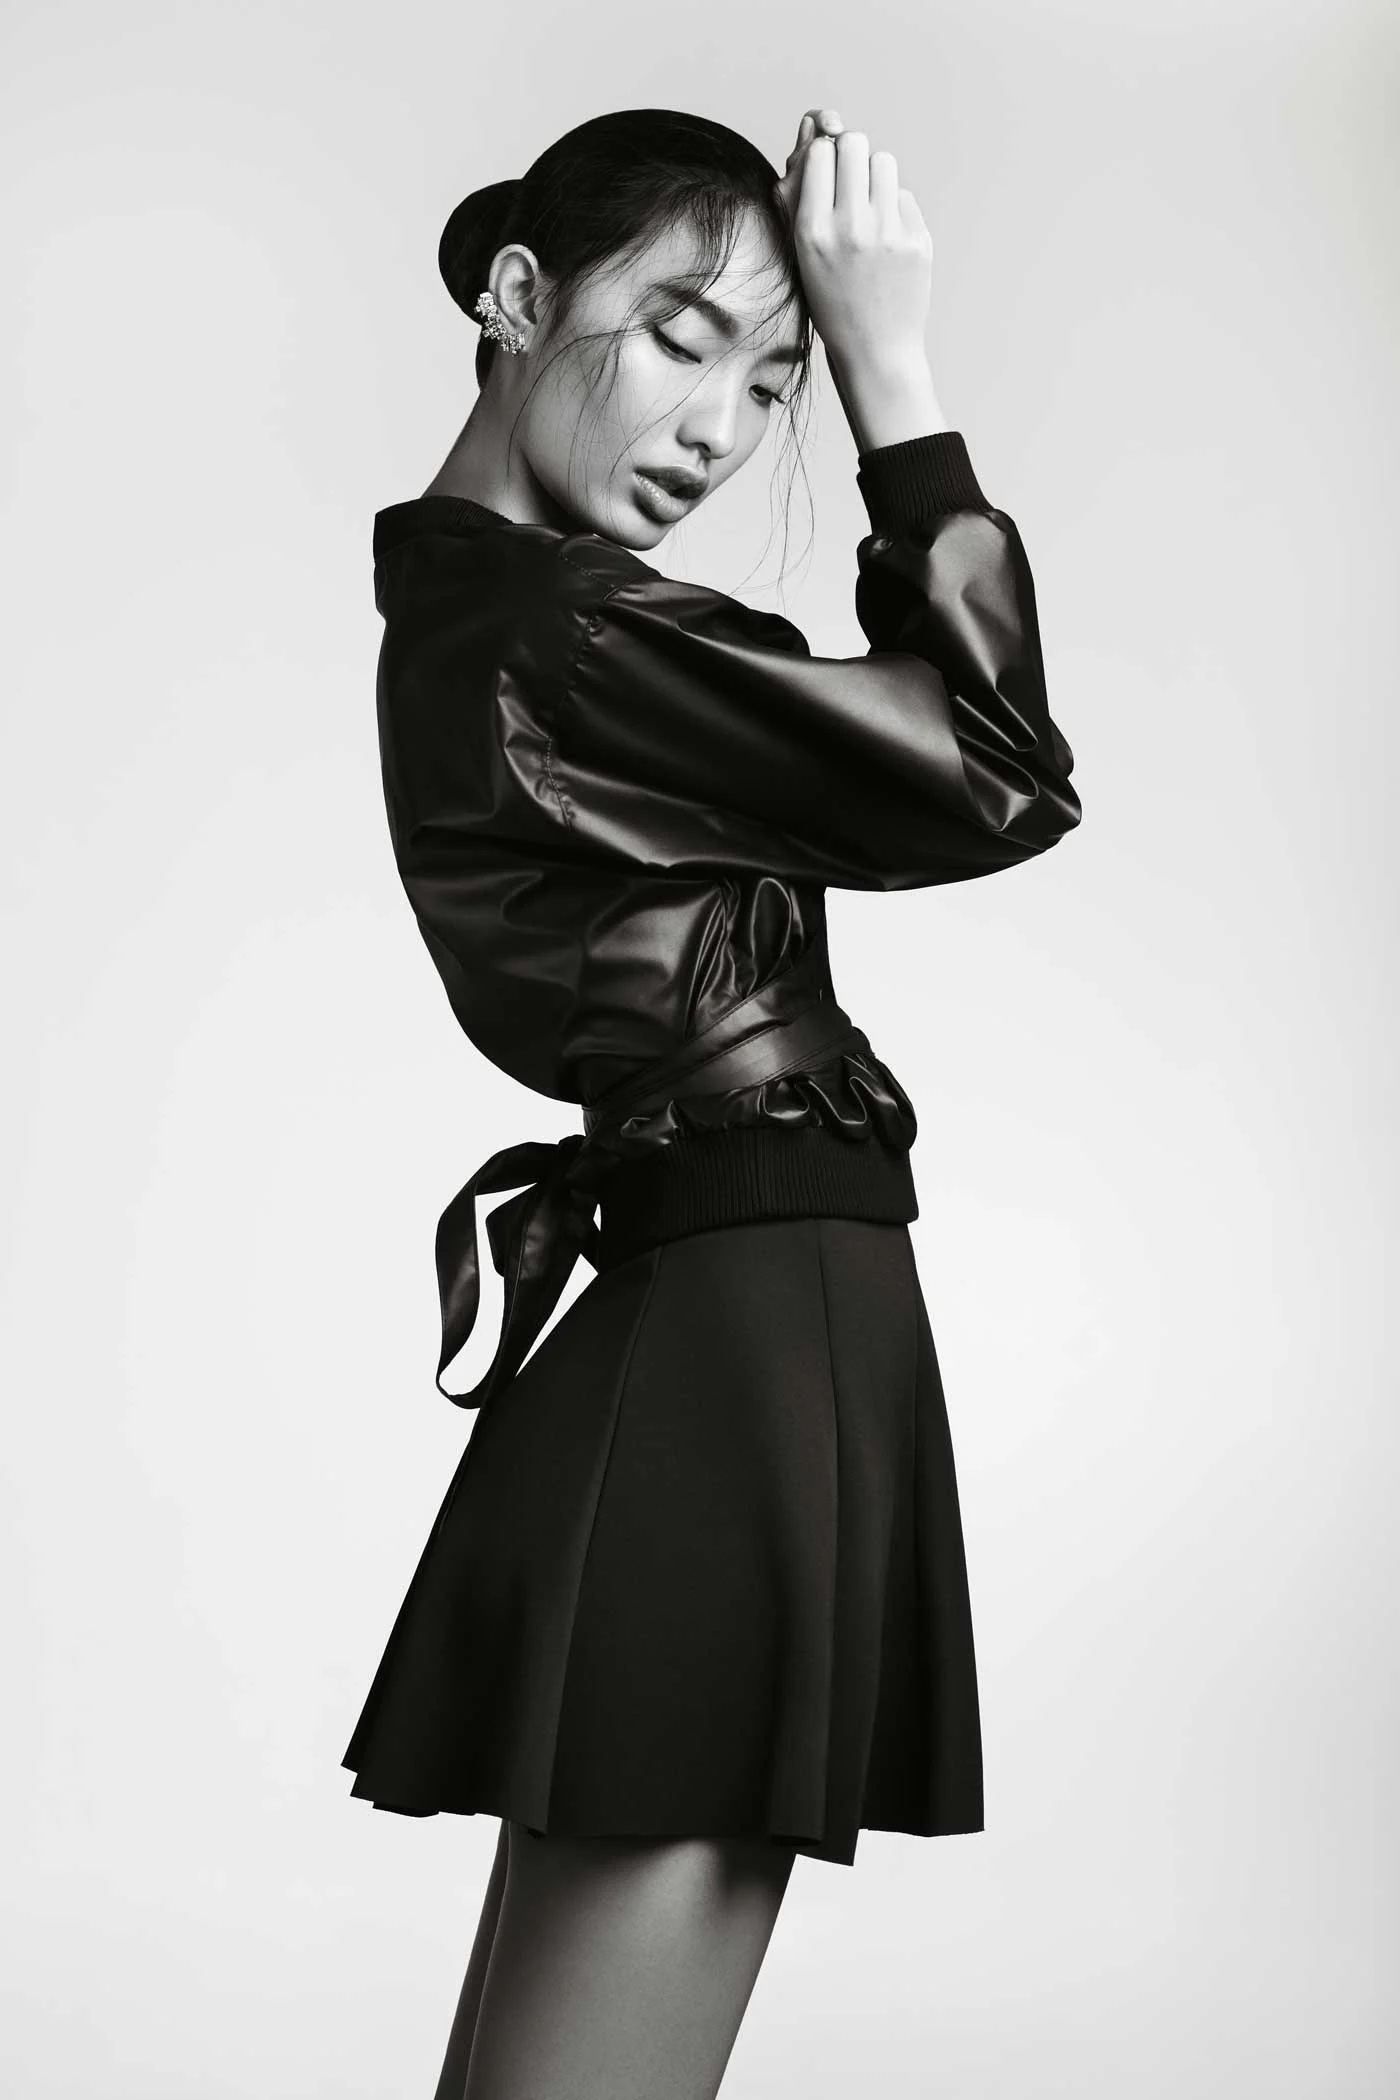
Hard backlighting creates intense lighting effects and can be used to highlight contours and silhouettes. This requires at least two light sources. The main light source is located behind the subject, often directly opposite the camera. This light source should be strong and direct, without diffusers, to create hard shadows and a strong light edge around the subject. A second, weaker light source can be positioned in front of the subject to illuminate details on the front, but in such a way that the effect of the backlight is not impaired. A reflector can also be used to cast light onto the face or front of the person. It is important to experiment with the exposure and positioning of the lights to achieve the desired effect and avoid overexposure.
Light painting
Light painting is a creative technique in which light sources are moved within the frame during a long exposure to create unique patterns and effects. One or more small light sources such as flashlights or LED sticks are often used. The camera is mounted on a tripod and the exposure time is set to several seconds or minutes, depending on the desired effect. During the exposure time, the photographer or an assistant moves the light sources to create different shapes and patterns. If necessary, the subject can also be illuminated by directing the light source at different parts of the subject during the exposure time to create light accents. It is important to work in a room that is as dark as possible or outside in the dark to avoid unwanted ambient light and to ensure that the movement of the light sources is smooth and controlled in order to obtain clear and interesting patterns. The camera should be set to a low ISO setting to minimize image noise and record the light trails clearly and distinctly.
Bring your most beautiful creative photos to life with WhiteWall behind acrylic glass.
Conclusion
The right lighting is at the heart of every professional photograph. Through the targeted use of main, fill, background, and effect lighting, experienced photographers can achieve impressive results. Whether in portrait, fashion, or product photography, each lighting setup has its specific advantages and can be adapted to the situation at hand. Creative techniques such as high-key, low-key, hard backlighting, and light painting offer additional possibilities for creating unique and artistic images. By understanding and mastering the different light sources and their uses, you can take your photography skills to a new level and achieve professional results.
Learn more about the author
As a trained portrait and wedding photographer, Katharina Wergen brings her extensive knowledge to photography. She has been working as a sales consultant at WhiteWall since 2018 and supports exhibition projects for museums and galleries. She is also increasingly focusing on reportage photography. Take a look behind the scenes of the photographer, here in the interview.

Also interesting:
Submitted by WhiteWall expert Katharina Wergen
The use of light modifiers
Learn how to get the most out of your light source with softboxes, beauty dishes, spot attachments, and more. Whether you're shooting portraits, products, or fashion, the right light shaper will help you create professional-looking images. Discover more now!
Submitted by WhiteWall expert Katharina Wergen
Creative flash and off-camera flash – with unleashed flash
Ob Porträt, Event oder Produkt: Entfesseltes Blitzen eröffnet ganz neue Möglichkeiten, Licht bewusst einzusetzen und stimmungsvolle, ausdrucksstarke Bilder zu gestalten. Erfahren Sie, wie Sie mit der richtigen Technik, Lichtformern und kreativen Ideen beeindruckende Effekte erzielen – ganz ohne Studio!
Submitted by WhiteWall expert Katharina Wergen
Mixed lighting scenarios: Atmospheric photos with mixed light
Learn how to work harmoniously with different light sources and create atmospheric photos. Whether it's everyday life, events, or architecture, with the right tips, handling mixed light is easy and produces impressive images.


