Mixed lighting scenarios: Atmospheric photos with mixed light
From WhiteWall expert Katharina Wergen
Photographing with mixed light often presents photographers with major challenges. At the same time, skillful use of different light sources opens up fascinating creative possibilities. This blog post takes an in-depth look at mixed light, presenting typical situations, challenges, and solutions. The aim is to help photographers use mixed light efficiently and achieve impressive results.
What is mixed light?
Mixed light refers to a situation in which different light sources with different color temperatures simultaneously affect a subject. This is the case, for example, when natural daylight is combined with artificial light such as incandescent bulbs, fluorescent tubes, flash, or continuous light. Each light source has its own color temperature, which is measured in Kelvin (K). Daylight has a color temperature of around 5,500 Kelvin, while the color temperature of incandescent bulbs is around 2,700 Kelvin and that of fluorescent tubes is around 4,000 to 6,000 Kelvin. Working with these different light sources requires a keen sense and technical knowledge to produce a balanced image.
Examples of typical mixed light situations
Mixed lighting situations can occur in various environments. A typical example of a mixed lighting situation is when taking photographs indoors with large windows through which daylight enters, while additional artificial light sources such as floor lamps and ceiling lights are used in the room. Daylight appears cool and bluish, while the light from incandescent bulbs has a warmer color temperature and appears yellowish. In such situations, there is a clear color contrast between the different light sources, which influences the colors and mood of the image.

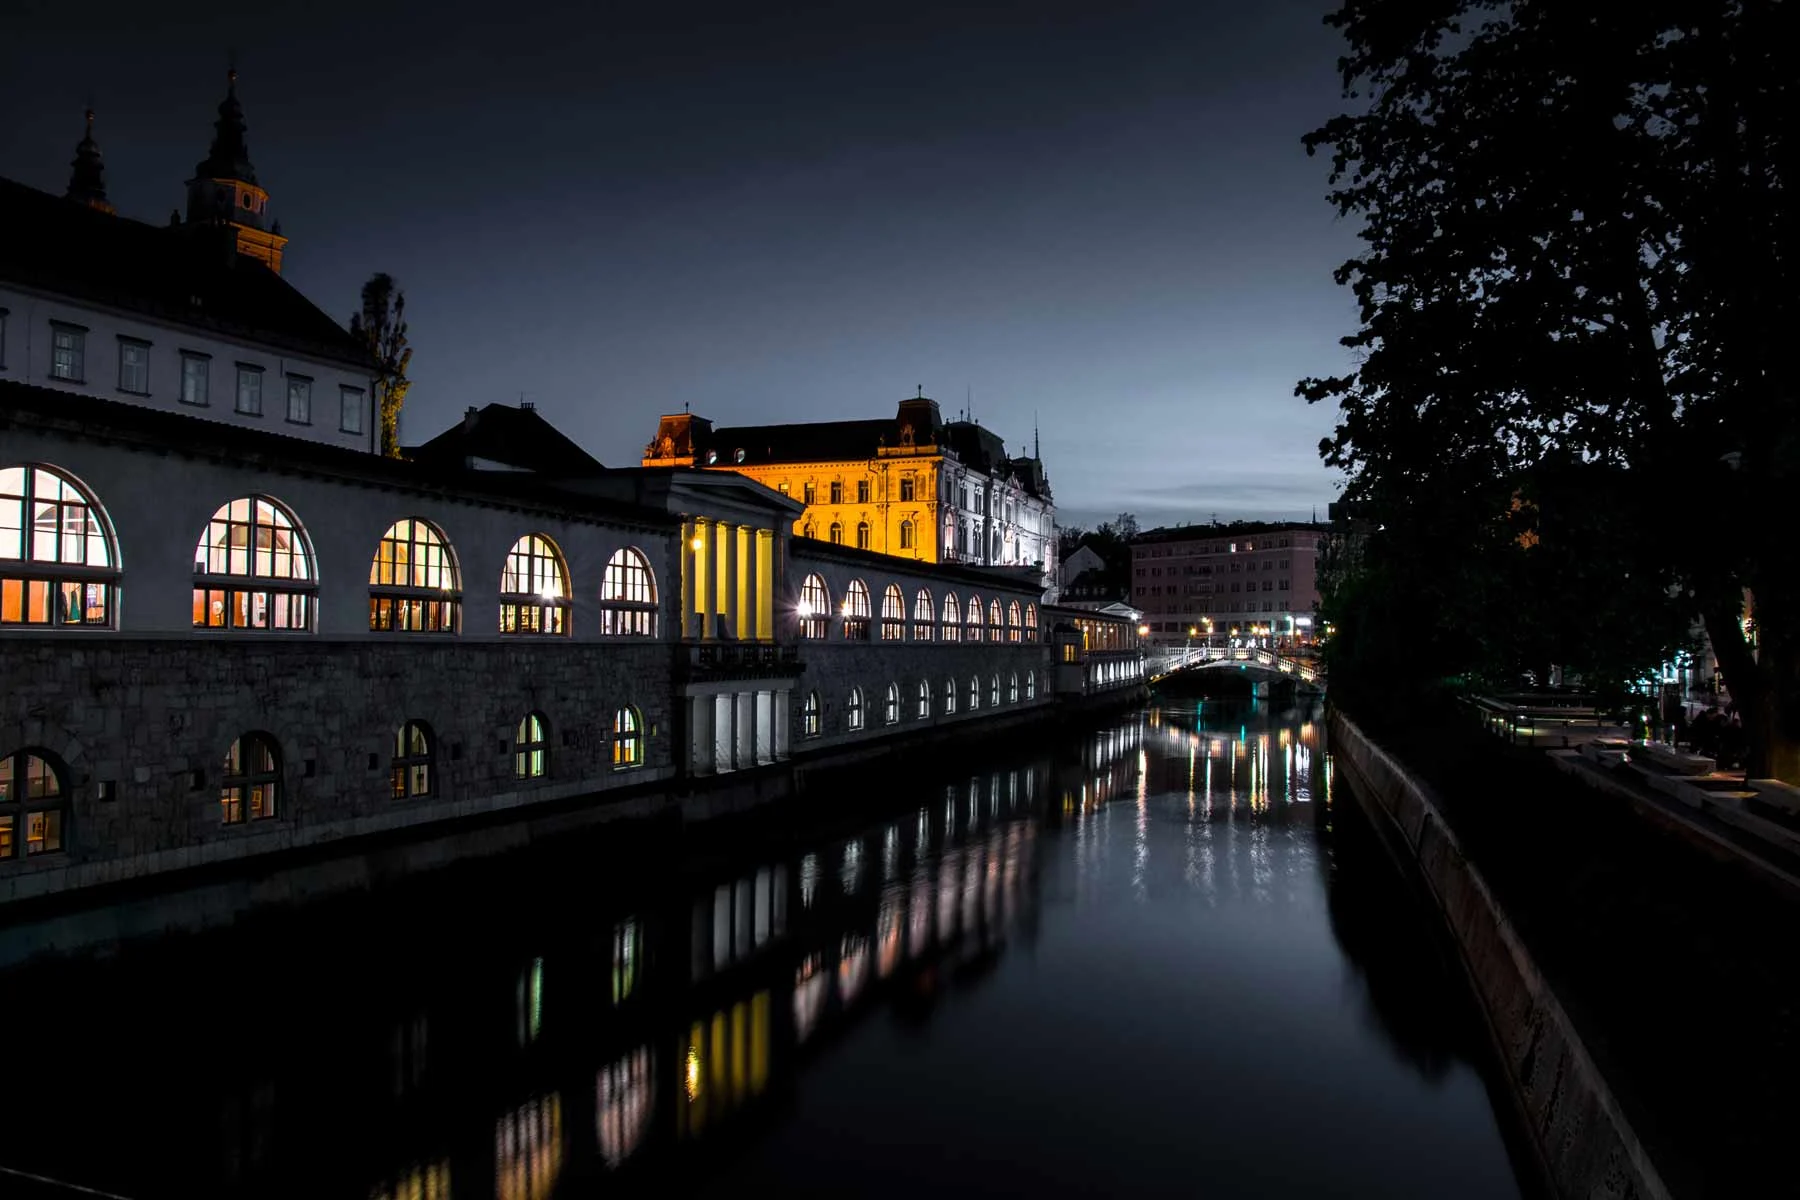
Another common mixed light situation occurs when shooting outdoors during the blue hour or at dusk. The blue hour refers to the period shortly before sunrise or shortly after sunset, when the remaining daylight takes on a cool, bluish color. At the same time, street lights or other artificial light sources with a warmer color temperature are often switched on. This combination of cool daylight and warm artificial light creates a special mood that many photographers use to create atmospheric and high-contrast images. Here, too, it is important to carefully coordinate the light sources to achieve a balanced result.
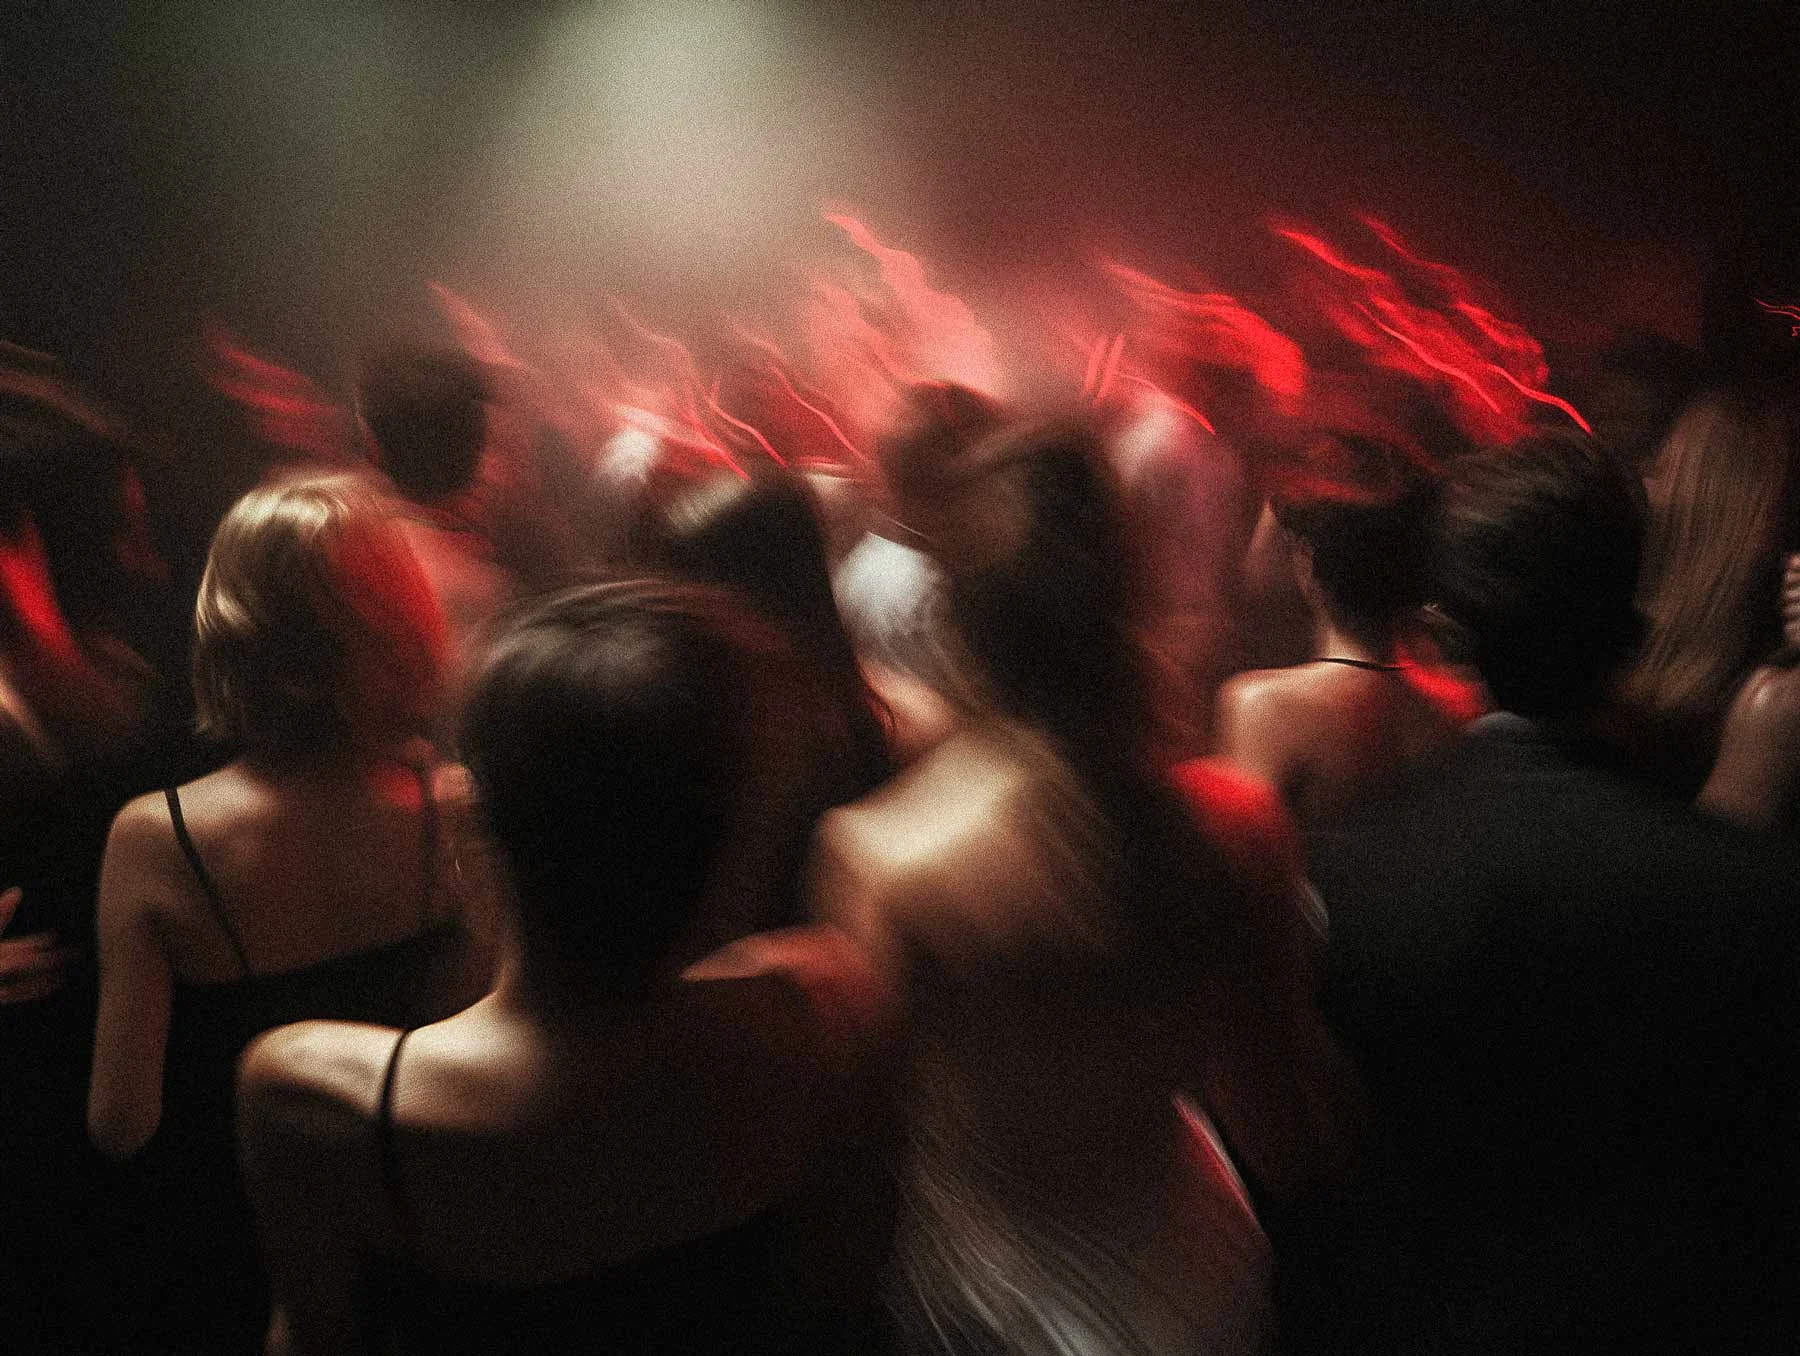
Mixed light situations are also common at events, concerts, and in theaters. Here, different spotlights and stage lights with different color temperatures and light intensities are often used. These lights interact with the existing ambient light and create a complex lighting situation. The photographer must take special care to combine the different light sources in such a way that the colors and details of the scene are shown to their best advantage without creating unnatural color shifts. Weddings also offer many scenarios for mixed light, for example in churches with colored light from stained glass windows and the simultaneous use of flash.
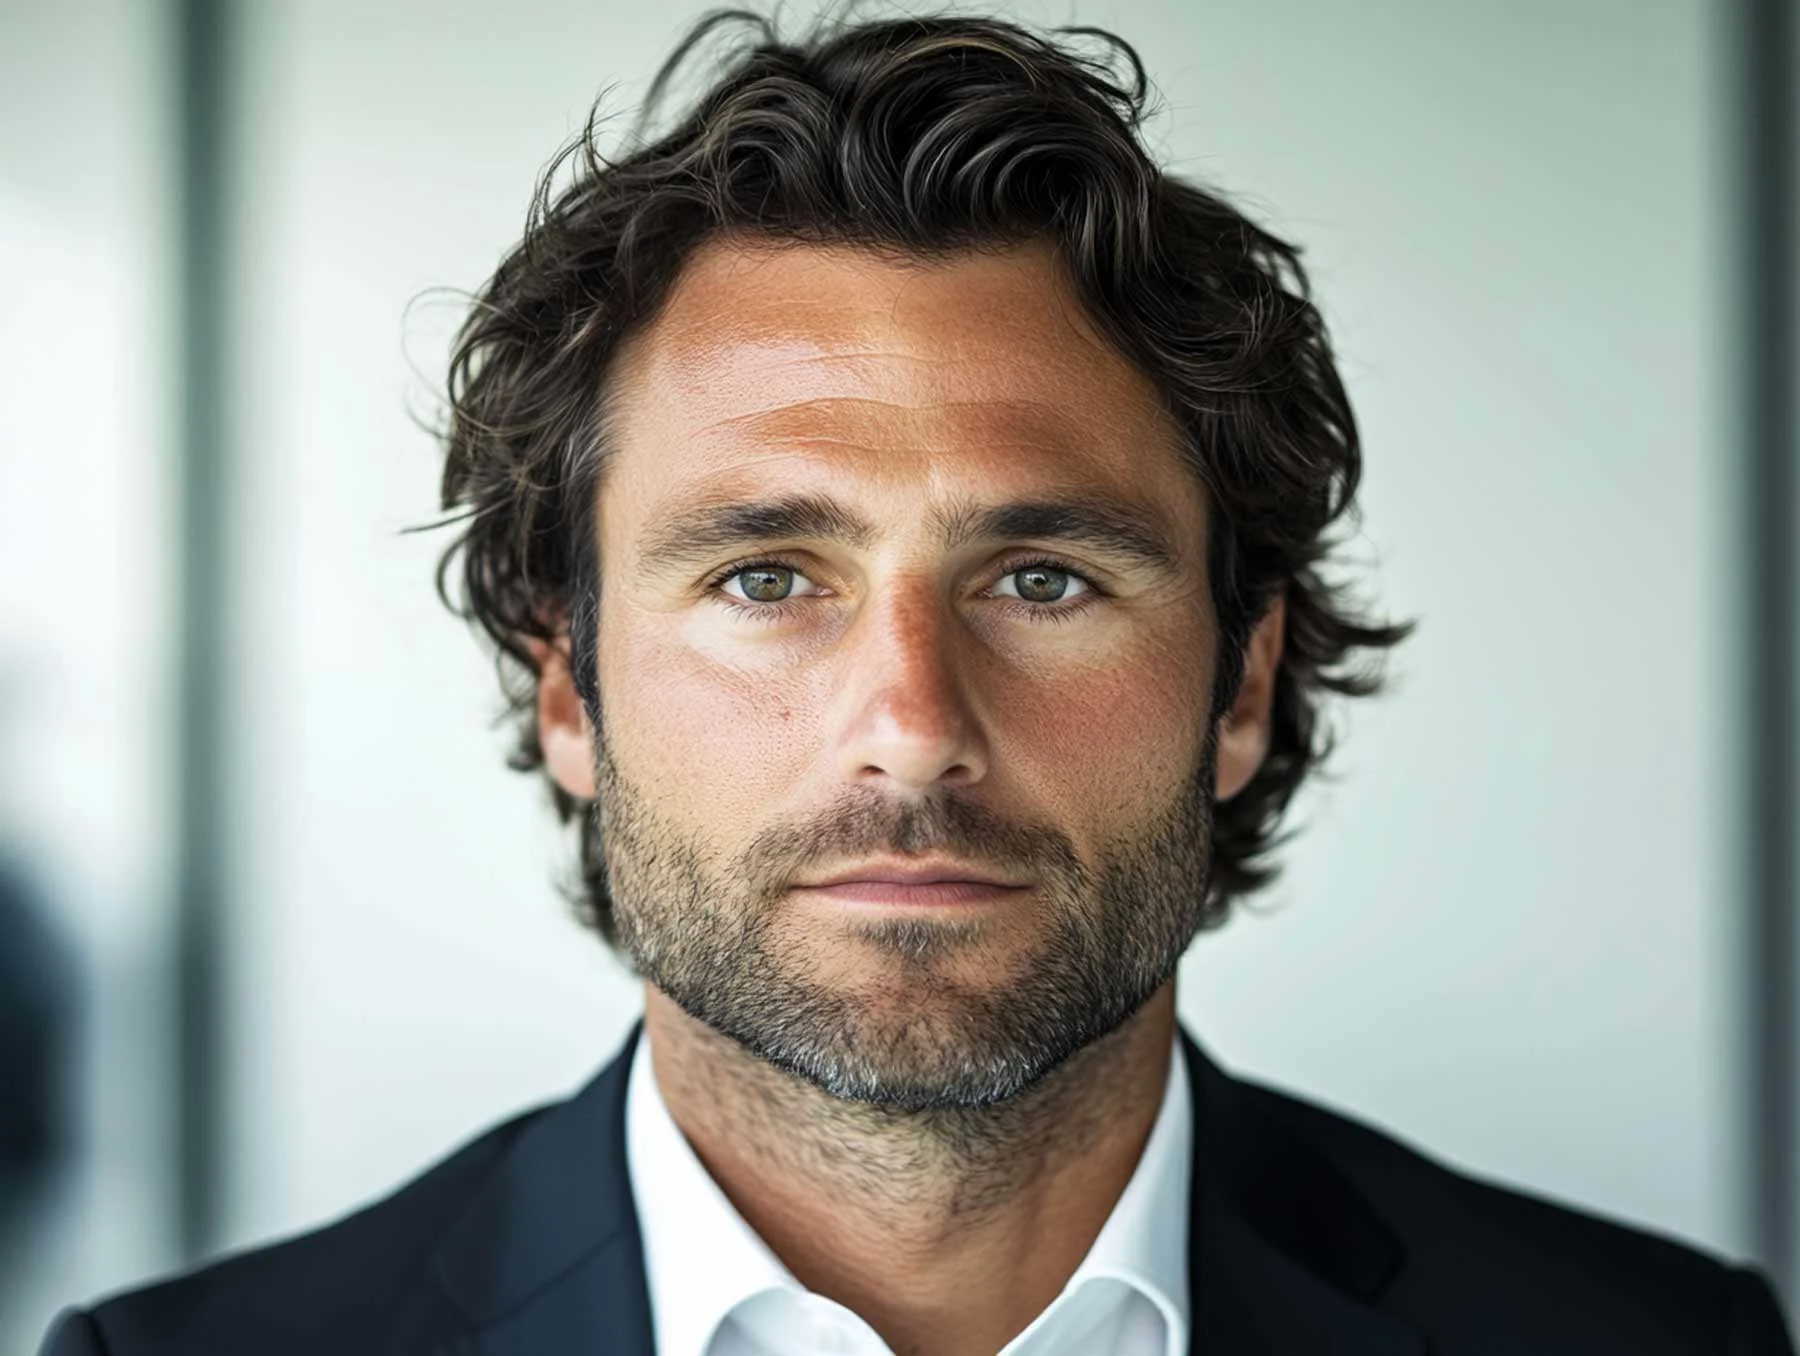
Another example of mixed light is photography in offices or shops that are lit by both daylight and artificial light sources. This can be relevant for business portraits or for architectural and product shots, among other things. Modern offices often use fluorescent tubes with a color temperature of around 4,000 to 6,000 Kelvin, which produce a neutral white light. This light can combine with the daylight coming in through windows to create cool but even lighting. In shops, on the other hand, incandescent bulbs or halogen lamps are often used, which produce a warmer light. Here, photographers must balance the different light sources to ensure even illumination of people or products and natural color rendering.

To bring out the colors in your pictures, we recommend our high-quality wall art behind acrylic glass.
Challenges when working with mixed light
Working with mixed light presents photographers with a number of challenges that must be carefully mastered in order to produce high-quality images. One of the biggest challenges is the different color temperatures of the light sources, which can lead to color shifts and unnatural skin tones.
Another challenge is that the intensity and distribution of light sources can vary. For example, the ratio between ambient light and artificial light can vary greatly, making exposure difficult. There is a risk that certain areas of the image will be overexposed or underexposed, which can affect the details and overall quality of the image. Photographers must therefore carefully balance the intensity of the various light sources and, if necessary, work with diffusers or reflectors to achieve uniform illumination.
Shadows and reflections can also be unpredictable and difficult to control due to the different light sources. Different light sources cast shadows in different directions, which can lead to uneven shadowing. These shadows can disrupt the image composition and impair the desired aesthetic effect. If the shadows are considered distracting, it may be advisable to reposition the light sources, if possible, to change the shadowing.
Another problem is color fidelity. Different light sources can reproduce colors differently. This can be particularly problematic for product or portrait photography. Here, it is important to know the color temperature of the different light sources.
The white balance of the camera also plays an important role in mixed lighting. Incorrect white balance can cause colors in the image to be rendered incorrectly and the image to have an unnatural color cast. White balance can be set manually or automatically, with manual white balance often being the more accurate method for balancing the color temperatures of the light sources. Although white balance can also be adjusted later in image editing, it is recommended to set the white balance when taking the picture in order to achieve high-quality results and optimally match the light sources.

How to match ambient light and mixed light
When photographing with mixed light, it is crucial to adjust the color temperature of the artificial light source to the ambient light in order to achieve a harmonious and natural lighting mood. This requires a careful approach and the correct settings for the camera and flash or continuous light. We explain step by step how to do this.
First, it is important to know the color temperatures of the different light sources. As mentioned above, daylight typically has a color temperature of around 5,500 Kelvin, while artificial light sources such as incandescent bulbs and fluorescent tubes can have different color temperatures, usually between 2,700 and 6,000 Kelvin.
Once the color temperatures are known, the artificial light sources are adjusted. A common method is to use color filters or gels. These are placed in front of the light source to change its color temperature. For example, a blue filter can make the warm light of an incandescent bulb cooler to make it closer to daylight. Conversely, an orange filter can make the cold light of a flash warmer with a daylight-like color temperature to match warmer light sources. The choice of filter depends on the difference between the color temperature of the artificial light source and that of the ambient light.
In addition to color filters, there are also modern LED continuous lights with continuously adjustable color temperature. These have the advantage that they can be flexibly adapted to different lighting conditions. By turning a control knob or using a remote control, the color temperature of the LED lights can be precisely adjusted to achieve ideal harmony with the ambient light.
If the existing ambient light is combined with additional flash or continuous lights, these are adjusted so that they complement the existing ambient light without dominating it. To do this, a test shot is first taken without additional artificial light to adjust the camera's exposure so that the ambient light is rendered as desired. Only then is the flash or continuous light switched on and its intensity adjusted until the artificial light blends optimally into the overall exposure. Lower light output ensures that the artificial light does not outshine the ambient light and that a natural lighting mood is maintained. The flash can also be fitted with a diffuser to distribute the light more softly and evenly and avoid harsh shadows.
After adjusting the artificial light sources and camera settings, it is advisable to take test shots. These help to check the lighting conditions and make further adjustments if necessary. Particular attention should be paid to color shifts and unnatural shadows. If necessary, the white balance of the camera can be readjusted or the position and power of the flash or continuous light can be adjusted.

Flash or continuous light – which light source is best suited for mixed lighting situations?
In principle, both flash and continuous light can be used with light shapers and color filters in mixed light situations. Both artificial light sources have specific advantages. Flash has a very high light output and can be used, for example, in strong backlight situations where a person is illuminated against the sun. This is also a mixed light situation. The short flash duration of usually a few milliseconds also allows movements to be frozen better and fast-moving subjects to be captured with razor-sharp clarity. This is particularly useful in sports and action photography.
Continuous light, on the other hand, has the advantage that it shines continuously, giving the photographer direct visual feedback on the lighting conditions. This makes it much easier to assess the lighting mood and position the light sources. Portrait and product photographers in particular can immediately see how the light falls on the subject and what shadows and reflections are created. Modern LED continuous lights also offer the option of continuously adjusting the color temperature, which makes it easier to adapt to the ambient light and enables precise control of the light color.
In addition, continuous lighting is also very well suited for video recordings. In situations where both photography and filming are required, continuous lighting offers the advantage that it can be used continuously, thus ensuring constant illumination even with moving images. This is particularly important in event and wedding photography, where both photos and videos are often required.
In summary: These are the five steps you should follow when working with mixed light:
1. Analyze the light sources:
Before shooting, you should identify all existing light sources and assess their color temperatures. This will help you better understand the various lighting influences in the image.
2. Adjust the color temperatures:
Use color filters or, for some LED continuous lights, the color temperature control dial to match the color temperatures of the light sources.
3. Use of aids:
Diffusers, reflectors, and shades can help shape the light and use it more precisely. This avoids harsh shadows and achieves harmonious lighting.
4. Manual white balance:
Manually set the white balance of your camera to the dominant light source to avoid color distortion and ensure natural color reproduction.
5. Test shots and adjustments:
Test shots help you check the lighting conditions and make adjustments if necessary. Pay attention to color shifts and unnatural shadows.
Conclusion
Photographing with mixed light requires a good understanding of the different light sources and their characteristics. With targeted adjustments to the color temperature and careful control of the light intensity, you can create creative and atmospheric images. Show off your photos in style—as high-quality photos in frames. Or would you like to make someone happy? Then give your favorite photos as high-quality photo prints in gallery quality.
Learn more about the author
As a trained portrait and wedding photographer, Katharina Wergen brings her extensive knowledge to photography. She has been working as a sales consultant at WhiteWall since 2018 and supports exhibition projects for museums and galleries. She is also increasingly focusing on reportage photography. Take a look behind the scenes of the photographer, here in the interview.

Also interesting:
Submitted by WhiteWall expert Katharina Wergen
Advanced Studio Lighting Setups
Discover how you can take your photos to the next level with targeted light sources and creative setups. Whether you're shooting portraits, fashion, or products, the right setup will help you create expressive images with depth, impact, and character. Ideal for anyone who wants to use light consciously.
Submitted by WhiteWall expert Katharina Wergen
The use of light modifiers
Learn how to get the most out of your light source with softboxes, beauty dishes, spot attachments, and more. Whether you're shooting portraits, products, or fashion, the right light shaper will help you create professional-looking images. Discover more now!
Submitted by WhiteWall expert Katharina Wergen
Creative flash and off-camera flash – with unleashed flash
Ob Porträt, Event oder Produkt: Entfesseltes Blitzen eröffnet ganz neue Möglichkeiten, Licht bewusst einzusetzen und stimmungsvolle, ausdrucksstarke Bilder zu gestalten. Erfahren Sie, wie Sie mit der richtigen Technik, Lichtformern und kreativen Ideen beeindruckende Effekte erzielen – ganz ohne Studio!


