Architectural photography
By WhiteWall expert Jan-Ole Schmidt
In this article, we dive into the world of architectural photography. We’ll introduce you to valuable techniques and perspectives that will help you capture stunning architectural photos. We’ll also showcase three inspiring photography projects to get your creative juices flowing right away.
Introduction to Architectural Photography: The Interplay of Technology and Art
Architectural photography is an art form that focuses on photographing buildings and structures. It is not just about capturing the external form and structure of a building, but also its character, context, and integration into the surrounding environment. A solid understanding of composition, light, and perspective, as well as the ability to master technical challenges, are therefore essential for architectural photography.
By depicting form, function, and aesthetics from unique perspectives and using various techniques, it captures the essence of architecture. In this blog post, we’ll explore the most important aspects of architectural photography and provide you with valuable tips on how to take impressive architectural photos.
Equipment for Architectural Photographers
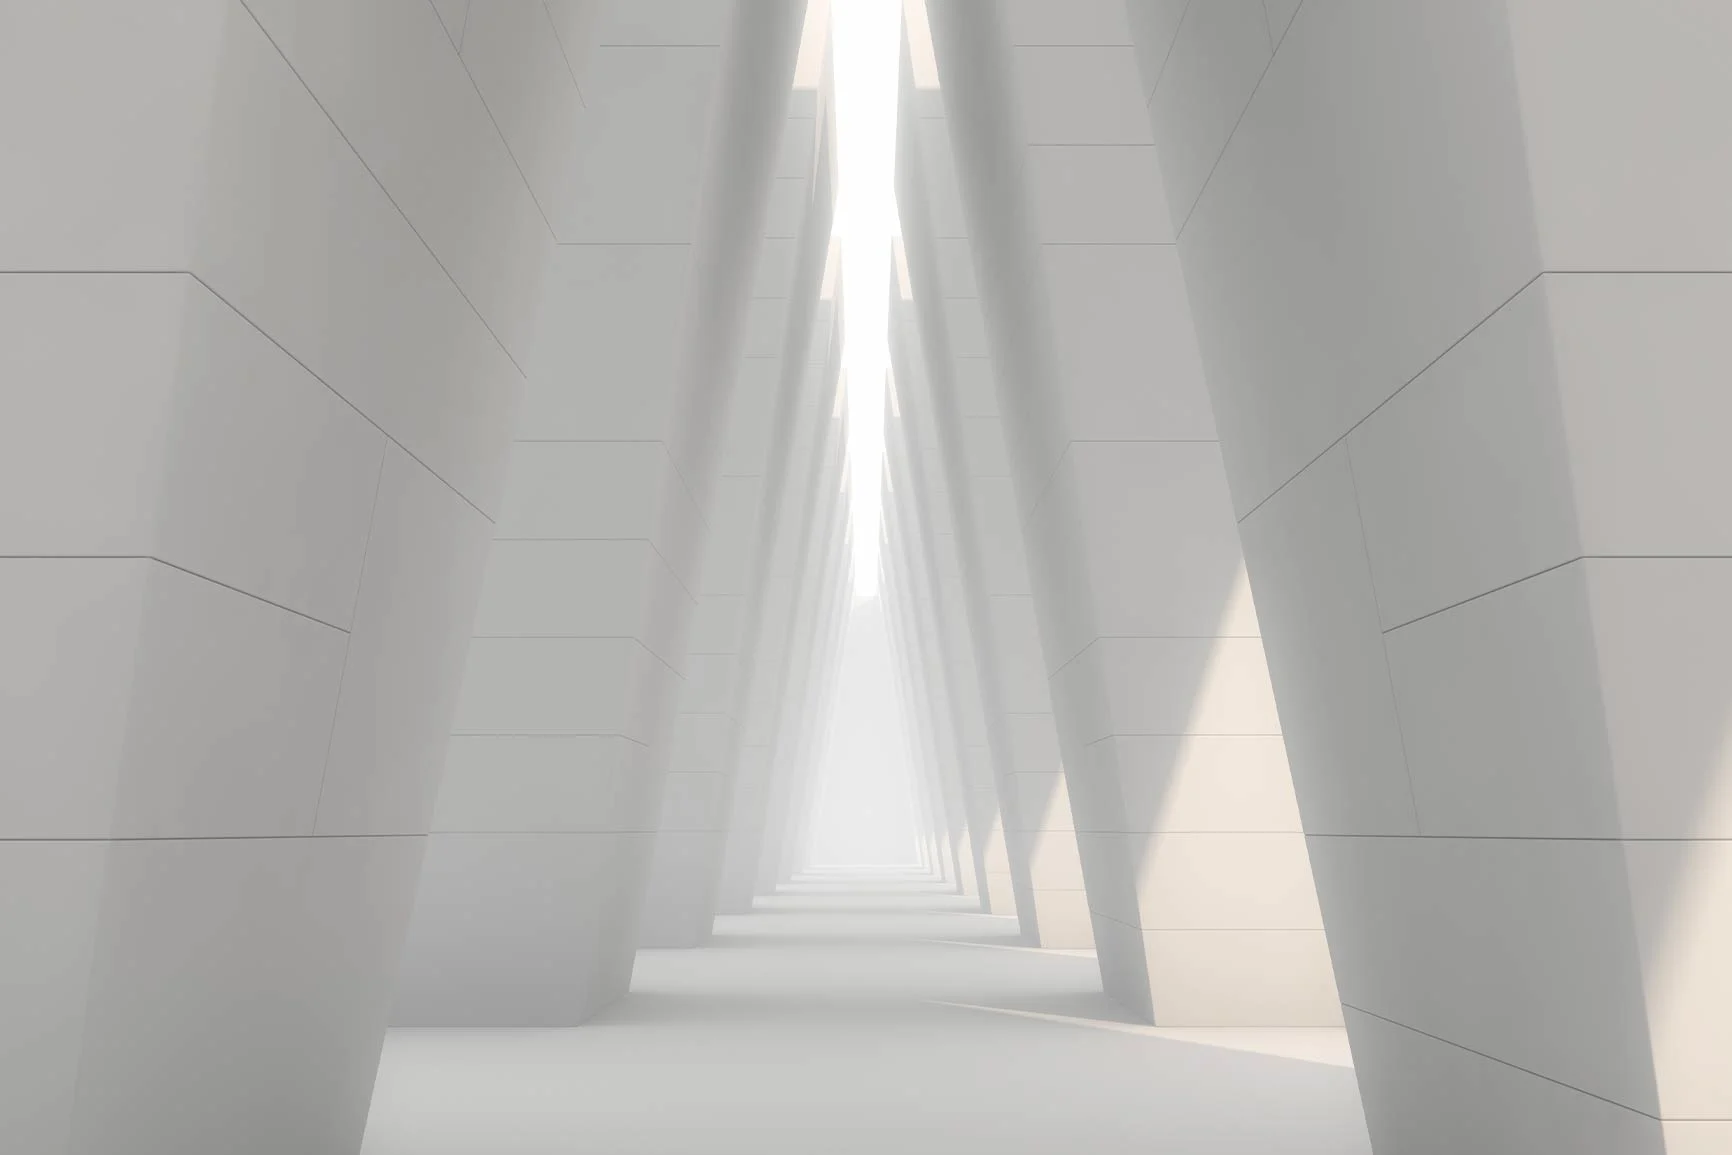
As in all major genres of photography, architectural photography also has a few classics that no gear bag should be without. For example, if you want to capture buildings as a whole in a single frame, wide-angle lenses are indispensable. However, wide, detailed compositions can quickly appear cluttered and distorted. Therefore, don’t rely solely on wide-angle lenses in the city. A 50mm focal length most closely resembles the human eye. It makes the scene appear natural. Long focal lengths allow you to capture details on buildings. In tight indoor spaces, however, a wide-angle lens is essential if you want to photograph, for example, a ceiling, a stairwell, or a small hotel room.
Here, we’ll briefly summarize what other useful accessories and classic photography equipment architectural photographers need in addition to their camera.
The Wide-Angle Lens: The Classic
Wide-angle lenses are virtually indispensable in architectural photography. They make it possible to capture large structures and tight spaces in their entirety. They are particularly useful when photographing interiors, as they can capture the entire room and convey a sense of depth.
When photographing buildings from the outside, wide-angle lenses between 18 and 24 mm in 35mm format are typically used. In interior architecture, even more extreme angles of view down to 14 mm in 35mm format are used to fully capture even narrow spaces.
In addition to good and consistent sharpness, light intensity is also important for lenses used in architectural photography. To avoid having to extend the exposure time too much, even in the typically low-light conditions of interior spaces, a large aperture such as f/2.8 is helpful.
The Tilt-Shift Lens: The Professional Option
If you want to capture architecture without converging lines and distortions directly in the camera, you need a tilt-shift lens.
Similar to an analog bellows camera, the tilt function allows you to precisely control the depth of field in the image. This makes it possible to keep all elements of a building in focus, even if they are on different planes.
The second advantage of the shift function is the elimination of converging lines. This is particularly important when photographing tall buildings. It allows for the correction of perspective distortions and the preservation of straight lines. Panoramic shots are another common use case for tilt-shift lenses. By shifting the lens, multiple shots can be taken, which can then be easily and seamlessly stitched together without visible transitions.
Finally, tilt-shift lenses generally offer high image quality, as they are specifically designed for professional applications and often contain higher-quality optical elements. This is typically reflected in the price of the lenses.
Telephoto Lenses: Details and Compression
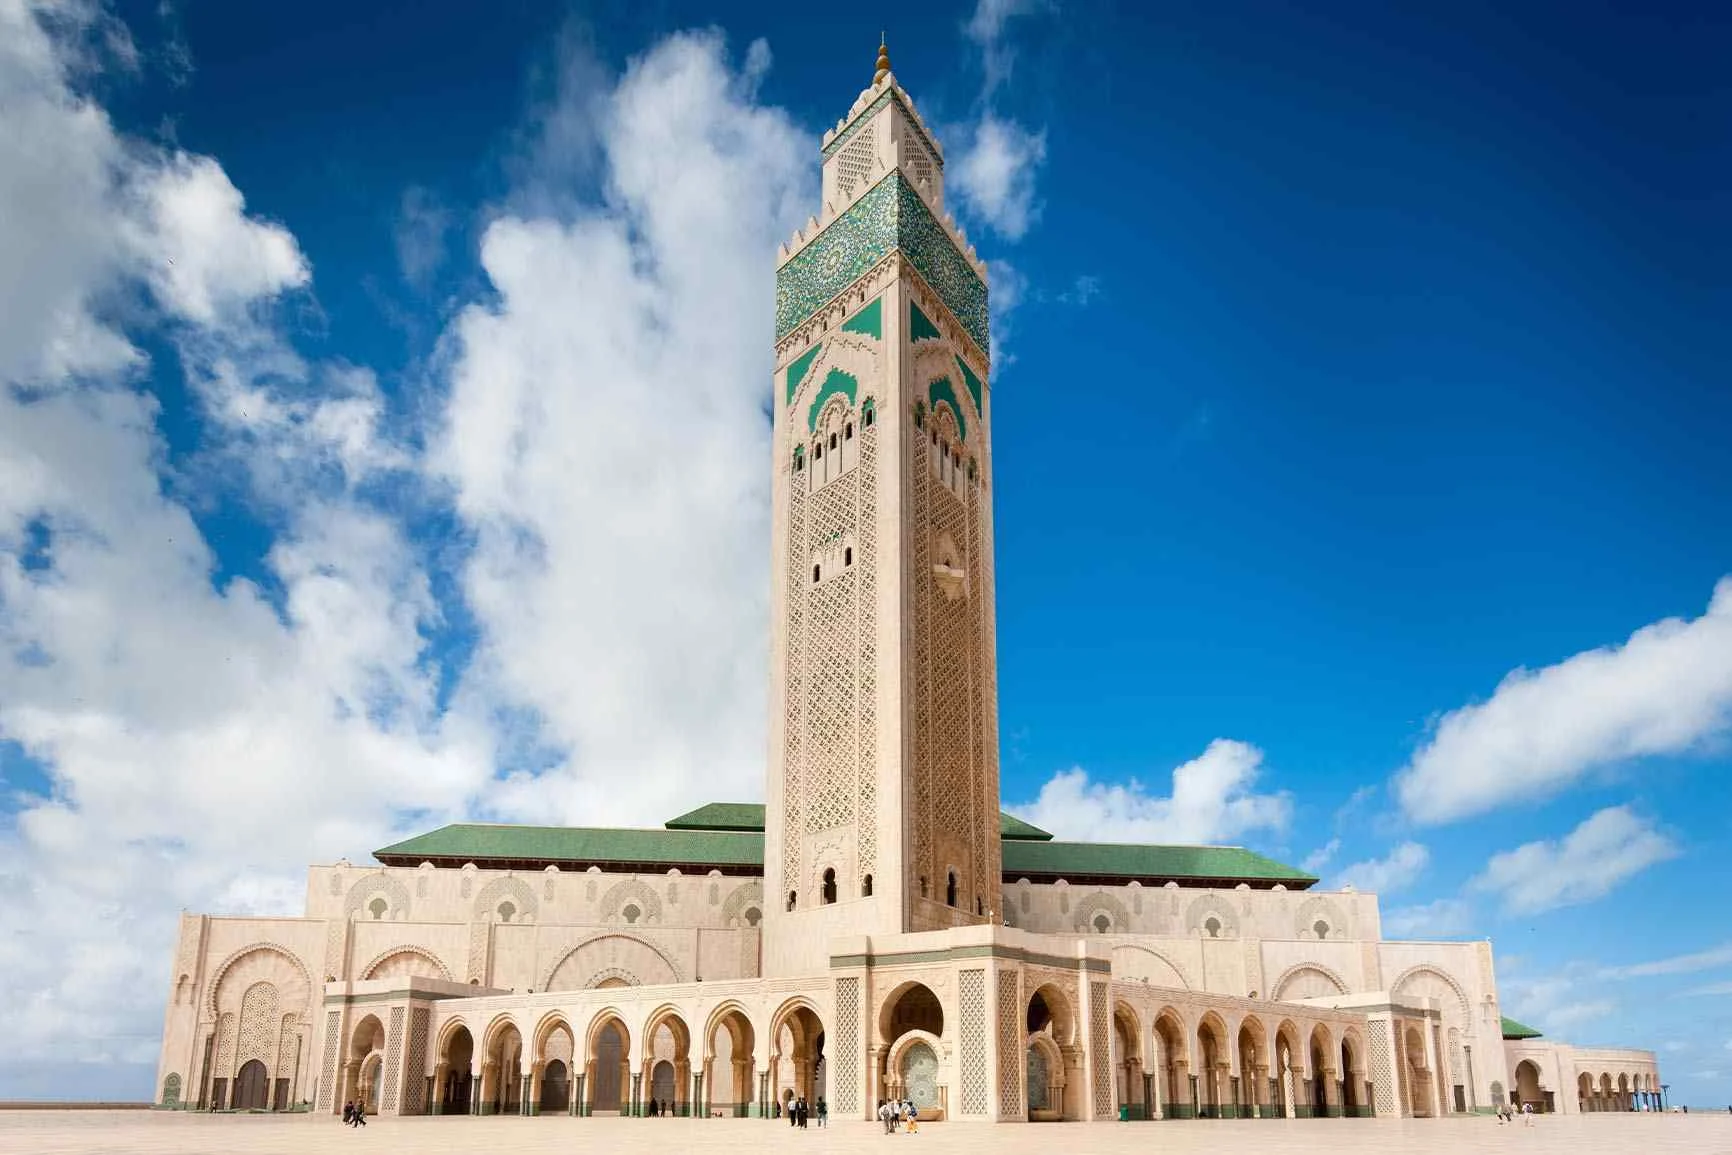
Telephoto lenses are also widely used in architectural photography and offer a number of advantages. Thanks to their long focal length, they allow for shots of buildings from a great distance. For example, skyscrapers or other structures that are difficult to access ( ) can be photographed and cropped from viewing platforms.
Another key advantage of telephoto lenses is the minimization of distortion, which frequently occurs with wide-angle lenses. Lines and proportions thus appear more natural and realistic. The downside is that the necessary distance from the subject can be difficult to achieve in architectural photography.
The typical use case for telephoto lenses in architectural photography is the isolated and sharp depiction of architectural details such as facade structures, ornaments, or window frames. This targeted focus helps highlight a building’s design and texture. In addition, the tight framing allows distracting elements to be excluded. This simplifies the composition and brings the main subject to the foreground.
Another advantage is the optical compression of the image space achieved by telephoto lenses. This makes buildings appear more massive and impressive, as the various levels of the structure are brought closer together.
The Tripod: Flowing Clouds, Bright Scenes
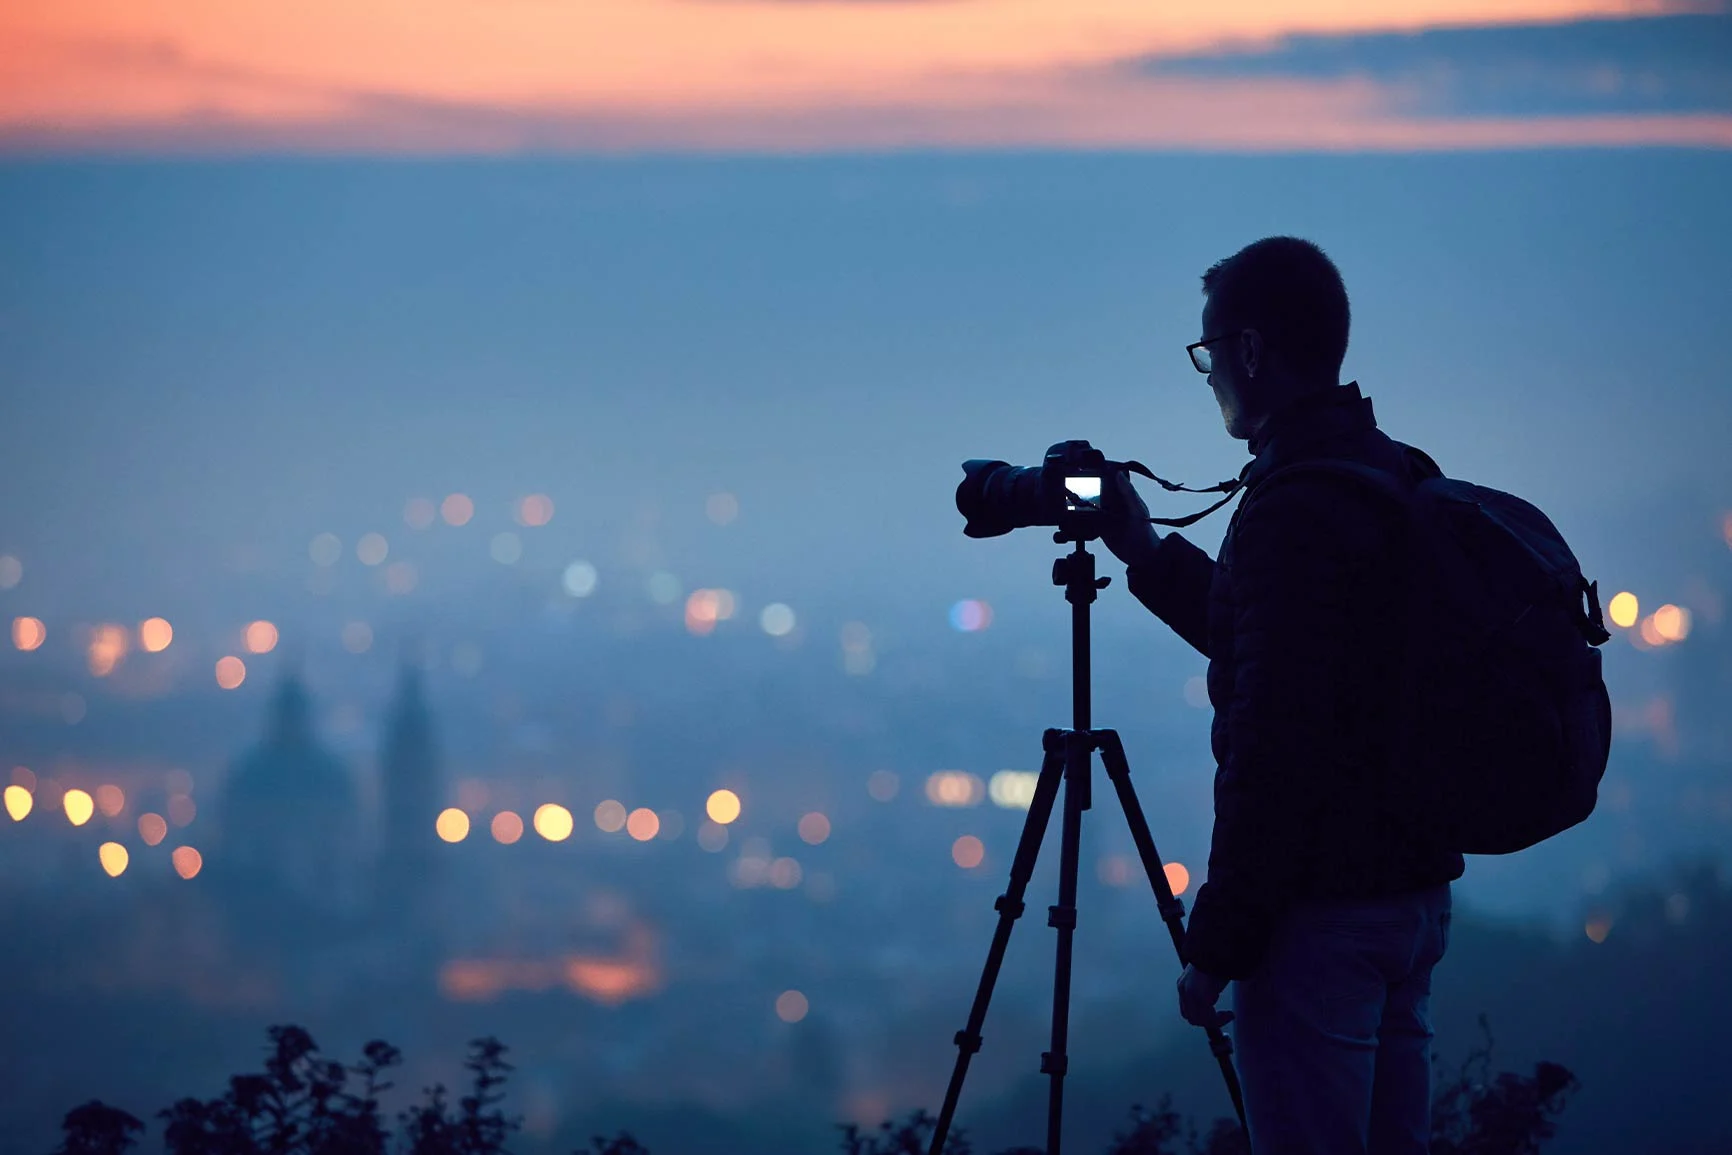
The tripod is considered the photographer’s best friend—this is especially true for architectural photographers. With the longer exposure times typical of this genre, which result from challenging lighting conditions indoors or at dusk, or even during HDR shots, tripods provide stability.
Tripods enable precise image composition, for which there is ample time in architectural photography. They support the use of small apertures such as f/8 for maximum depth of field and reduce camera shake, resulting in sharper and more professional images.
Filters for architectural photographers: polarizing filters, ND filters, and more
A wide variety of filters are used in architectural photography. Polarizing filters reduce reflections on glass and metal surfaces, enhance colors, and increase the contrast of the sky. This makes the images clearer and more detailed.
ND filters (neutral density filters) allow for longer exposure times even in daylight. This makes it possible to blur movements such as clouds or make people disappear in “ ” shots using particularly long exposure times. This creates a dynamic atmosphere and emphasizes the static nature of the building. Graduated ND filters balance the difference in brightness between the sky and the ground, enabling balanced exposure and a detailed representation of the sky.
UV filters protect the lens from dust, scratches, and UV radiation without compromising image quality. Overall, filters expand creative possibilities and contribute to the technical perfection of architectural photography by selectively influencing contrasts, colors, and exposure.
Techniques and Creative Approaches in Architectural Photography
In architectural photography, there are numerous techniques and creative approaches for creating impressive and unique images of buildings. We present the most popular ones.
Long Exposure: Sharp Buildings, Blurred Skies
Long exposures in architectural photography allow you to capture movement and the passage of time, making static buildings appear dynamic. They are often used to depict light trails from vehicles, moving clouds, or the movement of water, which lends the images a special atmosphere. It is important to use a sturdy tripod to prevent camera shake.
ND filters are also frequently used to allow for longer exposure times in daylight. Sometimes these are combined with graduated ND filters to further balance the exposure difference between the sky and the buildings. In addition, the ISO value should be kept low to ensure the best possible image quality. As for the aperture, architectural photographers typically use small apertures, such as f/8, to ensure consistent sharpness throughout the image.
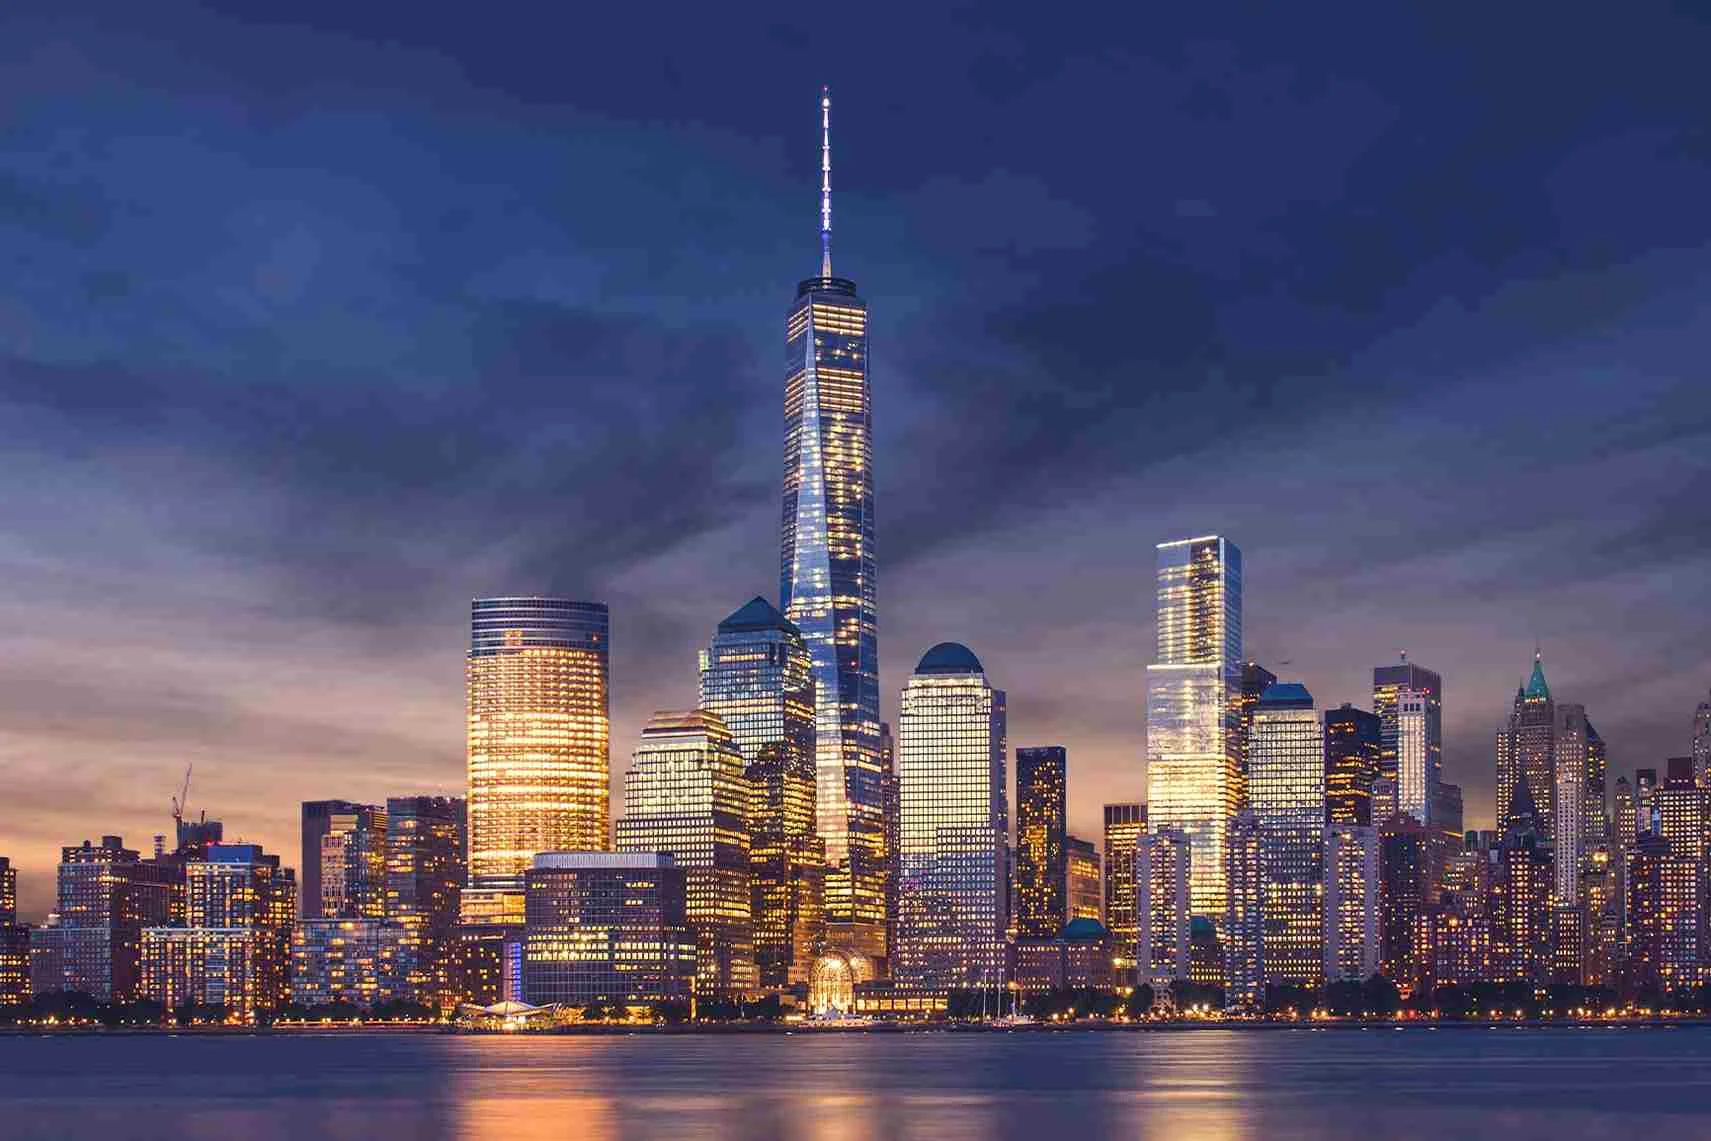
The sky and clouds appear velvety and smooth due to the long exposure time.
HDR Photography
HDR (High Dynamic Range) photography allows for the capture of details in both the bright and dark areas of an image. This technique combines multiple exposures to create an image that captures the full range of light and shadow.
Considering the Age of the Buildings
The age of the building also plays a role in determining how the photographer should proceed. The stones reflect very little light, so the buildings can easily appear dull and underexposed when backlit. With stones in warm colors, white balance issues can also arise, as they interfere with automatic exposure control, which can result in an unattractive blue or green cast. To brighten the shadows while neutralizing color casts, use an exposure compensation of +2/3 EV.
With modern buildings featuring a lot of glass, overexposure is not uncommon. In this case, use an exposure compensation of approximately -1 EV to avoid losing detail in the shadows.
Glare and Reflections
Reflections are particularly popular in architectural photography. Water surfaces, glass facades, or puddles offer creative opportunities to depict architecture in a doubled and distorted way and achieve interesting visual effects.
Incorporating natural elements such as trees or flowers into the composition can also highlight the architecture in an unusual way and create a harmonious connection between nature and the building.
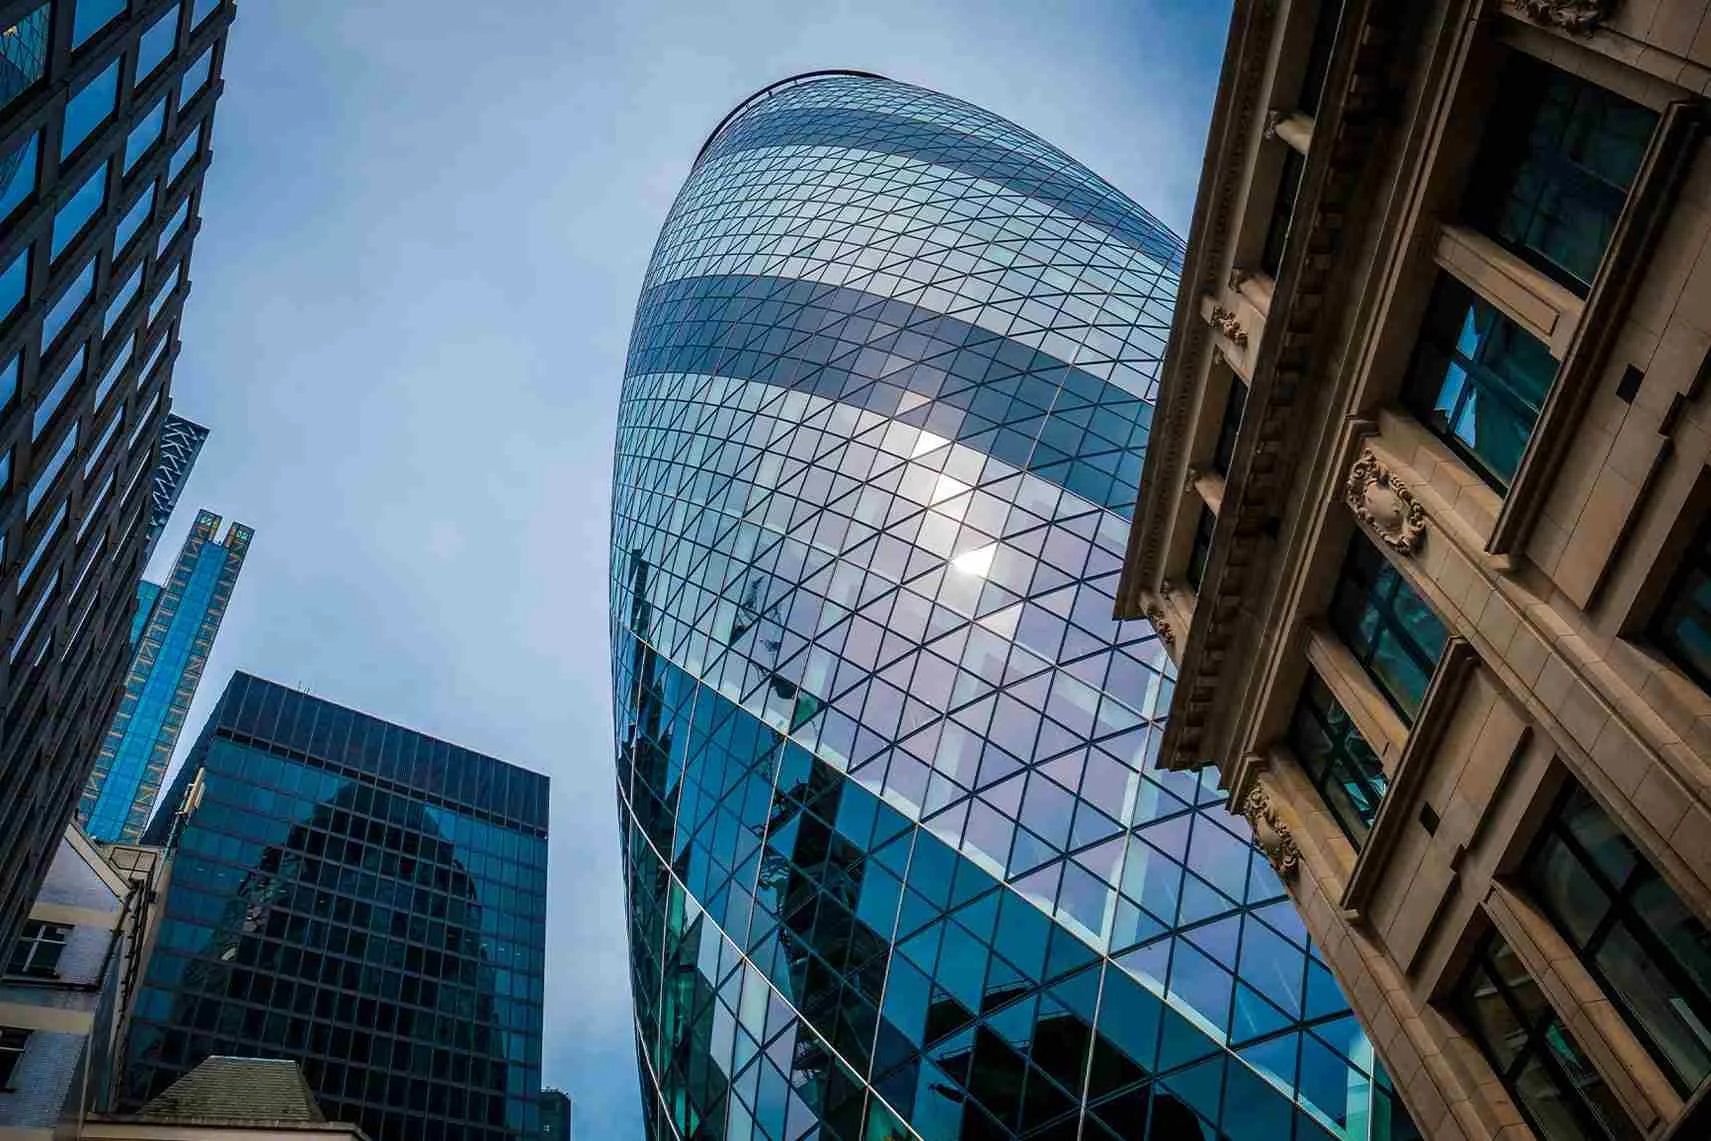
Focus on Architectural Details
To highlight the subtleties and craftsmanship of the architecture, close-up shots are a great option in addition to the overall view of a building. A building’s distinctive features can be emphasized using a long focal length.
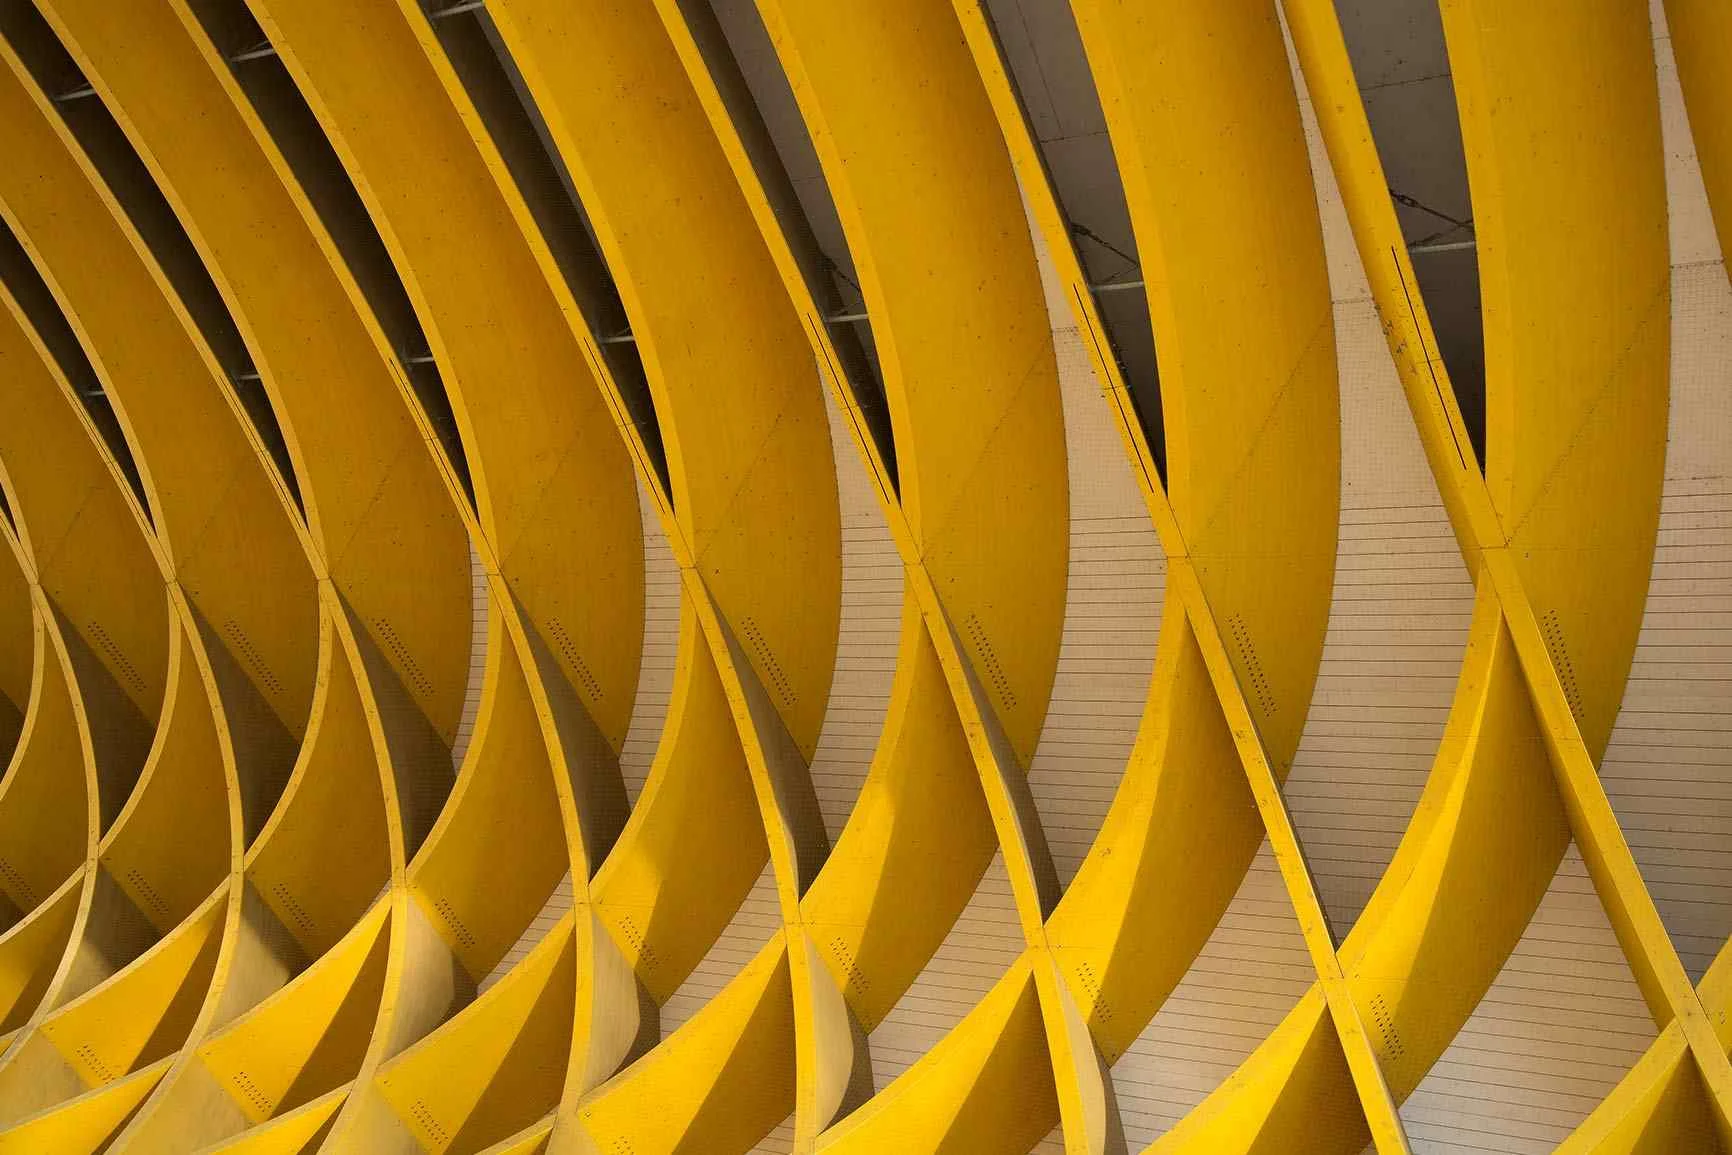
Highlight special materials, textures, or ornaments that make the building unique. If the building has unique facade structures or window frames, these should be the focus of your close-up shots. Repetitive patterns can also lead to artistic, abstract images.
Playing with Light and Shadow
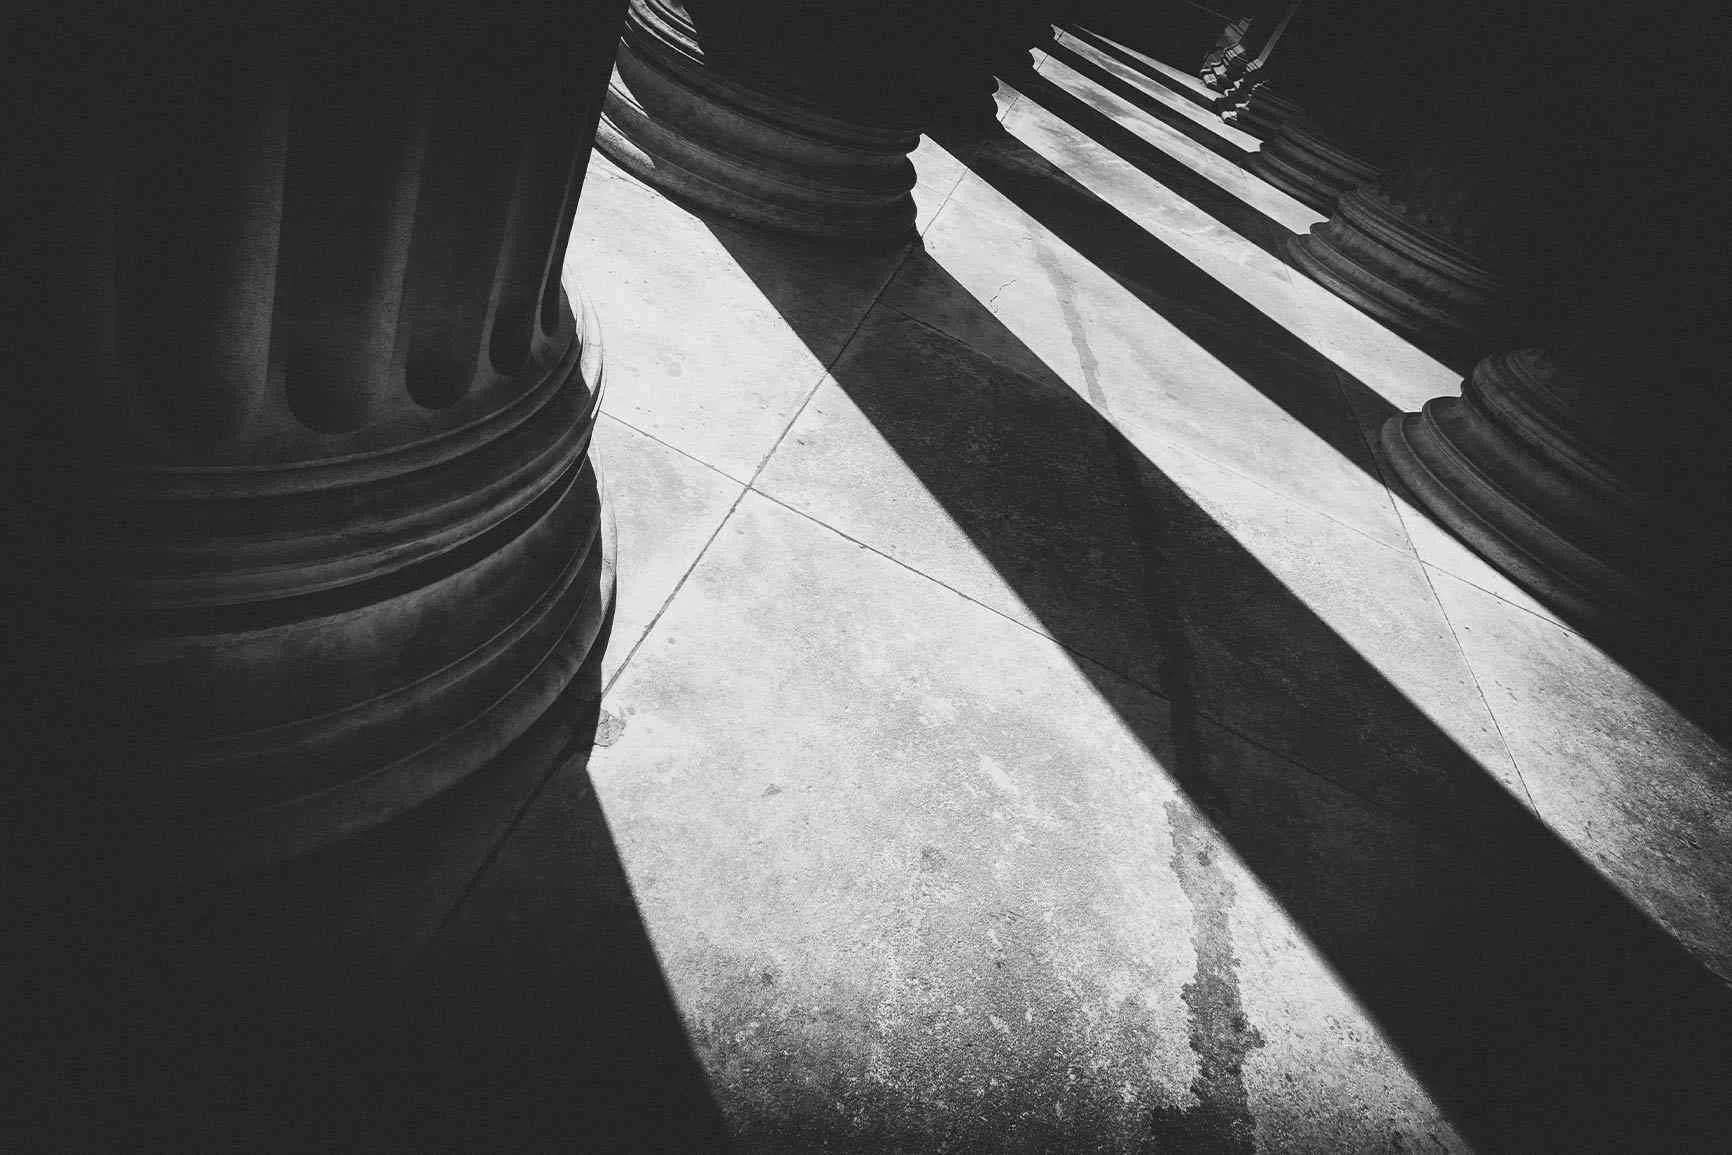
Finally, we’d like to introduce a creative approach that’s perfect for architectural photography: the interplay of light and shadow. By deliberately utilizing different times of day and lighting conditions, you can highlight a building’s structures and textures. Many buildings are made of various materials that appear very different in the light. The inorganic forms practically invite you to capture abstract details with strong contrasts.
At the same time, early in the morning and in the late afternoon, when the light is softer and warmer, you can capture particularly atmospheric images in which the entire architecture appears harmonious and balanced.
The Right Angle
Most of the scenes on offer are more vertical, as buildings are generally taller than they are wide. Simply rotating the camera to portrait orientation is one solution, but it can reduce the impression of scale in the image. Tilting the camera upward creates converging lines. Caution is also advised with leading lines: they should not lead into nothingness or out of the frame.
But these are also factors that can make an image unique and compelling. For example, converging lines make skyscrapers appear to reach upward, and a well-placed leading line helps guide the viewer through the image. It is therefore important to adapt the composition from scene to scene. No two urban environments are alike, even if the architecture may seem similar.
The key is to fully explore the scene to see how all the elements interact. Then you’ll find the optimal angle for your image. That sounds simple. But it involves more than just taking many photos from different angles.
As a photographer, you need to know what you’re looking for. You need to be able to recognize when a composition works well and when the image is overloaded or has an imbalance in the details. The key to the perfect image might be a slightly longer focal length to include the vegetation in the foreground. Or another building might serve as a natural frame. Just remember that “different” captures the viewer’s attention longer.
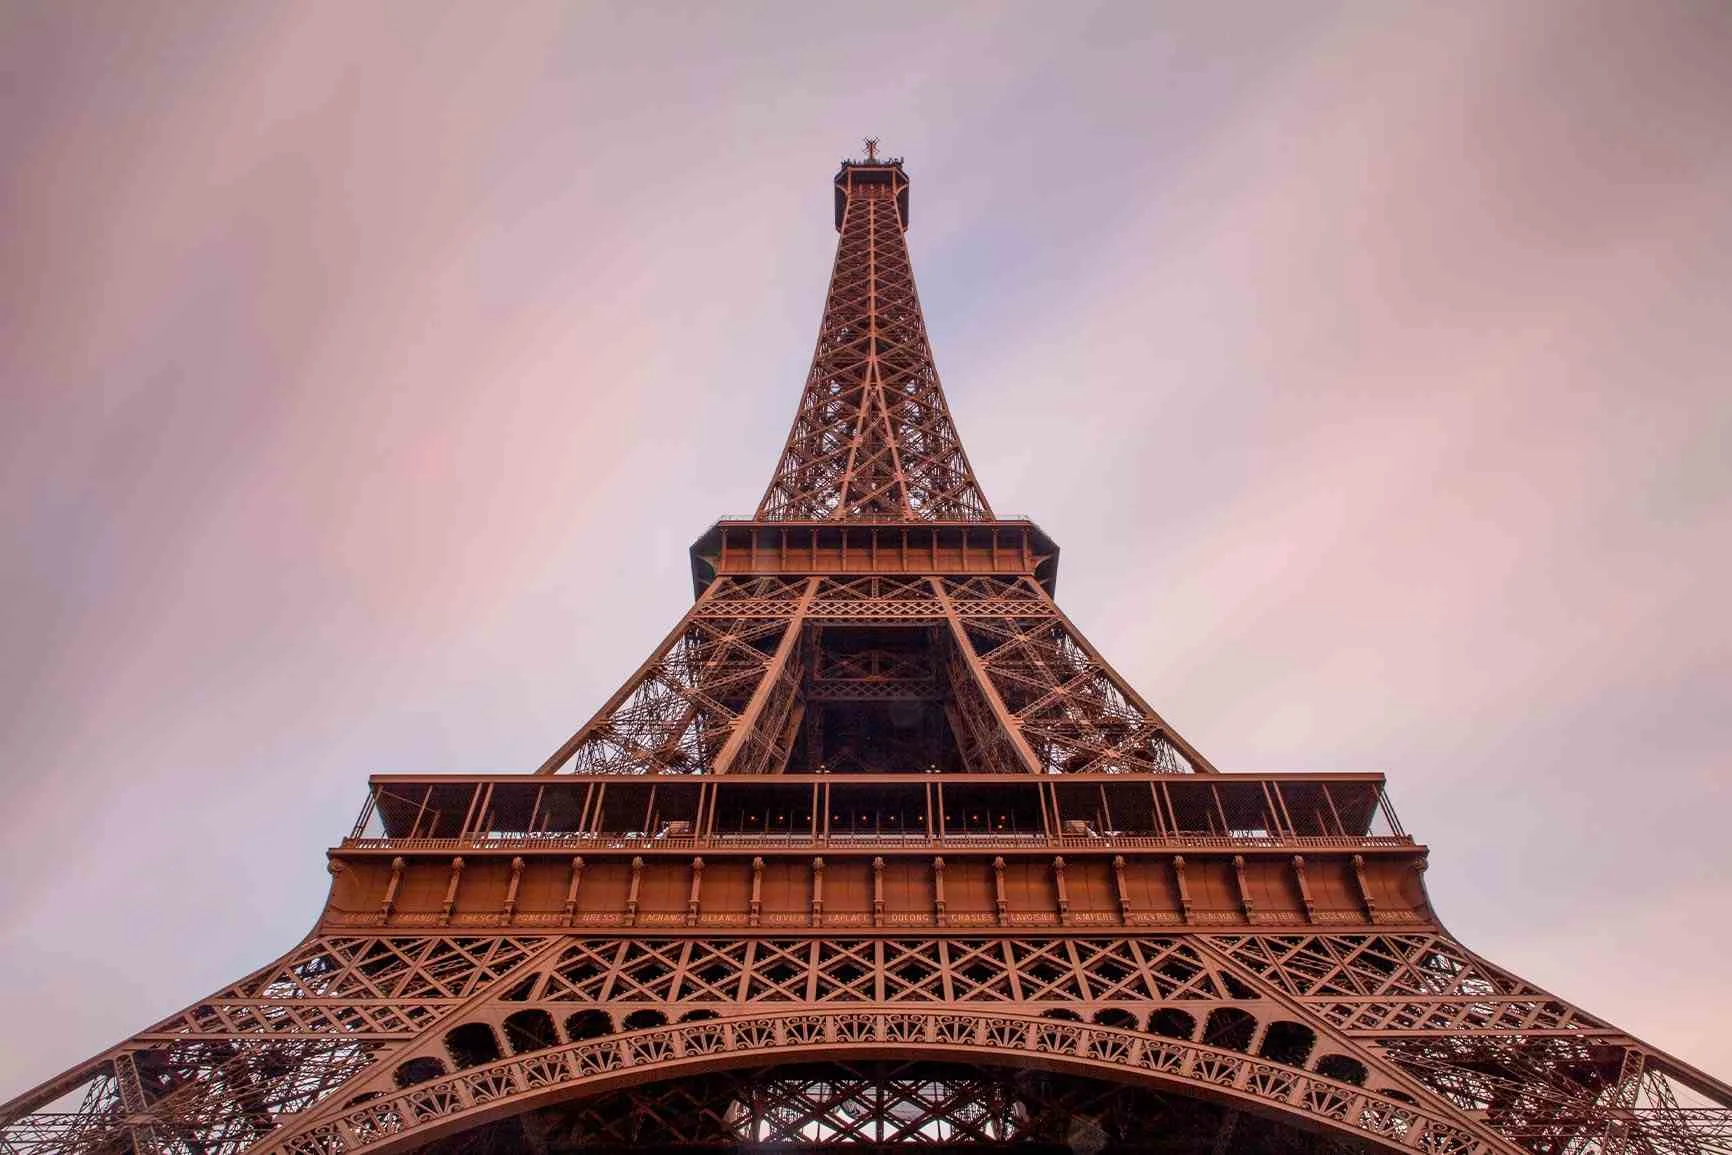
Creative Perspectives in Architectural Photography
In architectural photography, perspective plays a crucial role. It allows you to influence and highlight a building’s shape, size, and impact in the image.
There are various perspectives you can use to best showcase architectural structures:
1. Frontal perspective: This perspective offers a symmetrical and often monumental view of the building. It is particularly well-suited for buildings with a strong, central axis.
2. Diagonal perspective: A dynamic and three-dimensional representation of the building is achieved through an angled camera position.
3. Bird’s-eye view: The bird’s-eye view is a perspective from above that gives the viewer a comprehensive overview of the structure and its surroundings. It can be achieved from observation decks or through drone photography.
4. Low-angle perspective: When photographed from below, buildings often appear even more imposing and larger. This can create a dramatic and striking effect. Certainly not a standard perspective, and therefore a creative approach.
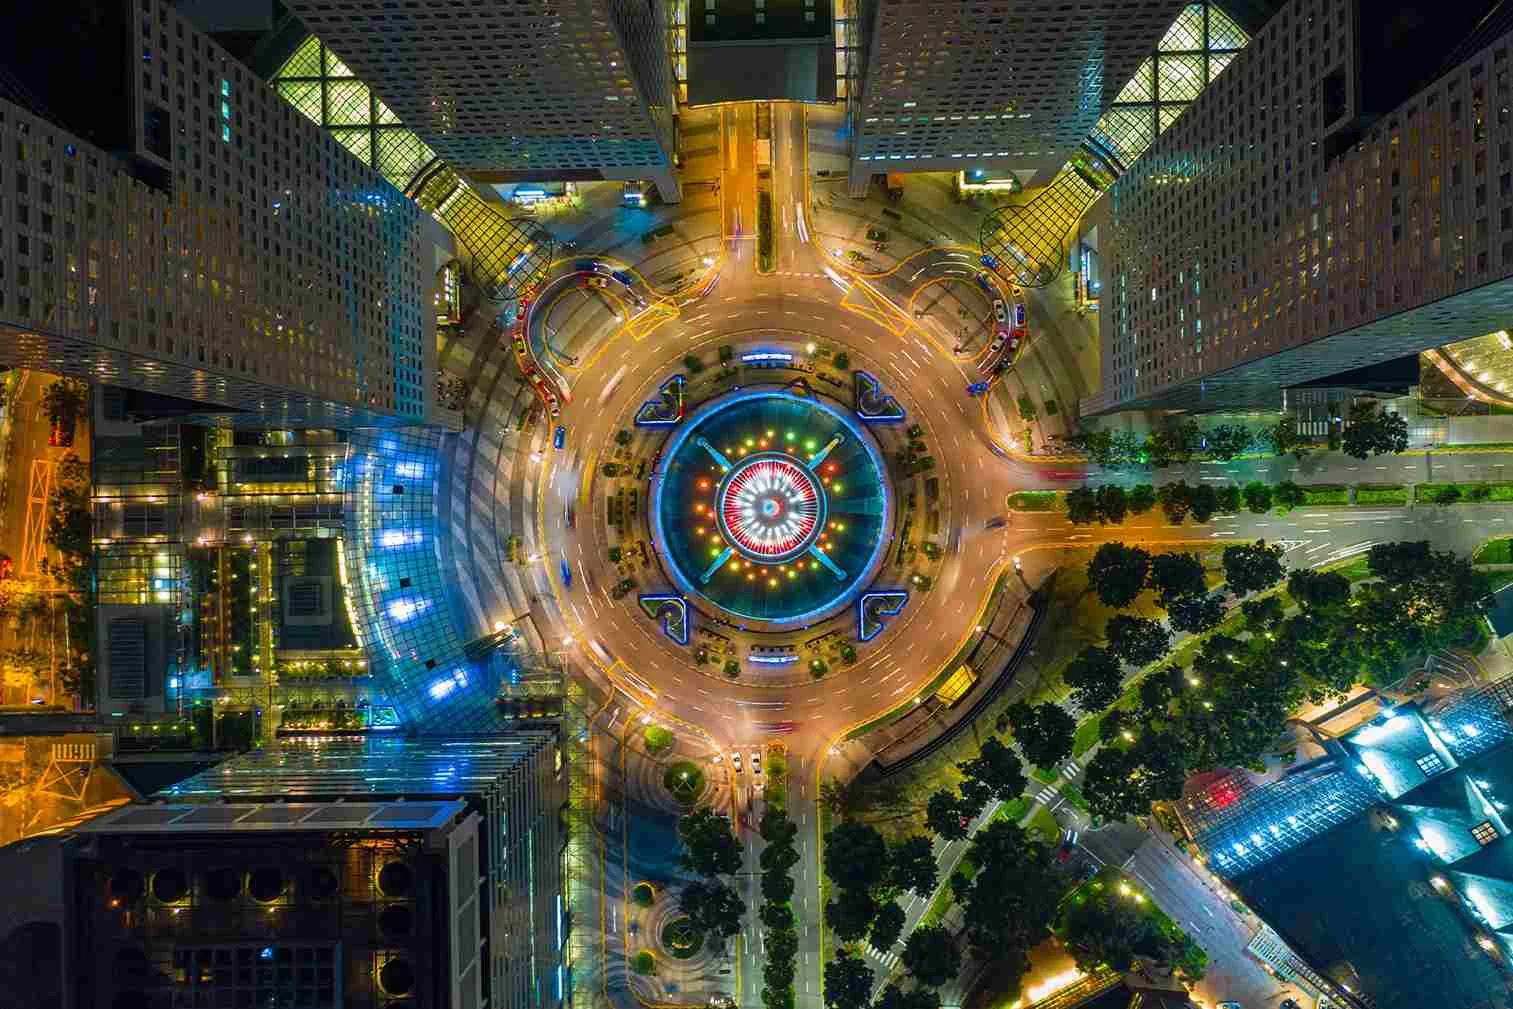
Photographing unusual and eye-catching subjects results in exciting images. Scenes you don’t see every day and that make the viewer linger on the image. Exciting architectural images are created through extreme angles. Look up and deliberately capture the urban canyons with converging lines.
Symmetry and Geometry
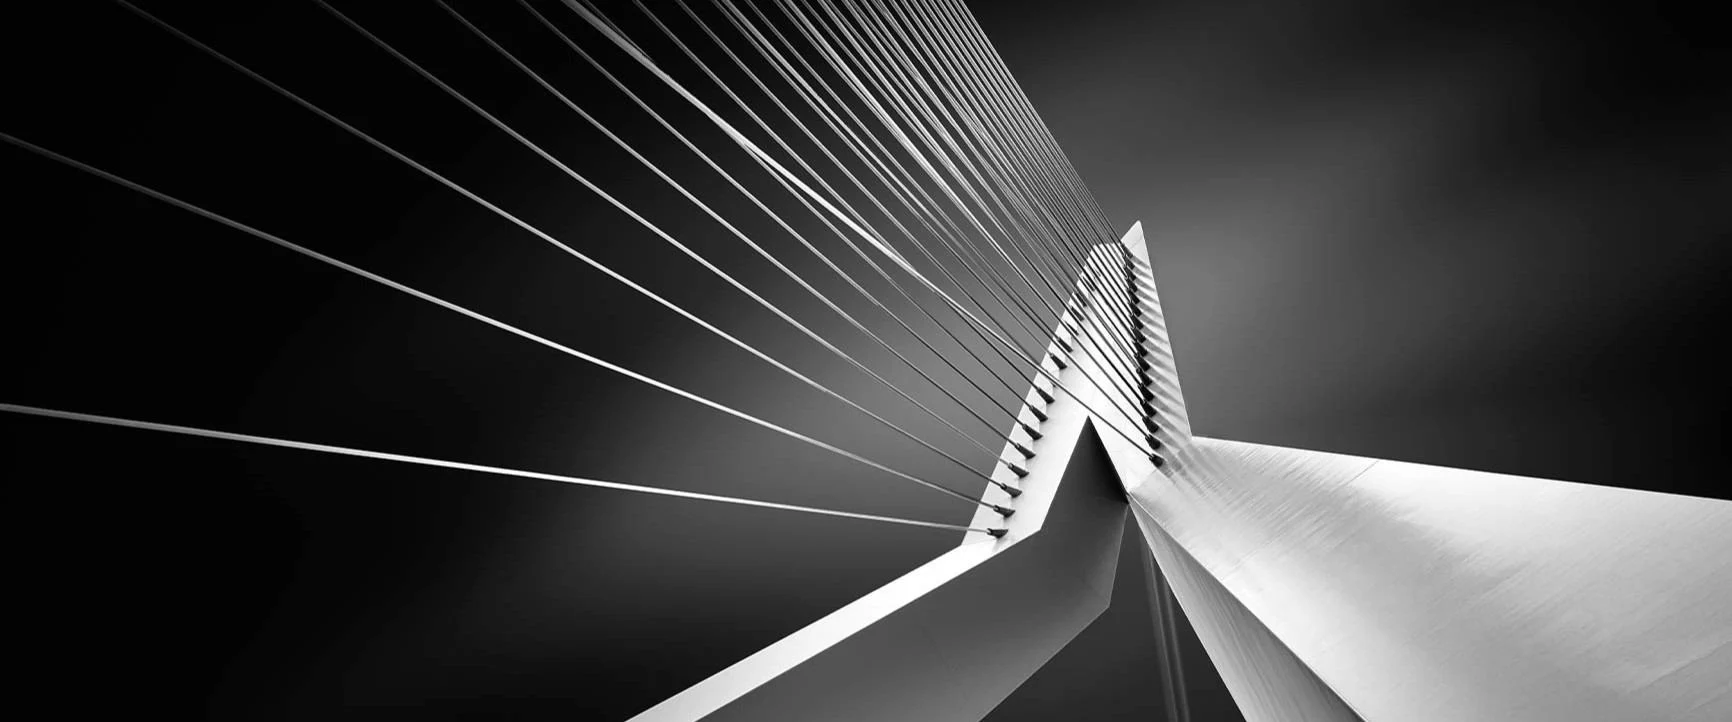
A key to impressive architectural photography is the search for symmetrical and geometric forms. Symmetrical compositions convey a sense of harmony and balance to the viewer. Geometric patterns and lines can also serve to spark visual interest and emphasize the structure of the building.
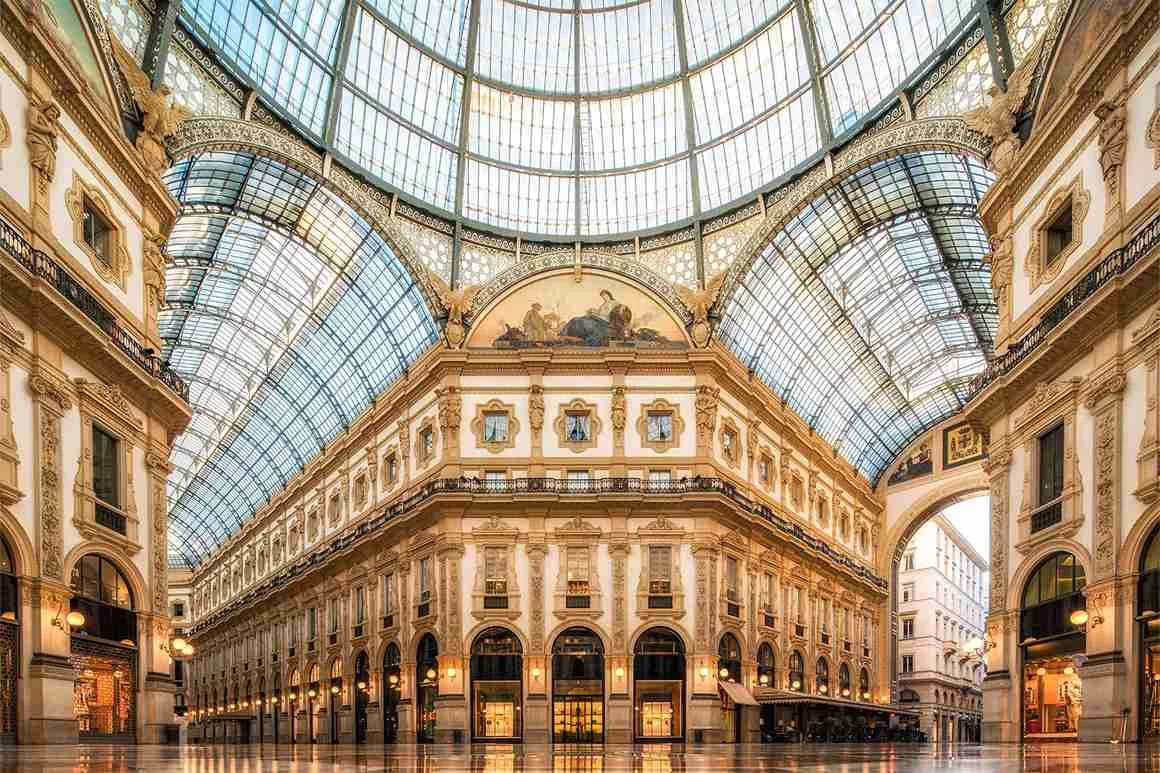
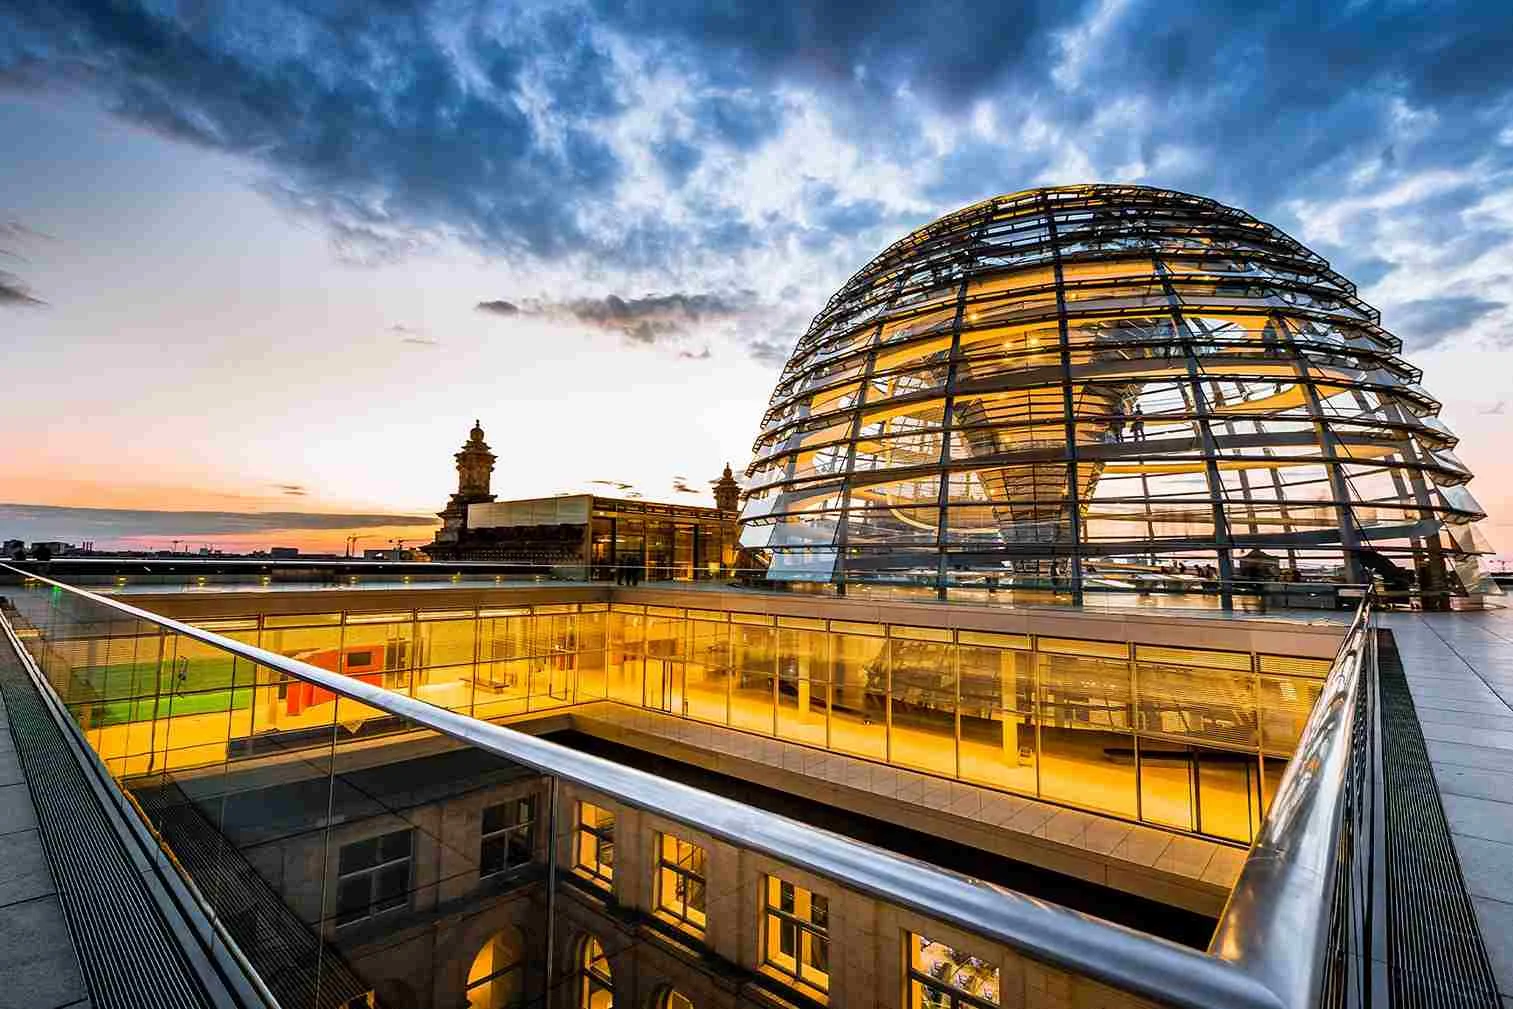
Images with symmetrical patterns are particularly well-suited for large-format prints such as the WhiteWall Masterprint precisely because of their sense of calm and order.
More information about WhiteWall Masterprint
Composition for architectural photographers: Dynamism meets breathing space
The key to expressive images is a conscious and well-thought-out composition. This is no different in architectural photography. In general, the rules for architectural photography are similar to those for landscape photography—after all, architectural photos are often referred to as “urban landscapes,” especially when people are visible in the image. It’s not exactly easy to frame a subject appropriately amid the hustle and bustle of the city. Distracting details like cranes, scaffolding, traffic signs, or trash cans can’t be moved and can only be removed with great effort during post-processing.
But you can divert attention away from them. For example, with a dramatic light trail that gives the image dynamism and direction and makes such unwanted elements in the foreground disappear. Removing people from the image is also no problem with a long exposure.
The trick is to treat the desired scene like a movie set. Incorporate the surroundings in a way that tells a story and conveys depth. Think of an angle that excludes distracting elements from the start. The direction of the light is also important. Where is the sun, and where does artificial light—such as streetlights—provide warmth and light?
You can find more tips on image composition in our comprehensive article on composition and design.
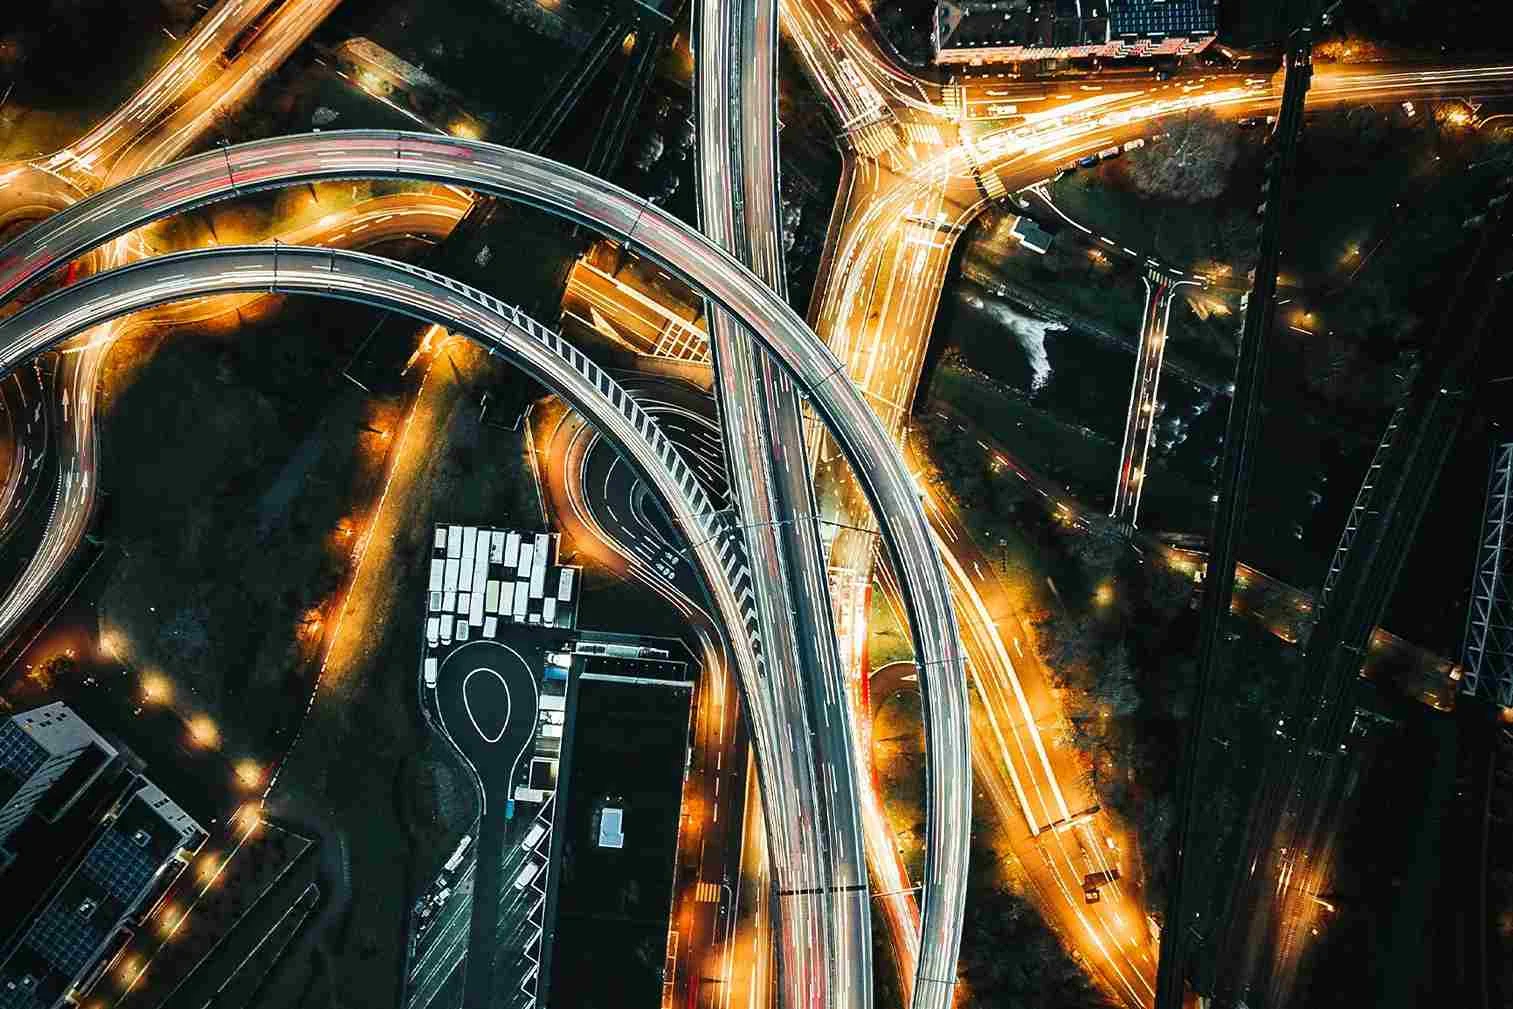
Four Tips for Perfect Composition
Tip 1: Medium focal length
Here’s a trick to avoid getting overwhelmed by one setting and forgetting to try others: Start with the mid-range focal length of your lens. For a 24–70 mm lens, that’s about 50 mm.
Tip 2: Check the other side
Try photographing a building from the opposite side. If the building is typically photographed from the east, shoot it from the west. This will give you new (and perhaps even better) perspectives on the subject.
Tip 3: Vary your distance from the subject
Experiment with different distances from the subject by physically moving away from it, but also by trying different focal lengths. This can lead to distortion, but it stimulates creativity.
Tip 4: Change the context
Try to photograph your subject not only from a distance, but also by incorporating the surroundings. If there are details near the camera, try to use them as a frame or leading line in your composition. Trees in a park in front of the building, for example, are ideal for this.
Photo Projects and Practical Tips for Architectural Photography
Creative Project: Stairwells: Artistic and Abstract Interior Design
Staircase photography fits seamlessly into architectural photography, as it represents an essential aspect of interior design. Staircases are often central elements of a building and offer not only functional benefits but also aesthetic and design value. Photographing stairwells therefore offers a variety of techniques and creative approaches to capture their architectural beauty and unique geometry.
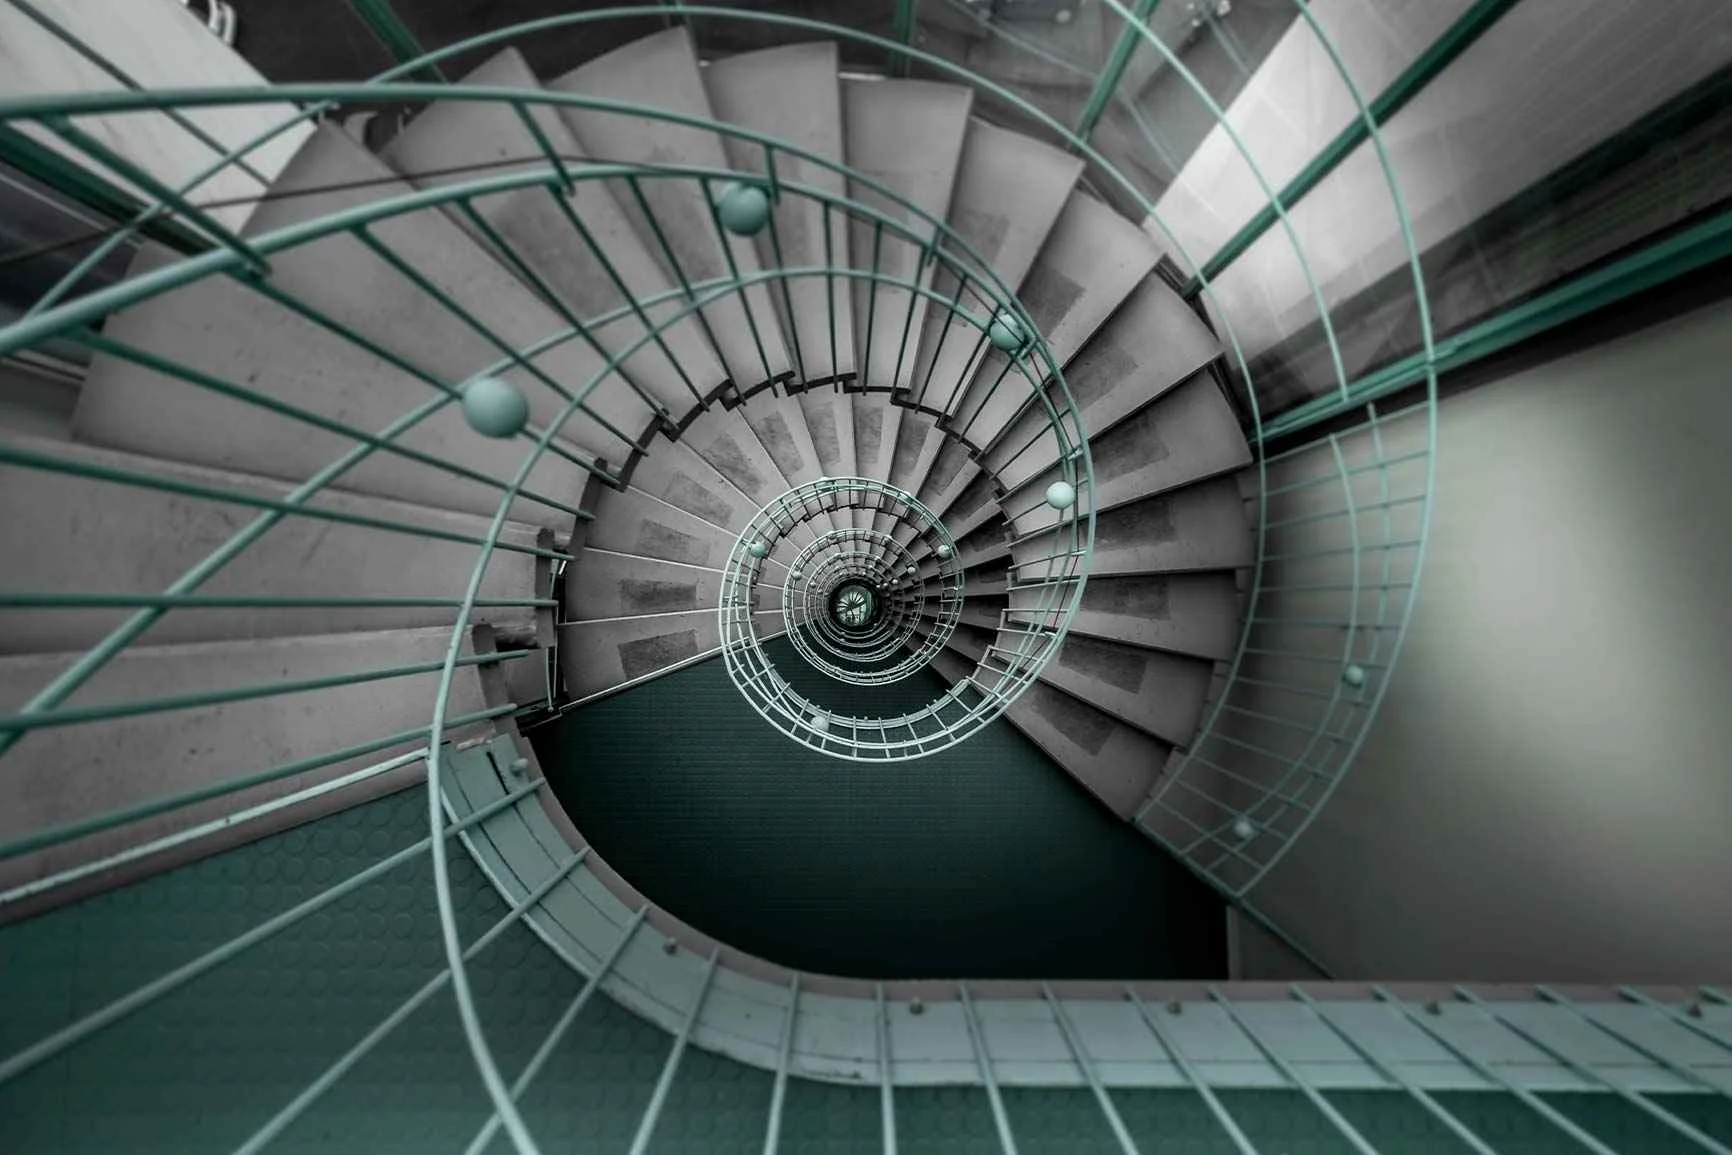
Choosing the right perspective is crucial for these subjects. Symmetrical shots, where the camera is positioned exactly in the center of the stairwell, emphasize structure and geometry. Slightly offset to the side, images emerge that follow the compositional rules of the Fibonacci spiral or the Golden Ratio.
A stairwell can be photographed either from top to bottom or from bottom to top. Depending on the interior design, one perspective or the other may be particularly suitable. A beautiful skylight serves as a central highlight in the view from bottom to top. If, on the other hand, there is only a concrete ceiling at the top and an impressive marble floor at the bottom, this is the angle of choice. In this case, however, you will need a tripod with a collapsible center column or even a monopod and a remote shutter release to position your camera directly above the center of the stairwell.
When composing the image and framing the shot, it is important to avoid distracting elements and focus on the essential architectural features. Details such as railings, steps, or decorative elements should be specifically highlighted to emphasize the craftsmanship and design quality.
Creative Project: The Perfect Light
When shooting outdoors, timing is everything. We are at the mercy of the elements when it comes to favorable lighting and weather conditions. It is important that we can adapt to all conditions. As in landscape photography, sunrise and sunset are the preferred times of day in architectural photography as well, since they offer warmer and softer light with lower overall contrast. This makes it easier to keep the color tones within the camera’s dynamic range and avoid both overexposure and underexposure.
But even in architectural photography, it is possible to capture powerful images outside of the classic times. This allows for immersive shots even at night. Many public buildings feature special lighting installations. However, these require long exposure times, as the available light is rather dim. You can also use them to capture nighttime traffic as light trails in the image. And even the midday sun, which is usually avoided, can be utilized for architectural photography. Abstract close-ups that benefit from high contrast can be captured here. To do this, look for repeating patterns on facades.
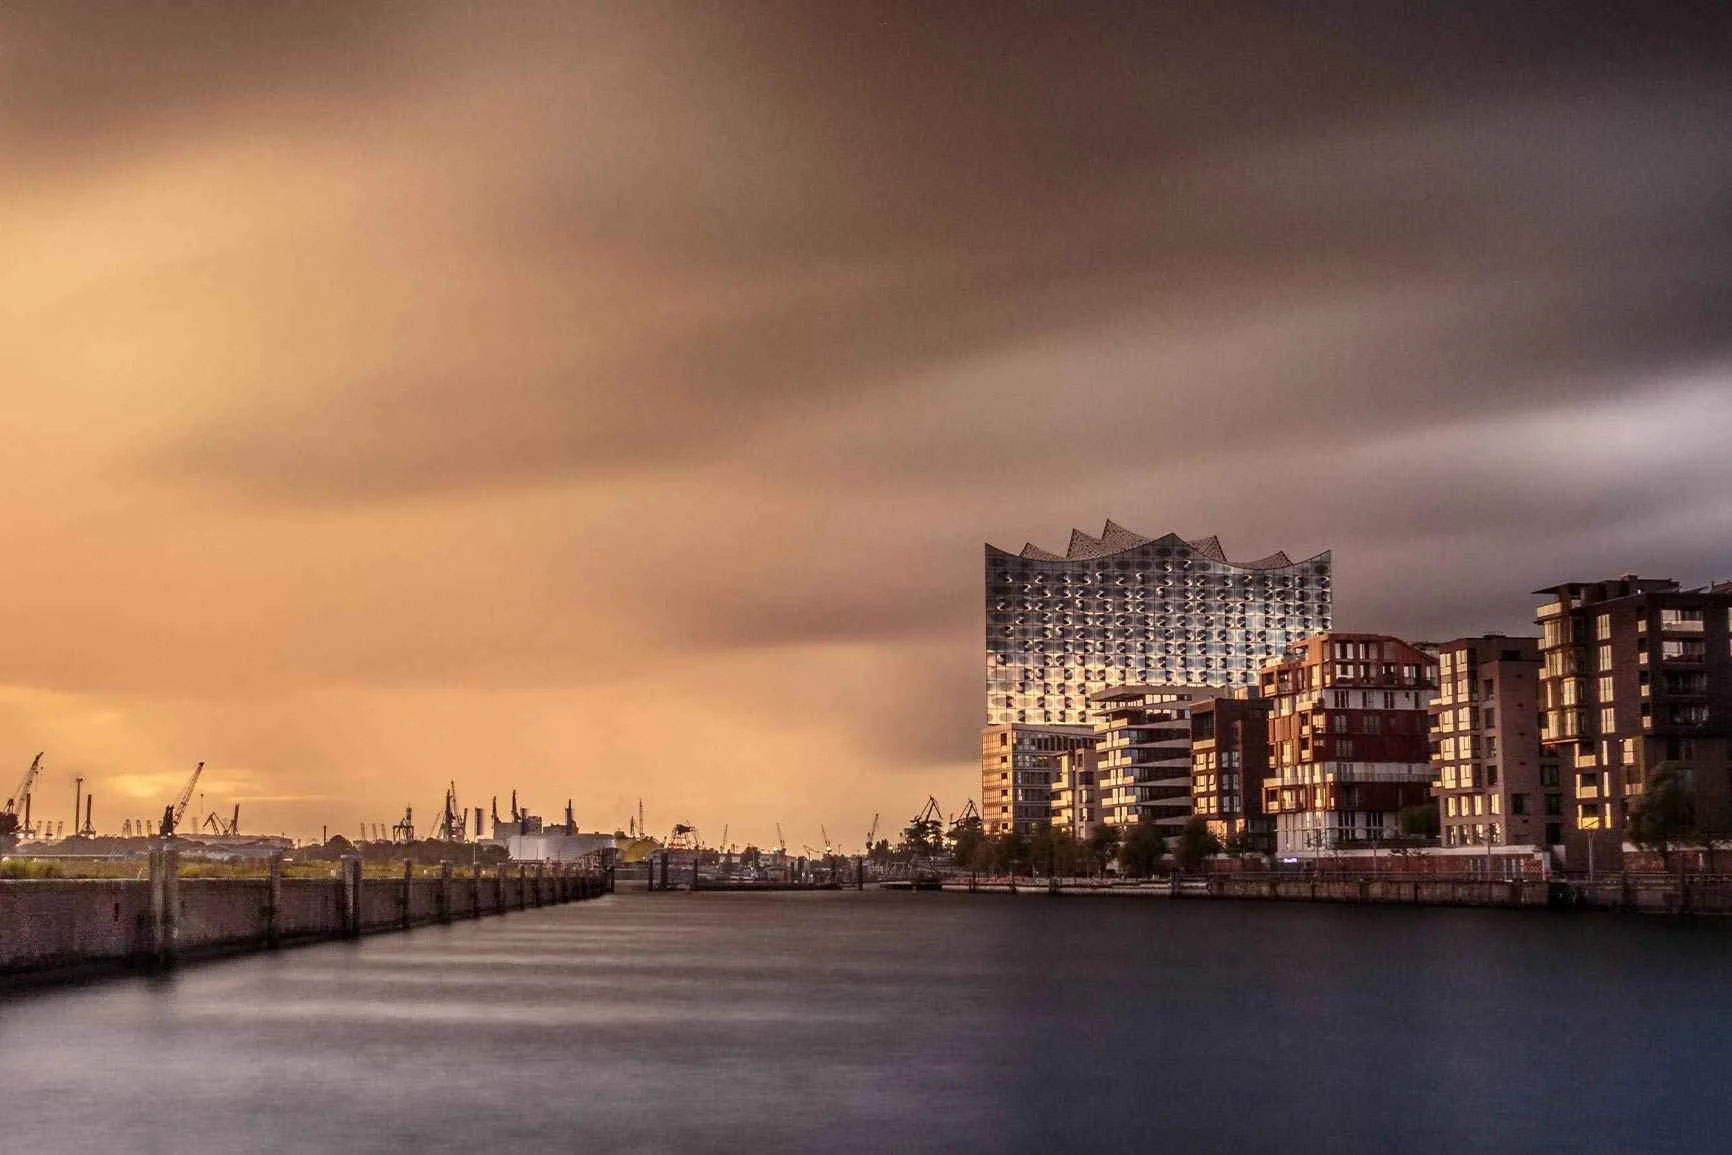
Golden Hour
The golden hour is a fantastic time for architectural photography, just as it is for landscape photography. Especially when you include the surroundings (city or nature) in the image.
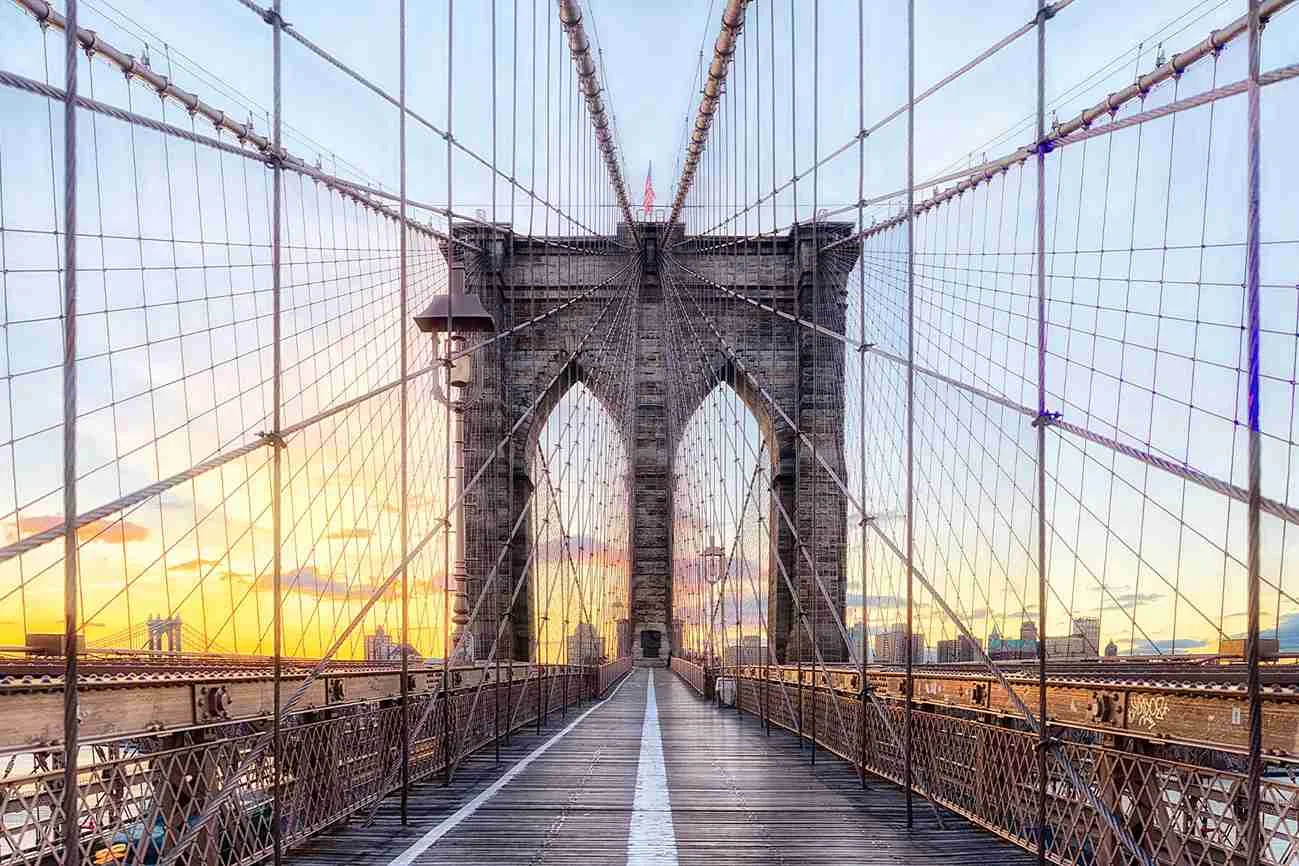
Midday Sun
The contrast of the midday hours can also be used architecturally: now you can capture special details on facades. It’s best to leave the sun itself out of the picture.
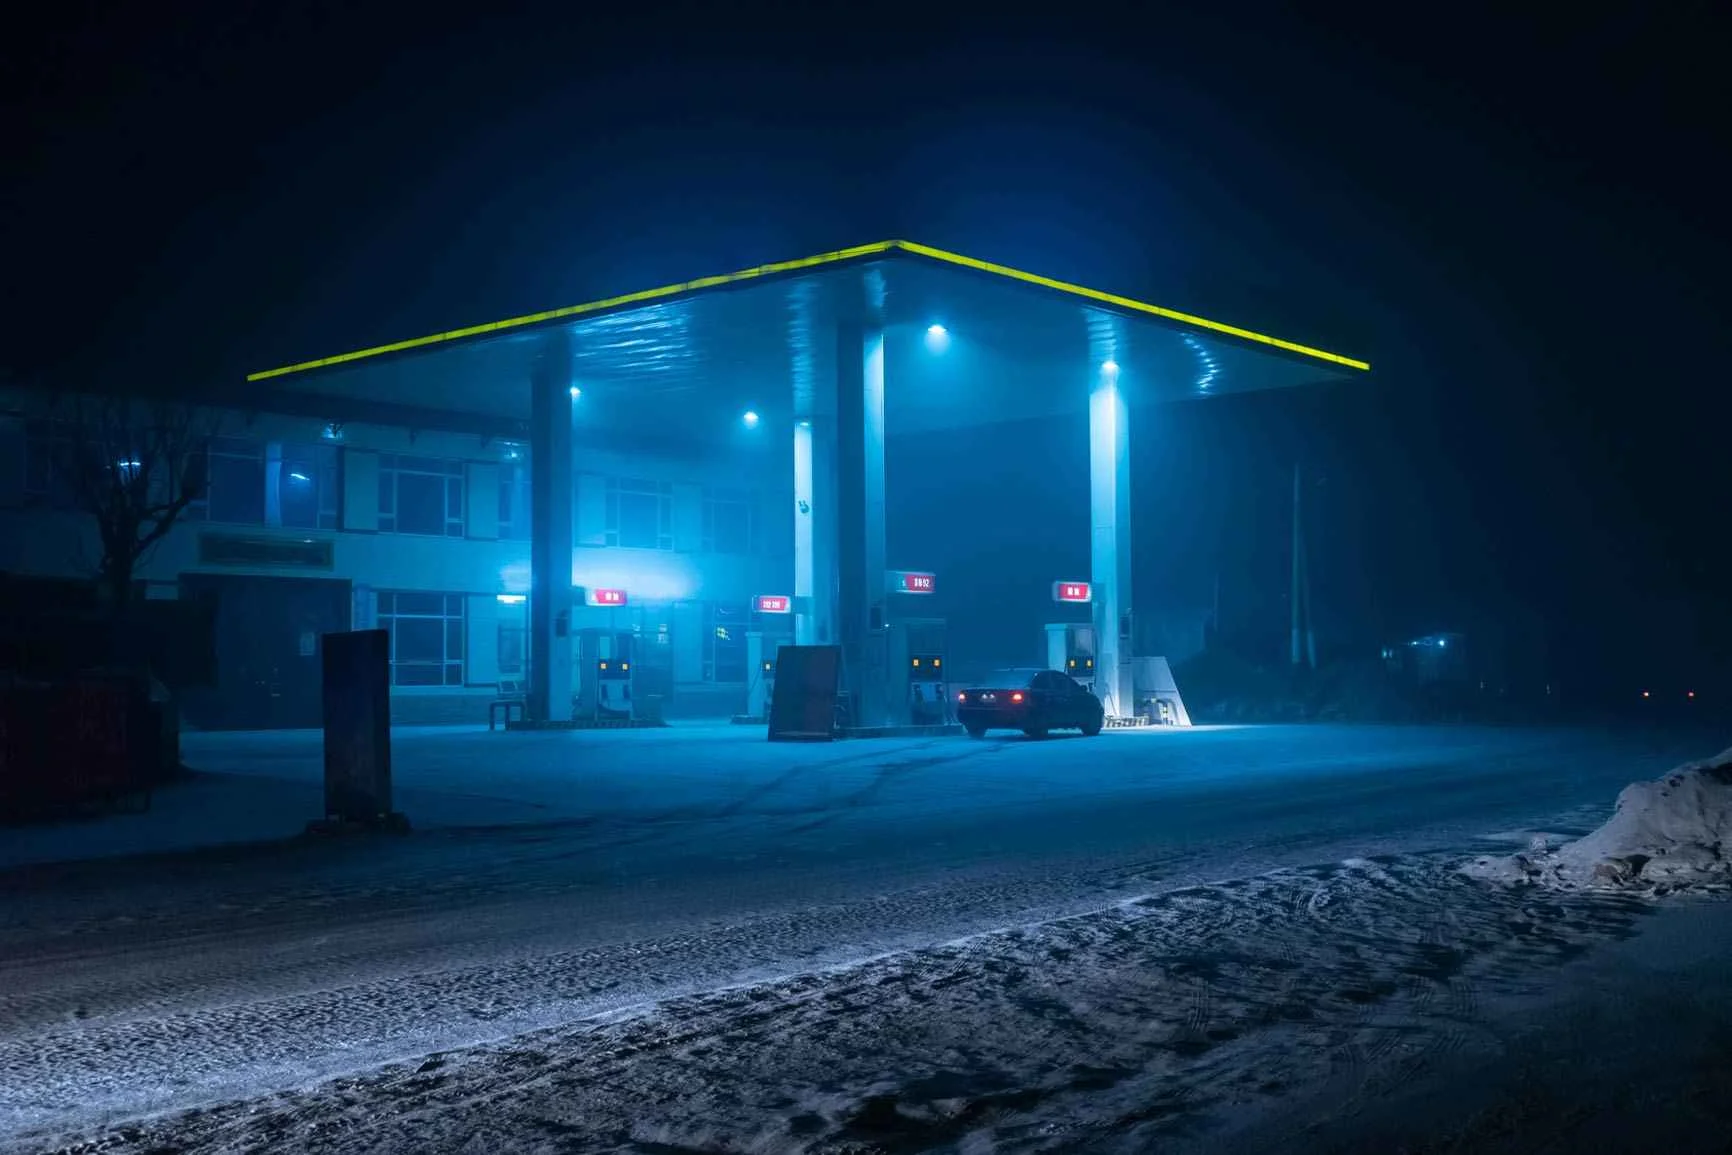
Night
Since buildings don’t move, they make for great subjects even at night. Interior and exterior lighting can make buildings appear in a whole new light. However, long exposure times (and a tripod) are required.
Creative Project: Architectural Photography Without a Tripod
A tripod is a practical aid. Long exposure times at dusk are impossible without one, and long focal lengths also benefit from a stable tripod, as they blur much more quickly with shorter exposure times. However, working with a tripod is often difficult in large crowds at busy locations, and in some public buildings and tourist attractions, it’s even prohibited to bring a tripod. This is often the case even when photography itself is allowed in these places.
But there are a few tricks. This way, you can take sharp, blur-free photos even without a tripod. We’ll show you four simple steps you can use almost anytime. And for most of them, you don’t need any accessories—just your camera.
Proper Body Posture
Hold the camera as close to your body as possible to avoid vibrations. Bend your arms and support the lens with your other hand. Use the viewfinder to hold the camera in an ideal position close to your body.
Monopods
Monopods are sometimes allowed in places where tripods are prohibited. They are lighter and more portable than traditional tripods and should be a staple in any architectural photographer’s kit. Tip: There are also tripods that can be converted from a traditional tripod into a monopod.
The ideal ISO sensitivity: ISO 1,600
The shutter speed can quickly become too slow when lighting conditions change. In this case, use a slightly higher ISO sensitivity, e.g., ISO 1,600.
Keep the minimum shutter speed in mind
Select a minimum shutter speed so you can be sure you’re not exposing for longer than you can hold the camera steady. Tip: To prevent the camera from using shutter speeds that are too slow, you can also limit your camera’s automatic settings to a minimum shutter speed. We recommend a value of at least 1/160 second.
Conclusion
Architectural photography is a fascinating combination of technology and art. With the right perspective, technique, and equipment, you can create impressive and unique images of buildings. By taking a creative approach and considering light, shadow, and composition, photographers can capture the beauty and uniqueness of architecture. Hone your own skills in architectural photography to achieve impressive results.
Learn more about the author
Jan-Ole Schmidt (better known simply as Ole) is from northern Germany and has been with WhiteWall for many years. As a team leader in product management, he brings extensive experience in the photography industry. He taught himself photography and has built up in-depth expertise in image production, papers, laminations, and framing.
His strength lies in the combination of technical expertise and customer perspective - from file upload to framing in the WhiteWall configurator. Ole has held workshops, been a guest on podcasts and is in close contact with the photography community. He lives, works and photographs in Cologne.

WhiteWall Product Recommendations


We’re Happy To Help
Stores Need assistance?Our team will help you select the perfect products!Discover Now
Customer Service Feel free to call us at +44 20 34 11 18 46 or send us an email at info@whitewall.com.Digital appointment
Gift Certificates The Right Photo GiftDiscover Now
