The Essence of Event Photography
By WhiteWall expert Jan-Ole Schmidt
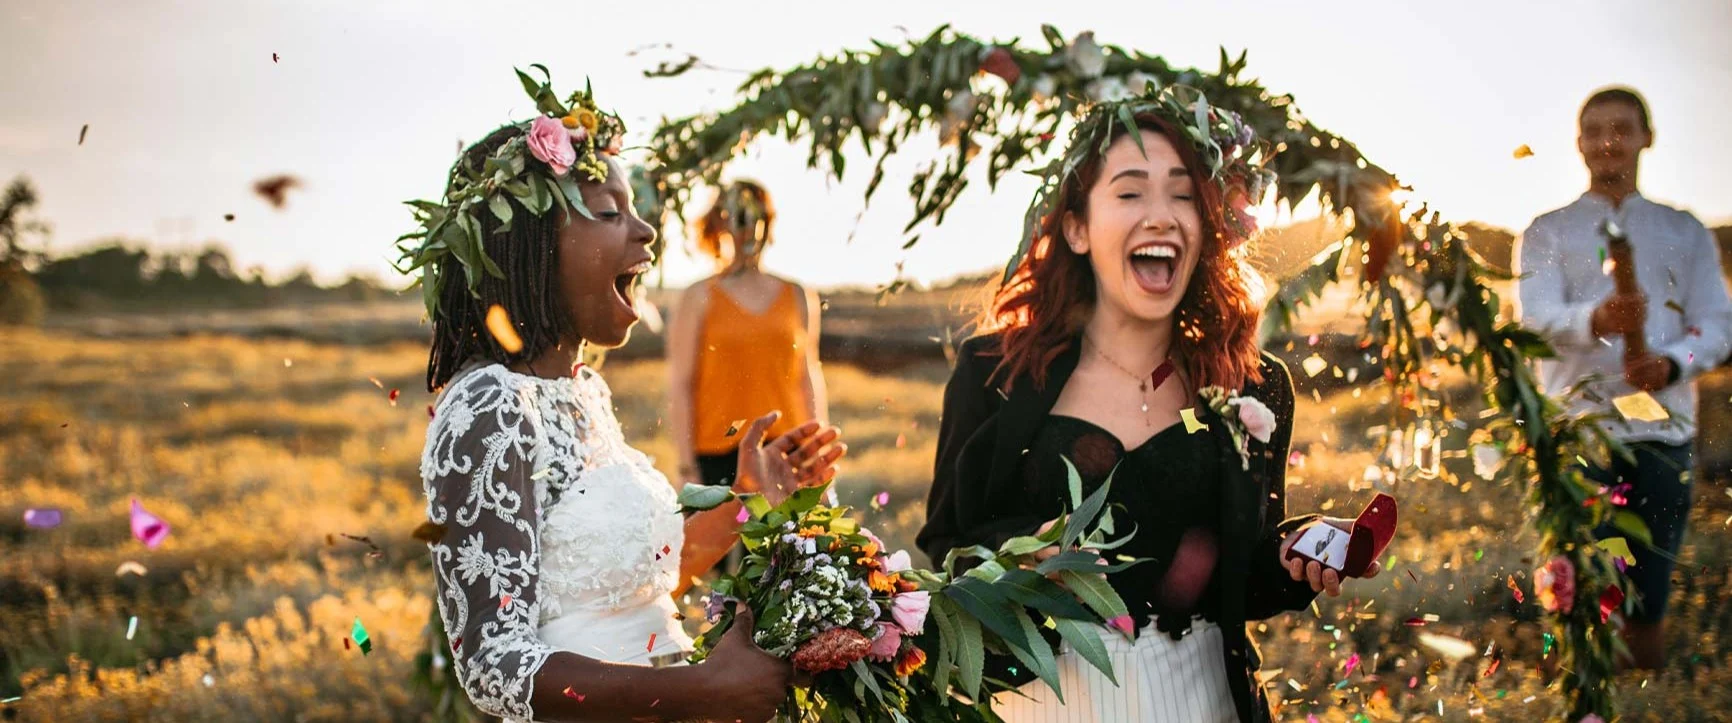
Event photography is more than just pressing the shutter button—it is the art of capturing fleeting, once-in-a-lifetime moments that remain unforgettable for those involved. Whether it’s weddings, concerts, corporate events, or family celebrations, the challenge lies in making the right decisions in dynamic situations. But how do you create atmospheric images that capture the essence of an event? And how can you present these photos professionally? In this article, you’ll learn what to look out for in event photography and how WhiteWall helps you enhance your photos to the highest quality.
Proper Preparation: The Key to Success
Event photography begins long before the first click of the shutter. Weeks or even months before the actual event, the process starts with detailed and well-thought-out planning. For professional photographers, it is essential not only to know their own equipment inside and out, but also to understand the specifics of the location and the flow of the entire event in advance.
Planning includes, among other things, a thorough inspection of the venue, ideally at the same time of day as the event, to assess the natural lighting conditions. Photographers analyze potential shooting locations, interesting perspectives, and well-lit areas to ensure that all important moments are captured in the best possible quality.
It is equally important to know the event’s schedule in detail. This means that photographers hold discussions in advance with the event organizers, the bride and groom, or other key personnel to learn about the day’s highlights, important speeches, ceremonies, or special surprises. This preparation allows them to be in the right place at the right time and not miss a single important moment—whether it’s the couple’s first dance, a significant speech, or an emotional moment that perfectly captures the atmosphere of the event.
Such careful planning gives the photographer the confidence to act with poise even in stressful and unpredictable situations and to respond flexibly to spontaneous changes.
Site Visit and Lighting Planning
It is highly recommended to visit the venue a few days before the event to get a comprehensive impression of the conditions. This site visit allows you to identify potential challenges early on and make the necessary preparations. One particularly important aspect to pay attention to during your visit is the lighting conditions . These can vary significantly depending on the time of day and weather conditions and can have a major impact on the quality of your photos.
Take the time to observe the location at different times of the day, especially during the hours when the event will take place. For example, if you’re photographing a wedding in a banquet hall that receives plenty of natural light through large windows during the day, consider whether you can strategically use this natural light. Natural light can create a warm, atmospheric ambiance that’s ideal for capturing emotional moments and portraits. In such cases, it’s often sufficient to direct the available light with reflectors or supplement it only minimally with additional light sources.
However, daylight can become weaker as the day progresses, especially if the event continues into the evening hours. If you notice that the lighting is becoming insufficient or varies significantly, you should rely on additional light sources. Especially in indoor settings with little or uneven light, the use of portable LED lights or external flash units may be necessary to ensure even illumination. Be sure to use the lighting in a way that does not disrupt the natural atmosphere of the event. Soft, indirect light sources, such as those created by reflectors or off-camera flash, ensure that the light appears harmonious and unobtrusive.
Artificial light sources can also be crucial in challenging environments, such as dark churches, clubs, or outdoor nighttime events. So make sure your equipment is suited for such situations. A portable flash, LED lights, or a combination of both can make the difference between well-lit, professional shots and underexposed, unusable images.
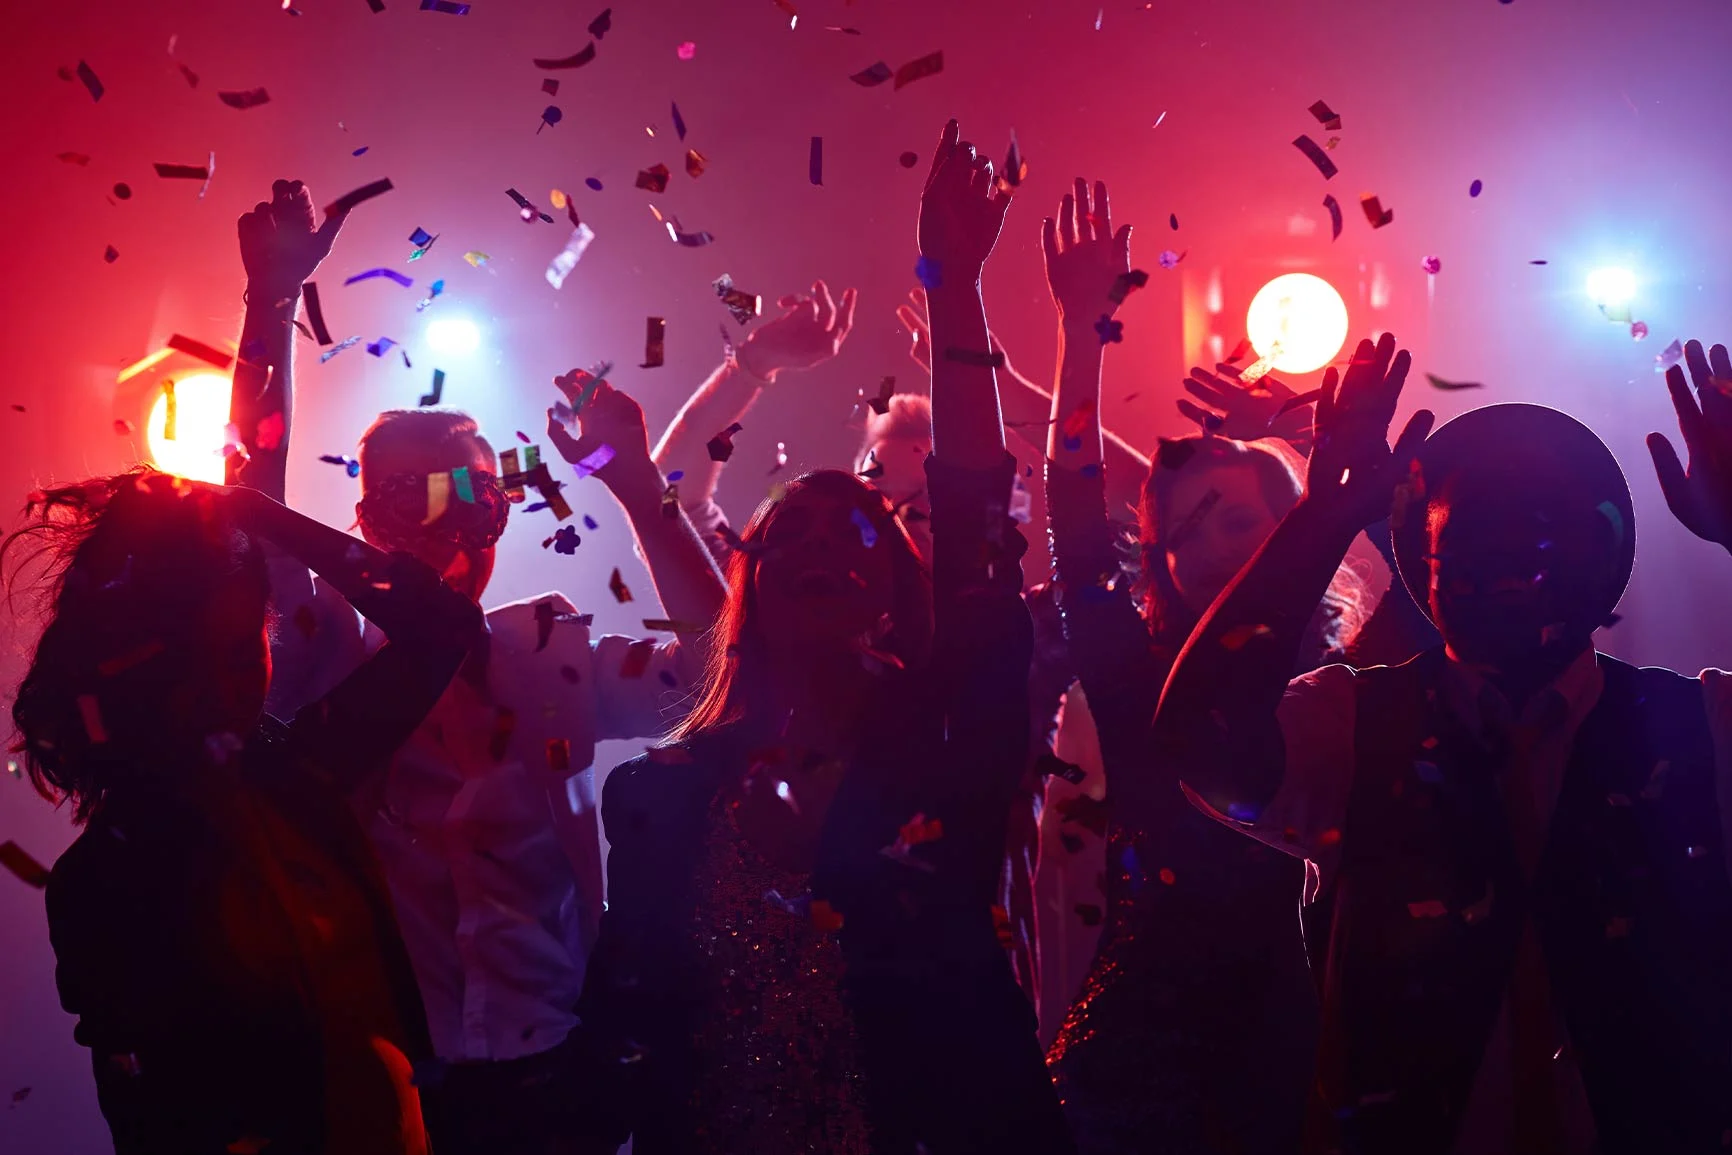
With this preparation, you can ensure that you get the most out of your event photography in any type of light—whether natural, mixed, or artificial.
Ideal Camera Settings
It is crucial to optimize your camera settings in advance for the various lighting situations you may encounter during an event. Flexibility is key, especially in event photography, where lighting conditions often change quickly and unpredictably. For this reason, you should use your camera’s manual mode ( ) to maintain full control over exposure, aperture, ISO, and shutter speed at all times. Manual mode allows you to react quickly to changing lighting conditions and precisely adjust the exposure of your shots, which is essential in environments with varying light levels, such as weddings or concerts.
While you often rely on natural light for outdoor shots, conditions for indoor shots frequently change drastically—depending on whether you’re in a large, well-lit hall, a smaller room with little natural light, or a setting with atmospheric artificial lighting. To be prepared for such scenarios, you should plan the most important camera settings in advance and adjust them for different situations. Here are some recommendations that often prove useful when shooting indoors:
Aperture
A wide aperture (f/2.8 or larger) is particularly helpful indoors, as it allows more light to reach the sensor and enables you to shoot even in low light without having to increase the ISO value too much. A wider aperture also creates a shallow depth of field, making the background soft and blurred, which is ideal for portraits or close-ups. However, if you want to keep multiple people in focus at different distances—such as in group shots—a smaller aperture (f/5.6 or f/8) is recommended to achieve a greater depth of field.
Shutter Speed
Shutter speed plays a crucial role in preventing motion blur, especially when people or subjects are in motion. Indoors, where light is often dimmer, you should aim for a shutter speed of at least 1/125s to capture motion sharply. For very dynamic scenes, such as a dance floor, an even shorter shutter speed of 1/250s or faster is recommended to ensure no motion blur occurs. However, keep in mind that a very short shutter speed often requires more light, which is why a wide aperture and a higher ISO setting must be combined.
ISO Settings
The ISO value controls the sensor’s light sensitivity and should be adjusted according to the lighting conditions. Indoors in low light, it may be necessary to increase the ISO value to achieve sufficient exposure without extending the shutter speed. Values between ISO 800 and ISO 1600 are often a good compromise between sufficient light and low image noise. Modern cameras allow you to increase the ISO value even further without causing excessive noise, which is particularly advantageous in dark environments.
White Balance
Since artificial light sources indoors often produce different color casts (e.g., warm yellow from incandescent bulbs or cool blue from LED lights), you should adjust the white balance manually. This ensures that your images reproduce realistic colors and are not distorted by unnatural color casts. For white balance, either use preset modes (such as artificial light, daylight, or shade) or adjust it manually based on the prevailing light source.
With these settings, you’ll be prepared for a wide range of lighting situations and can respond flexibly to changing light conditions. Manual mode gives you the freedom to adjust your camera quickly and precisely, ensuring that your images are optimally exposed and sharp under all circumstances.
After the event, you can capture your best shots on Ultra HD prints. These prints impress with razor-sharp detail reproduction and are ideal for large-format presentations.
The Right Equipment: Flexibility Is Key
Choosing the right equipment is a crucial factor for success in event photography. While you can fully control the lighting conditions, backgrounds, and even the position of your subjects in a studio, working at events requires a high degree of adaptability. Lighting conditions are constantly changing—from natural daylight to artificial lighting for indoor shots or nighttime events. Likewise, subjects are often in motion, whether on the dance floor at a wedding, on stage at a concert, or amidst conversations and spontaneous moments at corporate events. In such dynamic and unpredictable situations, photographers must be able to react quickly, without the option to retake shots. Versatile and robust equipment is therefore essential for capturing both spontaneous snapshots and planned, staged shots in the highest quality.
Choosing the Right Lens
Choosing the right lens is crucial for success in event photography, as it significantly influences the types of shots you can take and how flexibly you can adapt to different situations. Since events are often very dynamic and require both wide-angle shots and close-ups, it’s important to select a lens that covers as many applications as possible. Here are some recommendations on which lens types are particularly well-suited for different situations:
Standard Zoom: The Perfect All-Around Lens
A 24-70mm f/2.8 lens is considered an all-rounder in event photography and should be a staple in every camera bag. The 24-70mm focal length offers an ideal combination of wide-angle and mild telephoto shots. This gives you enough flexibility to capture both wide-angle scenes and close-ups of people without having to change lenses.
Wide-angle shots: In the wide-angle range (24–35mm), the lens is perfect for capturing large rooms, the entire event setting, or larger groups of people. This range is particularly useful when you want to capture the atmosphere of the entire space, whether at a wedding ceremony in a church or a corporate event in a large hall.
Portraits: In the telephoto range (50–70mm), you can take appealing portraits and close-ups. Here, the f/2.8 aperture allows for a beautiful background blur (bokeh) that really highlights the subject. This feature is particularly helpful when you want to focus on individuals or couples, for example in wedding portraits or special moments during an event.
The constant f/2.8 aperture across the entire zoom range ensures that even in low-light environments, such as at dusk or indoors, sufficient light reaches the sensor without having to increase the ISO value too much. This minimizes image noise and guarantees sharp, clear images.
Telephoto Zoom: Perfect for Long Distances
For larger events where you can’t always be close to the action, a 70-200mm f/2.8 lens offers significant advantages. This focal length allows you to take detailed shots even from more distant positions without having to intrude on the action.
Bridging distances: At concerts, sporting events, or other large gatherings where the photographer often works behind the scenes or away from the main action, the 70-200mm lens still allows you to take impressive close-ups. This way, you can capture the facial expressions of speakers, singers, or performers without disrupting the scene.
Discreet shooting: The telephoto focal length allows you to photograph discreetly. You can capture authentic moments unnoticed without drawing the guests’ attention to yourself. This is particularly helpful at events with many guests or on stages, where you don’t want to disrupt the proceedings.
Subject Isolation: Here, too, the f/2.8 aperture ensures strong isolation of the subject from the background, which is particularly helpful for portraits or when focusing on individual details, such as hands during a presentation or a guest’s expression.
While this lens is heavier and bulkier than a standard zoom, it is indispensable for events where there are large distances between the photographer and the subject. It offers the necessary flexibility to capture both portraits and more distant scenes in the best possible quality.
Prime Lenses: Fast Specialists
In situations where ambient light is very low, fast prime lenses such as a 50mm f/1.4 lens can be a tremendous help. The biggest advantage of a prime lens is its wide-open aperture, which captures much more light than zoom lenses. This allows you to work without a flash even in dark environments, such as romantic dinners, concerts, or parties, and capture the natural lighting atmosphere.
Shooting in Low Light: With an aperture of f/1.4, you can capture significantly more light than with a zoom lens. This allows for faster shutter speeds and lower ISO settings, which improves image quality in low light while minimizing image noise. In many cases, you can even shoot without artificial light sources, preserving the natural atmosphere of the moment.
Stunning bokeh: Prime lenses like the 50mm f/1.4 also offer particularly soft and aesthetically pleasing bokeh. With such a wide aperture, the background becomes beautifully blurred, making the main subject stand out clearly and with high contrast. This is ideal for portraits or close-ups where you want to place the subject firmly in the foreground without distracting background elements.
Even though you have less flexibility with a prime lens and no zoom function, the exceptional image quality—thanks to sharpness and light intensity—often makes up for the disadvantage of the fixed focal length. A 50mm lens is also relatively compact and lightweight, making it an ideal companion for events where you need to stay mobile.
Camera Settings in Changing Conditions
For event photography, the following settings are essential to consistently achieve optimal results even in challenging and changing lighting conditions:
Aperture: Depending on the situation, a wider aperture (f/2.8 to f/4) can let in more light, while for group shots, a smaller aperture (f/5.6 to f/8) should be used to keep everyone in focus.
Shutter speed: For moving subjects, such as dancers, you should set the shutter speed to at least 1/250s or faster to avoid motion blur.
Using Flash Correctly
A clip-on flash or off-camera flash can be helpful if the available light is too dim. Be sure not to point the flash directly at the people, but instead bounce the light off the ceiling or wall to create a soft, natural light.
For post-processing and presenting your photos, WhiteWall offers a wide selection of Fine Art papers. Hahnemühle Photo Rag, in particular, emphasizes details and enhances the emotional depth of your event photos.
Spontaneous and Staged Shots: Finding the Right Balance
At events, both spontaneous snapshots and planned, staged shots are in demand.
Capturing Authentic Moments
Spontaneous shots often capture the unposed, emotional moments of an event. Keep your camera handy at all times to capture these fleeting moments—for example, a guest’s smile or a warm hug. Use continuous shooting mode to take multiple shots in quick succession and select the perfect image later.
Staged group photos
For formal group photos or portraits, it’s important to take enough time to compose the perfect shot. This type of photography requires more preparation and attention than spontaneous snapshots, as several factors must be carefully coordinated to achieve an appealing result.
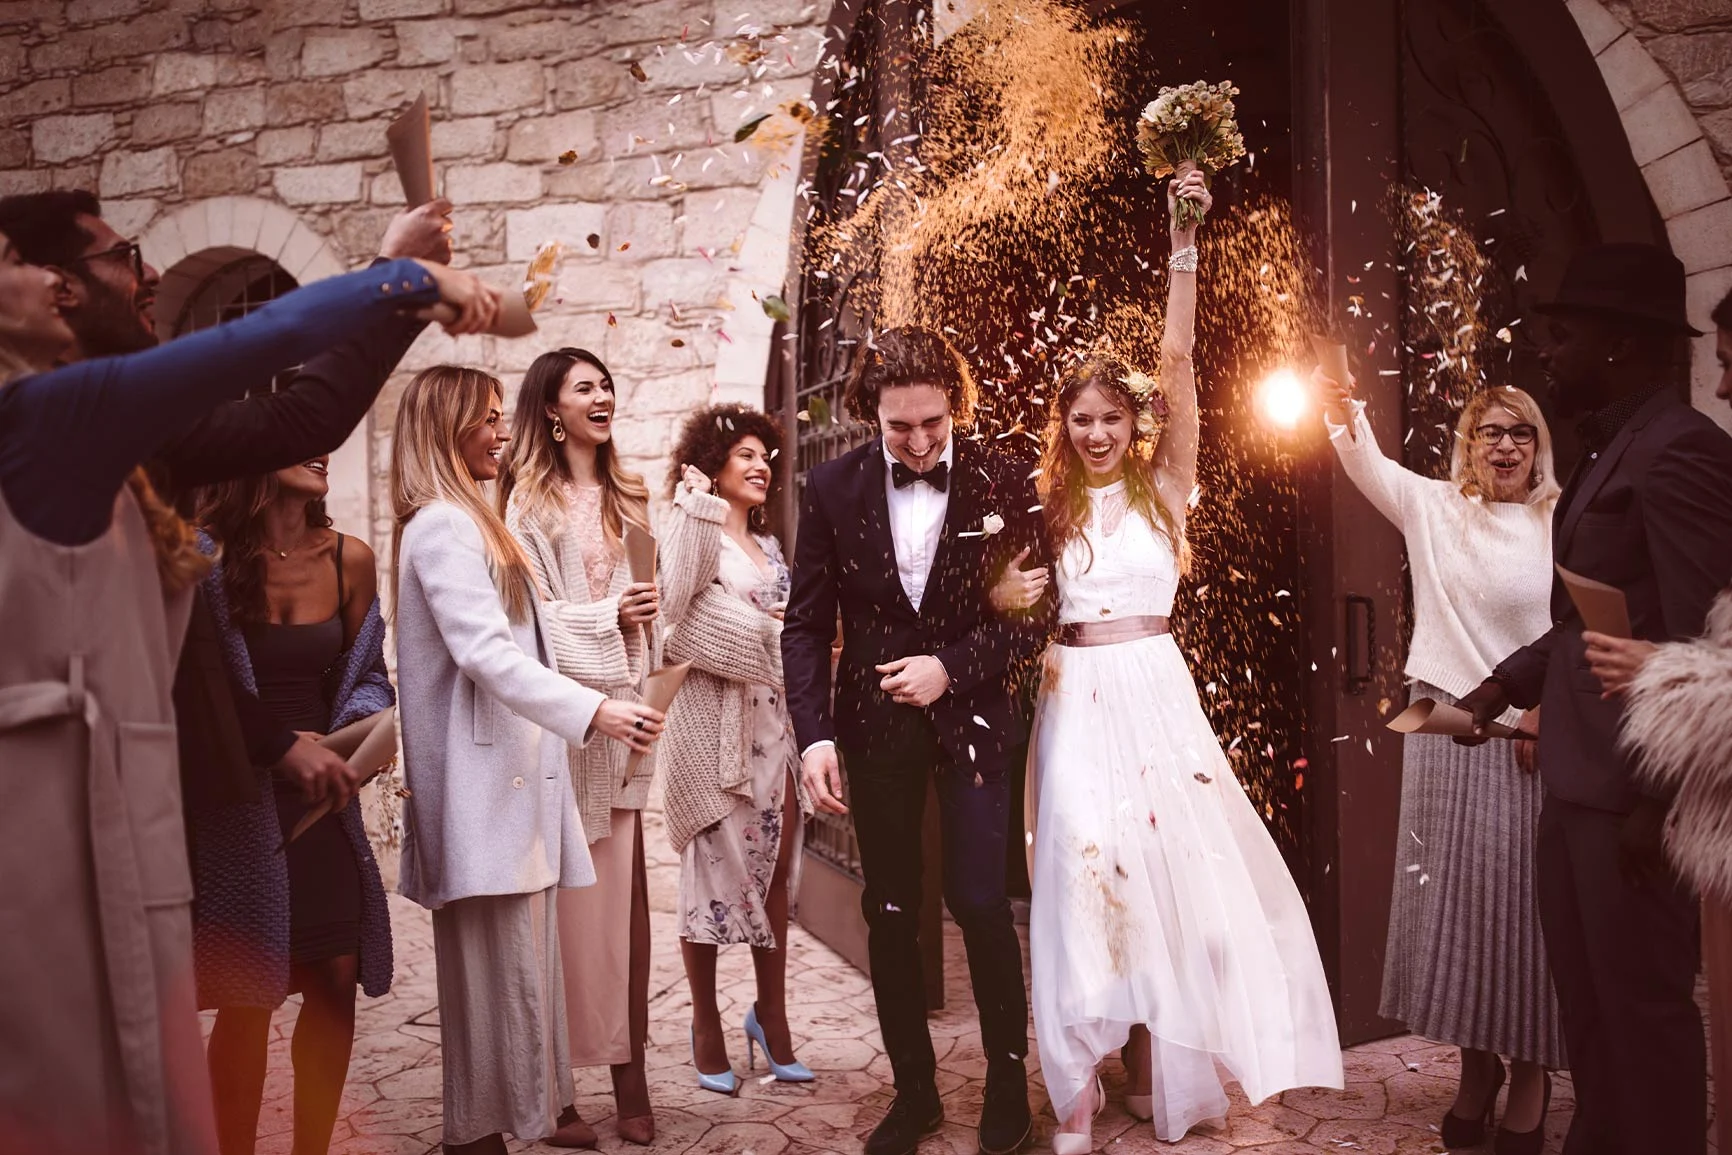
First, you should position the people strategically so that everyone is clearly visible and no one is obscured in the background. For larger groups, it is recommended to arrange the people in several rows—the back row should be slightly elevated to ensure that all faces are clearly visible. Make sure the spacing between people is even to create a harmonious image. Especially for formal shots, such as at weddings or corporate events, a well-thought-out composition contributes to the professionalism of the photo.
Another crucial aspect is lighting. Ensure that the light source, whether natural daylight or artificial lighting, falls evenly on everyone. Ideally, the light should come from the front or slightly from the side to avoid harsh shadows and evenly illuminate the faces. If the light is unevenly distributed, some people may be underexposed or covered in shadows, which reduces the quality of the group photo. When working indoors, you can use a fill flash or reflectors to make the light softer and more even.
For group photos and portraits, it is advisable to choose a smaller aperture, typically in the range of f/5.6 to f/8. The reason for this is the greater depth of field, which ensures that all faces are in focus when there are multiple people in the frame, regardless of whether they are in the front or back rows. With a wide aperture (e.g., f/2.8), there is a risk that only the people in the front will be in focus, while those in the back appear blurry. A smaller aperture, on the other hand, ensures that the entire group remains in focus, which is particularly important for formal portraits.
Additionally, you should adjust the shutter speed and ISO setting so that enough light is captured even at the selected aperture. A shutter speed of at least 1/125s is usually sufficient to prevent camera shake and ensure the subjects are clearly captured. The ISO setting should be kept as low as possible to minimize image noise, but can be increased in low-light conditions.
Overall, when taking formal photos, you should pay close attention to the details and ensure that all technical and creative elements work together harmoniously to achieve a professional result.
Tip: Your best shots are best showcased with a metallic Photo Print. The glossy surface enhances the colors and contrasts of your event photos.
More information about metallic Photo Prints on Fuji Crystal Pearl
Telling Stories: The Event in Pictures
Successful event photography goes beyond capturing individual moments. Tell the story of the entire event by photographing chronologically and capturing important details.
Tip 1: Develop a narrative structure
Start by taking photos of the venue before guests arrive, and then capture the guests’ arrival, the flow of the event, and the special moments. Capture both the major highlights and small, intimate details, such as the food being served or decorative elements that make the event special.
Tip 2: Use Different Perspectives
Experiment with different perspectives: Take photos from a bird’s-eye view to capture the entire room, or use close-ups to capture emotional reactions.
Tip 3: The WhiteWall Coffee Table Book
Use the Coffee Table Book to present the story of the event professionally and in gallery-quality. This high-quality Coffee Table Book can be customized and is ideal for comprehensive documentation.
More information about the Coffee Table Book
The Perfect Post-Processing: Less Is Often More
Post-processing your photos is an essential step to get the most out of your shots without distorting the authenticity of the moment.
Subtle color corrections
Adjust the colors to enhance the mood of the event. Use only slight corrections to preserve the natural look of the photos. Focus on improving contrast and highlights, especially in low-light conditions.
Sharpening and Noise Reduction
Ensure that the sharpness and details of the images are optimized. At high ISO values, noise may occur, which you should minimize during post-processing without compromising sharpness.
For presenting your best shots, we recommend a photo print on aluminum Dibond. This elegant and durable option is particularly suitable for large-format images and allows your photographs to shine in their best quality.
More information about photos on aluminum Dibond
Conclusion
Event photography requires not only technical know-how but also creativity and the ability to react at the right moment. With the right preparation, the appropriate equipment, and targeted post-processing, you can create unforgettable memories. WhiteWall offers you the ideal products to present your best shots in gallery quality—from ultraHD prints to Coffee Table Books.
Learn more about the author
Jan-Ole Schmidt (better known simply as Ole) is from northern Germany and has been with WhiteWall for many years. As a team leader in product management, he brings extensive experience in the photography industry. He taught himself photography and has built up in-depth expertise in image production, papers, laminations, and framing.
His strength lies in the combination of technical expertise and customer perspective - from file upload to framing in the WhiteWall configurator. Ole has held workshops, been a guest on podcasts and is in close contact with the photography community. He lives, works and photographs in Cologne.

WhiteWall Product Recommendations


We’re Happy To Help
Stores Need assistance?Our team will help you select the perfect products!Discover Now
Customer Service Feel free to call us at +1 646 513 44 22 or send us an email at info@whitewall.com.Digital appointment
Gift Certificates The Right Photo GiftDiscover Now
