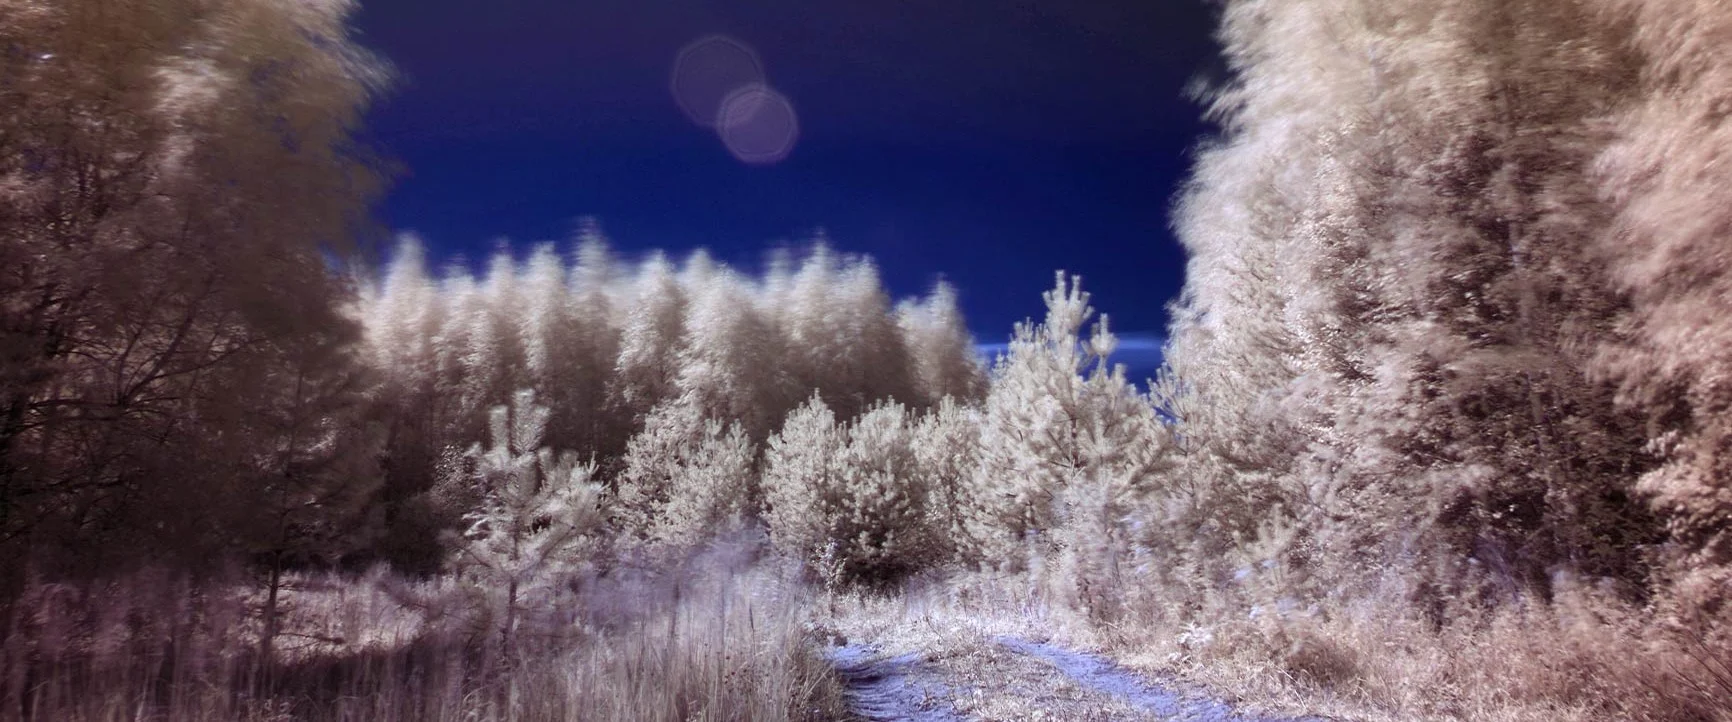
An introduction to infrared photography
By WhiteWall expert Jan-Ole Schmidt
Infrared photography offers a unique view of the world—a world invisible to the human eye. With this technique, everyday scenes take on a fairy-tale-like quality: leaves become radiant white, the sky turns dramatically dark, and landscapes appear as if from another reality. But how does this magical technique work, and how has it evolved?
1. History of Infrared Photography
The discovery of infrared light is attributed to the British astronomer William Herschel, who in 1800 proved the existence of light beyond the spectrum visible to the human eye through experiments with a prism and a thermometer. Infrared photography itself, however, did not become established until the early 20th century with the introduction of special infrared films developed by Kodak and other manufacturers.
The first milestones in its development occurred in the 1910s, when infrared films were tested for scientific purposes. During World War II, infrared photography was used for military reconnaissance because it can penetrate smoke and fog. The artistic use of infrared photography began in the 1950s, when landscape photographers discovered its surreal effect.
2. Techniques of Infrared Photography: Camera Modification vs. Filters
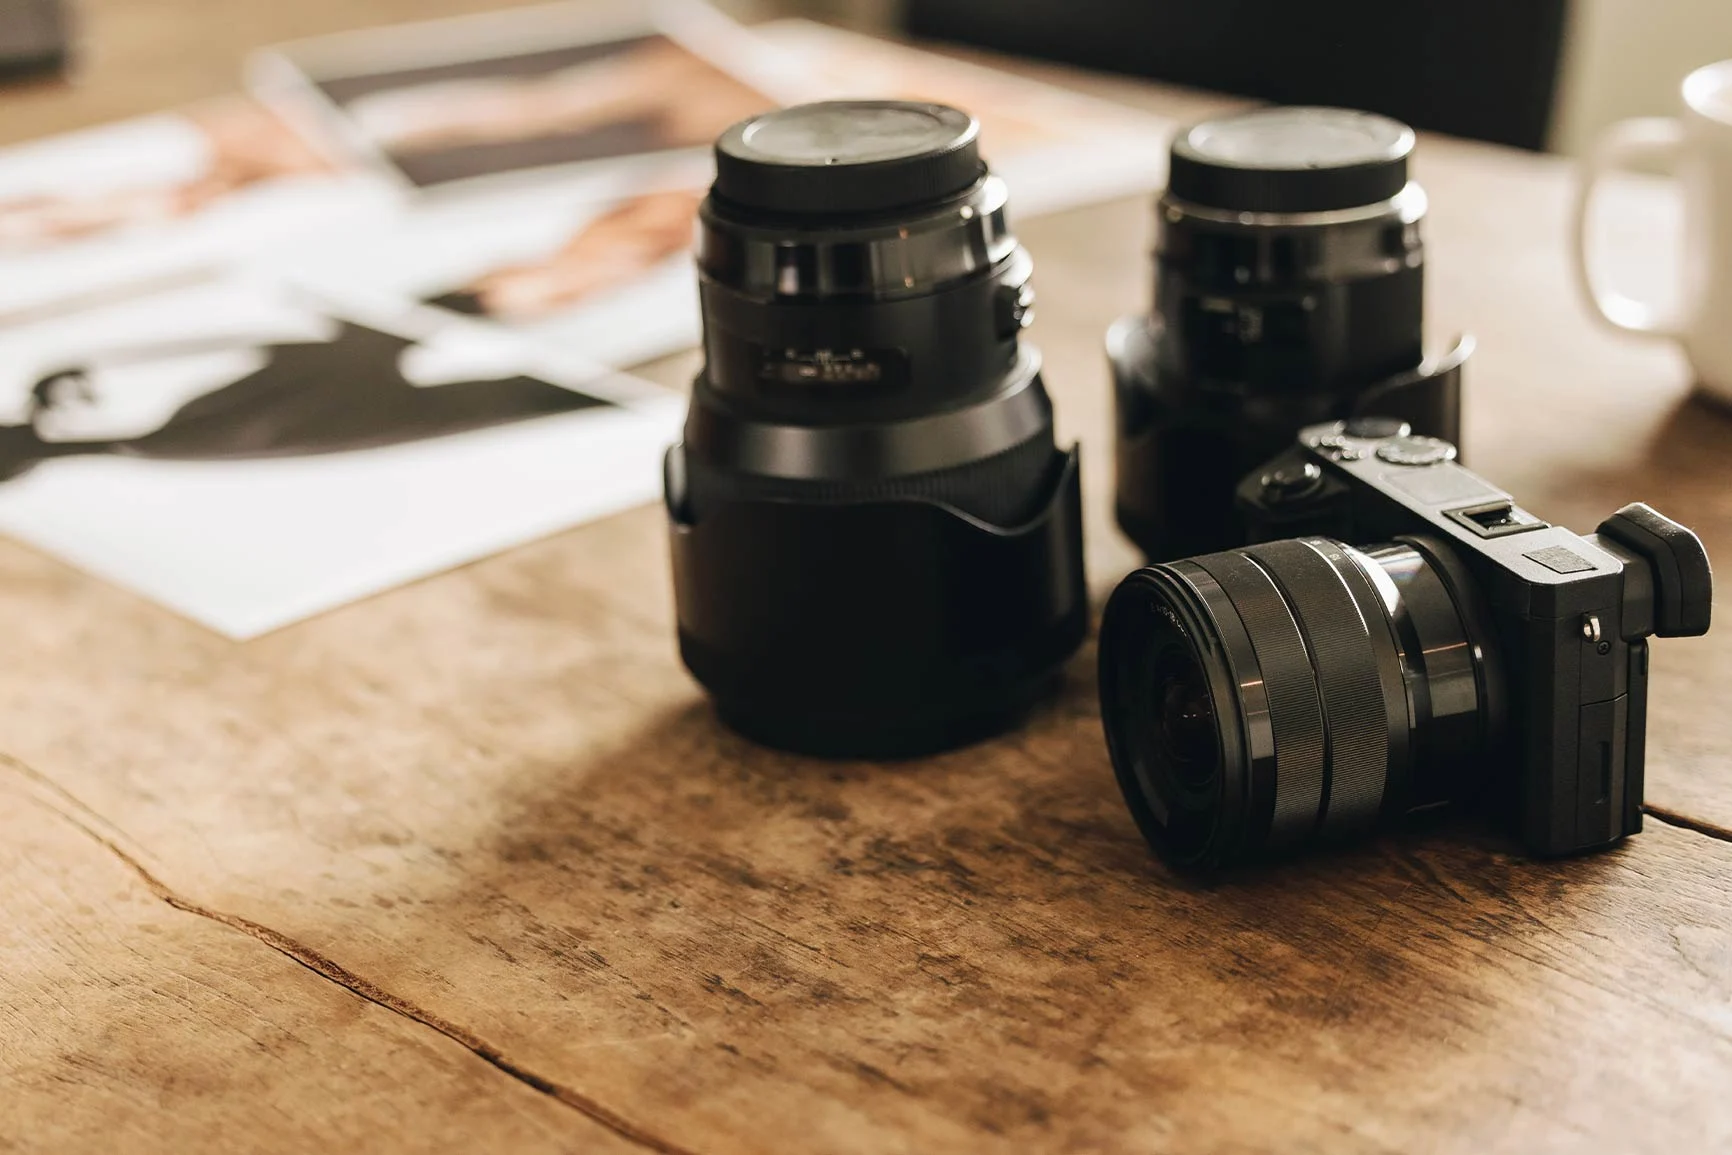
In infrared photography, light in the near-infrared (NIR) range is used. This part of the electromagnetic spectrum lies just outside the range of light visible to the human eye. The wavelength range is between 700 nm and 1,000 nm (nanometers). This is where things get really interesting. A standard digital camera comes equipped with a so-called IR cut filter to block infrared light. It is therefore necessary to bypass this very filter in order to capture images in this light spectrum at all. However, this filter serves a purpose in the camera.
It cannot simply be removed without hesitation. It must be replaced with an IR-pass filter. Specialists at the manufacturers or in camera shops remove the filter from the sensor and install the IR-pass filter. Afterward, the sensor is recalibrated to adapt the autofocus and exposure metering to the new setup.
Advantage: The camera can be used just as before; no long exposure times are necessary.
Disadvantage: This camera is then only suitable for infrared photography.
Another method—which is the best way for enthusiasts and beginners to gain initial experience and get a feel for the subject—is to use lens filters. Like polarizing or ND filters, these are easy to attach to the lens and offer flexible use.
The most common types of filters are:
720 nm: Lets mostly near-infrared light through and creates classic IR effects where vegetation glows brightly (Wood effect) and the sky is dark.
850 nm: Blocks more visible light and produces stronger black-and-white contrasts.
950 nm: Uses only deep infrared light and is suitable for experimental or scientific applications.
Advantage: No permanent modifications to the camera are required, and it is more cost-effective.
Disadvantage: Significantly longer exposure times are required, sometimes in the range of minutes, and the focus point shifts, which you must compensate for manually.
3. Subjects and Techniques in Infrared Photography
Landscapes: Fairytale Worlds
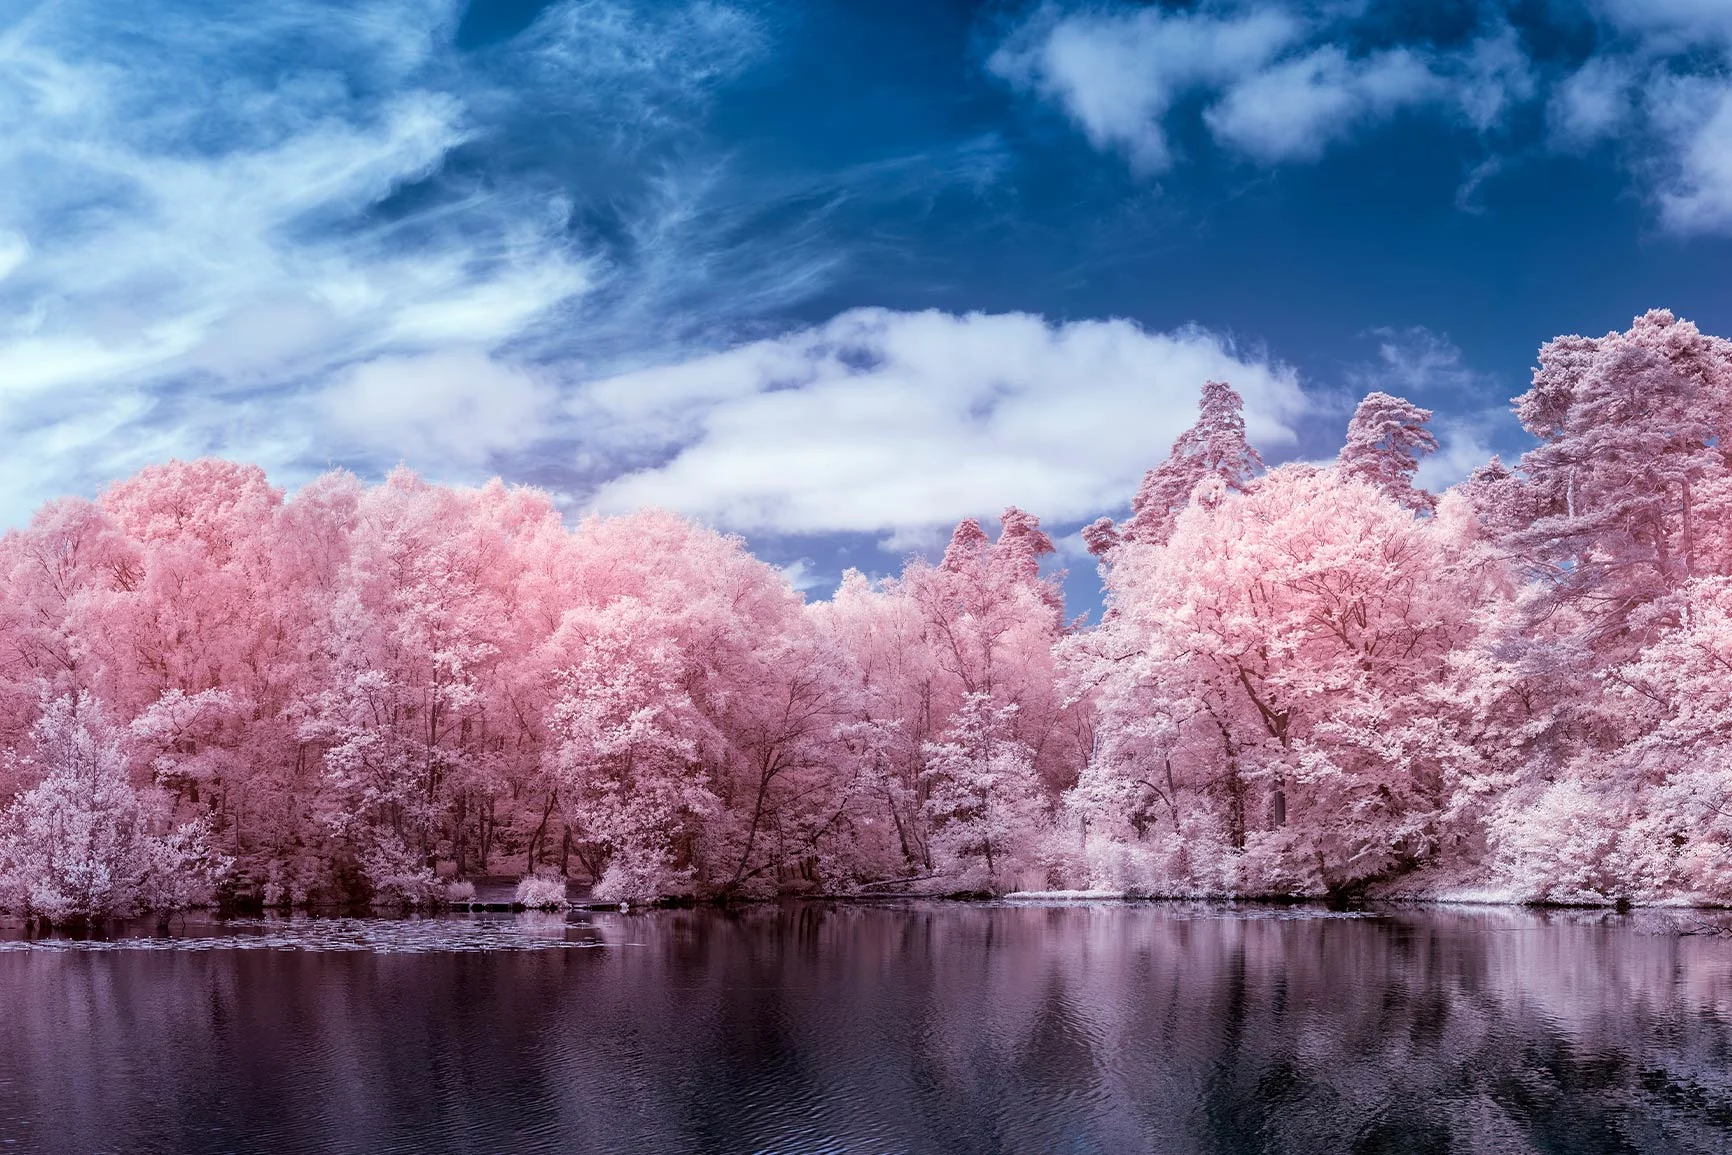
Infrared photography is particularly popular in landscape photography, as it allows plants to be depicted in brilliant white and the sky in deep black.
The fascination lies in every image: leaves and grass appear white. Chlorophyll is transparent in the infrared spectrum, and light is reflected by the water in the plants. This is the “Wood effect,” named after its discoverer, the American physicist Robert Williams Wood.
It’s best to shoot with an ISO setting between 100 and 400 and an aperture between f/8 and f/11 for sufficient depth of field.
When using a filter, you’ll need a tripod and must expose for at least ten seconds—or significantly longer, depending on the lighting conditions.
For a stylish presentation, an image behind glossy acrylic glass is ideal, as this really brings out the contrasts and details.
Forests: Magic and Depth
In forests where light filters through only in certain spots and which feature various shades of green at different depths, the luminous white effect is intensified. Leaves, foliage, and moss are bathed in radiant light, creating a fairy-tale-like, otherworldly atmosphere.
Here, too, you should ensure sufficient depth of field, so set the aperture to f/8. Pay attention to the hyperfocal distance to keep both the foreground and background in focus.
When the sun is low in the sky, experiment with rays of light filtering through the trees. Fine Art Print on Hahnemühle William Turner paper: The matte surface enhances the soft and mystical character of the forest.
Macro Photography: Details in the Invisible Spectrum
Macro photography benefits greatly from the use of infrared light, as it reveals tiny textures and details that remain hidden to the human eye in visible light. This allows for a completely new representation of flower petals, insects, or surface structures.
Use a true macro lens with a magnification ratio of 1:1 and take full advantage of the minimum focusing distance.
For optimal sharpness, choose an aperture of f/16.
Use a diffuser to create even, soft light for beautiful IR reflections.
A low ISO setting preserves details, while a longer exposure, such as 1/30 second, captures everything.
Reflections in Water: Surreal Beauty
Lakes, rivers, and puddles offer a wide range of possibilities for the creative use of infrared light. The reflection of infrared light on the water’s surface creates a particularly striking effect.
With a modified camera, a short shutter speed of 1/125 second is often sufficient. To smooth out the water’s surface, you can use a longer exposure and an ND filter as usual. Use a low angle that highlights the reflection.
A metallic photo print is ideal for a presentation that flatters the subject. This enhances the reflections and emphasizes the contrasts.
Architecture: Timeless Elegance
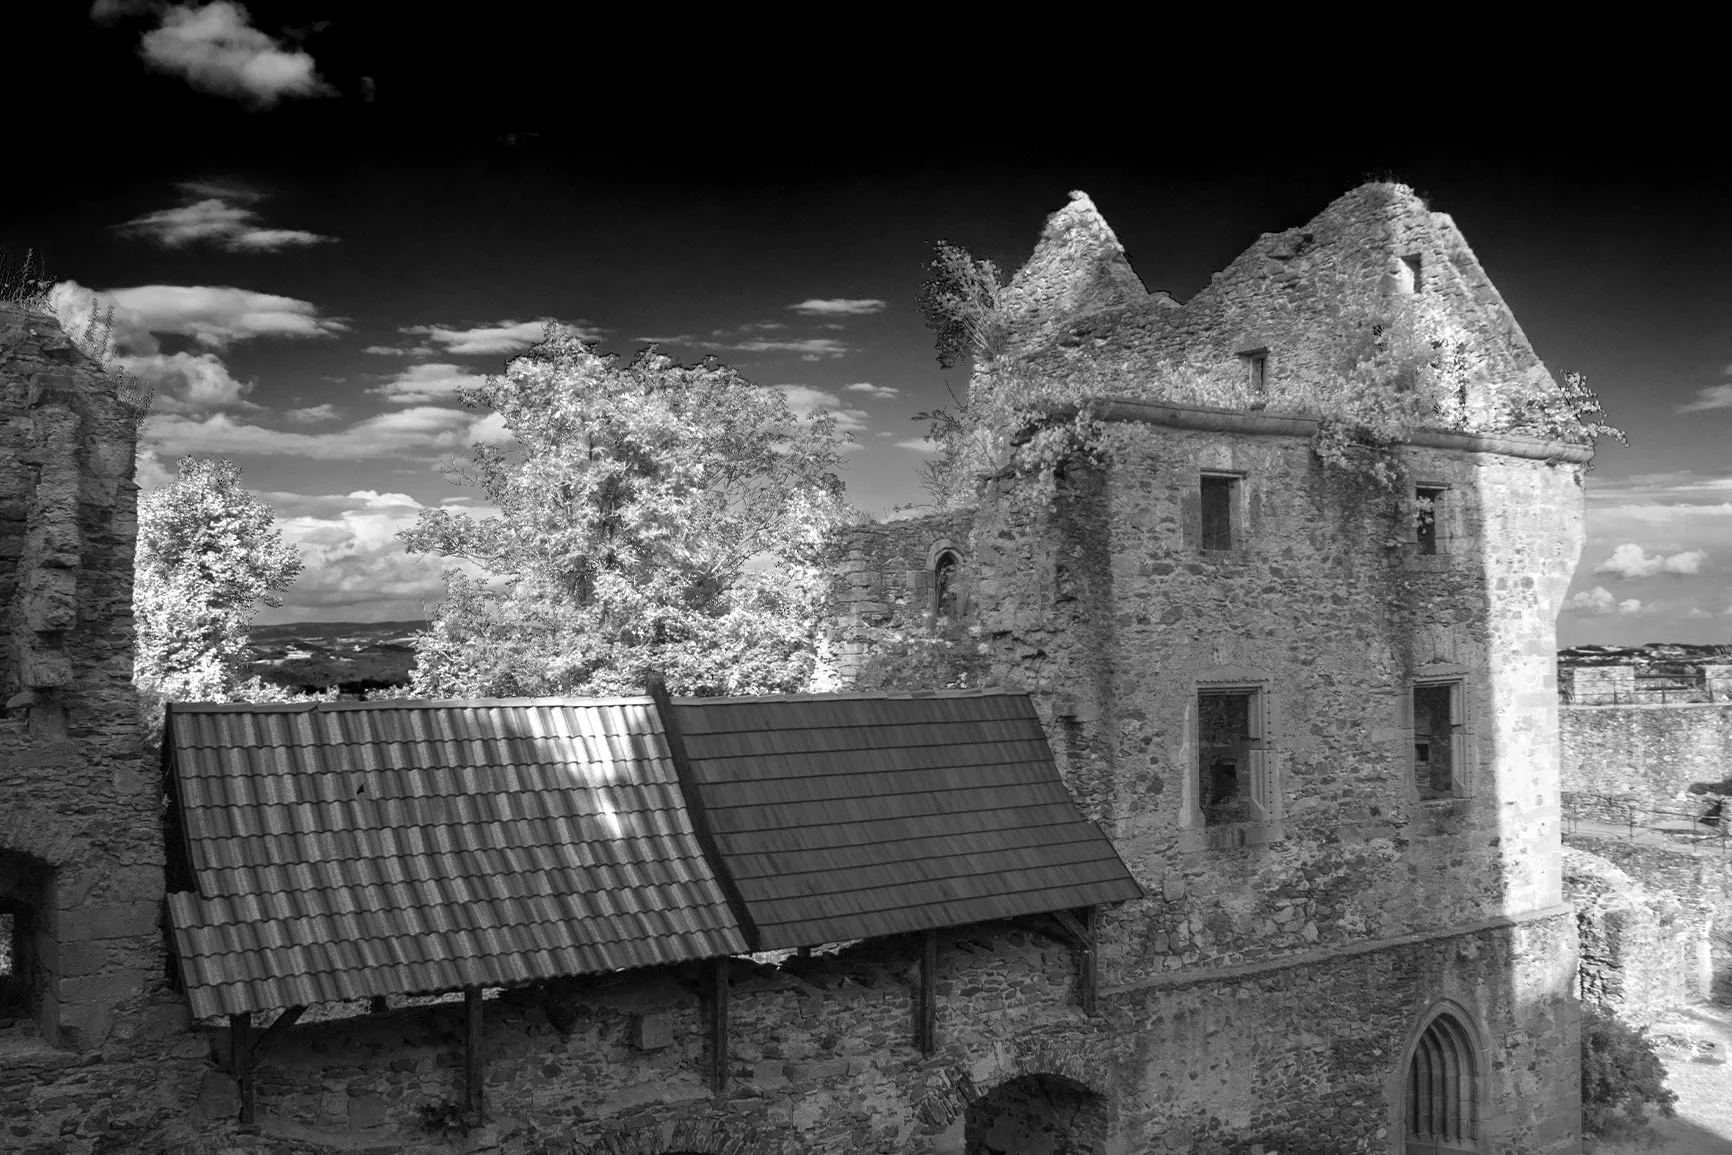
Buildings and urban scenes appear more dramatic and often timeless in infrared photographs. Seeing the familiar from a completely unfamiliar perspective yields spectacular images. Windows and reflective surfaces can create interesting effects.
Shoot with a lens between 28mm and 50mm—the standard range for street photography—or around 100mm for striking close-ups.
When selecting your subjects, focus on textures and light reflections.
Minimalist architectural shots really stand out in a passe-partout frame.
Cities at Night: Spectacular Light Shows
Infrared photography at night may seem unusual at first glance, but it can lead to remarkable results. Streetlights and other artificial light sources sometimes emit infrared light, which creates unexpected effects in photographs.
Infrared photography at night may seem unusual at first glance, but it can lead to remarkable results. Streetlights and other artificial light sources sometimes also emit infrared light, which creates unexpected effects in photographs.
Select a higher ISO value, between 800 and 1,600—especially for longer exposures.
Expose for up to 30 seconds to capture sharpness and detail in low light.
Check the histogram to ensure that reflective objects, such as windows, are not overexposed.
A tripod, as well as a remote or self-timer, can help prevent camera shake.
Portrait Photography: Unique Skin Tones
Infrared photography also offers the opportunity to achieve outstanding results in portrait photography. The skin appears soft and almost translucent, while the eyes often have a dark sheen. This effect lends portraits a mysterious touch.
Shoot with a wide aperture, such as f/2.8, to keep the focus entirely on the face.
Keep the shutter speed below 1/60 second to avoid motion blur.
A dark background helps draw the focus—including the viewer’s—to the face.
Natural light is best suited for such portraits.
Animals: Creative Possibilities
Infrared photography of animals requires a great deal of patience, but often yields impressive results. Due to the different ways infrared light is reflected by fur and skin, unique textures can be created.
Ideally, shoot with a shutter speed of 1/500 second or faster to avoid motion blur.
An aperture between f/4 and f/8 isolates the subject.
Light-colored animals reflect infrared light better.
4. Tips for Perfect Infrared Photos
White Balance
Accurate white balance is crucial for infrared photography. Manual white balance is achieved by focusing on green grass. Alternatively, you can adjust the white balance later during post-processing.
Post-processing
It is recommended to always shoot in RAW format to ensure full control over color correction.
Swapping the color channels opens up additional creative possibilities. By swapping the red and blue channels, you can create a typical infrared look, which can be used, for example, to depict a blue sky and white vegetation.
Conclusion: Painting with Light That No One Sees
Infrared photography opens up a wide range of creative possibilities for photographers, offering the potential to make the invisible visible. Whether you’re photographing landscapes, architecture, animals, portraits, or macro shots—every subject takes on a magical quality through IR light. By utilizing proven techniques and the appropriate equipment—whether it’s a camera modification setup or a simple IR filter—you can create nearly limitless possibilities. Thanks to WhiteWall, you can present your infrared images in gallery quality. Whether behind acrylic glass, on aluminum Dibond, or as a Fine Art Print—WhiteWall’s quality and precision transform your work into true works of art.
Learn more about the author
Jan-Ole Schmidt (better known simply as Ole) is from northern Germany and has been with WhiteWall for many years. As a team leader in product management, he brings extensive experience in the photography industry. He taught himself photography and has built up in-depth expertise in image production, papers, laminations, and framing.
His strength lies in the combination of technical expertise and customer perspective - from file upload to framing in the WhiteWall configurator. Ole has held workshops, been a guest on podcasts and is in close contact with the photography community. He lives, works and photographs in Cologne.

WhiteWall Product Recommendations


We’re Happy To Help
Stores Need assistance?Our team will help you select the perfect products!Discover Now
Customer Service Feel free to call us at +1 646 513 44 22 or send us an email at info@whitewall.com.Digital appointment
Gift Certificates The Right Photo GiftDiscover Now
