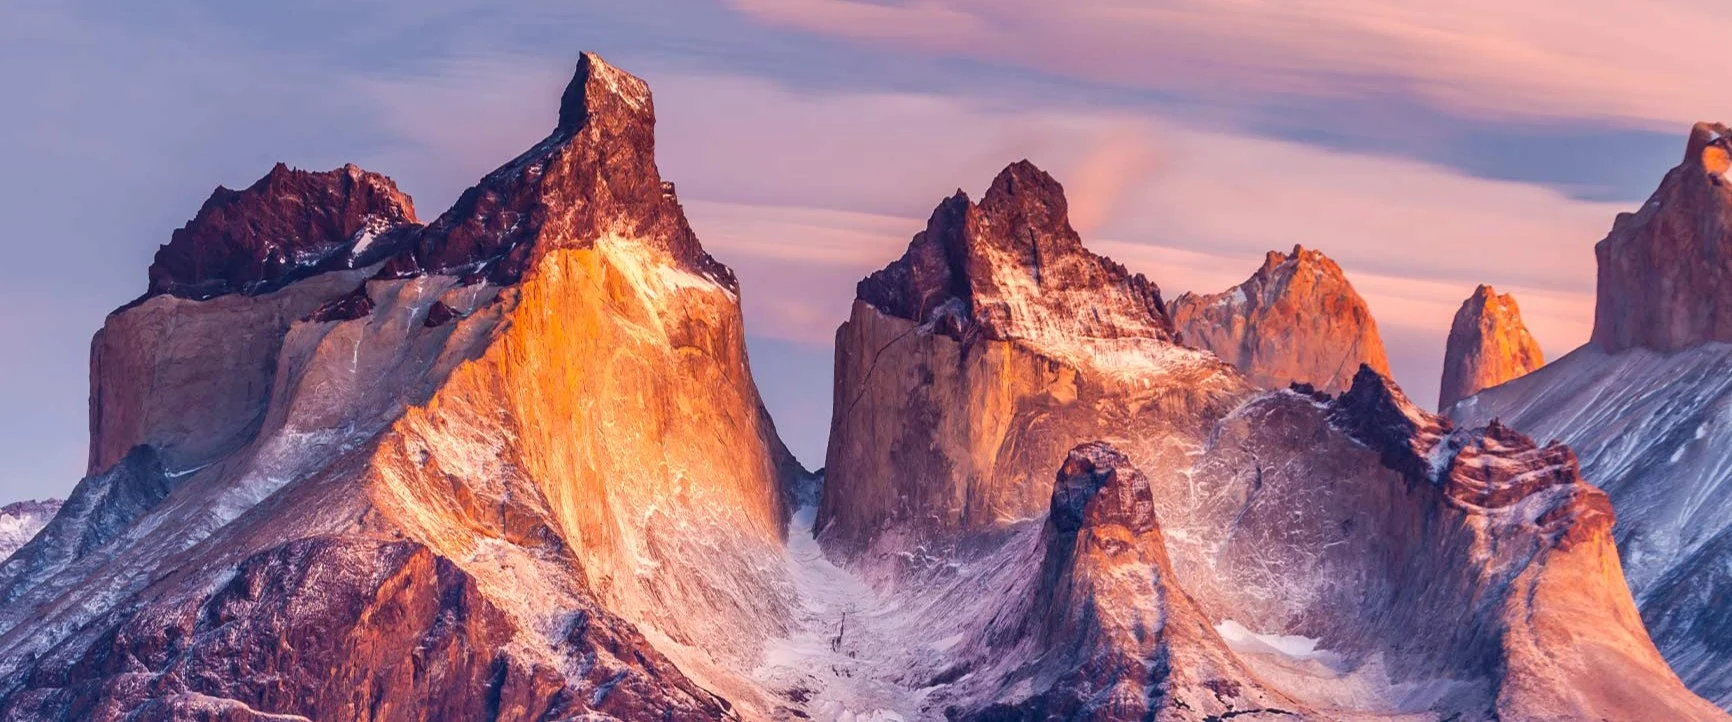
The Art of Landscape Photography
By WhiteWall expert Jan-Ole Schmidt
Landscape photography captures the untamed beauty of nature and transforms it into timeless works of art. This genre is one of the most popular and serves as an entry point into the world of photography for many. Whether mighty mountains, tranquil lakes, dramatic coastlines, or dense forests—every scene tells its own story. To showcase them in all their splendor requires technical know-how, the right equipment, and a trained eye. In this article, we’ll show you how to perfectly photograph various landscape scenes and masterfully present the results with WhiteWall products.
Photographing Mountain Landscapes: Capturing Majestic Peaks
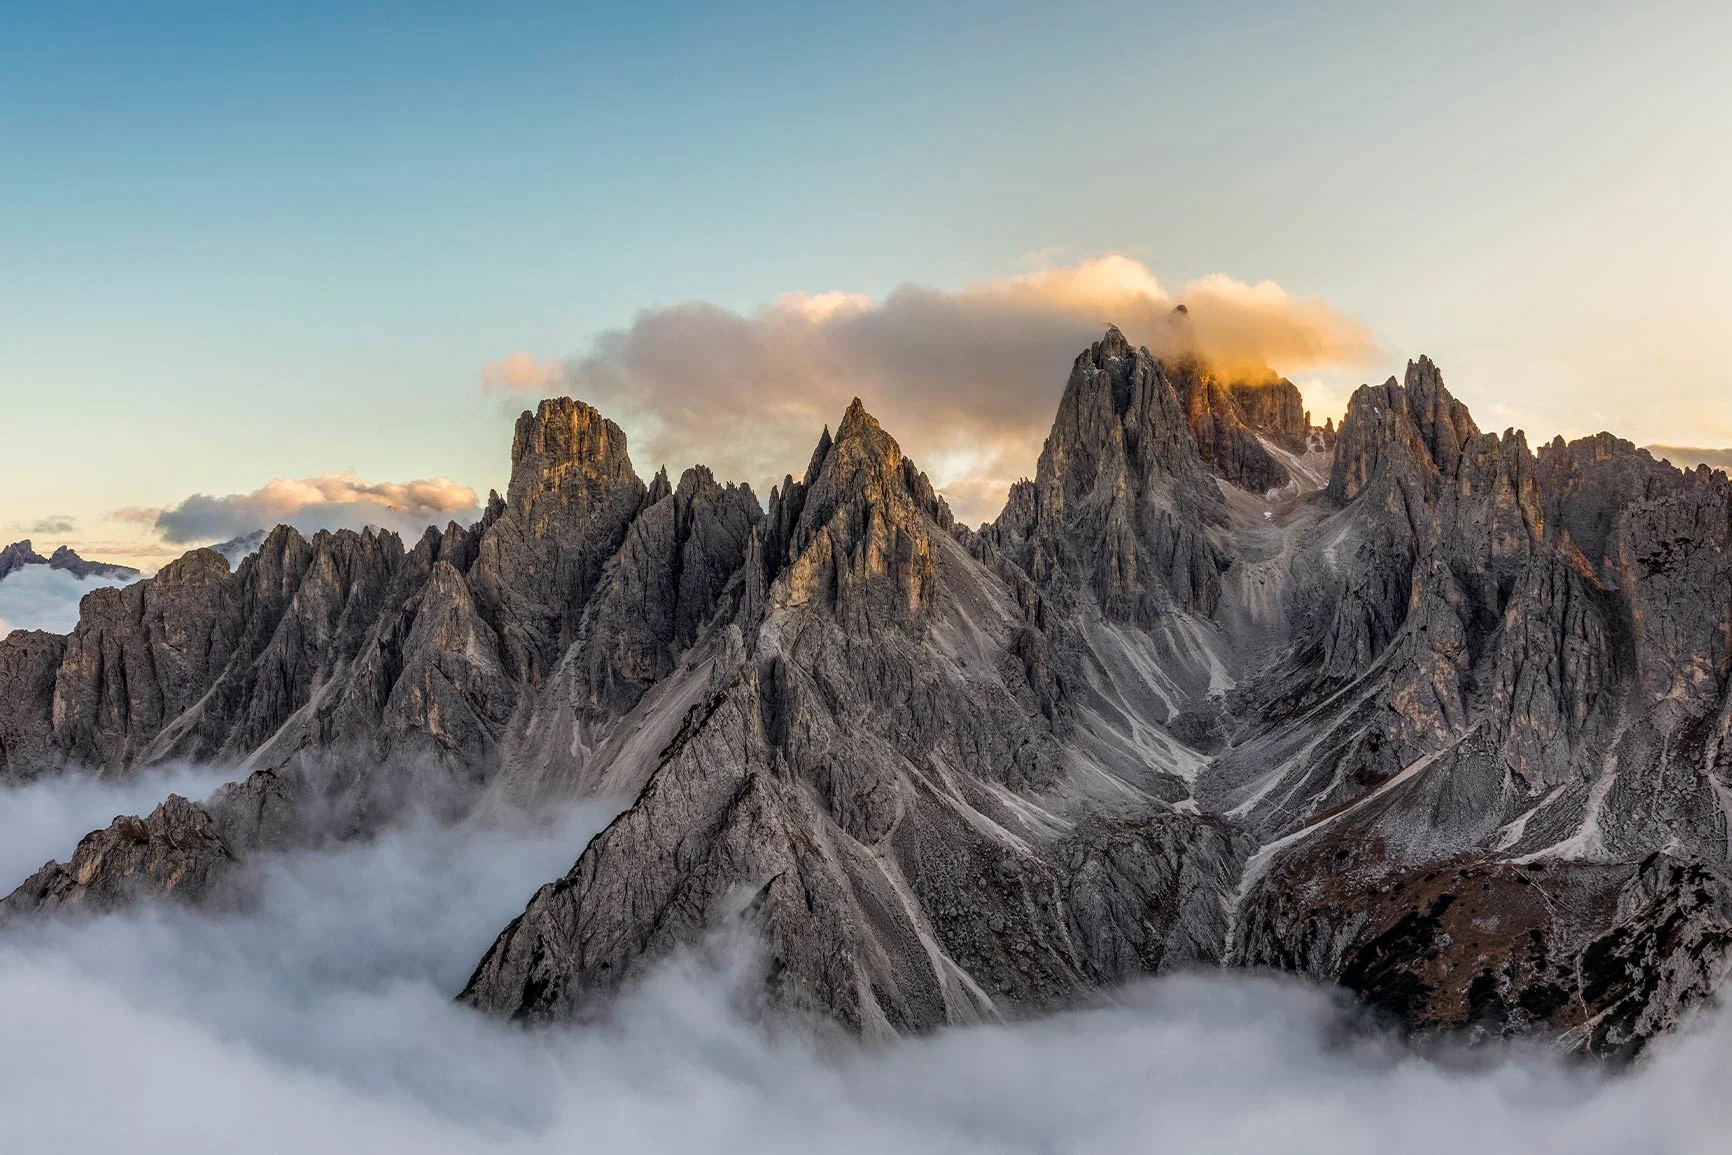
Mountains exude an overwhelming power. Their rugged surfaces, often shrouded in fog or snow, offer a subject rich in depth and detail. However, to truly highlight their beauty, special techniques are required to capture the vastness and grandeur of the mountain landscape.
Equipment for Mountain Panoramas
Camera: A high-resolution DSLR (digital single-lens reflex) or DSLM (digital single-lens mirrorless) camera is ideal for capturing the fine details of the mountains.
Lens: Use a telephoto lens (e.g., 70–200 mm or 100–400 mm) to take advantage of the compression effect.
Tripod: A sturdy tripod ensures stability, especially when using telephoto focal lengths.
Polarizing filter: Reduces haze and enhances contrasts in the landscape.
Technique: Utilizing the compression effect
At long focal lengths, the so-called compression effect occurs: Distant objects appear to be closer together, which enhances the drama of a scene. To achieve this effect:
Set the aperture to f/8 to f/11 to ensure sufficient depth of field.
Use spot metering to adjust the exposure to the brightest mountain peaks.
Mount the camera on a tripod and select a shutter speed of 1/250 second or faster to avoid camera shake. Exception: A mountain lake. Here, the goal is to frame the lake properly (tips for this follow below). If you use a longer exposure with a telephoto lens, there is a risk that your subject will quickly appear blurry.
WhiteWall Products for Mountain Photography
Photo Print behind acrylic glass: Perfect for highlighting the details and contrasts of the mountain landscape. The acrylic glass creates an impressive sense of depth.
More information about photos behind acrylic glass
Fine Art pigment print on Hahnemühle paper: Ideal for monochrome shots that focus on textures.
More information about Fine Art Prints
The Magic of Still Waters: Reflections and Serenity at Lakes
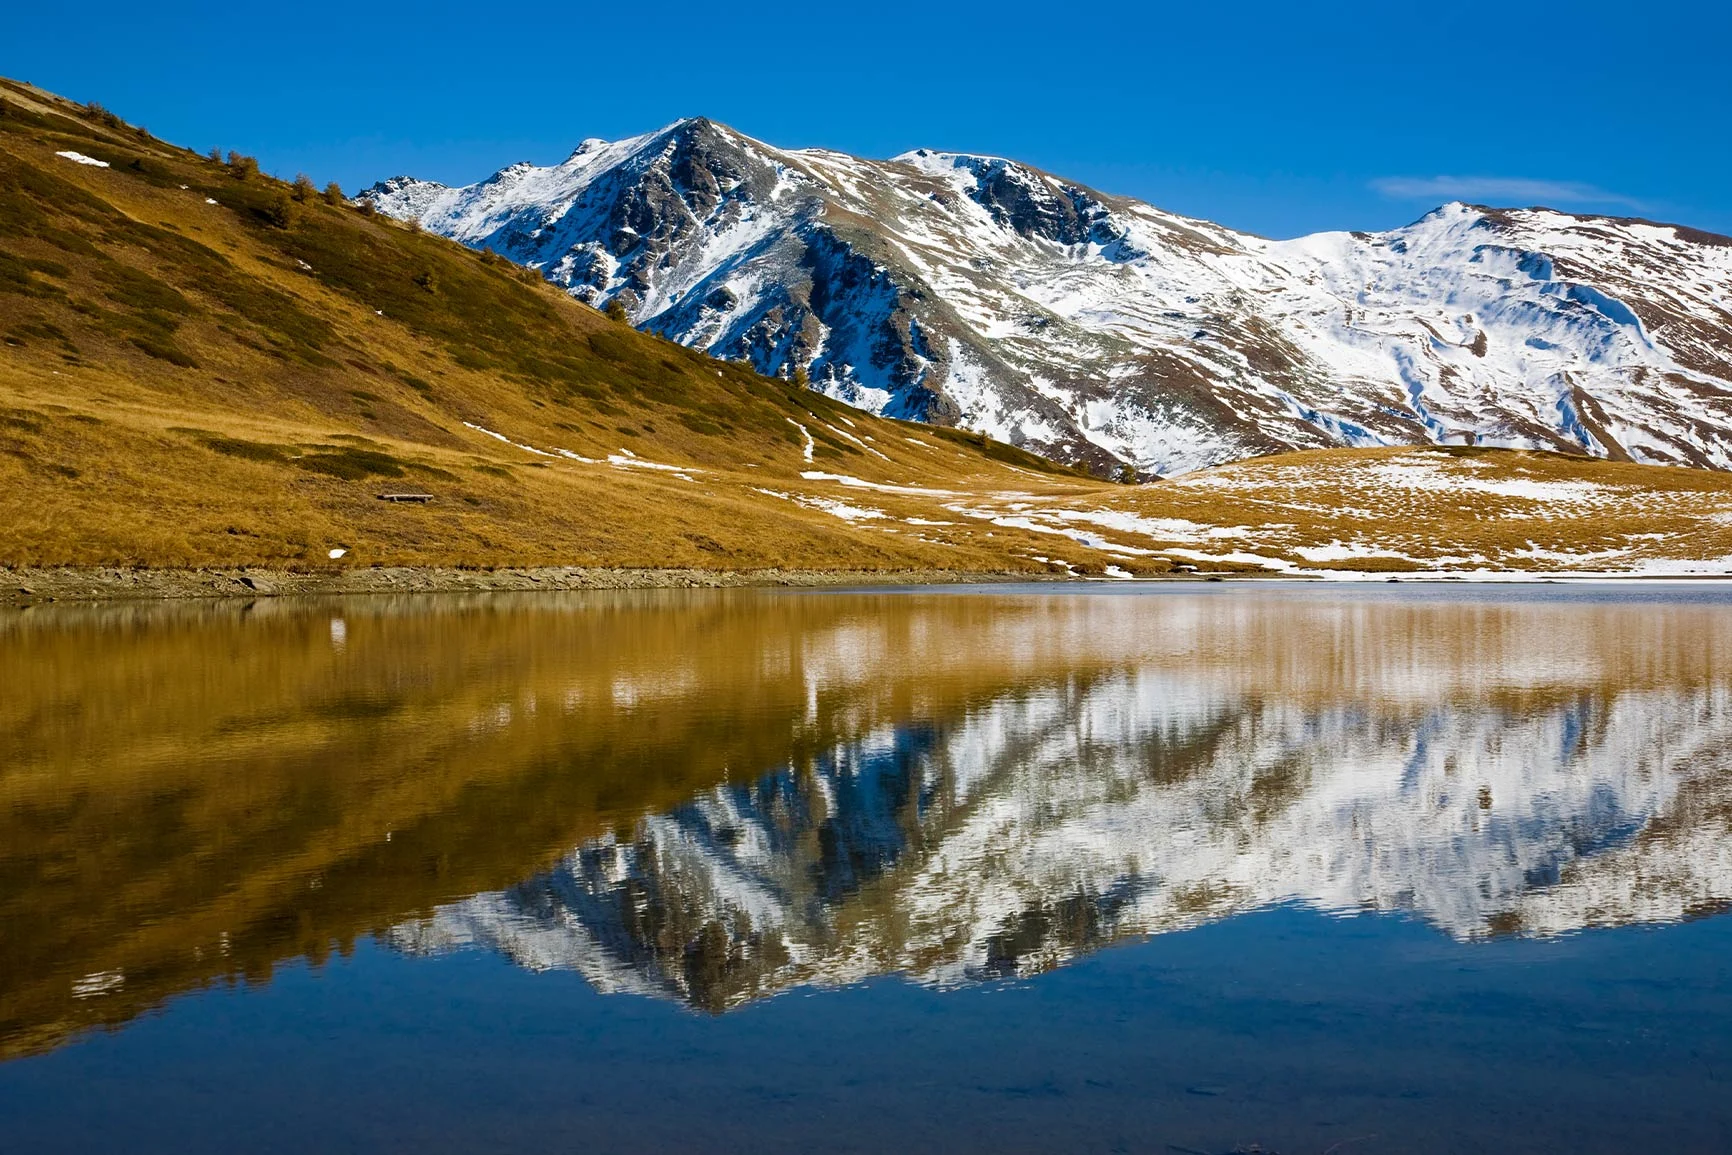
Whether mystical, deep black, and shrouded in mist, or crystal clear, pure, and a place of power: lakes are magnets for photographers and nature’s silent storytellers. They reflect the surrounding landscape, creating unique symmetries. The challenge lies in capturing this tranquility in a single image and finding the balance between sky, water, and shore.
The gear for harmonious reflections on lakes
Wide-angle lens: A 16–35 mm lens is ideal for capturing the vastness of the scenery.
ND filter: A neutral density filter helps enable long exposures even in daylight.
Remote shutter release: Prevents camera shake during long exposures.
Tripod: Ensures a stable base on the shore and helps with compositions at different heights.
Technique: Reflections and Long Exposures
Reflections are a key element in lake photography. Here are some tips:
Choose a long exposure time (5–30 seconds) to smooth out the water and enhance the reflection.
Use an aperture of f/11 to f/16 to achieve maximum sharpness and depth of field.
Position your camera so that the horizon line is in the center of the frame when the reflection is the main subject.
Calculating Exposure Time with an ND Filter
A 10-stop ND filter significantly reduces the amount of light. If your camera indicates a standard exposure time of 1/30 second, extend it as follows:
1/30 second → 1 second → 2 seconds → … → 32 seconds.
Special case: A completely different subject
On particularly windy days, you can use a technique that is also often used for photographing waterfalls and leads to exciting images: long exposure. This transforms flowing water into a velvety, silky surface that has something magical and dreamlike about it. The sheer power of large waterfalls takes on a charm of its own, whether you freeze it—making individual drops visible—or blur it while the surrounding landscape remains in sharp focus.
WhiteWall Products for Lake Scenes
Photo on aluminum Dibond: The matte surface minimizes reflections and is perfect for minimalist shots.
More information about photos on aluminum Dibond
Photo in a passe-partout frame: Gives the image an elegant touch and emphasizes the tranquility of the subject.
More information about photos in passe-partout frames
Drama and untamed power: Coastal photography
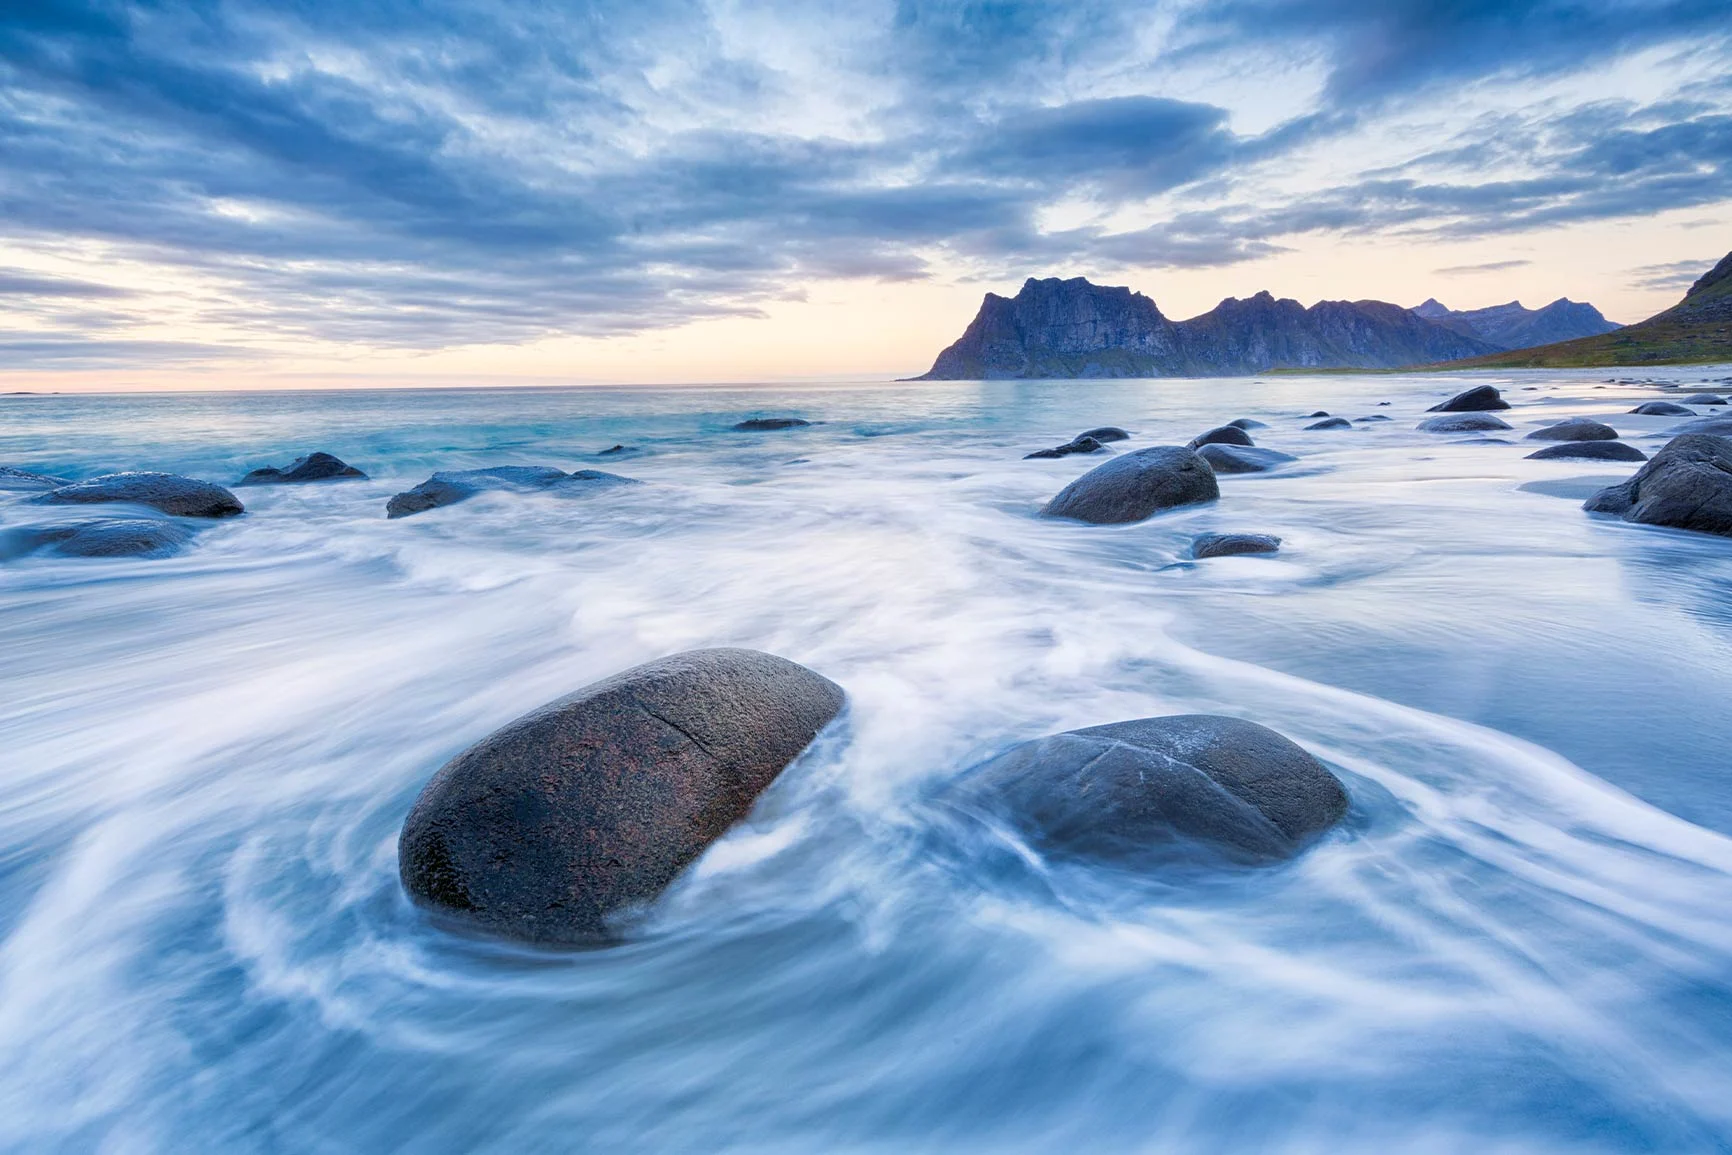
Whether steep rocky cliffs or expansive sandy beaches, coastal landscapes captivate with the contrast between land and sea. When waves crash against lighthouses, offshore rocks, or the shore, photography enthusiasts are never far away. The constant movement of the waves and the light reflections on the water’s surface create a dynamic interplay that leads to exciting photographs. To capture the most powerful evidence of nature’s vitality on your sensor, we have a few tips for you.
Gear for vibrant coastlines
Camera: A weather-sealed camera is recommended to withstand moisture and sand.
Lens: An all-purpose lens like a 24–70 mm is suitable for various perspectives.
ND filter and graduated filter: To properly expose both the sky and the water at the same time.
Tripod with sand spikes: Stabilizes the camera on uneven, sandy ground.
Technique: Capturing Movement and Light
Coastal photography thrives on the dynamism of the water and the play of light.
Use long exposures (10–20 seconds) to smooth out the movement of the water and create a dramatic effect.
Use a soft graduated filter to properly expose the sky without overexposing the foreground.
Shoot during the golden or blue hour, when the light is soft and rich in color.
WhiteWall Products for Coastal Scenes
Metallic Photo Print: Excellent for images with intense colors and metallic reflections.
More information about metallic Photo Prints on Fuji Crystal Pearl
Photo behind matte acrylic glass: Reduces reflections and enhances depth in dynamic scenes.
More information about Photo Prints behind matte acrylic glass
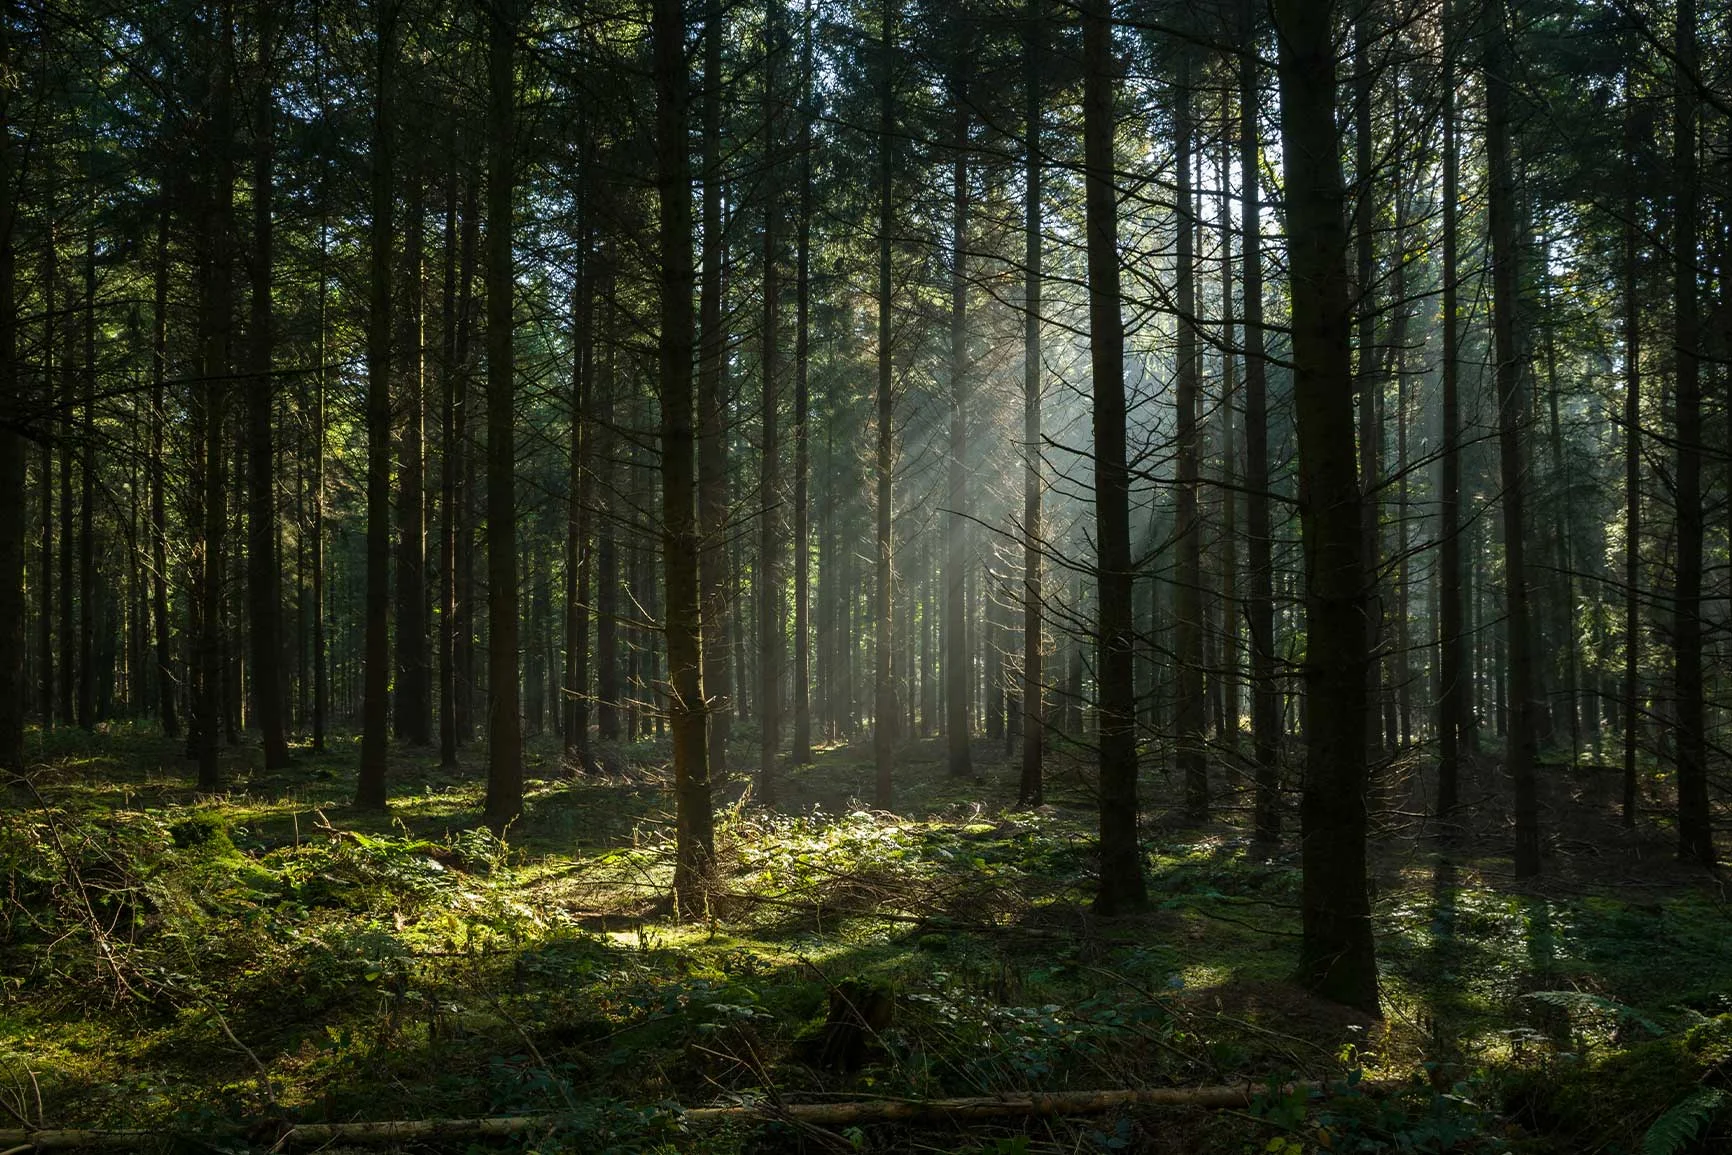
The Play of Light and Shadow: Photographing Forests
From the very beginning, forests have played an important role and have become deeply ingrained in our consciousness. They offer protection and raw materials, but they are also dark, mysterious, and a place full of dangers. Yet, somewhere between a modern economic zone and a fairy-tale stage, forests invite us to discover a magical and exciting world . The interplay of light and shadow among the trees and the variety of shapes and textures make them fascinating subjects for photography.
Equipment for dynamic forest shots
Camera: Models with a good dynamic range to capture the high contrasts.
Lens: Wide-angle lenses (e.g., 16–35 mm) for expansive scenes and macro lenses for details.
Tripod: Essential for long-exposure shots in low light.
Technique: The perfect forest light
Shoot in diffused light or early in the morning when the sun’s rays gently filter through the trees.
Use an aperture of f/8 to f/11 to achieve a balanced depth of field.
Focus on a prominent point in the foreground to create depth.
Depending on the season and type of forest, certain colors dominate. Yellow in spring, green in summer, brown in fall, and white in winter—often in stark contrast to black. White balance and precise color post-processing ensure realistic and crisp images.
Calculation: Exposure Time in Fog
In fog, the brightness is often 1–2 f-stops below normal levels. Increase the exposure time accordingly, e.g., from 1/60 second to 1/15 second.
WhiteWall products for mysterious forests
Fine Art Print on Hahnemühle William Turner paper: The matte texture emphasizes the mystique of the scene.
More information about Fine Art Prints
Photo behind matte acrylic glass: Reduces reflections and enhances the sense of depth.
More information about Photo Prints behind matte acrylic glass
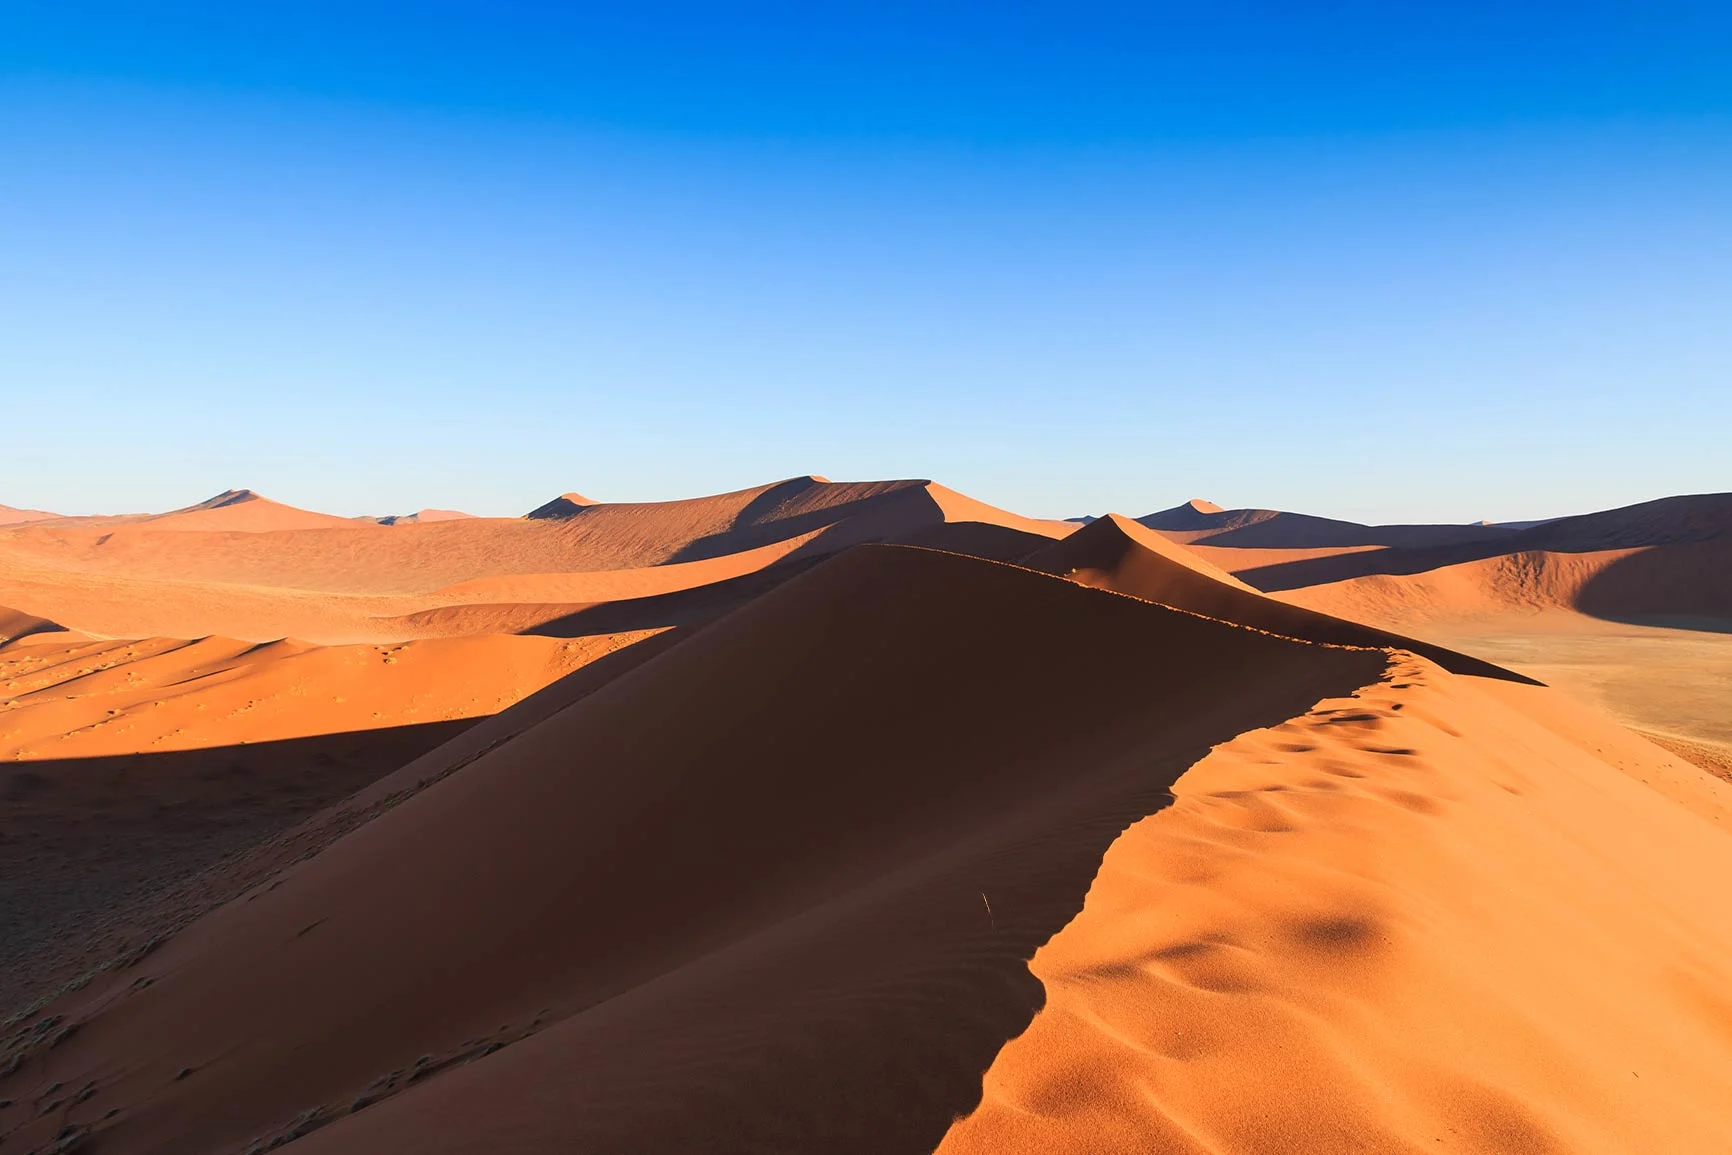
Spectacular vastness and complex textures: Deserts and steppes
Anyone who has ever been in the desert and heard the sound of their blood circulating in their ears will never forget the sight, the intense blue of the sky, and the rich ochre of the sand. Steppes, too, offer a multi-layered color spectrum and fascinating motifs. The barren ground and the structures shaped by the wind tell stories of transience and permanence.
The gear for shots straight out of One Thousand and One Nights
Camera: A camera with a dust-resistant body is essential.
Lens: Telephoto lenses (70–200 mm) for details and wide-angle lenses (16–35 mm) for the vast landscape.
Protective filter: Prevents dust and sand from damaging the lens.
Technique: Emphasizing colors and shapes
Shoot during the golden hour to highlight the warm tones of the sand.
Use diagonal lines, such as sand dunes, to create a sense of movement.
Select an aperture of f/5.6 to f/8 to keep both the foreground and background in focus.
Calculation: Enhancing contrast with the histogram
To optimize contrast in the desert, make sure the histogram does not show any clipped highlights. Underexpose slightly to preserve details in the bright areas.
Example: WhiteWall products for vast deserts and steppes
Metallic Photo Print: Perfect for emphasizing the vibrant colors and contrasts.
More information about metallic Photo Prints on Fuji Crystal Pearl
Photo in a Floater Frame: Adds depth to the image and showcases it in a modern setting.
More information about photos in floater frames
A special technique for successful landscape photography: the hyperfocal distance
From a purely technical perspective, the goal of most classic landscape photos is to achieve consistent depth of field. The well-known rule of thumb is to set a high f-stop, such as f/8. However, sharpness also depends on the point of focus. The hyperfocal distance offers a solution to this.
What is the hyperfocal distance?
This is the distance at which you can focus your camera so that all objects from half that distance to infinity appear in focus. By focusing on this imaginary point, the lens’s depth of field is utilized optimally.
Calculating the hyperfocal distance
An example: The focal length is 24 mm, the aperture is set to f/11, and the circle of confusion for full-frame is 0.02.
The formula is: focal length² / (f-stop x circle of confusion)
So 24² / (11 x 0.02) equals 576 / 0.22 = 2.62 meters.
This means: If you focus at 2.62 m, everything from about 1.31 m (half the hyperfocal distance) to infinity will be in focus.
You can stick a small list of calculated values to your tripod. However, there are also a variety of photography apps that can do this calculation for you.
Conclusion: The World’s Timeless Beauties
Every landscape tells a unique story, and as a photographer, you have the opportunity to capture it in striking images. Landscape photography is an art that requires patience, technique, and creativity. Whether you’re photographing mountains, lakes, coastlines, forests, or deserts—the right technique, equipment, and a keen eye make all the difference. For a moment, become part of what you’re photographing. Experience your subject and capture its dynamism, stillness, or epic grandeur with mindfulness and grace. This way, you and every viewer will be able to relive the atmosphere time and again. Seize the opportunity and transform your best landscape shots into lasting works of art that will become the focal point of any room.
Learn more about the author
Jan-Ole Schmidt (better known simply as Ole) is from northern Germany and has been with WhiteWall for many years. As a team leader in product management, he brings extensive experience in the photography industry. He taught himself photography and has built up in-depth expertise in image production, papers, laminations, and framing.
His strength lies in the combination of technical expertise and customer perspective - from file upload to framing in the WhiteWall configurator. Ole has held workshops, been a guest on podcasts and is in close contact with the photography community. He lives, works and photographs in Cologne.

WhiteWall Product Recommendations


We’re Happy To Help
Stores Need assistance?Our team will help you select the perfect products!Discover Now
Customer Service Feel free to call us at +1 646 513 44 22 or send us an email at info@whitewall.com.Digital appointment
Gift Certificates The Right Photo GiftDiscover Now
