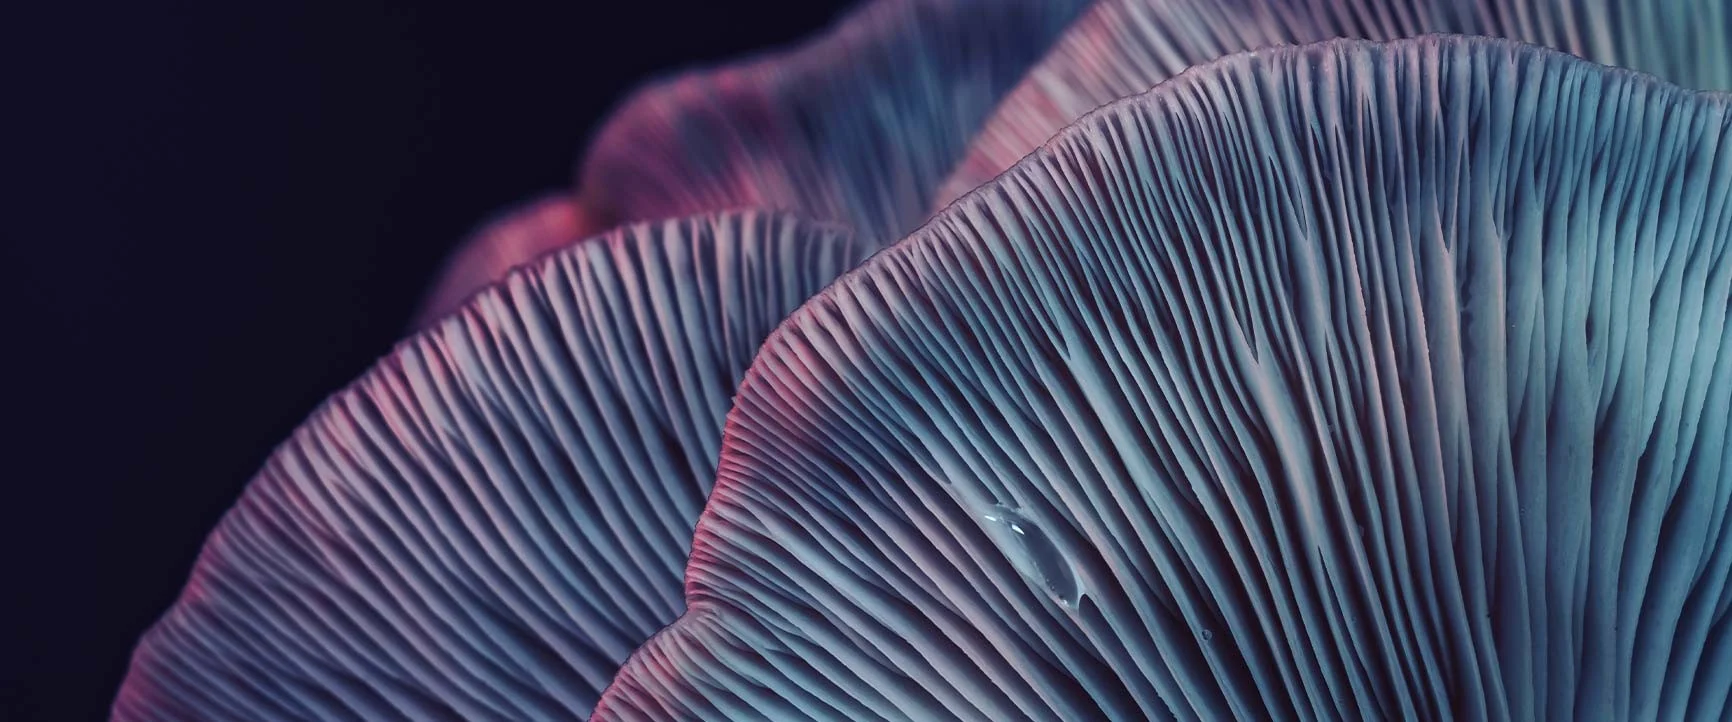
Fascinating macro photography
By WhiteWall expert Jan-Ole Schmidt
The world of macro photography opens up fascinating perspectives on details and structures that are barely visible to the naked eye. Whether it’s the inner workings of a flower, the head of a wasp, or the impressive shapes that form when a drop of water hits a surface—the possibilities are endless. One of the special appeals of macro photography is that both beginners and experienced photographers can achieve impressive results. With just a camera and a macro lens, you can get started right away and capture breathtaking images. The variety of subjects—from plants and insects to jewelry, coins, and toy figures—ensures there’s never a dull moment.
When is an image considered macro?
A photo is considered a macro if the magnification ratio is at least 1:1. This means that the subject is the same size in reality as it is on the camera’s sensor. At a magnification ratio of 1:1, an object that is, for example, 5 mm long will also appear 5 mm in size on the sensor. So you can never photograph a dog as a macro, and the sensors of standard cameras are also too small for a hamster. Instead, macro photography focuses on small subjects like insects, flowers, or jewelry, which can be reproduced true to scale in the photo due to their small size.
The relationship between the reproduction ratio and the minimum focusing distance
Can you photograph at a 1:1 scale with any lens? No, you need special macro lenses or accessories for that, which we’ll discuss later. To photograph a small object at its actual size, you have to get very close with the camera and lens. This is exactly where conventional lenses fall short, because every lens has a so-called minimum focusing distance. This minimum focusing distance depends on the specific lens system and therefore only applies to the lens currently in use.
What is the minimum focusing distance? It indicates how close you can get to an object so that the camera-lens combination can still focus on the subject. An example: If a lens’s minimum focusing distance is 30 centimeters, you can still focus on the subject if you get as close as 30 centimeters. If the distance to the subject is less—for example, 25 centimeters—the lens can no longer focus. Important: The minimum focusing distance is not calculated from the front element of the lens, but from the camera’s sensor plane. On every camera, the sensor plane is marked on the top of the body by a small circle with a horizontal line. The 30 centimeters in our example are measured from this mark.
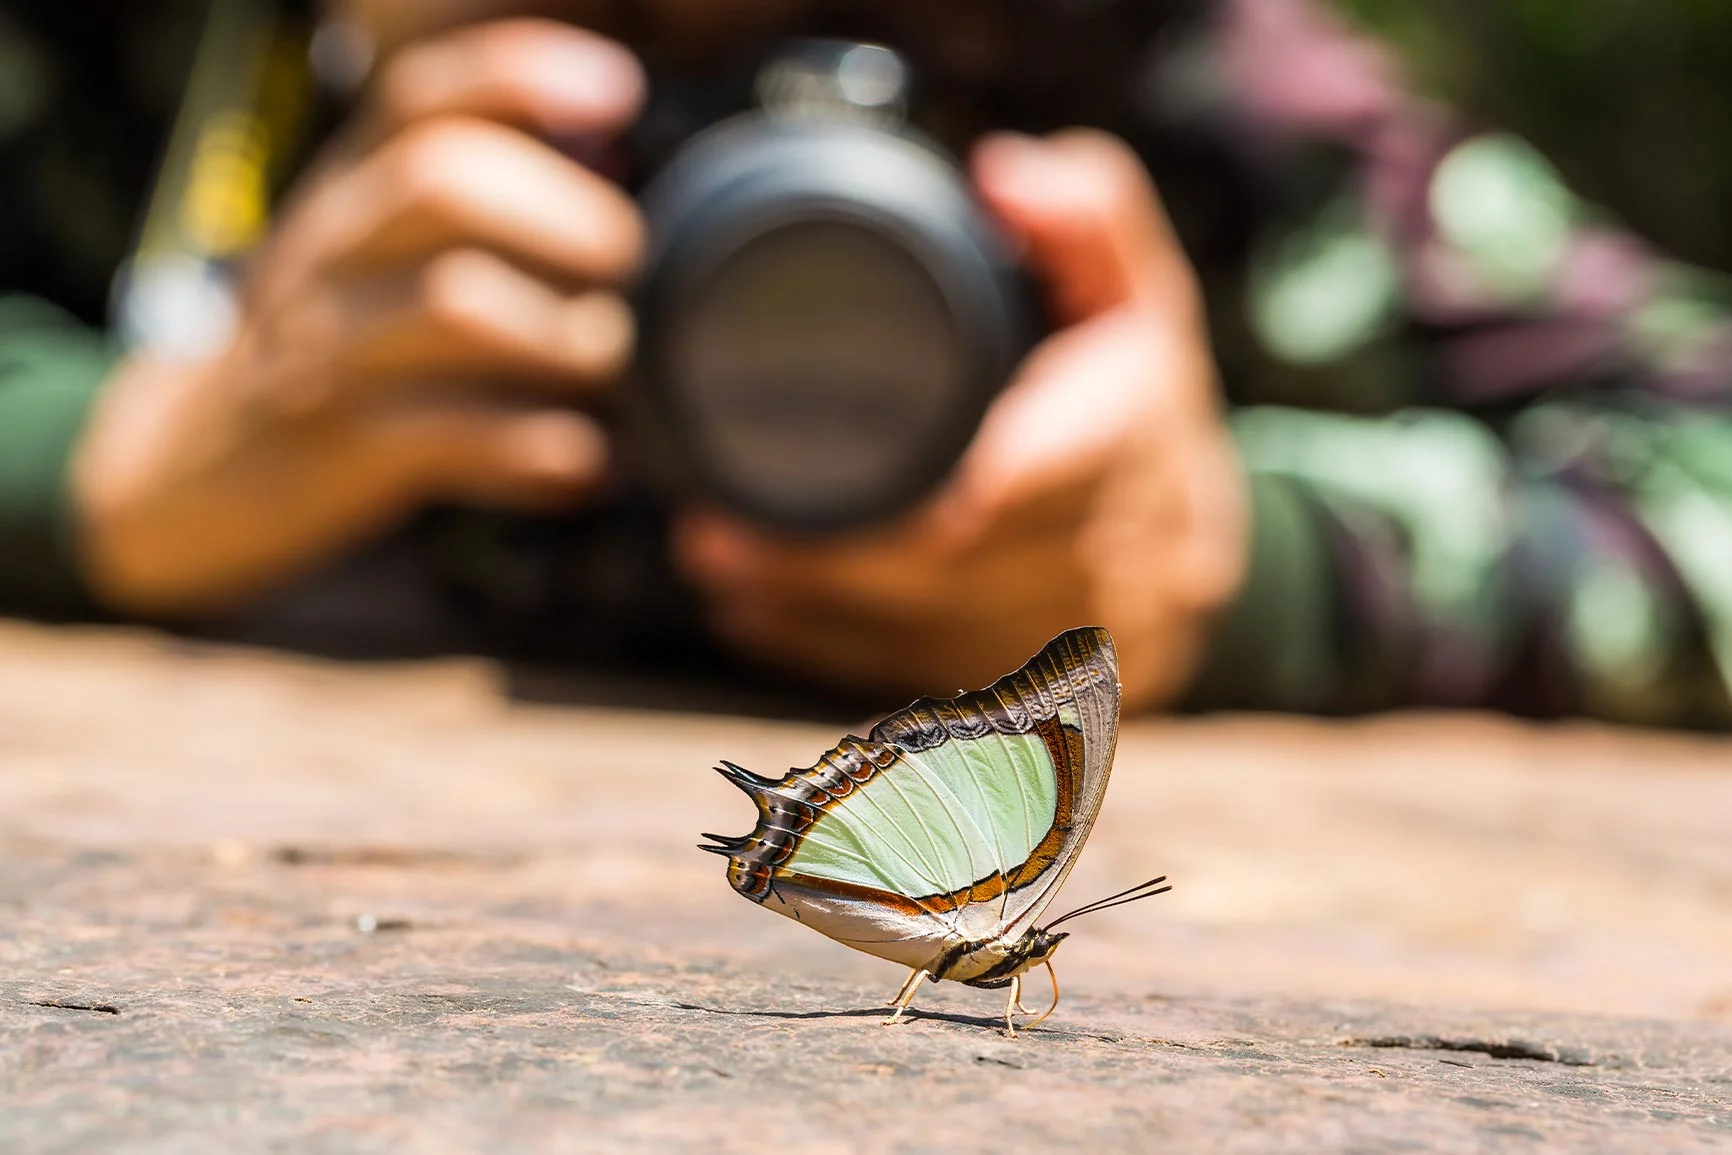
With conventional lenses, the minimum focusing distance is so great that you cannot get close enough to the subject to take macro shots at a 1:1 magnification ratio. This is where special macro lenses come into play. Their lens systems are designed so that you can get significantly closer to the subject. By the way, even among specialized macro lenses, there are different minimum focusing distances. With a telephoto macro lens with a focal length of, say, 100 mm, you can take 1:1 macro shots from a slightly greater distance than with macro lenses with shorter focal lengths, such as 35 mm or 50 mm. In all three cases, you can shoot at a 1:1 magnification ratio. However, the telephoto macro lens is better suited, for example, for macro shots of shy insects, as the greater minimum focusing distance means they aren’t as easily startled.
How to get macro subjects in sharp focus
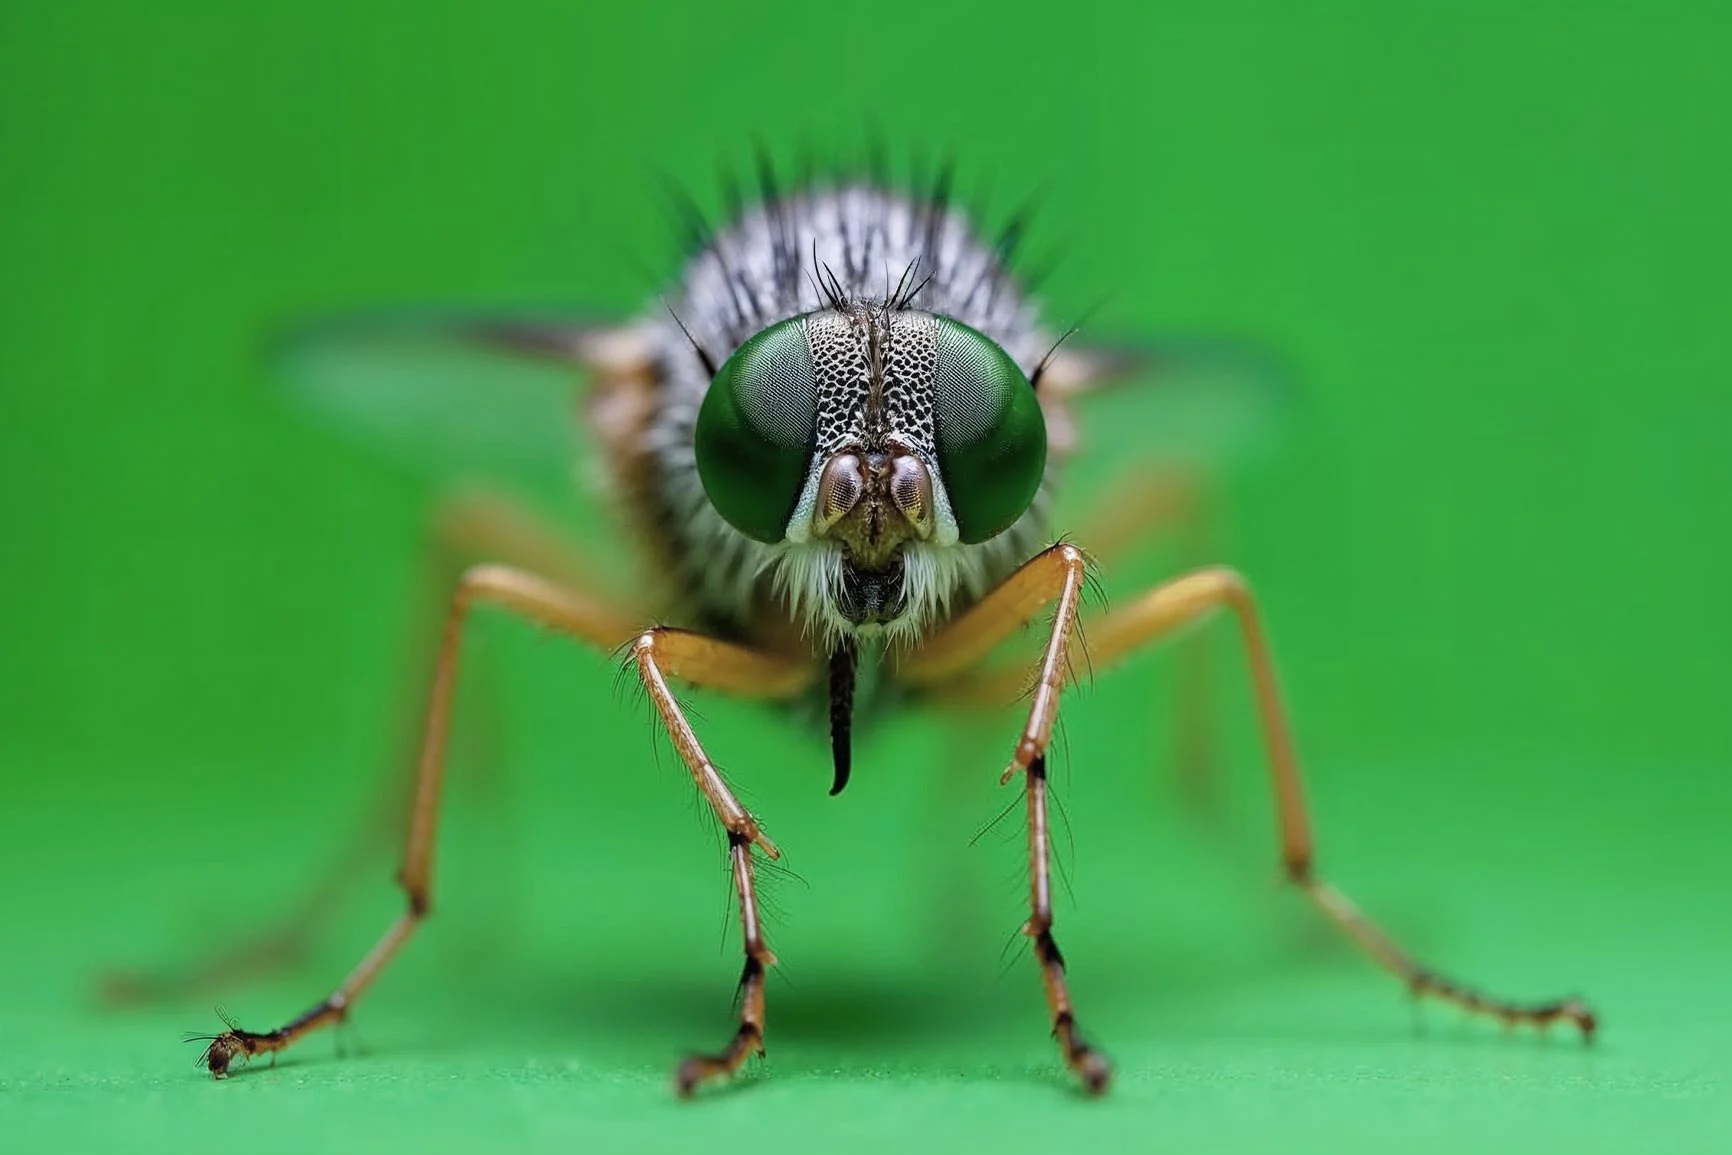
The biggest challenge in macro photography is depth of field. The closer you get to an object, the smaller the sharp area in the image becomes. As a result, it can happen that only the front eye of an insect is in focus, while the second eye, just a few millimeters away, appears out of focus. In this context, the choice of aperture also plays a crucial role: A wide aperture, such as f/1.2, reduces the depth of field, while a narrow aperture, such as f/16, increases it. If you want to capture more than one of the insect’s eyes in focus in the example above, you must close the aperture to increase the depth of field. However, this results in less light reaching the sensor, so the shutter speed must be increased or the ISO sensitivity raised.
The focus mode also plays an important role when focusing. Autofocus is a good option when shooting handheld and you want to react quickly to subjects. With continuous focus tracking in AF-C mode, the autofocus adapts to every movement of the subject or the camera. With manual focusing, on the other hand, you can set the focus precisely on the desired point . In-camera focusing aids such as “Focus Peaking” can be very helpful here. This feature highlights edges that are in focus—and thus sharp—with color. Some cameras also offer the option to magnify a section of the image on the monitor or in the electronic viewfinder. Manual focusing is much easier with a tripod, as you can slowly adjust the focus back and forth until the desired point of focus is found.
A stable base is important for improving sharpness. A tripod helps with this. For precise adjustments to the focus, a macro focus rail can also be attached to the tripod head. This allows the focus to be adjusted with millimeter precision. When the camera’s sensor is aligned parallel to the subject, you’ll achieve full sharpness even at wide apertures. Additionally, camera shake can be minimized by using the self-timer or a remote shutter release.
For sharp, detailed photos, we recommend, for example, our highly detailed Photo Print behind acrylic glass.
More information about photos behind acrylic glass
The ideal shutter speed
To determine the ideal shutter speed for macro photography, it is important to consider the unique challenges of macro photography. Normally, the shutter speed for handheld shots is determined using the reciprocal rule: The reciprocal of the focal length indicates the shutter speed at which sharp images are still produced. For a 90 mm lens, that would be 1/90 second, rounded up to 1/100 second. However, movements have a much greater impact in macro photography. While a movement of one millimeter is barely visible in a landscape shot, the same movement is clearly noticeable as motion blur in a macro shot. Therefore, it is advisable to use an even shorter shutter speed, such as 1/250 second, to avoid even the slightest movements in the image.
Modern cameras are now equipped with very effective image stabilization systems. While this makes it somewhat easier to avoid camera shake, even image stabilizers cannot work miracles at very close range. Therefore, it is advisable to keep the above-mentioned rule of thumb in mind when shooting handheld. With stationary subjects and shots taken from a tripod, you have more flexibility with the shutter speed. Here, you can also use longer exposure times.
Light as a Challenge
Lighting plays a crucial role in macro photography. Only through the proper use of light can structures and details be brought out effectively. For macro photography in daylight, you can work with sunlight. Especially when the sun is low in the sky, plants and insects can be beautifully illuminated. If, on the other hand, the sun is high in the sky , the light is very harsh. In this case, it can be helpful to carry an additional folding reflector to direct the light in the desired direction. The reflector can also be useful when using artificial light, for example, to redirect the otherwise harsh light of a flashlight in the evening so that it falls more softly on the macro subject.
Since you get very close to the subject in macro photography, you may cast an unwanted shadow with the camera, the lens, or an attached flash, thereby blocking your own light. Especially when combined with a closed aperture for a large depth of field, this can require a slow shutter speed or a high ISO setting. To correct the lighting, some macro lenses are equipped with a small LED ring light on the front, for example. There are also special macro flashes designed specifically for close-up lighting. Alternatively, small LED lights can be used.
Make your macro photos shine: with the metallic photo behind ultraHD acrylic glass.
More information about metallic Photo Prints behind acrylic glass
Specialized macro lenses
Macro lenses are specifically designed for high magnification while maintaining excellent image quality. They are characterized by high resolution and exceptional sharpness right down to the edges of the frame. Additionally, they feature optimizations for low distortion and minimal chromatic aberration, enabling true-to-life colors and clear details at close range. Some macro lenses are also equipped with image stabilizers, which are helpful for handheld close-ups to prevent camera shake. If you want to photograph insects, it’s best to use a telephoto macro lens with a focal length of 100 mm or longer. This allows you to take 1:1 close-ups from a slightly greater distance. This way, shy insects won’t be scared away. For product shots and other stationary subjects, shorter macro focal lengths are also a good choice.
In addition to macro lenses designed for a 1:1 magnification ratio, there are also super-macro lenses that allow for even higher magnification ratios, such as 5:1. In these cases, however, it is essential to use a tripod, as the depth of field becomes so narrow that handheld macro photography is no longer possible. A quick tip on choosing a lens: Not every lens labeled “macro” is a true macro lens. For example, there are zoom lenses that include the word “macro” in their product name but do not allow for 1:1 close-ups. In these cases, the term “macro” simply means that the minimum focusing distance has been reduced. While this allows you to get closer to the subject, it does not achieve the magnification ratio desired for macro photography.
Accessories for Macro Photography with Conventional Lenses
Conventional lenses generally have a minimum focusing distance that is too long for 1:1 magnification. If you only want to take macro photos occasionally and don’t want to buy a special macro lens, there are various accessories available to make conventional lenses suitable for macro photography.
A widely used accessory is extension rings, which are mounted between the camera and the lens. These rings increase the distance between the lens and the sensor, which reduces the minimum focusing distance and thus allows for larger magnification ratios. Extension tubes have the advantage of not containing glass lenses, so they do not compromise the lens’s image quality. However, they reduce the amount of light reaching the sensor, which requires longer exposure times or higher ISO settings.
Another useful accessory is close-up lenses, which are screwed onto the front of the lens like filters. These lenses shorten the focal length, allowing you to get closer to the subject. Close-up lenses are lightweight, easy to use, and do not reduce the amount of light as much as extension tubes. The downside, however, is that image quality can be compromised by the additional glass elements, especially with lower-priced close-up lenses.
Bellows also offer the option of increasing the distance between the lens and the camera. They function similarly to extension rings but are infinitely adjustable, allowing for more precise control of the reproduction ratio. The advantage of bellows lies in their flexibility; however, they are often bulkier and more complicated to handle. Additionally, the bellows construction can compromise stability and lead to camera shake.
Another option is retro adapters, which allow the lens to be mounted in reverse on the camera. This significantly increases the magnification ratio, especially with wide-angle lenses. The advantage of the retro adapter is the high magnification without additional glass. The disadvantage is that handling can be difficult, as many modern lenses lack aperture control without an electrical connection to the camera. However, there are also professional—and thus high-priced—retro adapters that enable an electrical connection between the reverse-mounted lens and the camera.
Conclusion
Macro photography offers fascinating opportunities to capture the hidden beauty of small details. At the same time, however, close-up photography also presents special challenges, especially regarding depth of field. With a proper understanding of basic techniques, such as stopping down to increase depth of field and selecting the right focus mode, impressive results can be achieved. Accessories like tripods, remote triggers, and specialized macro lenses are often essential to ensure the necessary stability and precision. However, macro photography is also possible with standard lenses when the appropriate accessories are used. Ultimately, macro photography requires patience, precision, and practice, but it rewards the photographer with unique and detailed images that offer the viewer a new perspective on the world.
Learn more about the author
Jan-Ole Schmidt (better known simply as Ole) is from northern Germany and has been with WhiteWall for many years. As a team leader in product management, he brings extensive experience in the photography industry. He taught himself photography and has built up in-depth expertise in image production, papers, laminations, and framing.
His strength lies in the combination of technical expertise and customer perspective - from file upload to framing in the WhiteWall configurator. Ole has held workshops, been a guest on podcasts and is in close contact with the photography community. He lives, works and photographs in Cologne.

WhiteWall Product Recommendations


We’re Happy To Help
Stores Need assistance?Our team will help you select the perfect products!Discover Now
Customer Service Feel free to call us at +1 646 513 44 22 or send us an email at info@whitewall.com.Digital appointment
Gift Certificates The Right Photo GiftDiscover Now
