Astrophotography
By WhiteWall expert Jan-Ole Schmidt
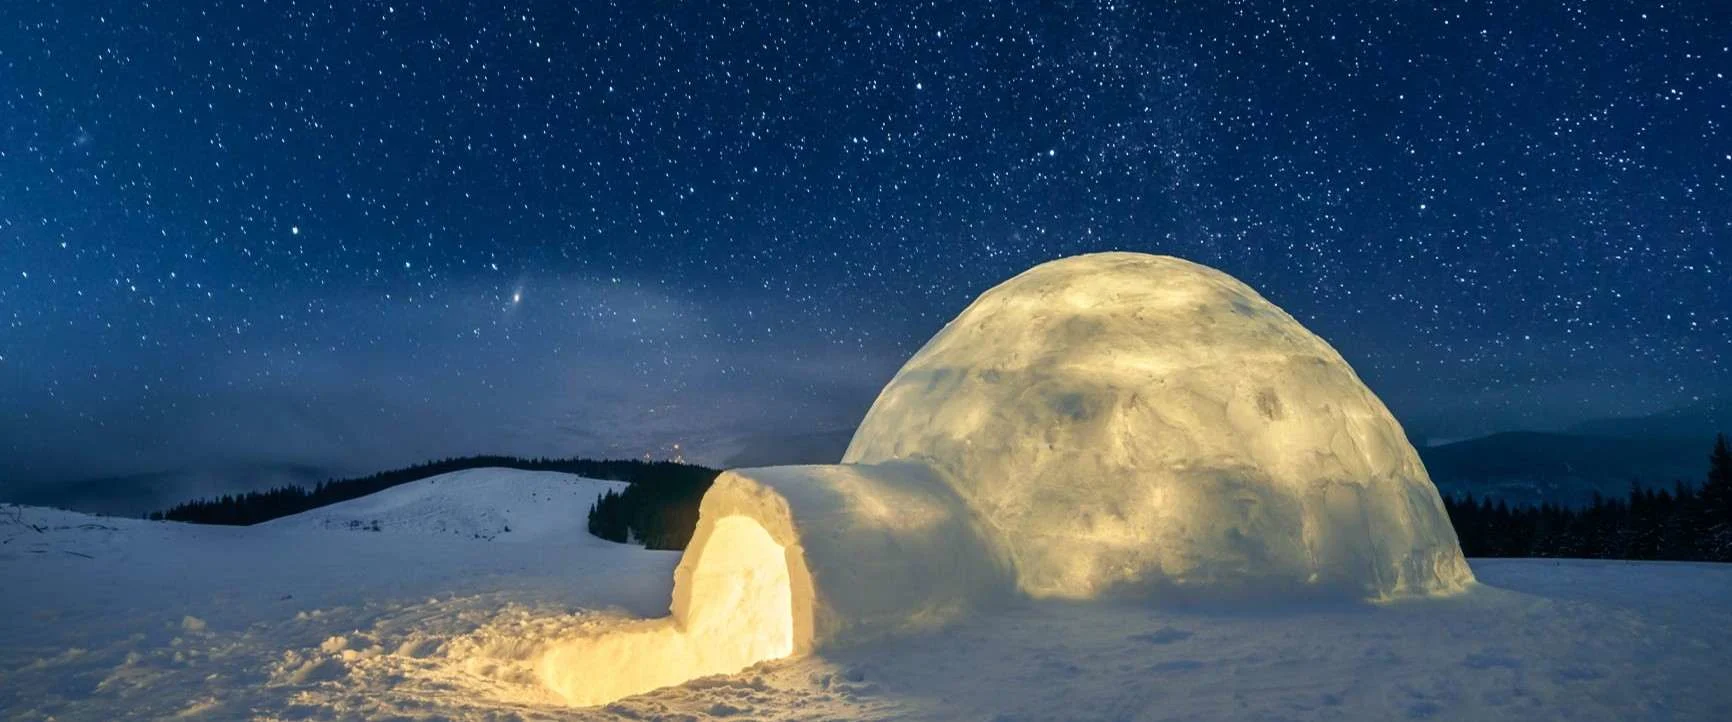
Astrophotography captivates not only with the beauty of the night sky, but also with its technical challenges. In this article, you’ll learn how to capture breathtaking images of stars, the moon, and distant galaxies with the right equipment and technique.
Capturing the infinite beauty of the night sky – with the right equipment and technique
Astrophotography is one of the most fascinating and demanding disciplines in photography. It allows you to capture the mysteries of the night sky in a single photo. It offers an impressive range of subjects, from shots of the moon and stars to distant galaxies and nebulae. But what do you need to capture these spectacular images? In this comprehensive guide, we’ll show you how to photograph the night sky in all its splendor. From the first steps in moon photography to impressive star trails and spectacular deep-space photography: Learn everything about the necessary equipment, get helpful tips and tricks, and discover different approaches to capturing celestial subjects.
The Right Equipment: The Foundation for Perfect Astrophotography
Astrophotography places special demands on photographic equipment. Unlike conventional landscape photography, you have to adapt to low light, long exposure times, and precise alignment. But don’t worry—with the right preparation and equipment, even beginners can achieve impressive results.
1. The Camera: More Than Just Megapixels
One of the most important decisions you’ll make is choosing a camera. As a general rule: the larger the sensor, the better the results.
For beginners: APS-C cameras with manual settings are often sufficient for getting started in astrophotography.
Full-frame camera: However, a model with a full-frame sensor is even better suited, as larger sensors can capture more light, which is particularly important in night photography.
2. Lenses: The faster the aperture, the better
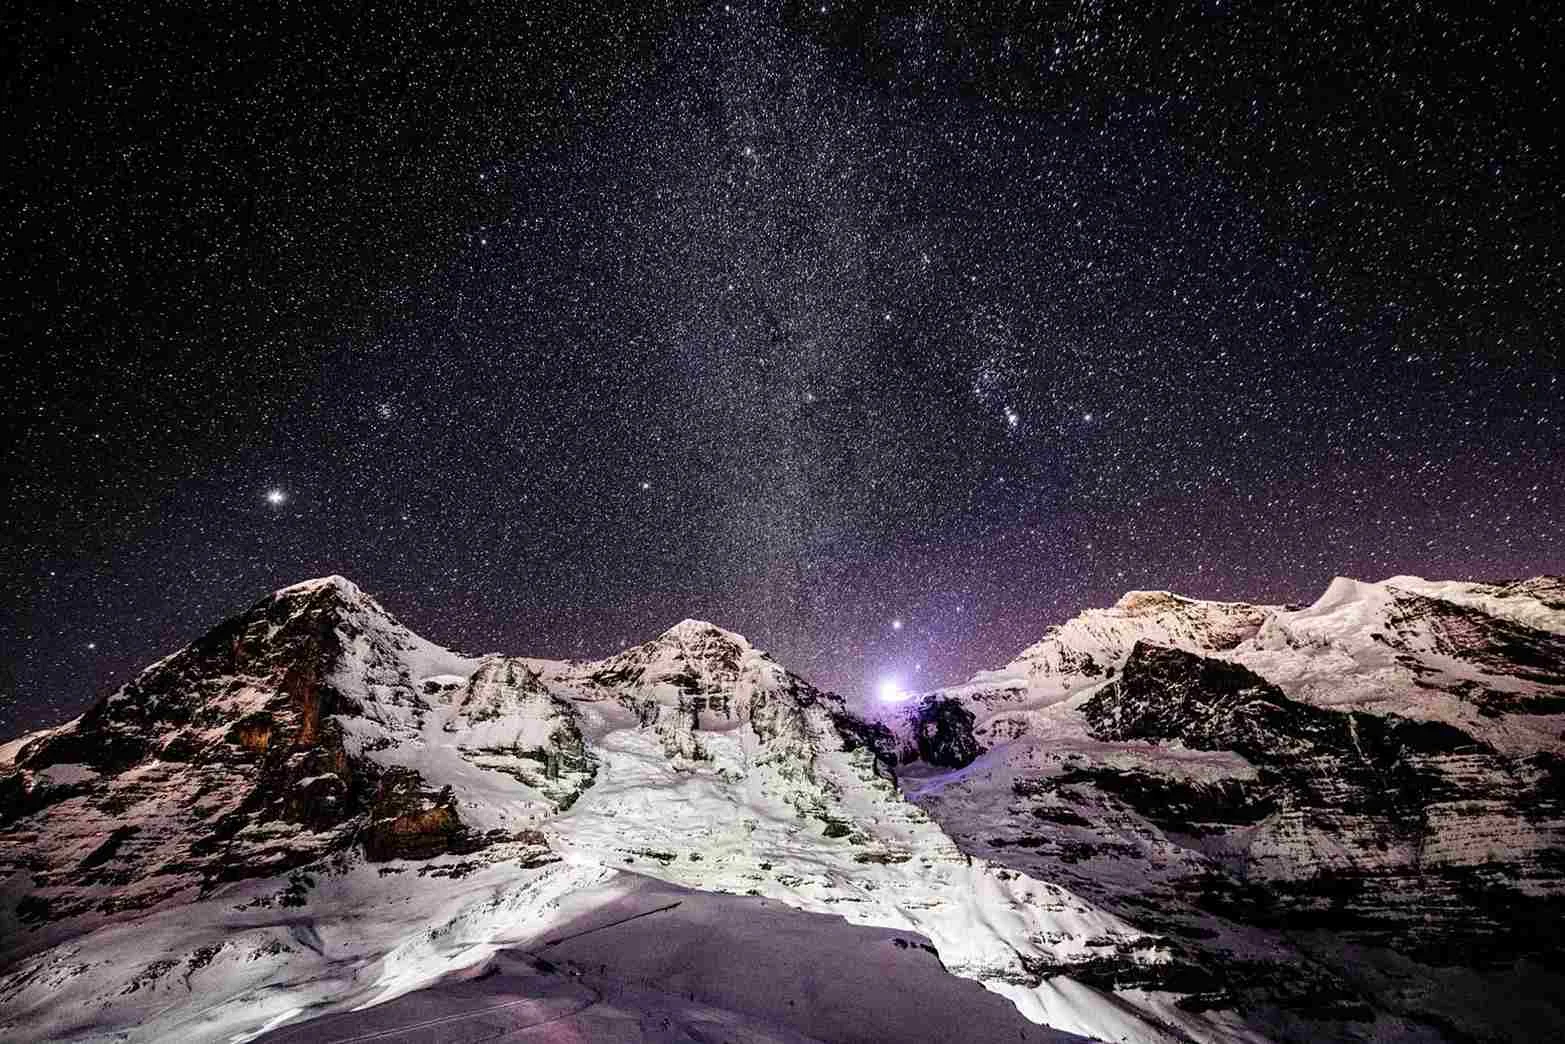
In astrophotography, the lens is just as crucial as the camera itself. For most beginner applications, a wide-angle lens with a large aperture (e.g., f/2.0 or f/2.8) is suitable. A wide-angle lens allows you to capture large portions of the sky, while a large aperture ensures that as much light as possible hits the sensor.
Wide-angle lens: A wide-angle lens with a focal length of 14–24 mm and a large aperture (e.g., f/2.0 or f/2.8) is ideal for wide-angle shots of the starry sky and the Milky Way. Such lenses capture a lot of light and offer a wide field of view, which makes it easier to photograph large areas of the sky. A popular and affordable entry-level lens that is available for many mounts and has proven to be an insider’s tip in astrophotography is, for example, the Samyang 14mm f/2.8.
Telephoto lens: For moon and planetary photography, a telephoto lens with a focal length of 200 mm or more is recommended. Such a lens brings distant objects closer and reveals details that are not visible to the naked eye.
3. Additional Equipment
In astrophotography, long exposure times are necessary to capture enough light. Therefore, a sturdy tripod is essential to prevent camera shake. You may also need a remote shutter release.
Camera tripod: Even the slightest movement can blur the image and render it unusable. Make sure the tripod is sturdy and heavy enough to hold your camera securely, even in a light breeze.
Remote shutter release or timer: A remote shutter release or your camera’s built-in timer prevents camera shake when taking the shot. This is especially crucial during long exposure times.
4. Specialized Equipment for Advanced Astrophotography
If you want to delve deeper into astrophotography, you should consider purchasing specialized equipment. For example, during longer exposure times, the stars appear as small streaks due to the Earth’s rotation. To avoid this, you need a tracking device that synchronizes your camera with the movement of the stars. There are various types of tracking devices that can be used depending on the application.
Star Tracker: A star tracker is a motorized device that compensates for the Earth’s rotation, allowing you to use longer exposure times without stars appearing as streaks. This is particularly important for deep-sky photography, where you want to photograph faint objects in space.
Astrocamera: Special astrocameras are designed to be highly light-sensitive and to make even faint celestial objects visible. These cameras often lack a color filter to capture as much light as possible. Many models can also be attached to telescopes.
Astroklar filters: Astroklar filters, also known as light pollution filters, are essential in astrophotography to minimize the effects of artificial lighting. In many areas, especially in urban settings, light pollution overwhelms the night sky, making it difficult to clearly capture faint celestial objects such as stars, nebulae, or galaxies. Astroklar filters are specifically designed to block certain wavelengths of artificial light, such as that from streetlights and building lighting.
Telescope: A telescope is essential for advanced deep-space photography. Telescopes gather light and magnify the image, allowing you to capture distant galaxies, nebulae, and planets in impressive detail. A refractor telescope with a focal length of at least 400 mm is a good starting point.
Lens Heaters: Lens heaters ensure that the lens is kept slightly above ambient temperature, preventing the formation of dew. They consist of heating bands or sleeves that are wrapped around the lens or the telescope tube. These heaters are typically temperature-controlled to generate only as much heat as necessary to prevent fogging without compromising the optical system.
Subjects in Astrophotography: From Star Trails to Deep-Space Photography
Enough about the technology—let’s now move on to four different approaches and subjects in astrophotography. We’ll cover the equipment and technical requirements, as well as the printing of images of this kind.
1. Moon Photography: The Perfect Introduction
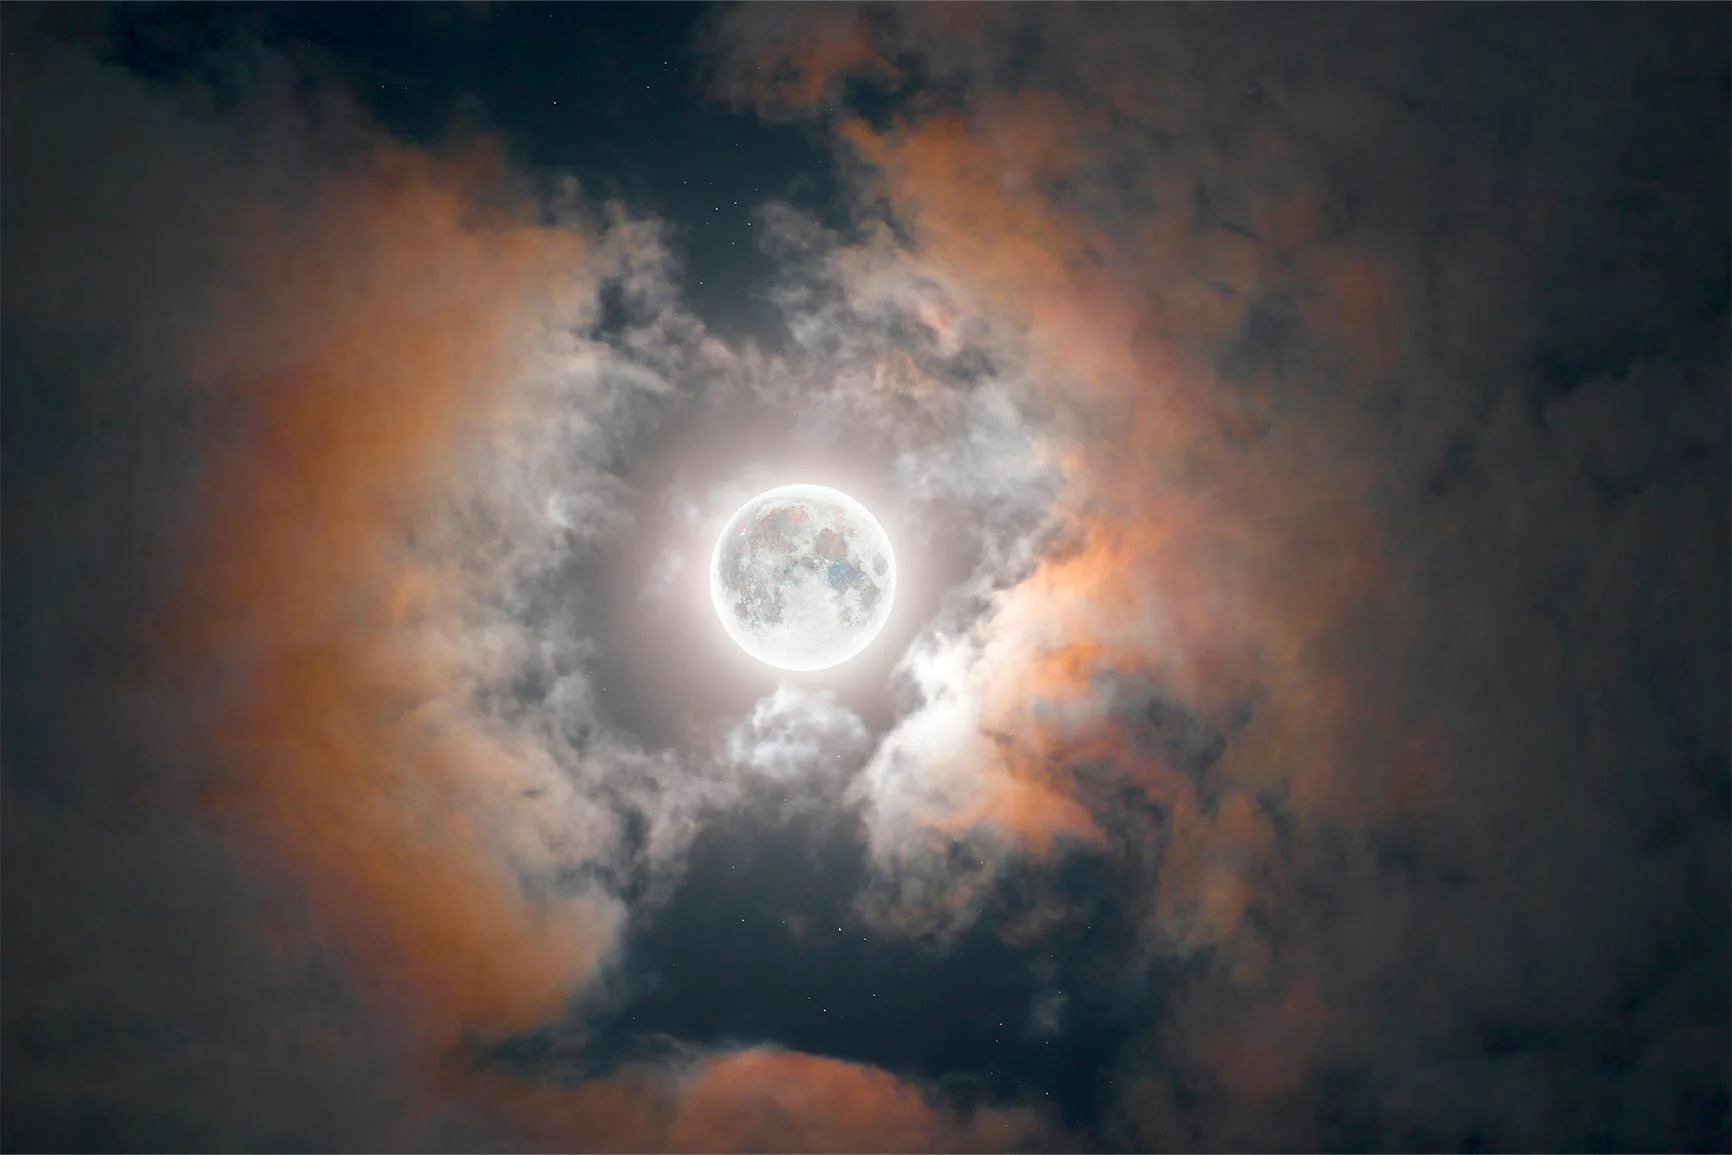
The Moon is the brightest object in the night sky and therefore an excellent subject for beginners. You can work with short exposure times and do not need a tracking mount.
Equipment and Techniques for Moon Photography
For moon photography, a camera with a telephoto lens (200–400 mm) is sufficient. A sturdy tripod and a remote shutter release are also helpful.
Technique:
Use manual exposure settings. To capture the craters and details on the Moon’s surface in sharp focus, you should select a relatively short exposure time. Start with an exposure time of 1/125 second and an aperture of f/8. The ISO value should be set to around 100 to 200.
Set the focus manually to infinity. Use your camera’s Live View feature to fine-tune the focus.
Experiment with different phases of the moon. The waxing or waning crescent often reveals more detail than the full moon, as the side lighting creates stronger shadows.
If the exposure is too long, the details of the moon may be overexposed.
Practical tip: Don’t photograph the moon during a full moon, as the light is too harsh and the shadows are too flat. Half-moon or crescent phases offer more contrast and thus more detailed images.
Printing Moon Photos
If you want to print your moon photos—or night photos—you need to pay attention to the black levels. If the ink is applied too heavily, these areas will appear significantly darker. We also recommend printing on surfaces that don’t swallow up details, such as acrylic glass, as this surface emphasizes the color brilliance and depth of your subject.
More information about photos behind acrylic glass
We would, however, advise against printing on photo canvas made of fabric, as the subtly textured, glossy surface, while giving a warm impression, tends to obscure details. It is better suited for portraits than for astrophotography, where you want to show every detail.
2. Star Trails: Painting with Light
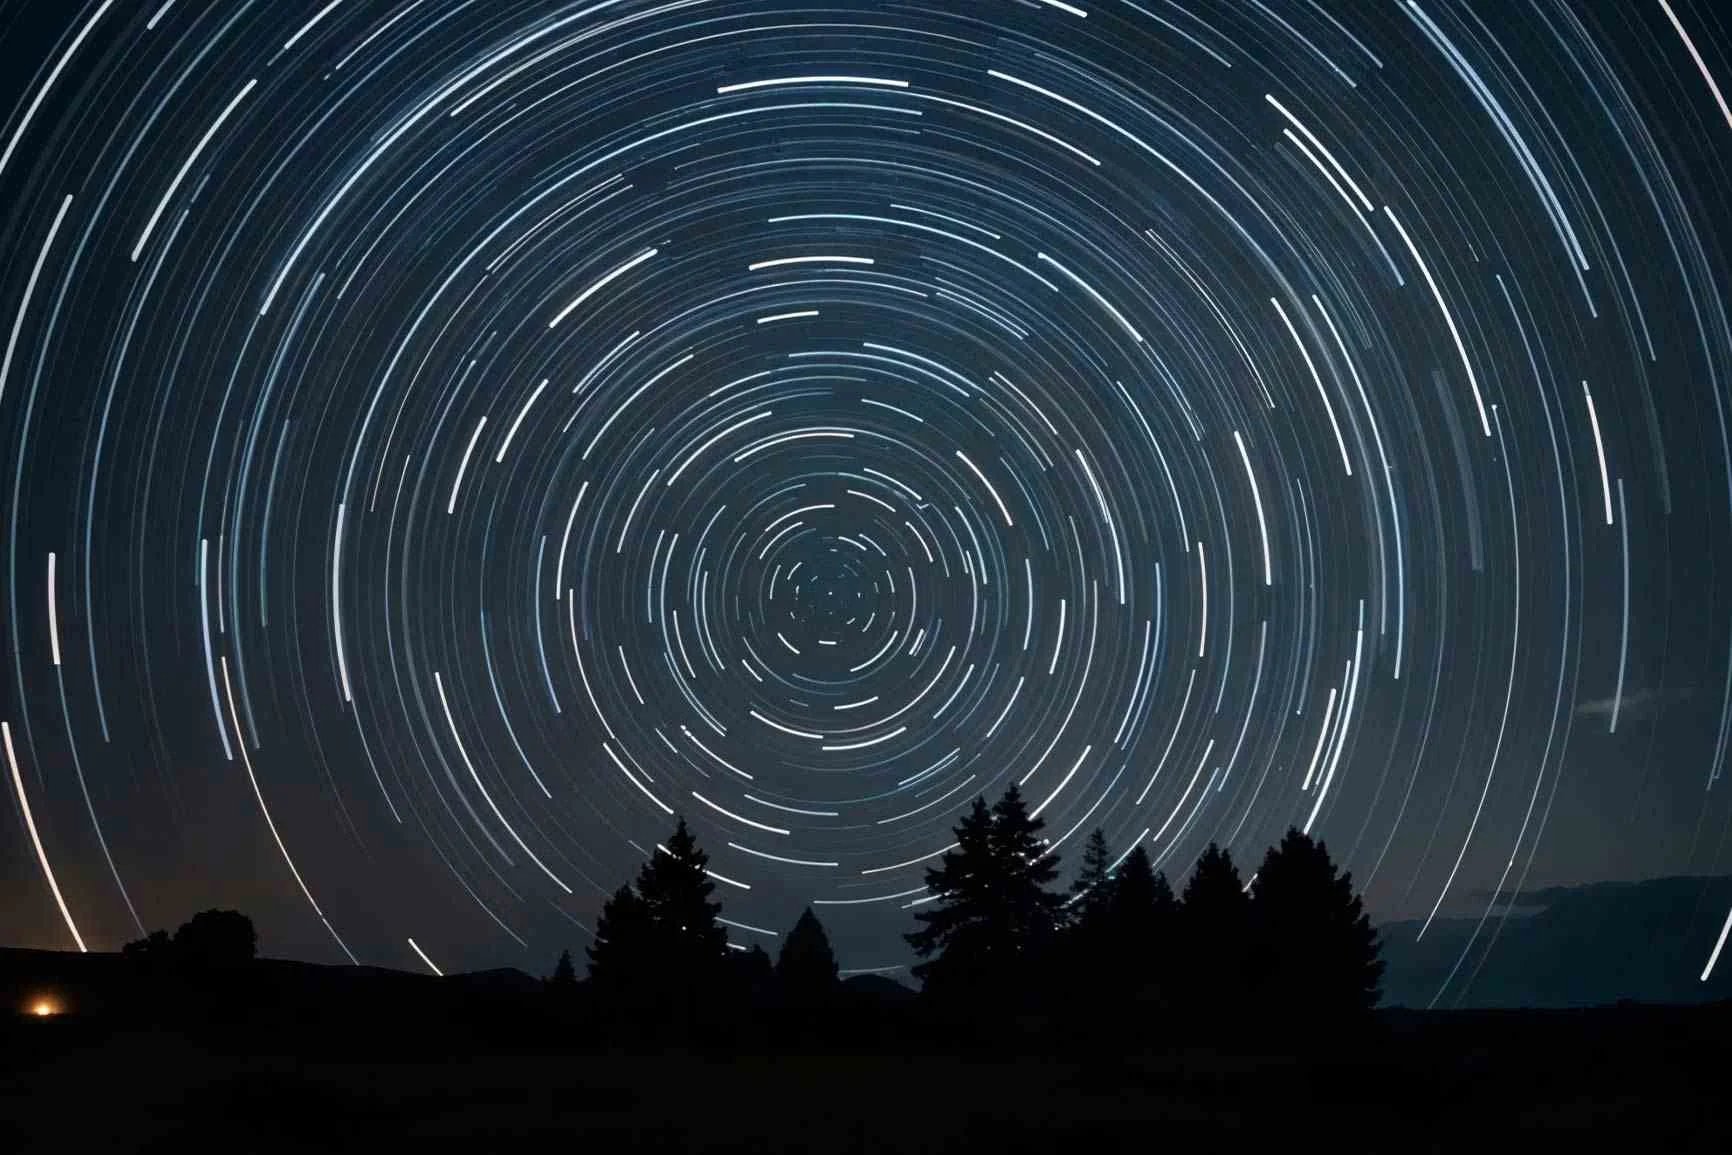
Star trails are a fascinating way to visualize the Earth’s rotation around its own axis. The technique is simple and delivers spectacular results.
Equipment: A wide-angle lens (14–24 mm), a sturdy tripod, and a camera with manual settings are essential. A star tracker is not necessary here, as the movement of the stars is intentionally captured.
Technique: Select a long exposure time, such as 30 minutes, to capture the movement of the stars as circular trails. Set the aperture to f/2.8 or lower and ISO to 100–400.
Practical tip: To minimize “noise” (image distortion) during long exposures, point the camera at the ground and take a black image (dark frame). This image can be used later in post-processing to remove noise from the main image.
3. The Milky Way: A Highlight in the Night Sky
The Milky Way is one of the most impressive subjects in astrophotography. With its countless stars and glowing gas clouds, it offers a spectacular scene. Photographing stars requires longer exposure times and precise camera alignment. A wide-angle lens and a tracking mount are advantageous here to compensate for the movement of the stars.
Equipment and Techniques for Milky Way Photography
Equipment: A wide-angle lens with a large aperture (f/2.8 or lower) and a camera with good ISO performance are ideal. A sturdy tripod and a remote shutter release are also necessary.
Technique: Set the camera to manual focus and select an aperture of f/2.8 or lower. Set the ISO to 1600–3200 to capture enough light. Expose for about 15–30 seconds to minimize star movement.
Practical tip: Avoid light pollution by traveling to a remote, dark area. Apps like “Dark Sky Finder” can help you find a suitable location. Use the “rule of 500” to calculate the maximum exposure time without the stars turning into streaks. Divide 500 by the focal length of your lens (e.g., 500/14mm = 35.7 seconds).
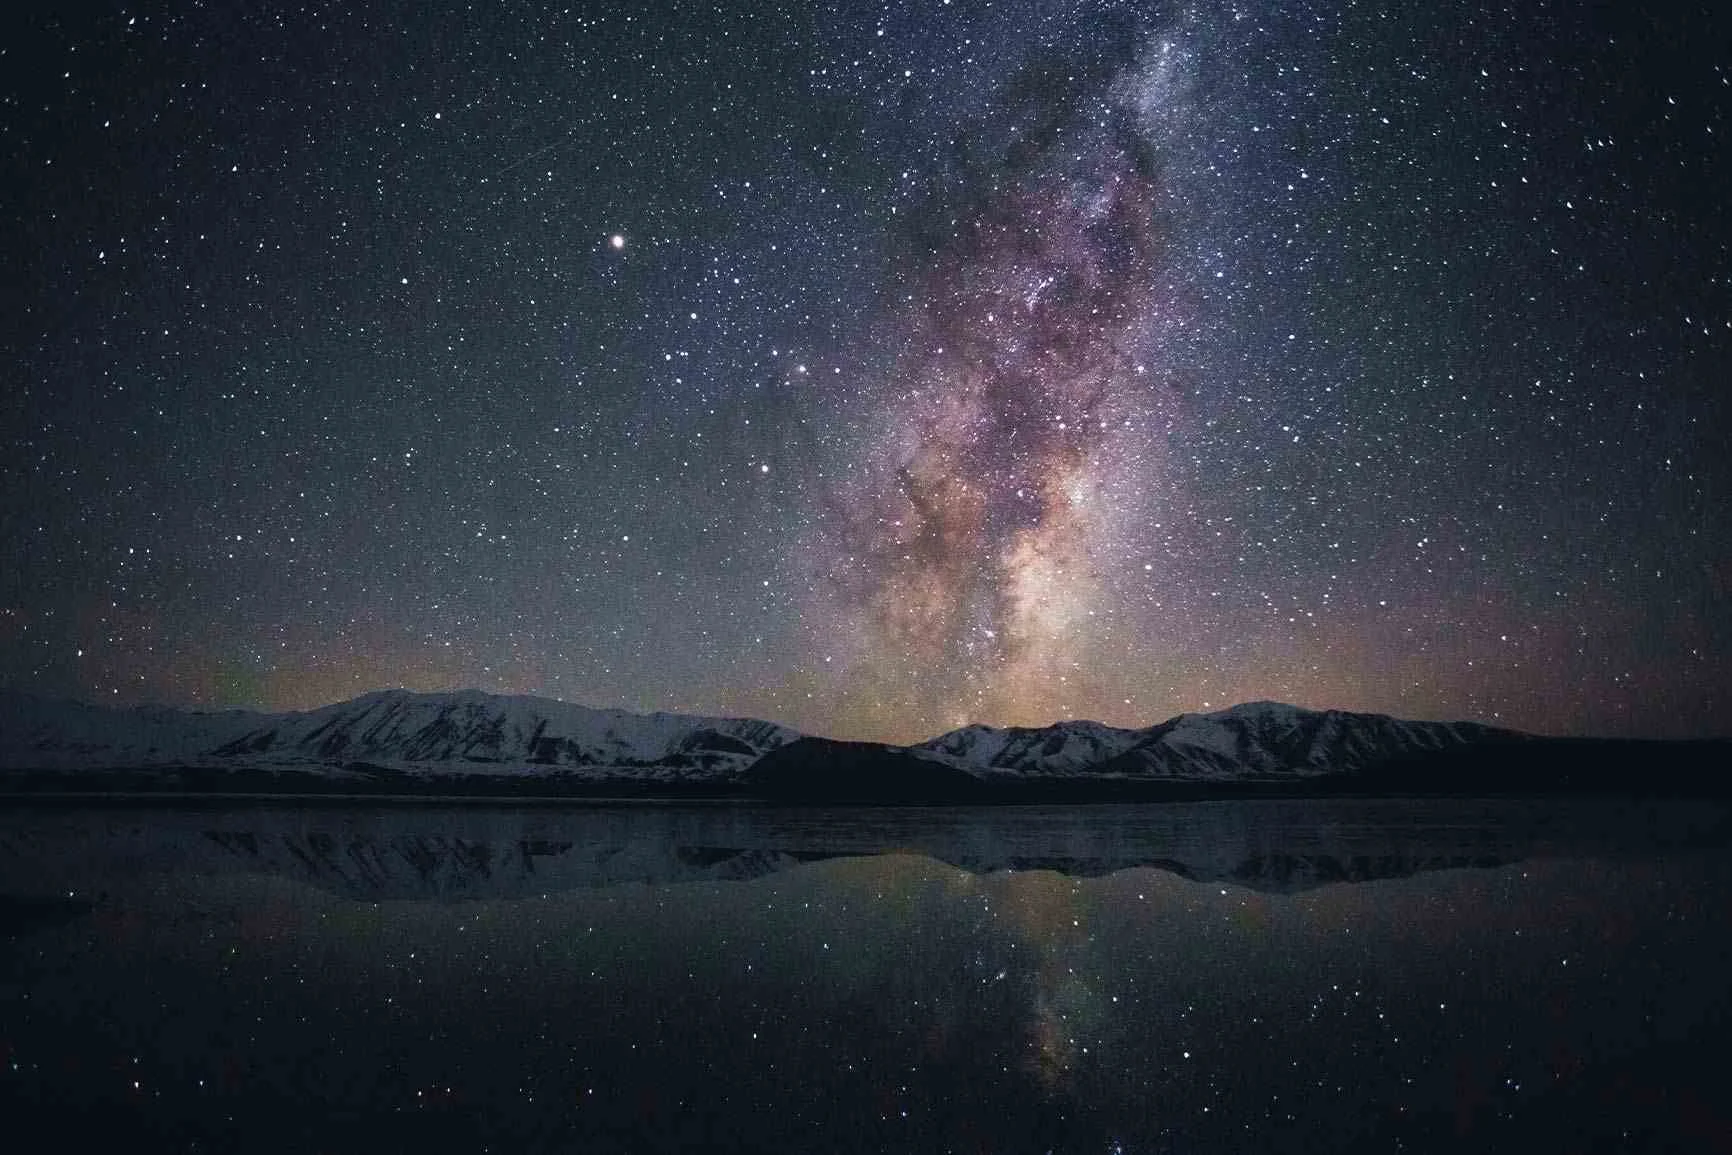
Printing Milky Way Images
Compared to moon portraits, nighttime landscape scenes featuring the Milky Way are usually brighter and more colorful. Nevertheless, as night images, they tend to be rather dark—and should therefore be hung in bright areas where they do not visually darken the room too much.
If a print is to be hung in bright environments, we recommend Photo Prints with a durable UV-protective coating so that the images do not fade and you can enjoy them for a long time—such as our Photo Print on aluminum Dibond.
More information about Photo Prints on aluminum Dibond
4. Deep-Space Photography: The Supreme Discipline
Deep-space photography involves capturing distant galaxies, nebulae, and star clusters. These subjects are often very faint and require special equipment and techniques.
Telescopes: A Glimpse into Distant Galaxies
For deep-space photography, you need a telescope that functions as a telephoto lens. Depending on the subject, different types of telescopes are used, such as refractors or reflectors.
Equipment: Telescope, mount with tracking, camera (ideally an astro camera).
Practical tips:
Use an equatorial mount with GoTo functionality to precisely align the telescope with the desired celestial object.
Choose the fastest possible refractor (e.g., f/7 or larger) for nebulae and galaxies, or a reflector for planetary photography.
Use a cooled astro camera to minimize image noise and ensure clear images.
Technique: Since deep-space objects are extremely faint, you’ll need long exposure times ranging from several minutes to hours. A high ISO setting (1600–6400) and the widest possible aperture are recommended. Multiple images can be “stacked” during post-processing to reduce noise and highlight details.
Practical Tip: Invest in an automatic tracking system that precisely compensates for the Earth’s rotation. Without this, it becomes nearly impossible to capture clear and sharp images of deep-space objects.
Choosing the Right Celestial Object
Galaxies: Galaxies like the Andromeda Galaxy (M31) are popular targets for beginners. It is relatively large and bright and can be photographed with moderate effort.
Nebulae: The Orion Nebula (M42) is another great subject for beginners. It is bright and offers an impressive variety of colors.
Star clusters: Globular clusters like M13 in the constellation Hercules are also good targets. They require less exposure time than galaxies or nebulae and are therefore ideal for beginners.
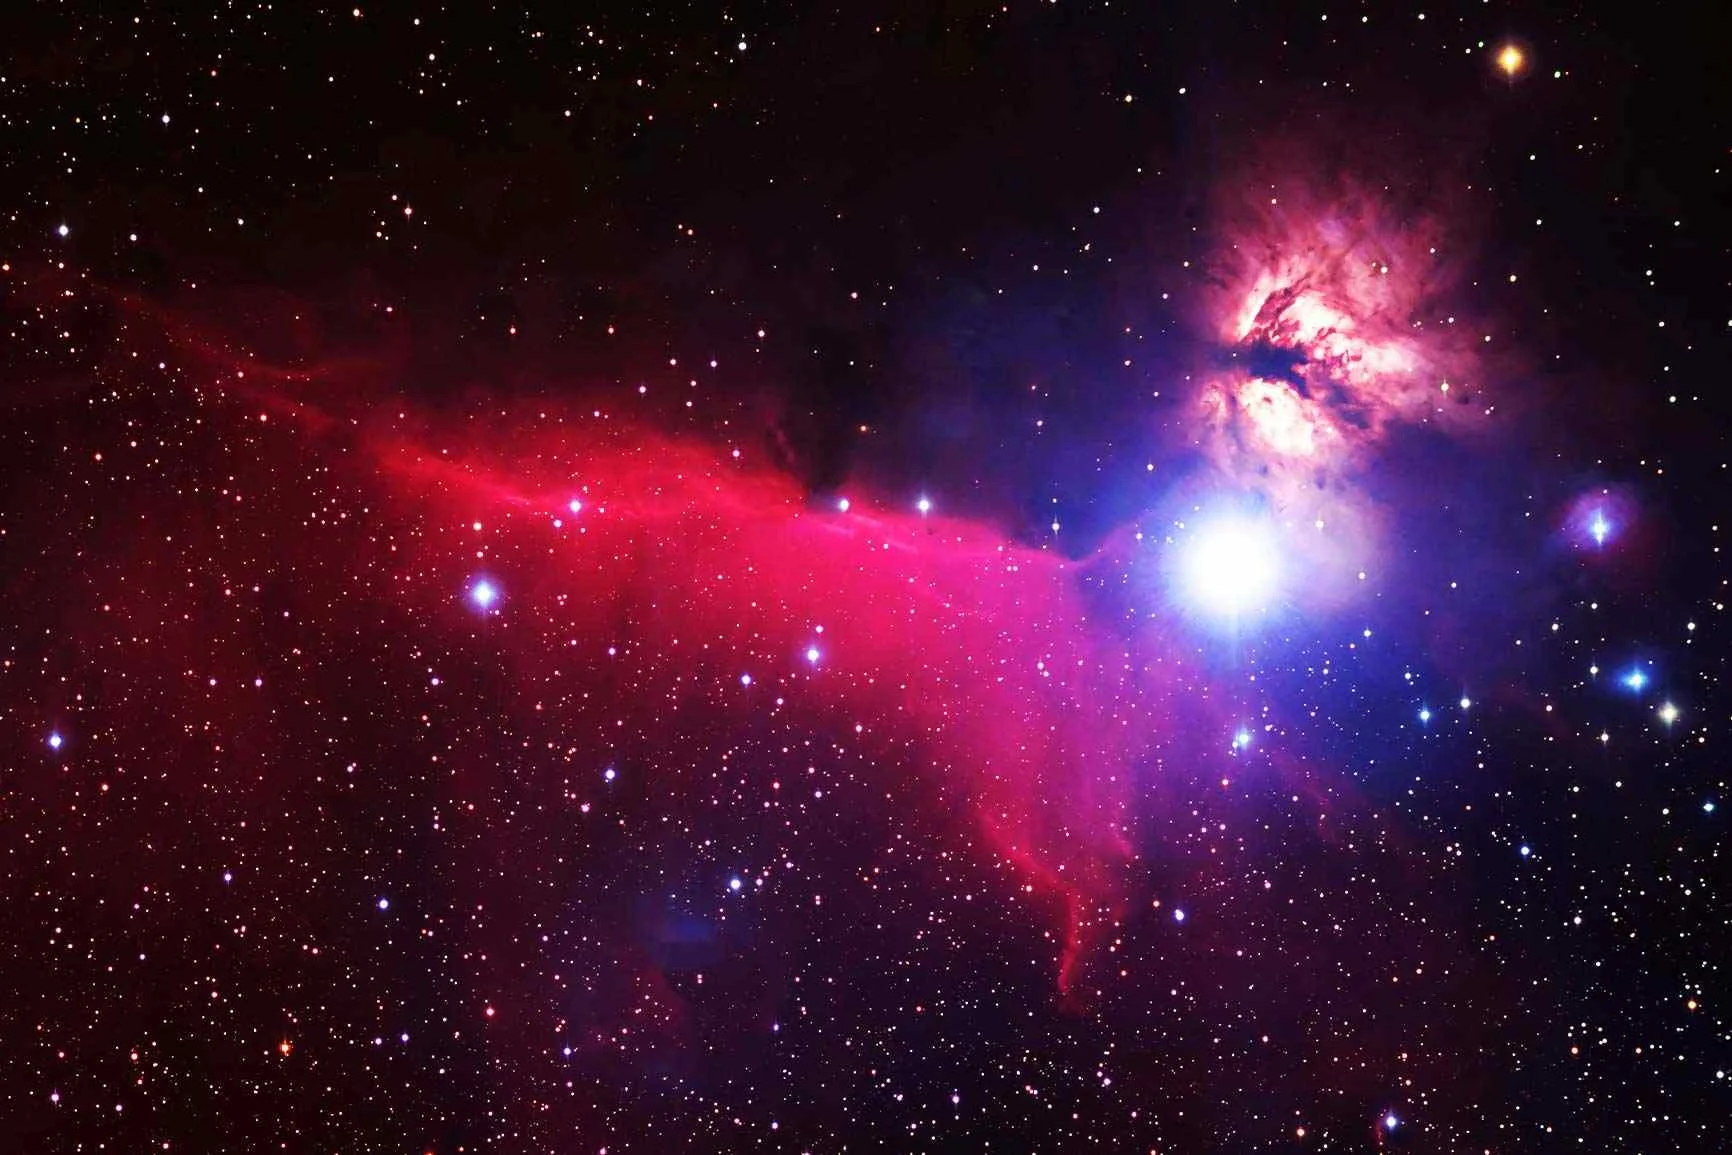
Printing Deep Space Images
Images of galaxies and nebulae can have similar requirements to those of the Milky Way. They may tend to be rather dark—but they can also be very colorful, glowing in one or more hues. If a particular color is dominant, you can use a frame in a matching color to brighten up the image and make it stand out visually in its surroundings. For a red nebula, for example, the WhiteWall Pop Art frame in red would be a good choice.
More information about photos in pop art frames
Post-processing: The finishing touch for perfect astrophotos
Software for astrophotography
Post-processing plays a central role in astrophotography. There are specialized software solutions that help you get the most out of your images.
Adobe Photoshop and Lightroom: These programs offer a wide range of tools for correcting color and brightness values as well as for noise reduction. The functions for adjusting the tone curve and selective color correction are particularly useful.
DeepSkyStacker: This free software was developed specifically for deep-space photography. It allows you to “stack” multiple images to improve the signal-to-noise ratio and thus reveal the finest details.
PixInsight: PixInsight is specialized software for astrophotography that offers comprehensive image editing tools. This program is particularly useful for advanced users and professional astrophotographers.
Basics of Post-Processing
Post-processing plays a crucial role in astrophotography. Even the best raw image requires careful processing to bring out all the details and minimize image noise. During post-processing, brightness, contrast, and colors are optimized, image noise is reduced, and details are brought out.
Software: The Best Tools for Image Processing
There is specialized software for post-processing astrophotos that helps you get the most out of your images.
Practical Tips:
Adobe Photoshop: With this program, you can make basic adjustments, such as adjusting contrast, brightness, and colors.
DeepSkyStacker: This free software helps you merge multiple exposures into a single image to improve the signal-to-noise ratio.
PixInsight: This specialized software is particularly powerful but also more complex to use. It offers a wide range of tools specifically designed for astrophotography.
Image Optimization: Steps to Perfection
Image processing in astrophotography involves several steps that help achieve the best possible result.
Practical Tips:
Stacking: Combine multiple exposures of the same subject to reduce image noise and highlight details.
Noise reduction: Use noise reduction tools to minimize the typical noise that occurs during long exposure times.
Contrast and Color Correction: Adjust the contrast and colors to highlight details and make the image look more realistic.
Conclusion: Astrophotography – A Glimpse at the Stars
Astrophotography is more than just a technical challenge; it is a journey into the depths of the universe. With the right equipment and technique, even beginners can capture breathtaking images of the night sky. The possibilities are virtually limitless—from the moon, which is an ideal first subject, to distant galaxies and nebulae in deep-space photography. Patience, practice, and a certain affinity for post-processing are the keys to impressive results. Take the first step and discover the infinite beauty of the night sky through the lens of your camera!
Learn more about the author
Jan-Ole Schmidt (better known simply as Ole) is from northern Germany and has been with WhiteWall for many years. As a team leader in product management, he brings extensive experience in the photography industry. He taught himself photography and has built up in-depth expertise in image production, papers, laminations, and framing.
His strength lies in the combination of technical expertise and customer perspective - from file upload to framing in the WhiteWall configurator. Ole has held workshops, been a guest on podcasts and is in close contact with the photography community. He lives, works and photographs in Cologne.

WhiteWall Product Recommendations


We’re Happy To Help
Stores Need assistance?Our team will help you select the perfect products!Discover Now
Customer Service Feel free to call us at +44 20 34 111 846 or send us an email at info@whitewall.com.Digital appointment
Gift Certificates The Right Photo GiftDiscover Now
